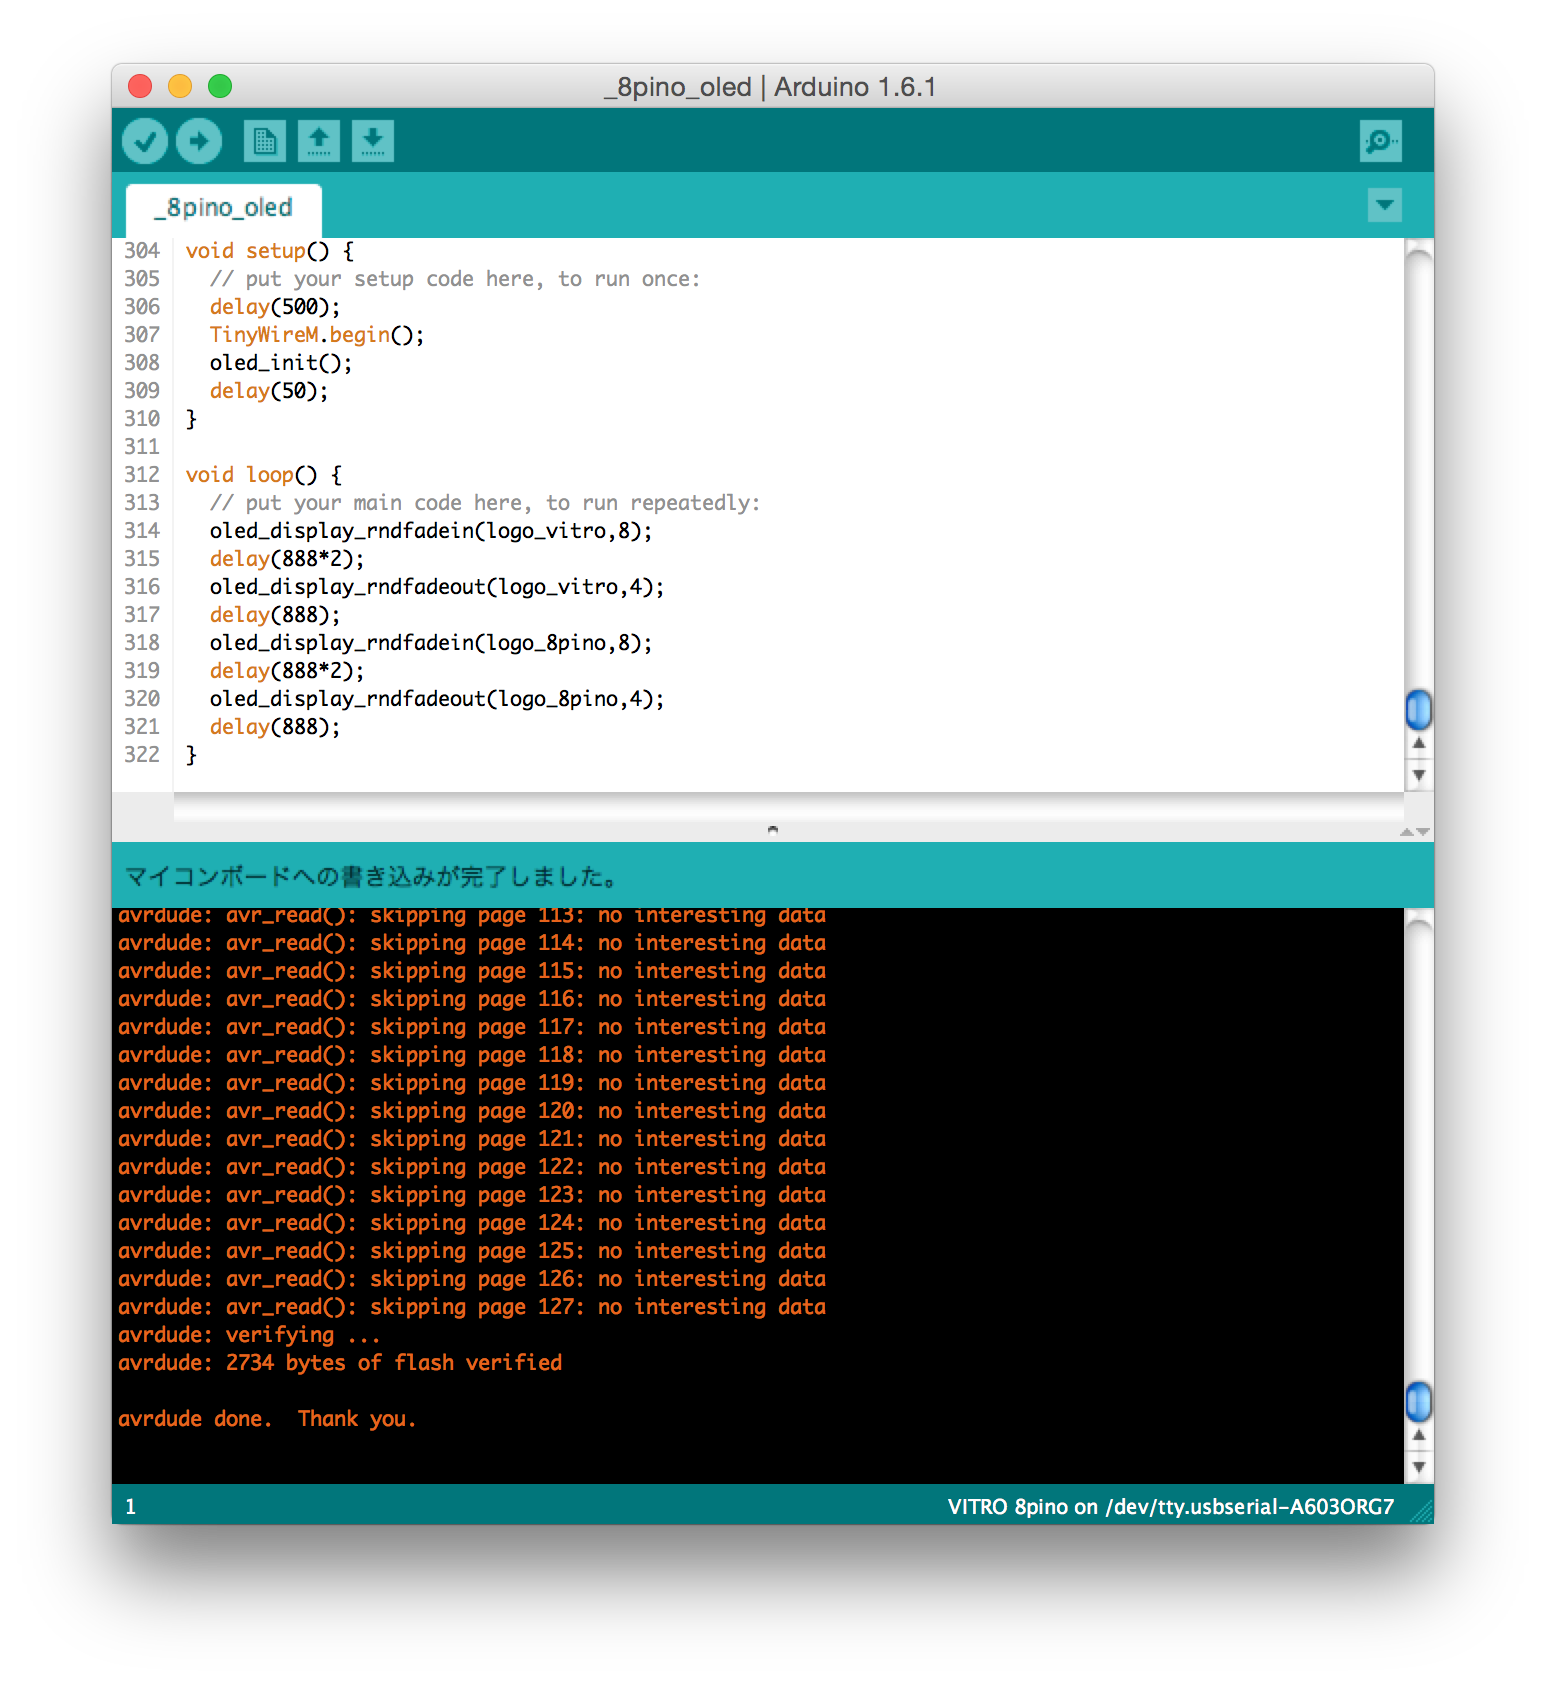
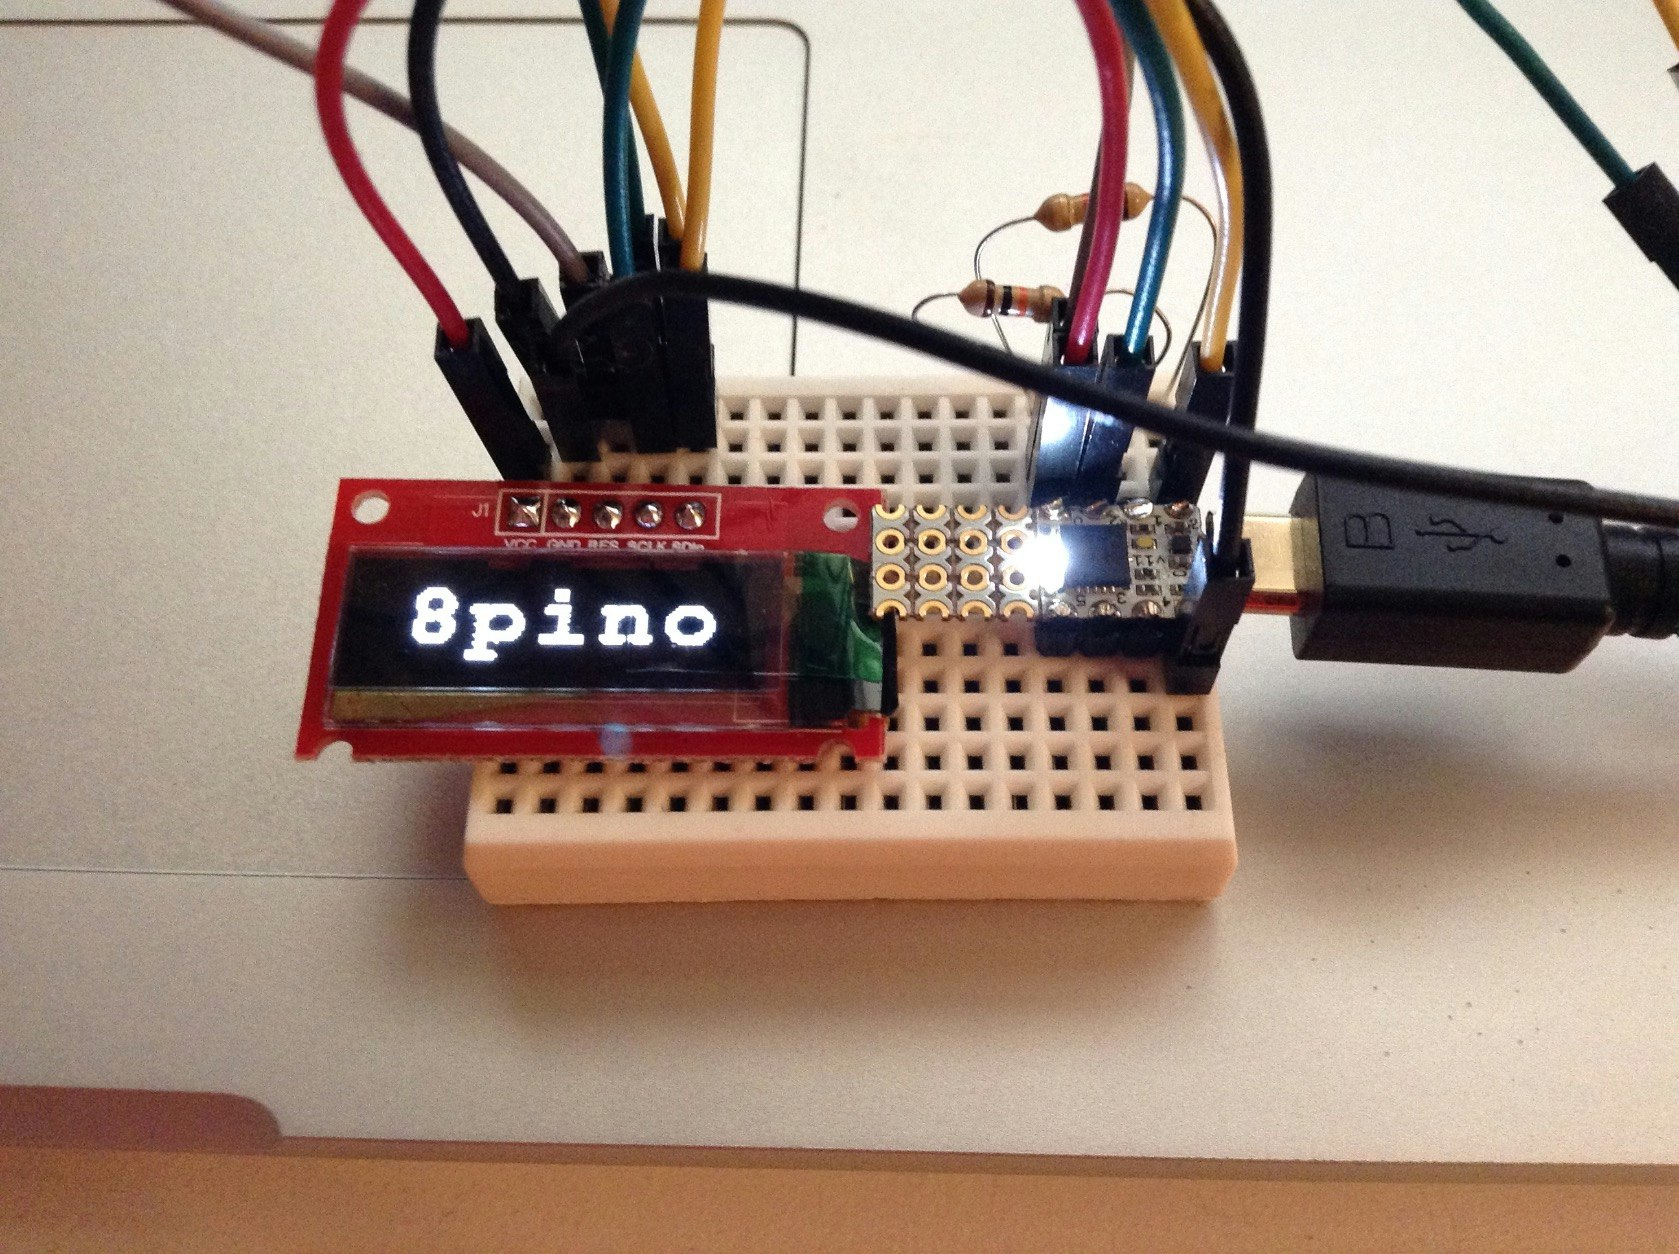
はじめに
※1 Arduino 1.6.4 からは、(8pino や Trinket 3v のような 8MHz 系の場合は)ボードとして「Arduino GEMMA」、書き込み装置として「USBtinyISP」を選べば特に何もしなくても OK です。
※2 おそらく、今は、
https://learn.adafruit.com/adafruit-arduino-ide-setup/arduino-1-dot-6-x-ide
https://learn.adafruit.com/adding-custom-boards-to-the-arduino-v1-6-board-manager
を見た方が良いと思われます。

最近、爪より小さいArduino、8pinoで遊んでいます。
とりあえず最新の Arduino IDE 1.6.x で開発しようと思ったのですが、これが意外にクセものでして。
1.6.0 が出た時は、Adafruitの説明や、そこで紹介されている記事を参考に、純正のArduino用定義をガリガリ修正するやり方で実現していました。
今回1.6.1がリリースされましたので、また対応のための処理を…と思ったのですが、毎回ガリガリ直すのはタマランです。
今後は単純にリリースされたIDEを入れ替えるだけでアップデート完にしたいと思い、3rd party ハード用のIDE定義の書き方を斜め読みしながら実現方法を変えました。
同じように困っている人がいらっしゃるかも知れませんので、私のやり方をご紹介させていただきます。

Lチカだけでなく、TinyWireMと組み合わせてOLEDディスプレイに表示が出来ていたりしますので、それなりに動くやり方かと。
私は Mac OS X 上で開発しているため、Mac 前提での紹介ですが、LinuxやWindowsでも基本的には同じかと思います。
ファイル&ディレクトリー構造
スケッチTOP(私は ~/Arduino/ に設定しています)に、次のようなファイルとディレクトリーを用意します。
hardwareディレクトリーはすでにあるかも知れません。なければ作成します。
ディレクトリーを作成後、(1)~(4)のファイルを作成していきます。順に説明します。
ディレクトリー
hardware/
hardware/Trinket/
hardware/Trinket/avr/
hardware/Trinket/avr/etc/
hardware/Trinket/avr/variants/
hardware/Trinket/avr/variants/tiny8/

ファイル
hardware/Trinket/avr/boards.txt ……(1)
hardware/Trinket/avr/etc/avrdude.conf ……(2)
hardware/Trinket/avr/platform.txt ……(3)
hardware/Trinket/avr/variants/tiny8/pins_arduino.h ……(4)
(1)ボード定義(boards.txt)
ボードごとの定義を記載します。
ちなみに 8pino は Trinket 3.3v と互換性があるので、8pino専用の定義を書く必要はありません。
「Adafruit Trinket 8MHz」を選べばよいです。
が、キチンとIDEに名前を表示させてあげたいのであえて記載しています。
##############################################################

trinket3.name=Adafruit Trinket 8MHz

trinket3.upload.tool=avrdude
trinket3.upload.protocol=usbtiny
trinket3.upload.maximum_size=5310
trinket3.upload.maximum_data_size=512

trinket3.bootloader.tool=avrdude
trinket3.bootloader.low_fuses=0xF1
trinket3.bootloader.high_fuses=0xD5
trinket3.bootloader.extended_fuses=0xFE

trinket3.build.mcu=attiny85
trinket3.build.f_cpu=8000000L
trinket3.build.core=arduino:arduino
trinket3.build.variant=tiny8

##############################################################

trinket5.name=Adafruit Trinket 16MHz

trinket5.upload.tool=avrdude
trinket5.upload.protocol=usbtiny
trinket5.upload.maximum_size=5310
trinket5.upload.maximum_data_size=512

trinket5.bootloader.tool=avrdude
trinket5.bootloader.low_fuses=0xF1
trinket5.bootloader.high_fuses=0xD5
trinket5.bootloader.extended_fuses=0xFE

trinket5.build.mcu=attiny85
trinket5.build.f_cpu=16000000L
trinket5.build.core=arduino:arduino
trinket5.build.variant=tiny8

##############################################################

gemma.name=Adafruit Gemma 8MHz

gemma.upload.tool=avrdude
gemma.upload.protocol=usbtiny
gemma.upload.maximum_size=5310
gemma.upload.maximum_data_size=512

gemma.bootloader.tool=avrdude
gemma.bootloader.low_fuses=0xF1
gemma.bootloader.high_fuses=0xD5
gemma.bootloader.extended_fuses=0xFE

gemma.build.mcu=attiny85
gemma.build.f_cpu=8000000L
gemma.build.core=arduino:arduino
gemma.build.variant=tiny8

##############################################################

vitro8.name= VITRO 8pino

vitro8.upload.tool=avrdude
vitro8.upload.protocol=usbtiny
vitro8.upload.maximum_size=5310
vitro8.upload.maximum_data_size=512

vitro8.bootloader.tool=avrdude
vitro8.bootloader.low_fuses=0xF1
vitro8.bootloader.high_fuses=0xD5
vitro8.bootloader.extended_fuses=0xFE

vitro8.build.mcu=attiny85
vitro8.build.f_cpu=8000000L
vitro8.build.core=arduino:arduino
vitro8.build.variant=tiny8
(2)書き込み装置の設定(avrdude.conf)
Arduino IDE 付属の設定ファイルではディレイ値やタイムアウト値が短すぎる(らしい)ので、Trinket や 8pino が採用している ATtiny85 の定義だけ抽出して適切な値に書き換えたものを用意しておきます。
#
# Overall avrdude defaults; suitable for ~/.avrduderc
#
default_parallel   = "unknown";
default_serial     = "unknown";
# default_bitclock = 2.5;

# Turn off safemode by default
# default_safemode  = no;


#
# PROGRAMMER DEFINITIONS
#

programmer
  id    = "usbtiny";
  desc  = "USBtiny simple USB programmer, http://www.ladyada.net/make/usbtinyisp/";
  type  = "usbtiny";
  connection_type = usb;
  usbvid     = 0x1781;
  usbpid     = 0x0c9f;
;


#
# PART DEFINITIONS
#

# ------------------------------------------------------------
# ATtiny85
# ------------------------------------------------------------

part
     id            = "t85";
     desc          = "ATtiny85";
     has_debugwire = yes;
     flash_instr   = 0xB4, 0x02, 0x12;
     eeprom_instr  = 0xBB, 0xFF, 0xBB, 0xEE, 0xBB, 0xCC, 0xB2, 0x0D,
	             0xBC, 0x02, 0xB4, 0x02, 0xBA, 0x0D, 0xBB, 0xBC,
	             0x99, 0xE1, 0xBB, 0xAC;
## no STK500 devcode in XML file, use the ATtiny45 one
     stk500_devcode   = 0x14;
##  avr910_devcode   = ?;
##  Try the AT90S2313 devcode:
     avr910_devcode   = 0x20;
     signature        = 0x1e 0x93 0x0b;
     reset            = io;
     chip_erase_delay = 900000;

     pgm_enable       = "1 0 1 0  1 1 0 0    0 1 0 1  0 0 1 1",
                        "x x x x  x x x x    x x x x  x x x x";

     chip_erase       = "1 0 1 0  1 1 0 0    1 0 0 x  x x x x",
                        "x x x x  x x x x    x x x x  x x x x";

    timeout		= 200;
    stabdelay		= 100;
    cmdexedelay		= 25;
    synchloops		= 32;
    bytedelay		= 0;
    pollindex		= 3;
    pollvalue		= 0x53;
    predelay		= 1;
    postdelay		= 1;
    pollmethod		= 1;

    hvsp_controlstack   =
        0x4C, 0x0C, 0x1C, 0x2C, 0x3C, 0x64, 0x74, 0x66,
        0x68, 0x78, 0x68, 0x68, 0x7A, 0x6A, 0x68, 0x78,
        0x78, 0x7D, 0x6D, 0x0C, 0x80, 0x40, 0x20, 0x10,
        0x11, 0x08, 0x04, 0x02, 0x03, 0x08, 0x04, 0x00;
    hventerstabdelay    = 100;
    hvspcmdexedelay     = 0;
    synchcycles         = 6;
    latchcycles         = 1;
    togglevtg           = 1;
    poweroffdelay       = 25;
    resetdelayms        = 1;
    resetdelayus        = 0;
    hvleavestabdelay    = 100;
    resetdelay          = 25;
    chiperasepolltimeout = 40;
    chiperasetime       = 900000;
    programfusepolltimeout = 25;
    programlockpolltimeout = 25;

    ocdrev              = 1;

     memory "eeprom"
         size            = 512;
        paged           = no;
        page_size       = 4;
         min_write_delay = 4000;
         max_write_delay = 4500;
         readback_p1     = 0xff;
         readback_p2     = 0xff;
         read            = "1  0  1  0   0  0  0  0    0 0 0 x  x x x a8",
                           "a7 a6 a5 a4  a3 a2 a1 a0   o o o o  o o o o";

         write           = "1  1  0  0   0  0  0  0    0 0 0 x  x x x a8",
                           "a7 a6 a5 a4  a3 a2 a1 a0   i i i i  i i i i";

	loadpage_lo	= "  1   1   0   0      0   0   0   1",
			  "  0   0   0   0      0   0   0   0",
			  "  0   0   0   0      0   0  a1  a0",
			  "  i   i   i   i      i   i   i   i";

	writepage	= "  1   1   0   0      0   0   1   0",
			  "  0   0   x   x      x   x   x  a8",
			  " a7  a6  a5  a4     a3  a2   0   0",
			  "  x   x   x   x      x   x   x   x";

	mode		= 0x41;
	delay		= 12;
	blocksize	= 4;
	readsize	= 256;
       ;
     memory "flash"
         paged           = yes;
         size            = 8192;
         page_size       = 64;
         num_pages       = 128;
         min_write_delay = 30000;
         max_write_delay = 30000;
         readback_p1     = 0xff;
         readback_p2     = 0xff;
         read_lo         = "  0   0   1   0    0   0   0   0",
                           "  0   0   0   0  a11 a10  a9  a8",
                           " a7  a6  a5  a4   a3  a2  a1  a0",
                           "  o   o   o   o    o   o   o   o";

         read_hi         = "  0   0   1   0    1   0   0   0",
                           "  0   0   0   0  a11 a10  a9  a8",
                           " a7  a6  a5  a4   a3  a2  a1  a0",
                           "  o   o   o   o    o   o   o   o";

         loadpage_lo     = "  0   1   0   0    0   0   0   0",
                           "  0   0   0   x    x   x   x   x",
                           "  x   x   x  a4   a3  a2  a1  a0",
                           "  i   i   i   i    i   i   i   i";

         loadpage_hi     = "  0   1   0   0    1   0   0   0",
                           "  0   0   0   x    x   x   x   x",
                           "  x   x   x  a4   a3  a2  a1  a0",
                           "  i   i   i   i    i   i   i   i";

         writepage       = "  0  1  0  0   1   1   0  0",
                           "  0  0  0  0  a11 a10 a9 a8",
                           " a7 a6 a5  x   x  x  x  x",
                           "  x  x  x  x   x  x  x  x";

	mode		= 0x41;
	delay		= 6;
	blocksize	= 32;
	readsize	= 256;
       ;
#   ATtiny85 has Signature Bytes: 0x1E 0x93 0x08.
     memory "signature"
         size            = 3;
         read            = "0  0  1  1   0  0  0  0   0  0  0  x   x  x  x  x",
                           "x  x  x  x   x  x a1 a0   o  o  o  o   o  o  o  o";
       ;
     memory "lock"
         size            = 1;
         write           = "1 0 1 0  1 1 0 0  1 1 1 x  x x x x",
                           "x x x x  x x x x  1 1 i i  i i i i";

         read            = "0 1 0 1  1 0 0 0  0 0 0 0  1 0 0 0",
                           "x x x x  x x x x  o o o o  o o o o";
        min_write_delay = 9000;
        max_write_delay = 9000;
       ;

     memory "lfuse"
         size            = 1;
         write           = "1 0 1 0  1 1 0 0  1 0 1 0  0 0 0 0",
                           "x x x x  x x x x  i i i i  i i i i";

         read            = "0 1 0 1  0 0 0 0  0 0 0 0  0 0 0 0",
                           "x x x x  x x x x  o o o o  o o o o";
        min_write_delay = 9000;
        max_write_delay = 9000;
       ;

     memory "hfuse"
         size            = 1;
         write           = "1 0 1 0  1 1 0 0  1 0 1 0  1 0 0 0",
                           "x x x x  x x x x  i i i i  i i i i";

         read            = "0 1 0 1  1 0 0 0  0 0 0 0  1 0 0 0",
                           "x x x x  x x x x  o o o o  o o o o";
        min_write_delay = 9000;
        max_write_delay = 9000;
       ;

     memory "efuse"
         size            = 1;
         write           = "1 0 1 0  1 1 0 0  1 0 1 0  0 1 0 0",
                           "x x x x  x x x x  x x x x  x x x i";

         read            = "0 1 0 1  0 0 0 0  0 0 0 0  1 0 0 0",
                           "x x x x  x x x x  o o o o  o o o o";
        min_write_delay = 9000;
        max_write_delay = 9000;
     ;

     memory "calibration"
         size            = 2;
         read            = "0  0  1  1   1  0  0  0    0 0 0 x  x x x x",
                           "0  0  0  0   0  0  0  a0   o o o o  o o o o";
     ;
  ;
(3)ビルドや書き込みで使う各種コマンドの呼び出し設定(platform.txt)
まず書き込みツールavrdudeが(2)の設定ファイルを参照するようにtools.avrdude.config.pathを書き換えます。
また、デフォルトでは書き込みのためのavrdude呼び出しにおいて、引数でシリアルポートデバイス名や通信スピードを明示指定するようになっています。
ですが、Trinketや8pinoの場合、シリアルデバイスではなく、ブートしてから10秒間だけUSBTinyデバイスのように見える状態になり、この隙に書き込みを行います。
シリアルポートデバイス名や通信スピードを指定したくても指定できません。
ということで、単純にこれらを指定するオプションは削除します(IDE 1.0.x の時と同じにします)。
これでavrdudeコマンドがUSBTinyデバイスを検索して見つけて自動で選んでくれるようになります。
ついでにverboseレベルを上げておきます。
bootloaderは普通のやり方では書けないので、消去と書き込みの定義を最小限に変えておきます。
# Adafruit Trinket Boards.
# ------------------------------

# For more info:
# https://github.com/arduino/Arduino/wiki/Arduino-IDE-1.5---3rd-party-Hardware-specification

name=Adafruit Trinket Boards
version=1.6.1

# AVR Uploader/Programmers tools
# ------------------------------

tools.avrdude.cmd.path={runtime.ide.path}/hardware/tools/avr/bin/avrdude
tools.avrdude.config.path={runtime.hardware.path}/avr/etc/avrdude.conf

tools.avrdude.upload.params.verbose=-v -v -v -v
tools.avrdude.upload.params.quiet=-q -q
tools.avrdude.upload.pattern="{cmd.path}" "-C{config.path}" {upload.verbose} -p{build.mcu} -c{upload.protocol} "-Uflash:w:{build.path}/{build.project_name}.hex:i"

tools.avrdude.program.params.verbose=-v -v -v -v
tools.avrdude.program.params.quiet=-q -q
tools.avrdude.program.pattern="{cmd.path}" "-C{config.path}" {program.verbose} -p{build.mcu} -c{protocol} {program.extra_params} "-Uflash:w:{build.path}/{build.project_name}.hex:i"

tools.avrdude.erase.params.verbose=-v -v -v -v
tools.avrdude.erase.params.quiet=-q -q
tools.avrdude.erase.pattern="{cmd.path}" "-C{config.path}" {erase.verbose} -p{build.mcu} -c{protocol} {program.extra_params} -e

tools.avrdude.bootloader.params.verbose=-v -v -v -v
tools.avrdude.bootloader.params.quiet=-q -q
tools.avrdude.bootloader.pattern="{cmd.path}" "-C{config.path}" {bootloader.verbose} -p{build.mcu} -c{protocol} {program.extra_params}
(4)ピン定義(pins_arduino.h)
これは、Adafruit で公開されているものそのものです。
trinkethardwaresupport.zipからhardware/attiny/variants/tiny8/pins_arduino.hを抽出したものです。
/*
  pins_arduino.c - pin definitions for the Arduino board
  Part of Arduino / Wiring Lite

  Copyright (c) 2005 David A. Mellis

  This library is free software; you can redistribute it and/or
  modify it under the terms of the GNU Lesser General Public
  License as published by the Free Software Foundation; either
  version 2.1 of the License, or (at your option) any later version.

  This library is distributed in the hope that it will be useful,
  but WITHOUT ANY WARRANTY; without even the implied warranty of
  MERCHANTABILITY or FITNESS FOR A PARTICULAR PURPOSE.  See the GNU
  Lesser General Public License for more details.

  You should have received a copy of the GNU Lesser General
  Public License along with this library; if not, write to the
  Free Software Foundation, Inc., 59 Temple Place, Suite 330,
  Boston, MA  02111-1307  USA

  $Id: pins_arduino.c 565 2009-03-25 10:50:00Z dmellis $

  Modified 28-08-2009 for attiny84 R.Wiersma
  Modified 09-10-2009 for attiny45 A.Saporetti
*/

# ifndef Pins_Arduino_h
# define Pins_Arduino_h

# include <avr/pgmspace.h>

// Defines to make D4 support PWM
// See for more info: http://forums.adafruit.com/viewtopic.php?f=52&t=43951
# define TCCR1A GTCCR
# define WGM10  PWM1B

// ATMEL ATTINY45 / ARDUINO
//
//                  +-\/-+
// Ain0 (D 5) PB5  1|    |8  Vcc
// Ain3 (D 3) PB3  2|    |7  PB2 (D 2)  Ain1
// Ain2 (D 4) PB4  3|    |6  PB1 (D 1) pwm1
//            GND  4|    |5  PB0 (D 0) pwm0
//                  +----+

# define digitalPinToPCICR(p)    ( ((p) >= 0 && (p) <= 4) ? (&GIMSK) : ((uint8_t *)0) )
# define digitalPinToPCICRbit(p) ( PCIE )
# define digitalPinToPCMSK(p)    ( ((p) <= 4) ? (&PCMSK) : ((uint8_t *)0) )
# define digitalPinToPCMSKbit(p) ( (p) )

# ifdef ARDUINO_MAIN

// these arrays map port names (e.g. port B) to the
// appropriate addresses for various functions (e.g. reading
// and writing) tiny45 only port B
const uint16_t PROGMEM port_to_mode_PGM[] = {
	NOT_A_PORT,
	NOT_A_PORT,
	(uint16_t) &DDRB,
};

const uint16_t PROGMEM port_to_output_PGM[] = {
	NOT_A_PORT,
	NOT_A_PORT,
	(uint16_t) &PORTB,
};

const uint16_t PROGMEM port_to_input_PGM[] = {
	NOT_A_PIN,
	NOT_A_PIN,
	(uint16_t) &PINB,
};

const uint8_t PROGMEM digital_pin_to_port_PGM[] = {
	PB, /* 0 */
	PB,
	PB,
	PB,
	PB,
	PB, // 5

};

const uint8_t PROGMEM digital_pin_to_bit_mask_PGM[] = {
	_BV(0), /* 0, port B */
	_BV(1),
	_BV(2),
	_BV(3), /* 3 port B */
	_BV(4),
	_BV(5),

};

const uint8_t PROGMEM digital_pin_to_timer_PGM[] = {
	TIMER0A, /* OC0A */
	TIMER0B,
	NOT_ON_TIMER,
	NOT_ON_TIMER,
	TIMER1B,
	NOT_ON_TIMER,
};

# endif

# endif
設定した後、IDE を再起動することをお忘れなく。
GOOD LUCK!