ReactとTypeScriptを使ってsagaを書く時に(主に型定義で)いろいろと詰まったので記録として残しておきます。
今回はサンプルとしてredux-sagaを使った簡単なページを作ります。
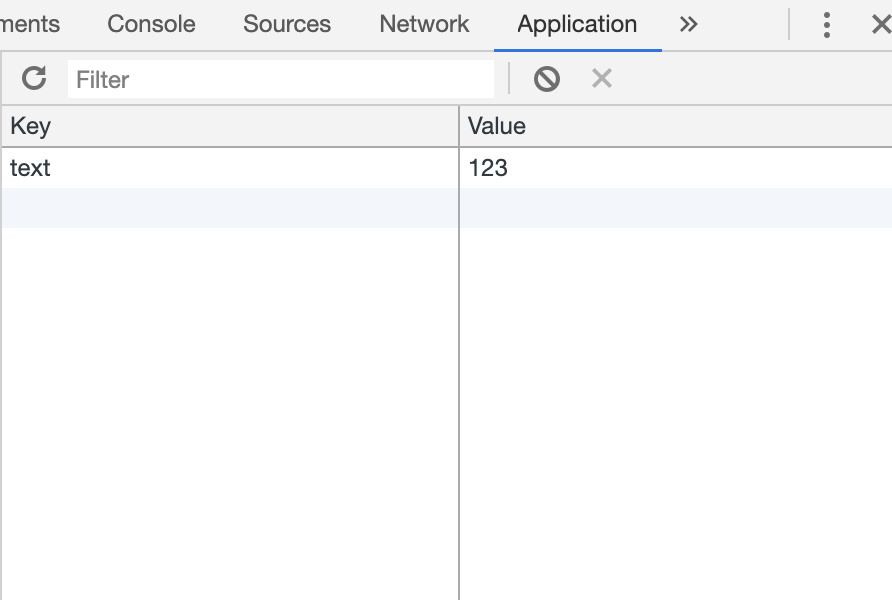
テキストボックスに値を入力してボタンをクリックしたら入力された値がstoreにdispatchされ、その後redux-sagaによって値がlocalStorageに保存されるというものです。

環境構築
create-react-appを使ってアプリケーションを作成します。
今回はTypeScriptを使用するのでコマンドの最後に--typescriptを付け加えます。
npx create-react-app sampleApp --typescript
react-reduxやredux-sagaもインストールしておきます。
npm install redux-saga @types/react-redux
storeを作成する
storeを作成してindex.tsxに追加します。
historyはReact Routerに入っているやつです。react-router-domなどをアプリケーションにインストールしていない場合は別途でインストールしてください。
import React from "react";
import { createBrowserHistory } from "history";
import ReactDOM from "react-dom";
import { Provider } from "react-redux";
import configureStore from "./configureStore";
import App from "./App";

const history = createBrowserHistory();
const store = configureStore(history);

ReactDOM.render(
  <Provider store={store}>
    <App />
  </Provider>,
  document.getElementById("root")
);
reducerやsagaなどのミドルウェアの導入はconfigureStoreに記載します。
import { routerMiddleware } from "connected-react-router";
import { History } from "history";
import { applyMiddleware, createStore } from "redux";
import createSagaMiddleware from "redux-saga";
import reducer from "./reducers/index";
import rootSaga from "./sagas/index";

const configureStore = (history: History) => {
  const sagaMiddleware = createSagaMiddleware();
  const middlewares = [sagaMiddleware, routerMiddleware(history)];

  const store = createStore(reducer(history), applyMiddleware(...middlewares));

  sagaMiddleware.run(rootSaga);

  return store;
};

export default configureStore;
redux-sagaの導入
これで準備は整ったのでいよいよsagaを導入していきます。
redux-sagaを使用するためにはactionとsagaを記載する必要があります。
まずはactionを書いていきましょう。
export const SET_TEXT = "SET_TEXT";

const setText = (text: string) => ({
  type: SET_TEXT,
  payload: text
});

export type setText = ReturnType<typeof setText>;

export default setText;
SET_TEXTという名前のactionを作成しています。
TypeScriptを使っているのでしっかり型を定義しておきましょう。
redux-sagaはSagaという名前の独立したプロセス内で非同期処理を行います。
先程作成したactionを使ってSagaに非同期処理を書いていきましょう。
import { takeEvery } from "redux-saga/effects";
import setText, { SET_TEXT } from "../action";

function* handleSetText(action: ReturnType<typeof setText>) {
  let text = action.payload;
  yield (localStorage.text = text);
}

function* sampleSaga() {
  yield takeEvery(SET_TEXT, handleSetText);
}

export default sampleSaga;
dispatchされてきた値をtextに代入し、それをlocalStorageに保存しています。
これで非同期処理が行えるようになりました。あとはコンポーネントでテキストボックスとボタンを作成し、入力された値をdispatchするような処理を書けば完成です。
import React from "react";
import { Dispatch } from "redux";
import { connect } from "react-redux";
import setText from "./action";

interface StateProps {}

interface DispatchProps {
  set_text: typeof setText;
}

type Props = DispatchProps;

interface State {
  text: string;
}

interface IMessageInputEvent extends React.FormEvent<HTMLInputElement> {
  target: HTMLInputElement;
}

class App extends React.Component<Props, State> {
  constructor(props: Props) {
    super(props);
    this.state = {
      text: ""
    };
    this.handleClick = this.handleClick.bind(this);
    this.handleChange = this.handleChange.bind(this);
  }

  handleClick() {
    this.props.set_text(this.state.text);
  }

  handleChange(e: IMessageInputEvent) {
    this.setState({
      text: e.target.value
    });
  }

  render() {
    return (
      <div>
        <input
          type="text"
          onChange={this.handleChange}
          value={this.state.text}
        />
        <button onClick={this.handleClick}>ボタン</button>
      </div>
    );
  }
}

const mapStateToProps = () => ({});
const mapDispatchToProps = (dispatch: Dispatch): DispatchProps => ({
  set_text: text => dispatch(setText(text))
});

export default connect<StateProps, DispatchProps>(
  mapStateToProps,
  mapDispatchToProps
)(App);
おまけ
sagaのテストを書く時はredux-saga-test-planを使います。
import { expectSaga, ExpectApi } from "redux-saga-test-plan";
import saga from "./saga";

const takeSnapshot = (test: ExpectApi) => {
  test.silentRun().then(result => {
    expect(result.toJSON()).toMatchSnapshot();
  });
};

const dummyValues = {
  text: "123"
};

describe("saga test", () => {
  const text = dummyValues.text;

  describe("SET_TEXT action", () => {
    test("set text", () => {
      const test = expectSaga(saga).dispatch({
        type: "SET_TEXT",
        payload: {
          text
        }
      });

      takeSnapshot(test);

      return test.silentRun();
    });
  });
});
これでsagaのスナップショットテストをすることが可能です。
saga内で他のactionを呼び出している場合は下記のような感じでtestにputしていきます。
return test
	.put({
		type: 'FETCH_TEXT_SUCCESS',
		payload: {text:'123'},
	})
	.silentRun();
また、意図的にテスト内でエラーを起こさせたい場合はredux-saga-test-planが用意してくれているthrowErrorを使い、testを作成するときにエラーを投げます
import {throwError} from 'redux-saga-test-plan/providers';

...

const test = expectSaga(saga)
	.provide([
		[
			throwError(error),
		],
	])
	.dispatch({
		type: 'FETCH_TEXT',
	});
参考
関東最速でReact+Redux+TypeScriptなアプリを作る
redux-saga-test-planを使って、redux-sagaのテストを書く