PullDown Menu by HTML + CSS
This is demo
This is all Source Code
1. Prepare folder and files
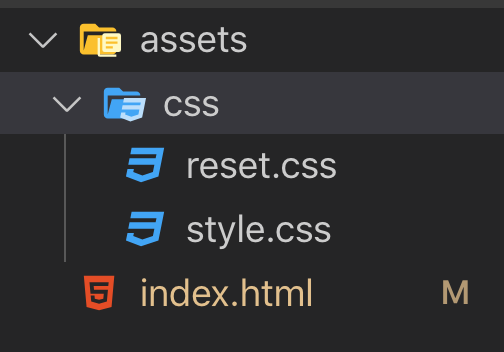
First, please prepare project for pulldown practice.
├ assets /
│       ├ css /
│          ├ reset.css
│          ├ style.css
│
├ index.html
2. Prepare add HTML and reset css code.
index.html
<!DOCTYPE html>
<html lang="en">
<head>
  <meta charset="UTF-8">
  <meta name="viewport" content="width=device-width, initial-scale=1.0">
  <meta http-equiv="X-UA-Compatible" content="ie=edge">
  <title>Document</title>
  <link rel="stylesheet" href="./assets/css/reset.css">
  <link rel="stylesheet" href="./assets/css/style.css">
</head>
<body>
  <header>
    <nav>
      <ul class="menu">
        <li><a href="#">Nav1</a></li>

        <li><a href="#">Nav2</a>
          <ul>
            <li><a href="#">Nav2-1</a></li>
            <li><a href="#">Nav2-2</a></li>
          </ul>
        </li>

        <li><a href="#">Nav3</a>
          <ul>
            <li><a href="#">Nav3-1</a></li>
            <li><a href="#">Nav3-2</a></li>
            <li><a href="#">Nav3-3</a></li>
          </ul>
        </li>
        <li><a href="#">Nav4</a></li>
      </ul>
    </nav>
  </header>
</body>
</html>
reset.css
/*
html5doctor.com Reset Stylesheet
v1.6.1
Last Updated: 2010-09-17
Author: Richard Clark - http://richclarkdesign.com
Twitter: @rich_clark
*/

html, body, div, span, object, iframe,
h1, h2, h3, h4, h5, h6, p, blockquote, pre,
abbr, address, cite, code,
del, dfn, em, img, ins, kbd, q, samp,
small, strong, sub, sup, var,
b, i,
dl, dt, dd, ol, ul, li,
fieldset, form, label, legend,
table, caption, tbody, tfoot, thead, tr, th, td,
article, aside, canvas, details, figcaption, figure,
footer, header, hgroup, menu, nav, section, summary,
time, mark, audio, video {
margin:0;
padding:0;
border:0;
outline:0;
font-size:100%;
vertical-align:baseline;
background:transparent;
}

body {
line-height:1;
}

article,aside,details,figcaption,figure,
footer,header,hgroup,menu,nav,section {
display:block;
}

nav,ul {
list-style:none;
}

blockquote, q {
quotes:none;
}

blockquote:before, blockquote:after,
q:before, q:after {
content:'';
content:none;
}

a {
margin:0;
padding:0;
font-size:100%;
vertical-align:baseline;
background:transparent;
}

/ change colours to suit your needs /
ins {
background-color:#ff9;
color:#000;
text-decoration:none;
}

/ change colours to suit your needs /
mark {
background-color:#ff9;
color:#000;
font-style:italic;
font-weight:bold;
}

del {
text-decoration: line-through;
}

abbr[title], dfn[title] {
border-bottom:1px dotted;
cursor:help;
}

table {
border-collapse:collapse;
border-spacing:0;
}

/* change border colour to suit your needs
*/
hr {
display:block;
height:1px;
border:0;
border-top:1px solid #cccccc;
margin:1em 0;
padding:0;
}

input, select {
vertical-align:middle;
}
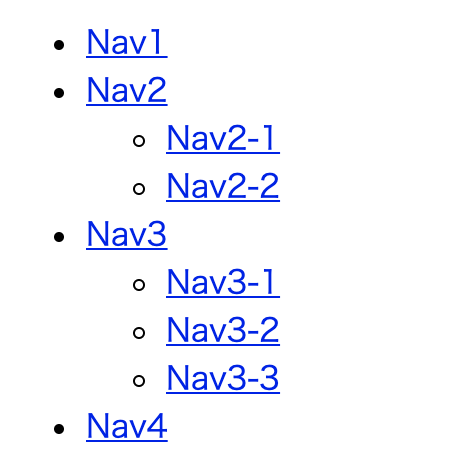
If you put these code, the site looks like this.
3. Let's add CSS code.
style.css
.menu {
  width: 750px;
  margin: 0 auto;
  padding: 0;
  display: flex;
}

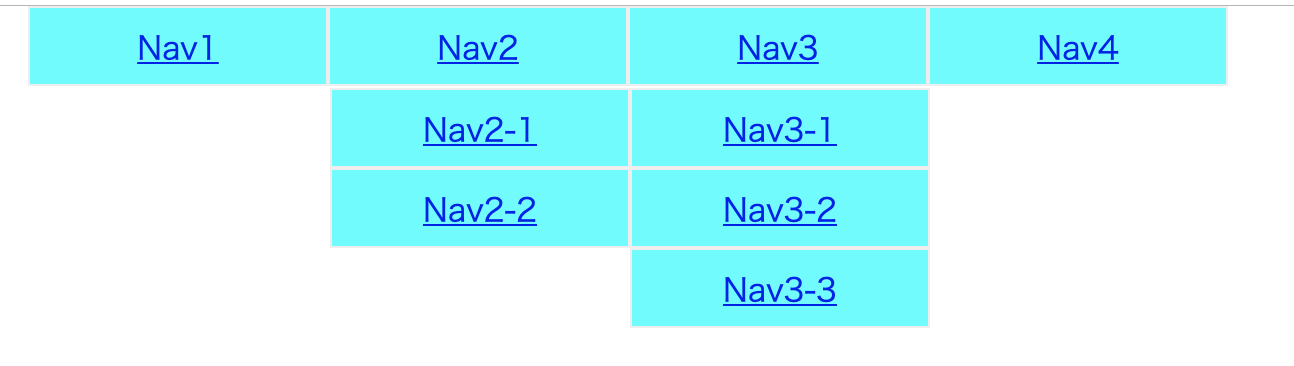
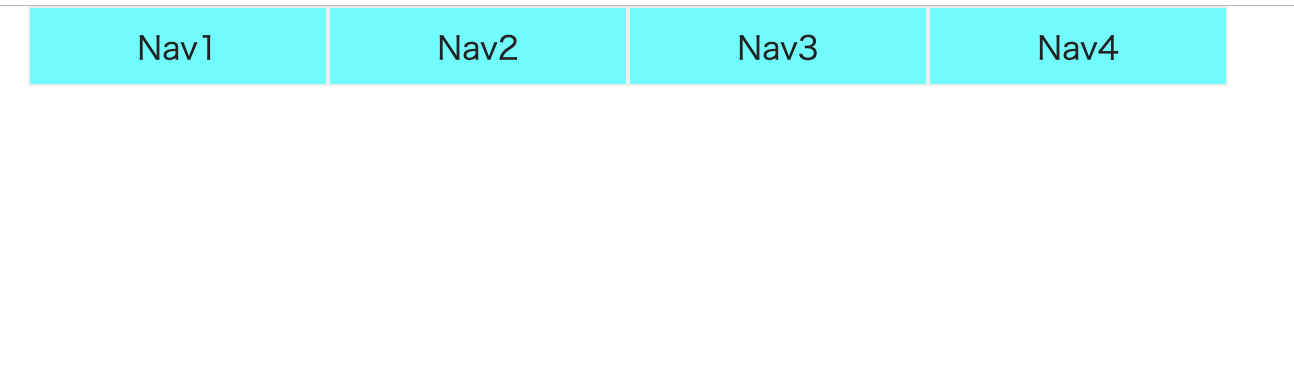
4. Make li design.
style.css
.menu {
  width: 750px;
  margin: 0 auto;
  padding: 0;
  display: flex;
}

/* add design */
.menu li {
  width: 150px;
  height: 40px;
  line-height: 40px;
  text-align: center;
  background-color: aqua;
  border: 1px solid #eee;
  box-sizing: border-box;
  cursor: pointer;
  position: relative;
}
5. Change anchor tag design.
style.css
.menu {
  width: 750px;
  margin: 0 auto;
  padding: 0;
  display: flex;
}

/* add design */

.menu li {
  width: 150px;
  height: 40px;
  line-height: 40px;
  text-align: center;
  background-color: aqua;
  border: 1px solid #eee;
  box-sizing: border-box;
  cursor: pointer;
  position: relative;
}

/* change anchor tag design */
.menu li a {
  display: block;
  width: 100%;
  text-decoration: none;
  color: #222;
}

6. Hide children navs.
style.css
.menu {
  width: 750px;
  margin: 0 auto;
  padding: 0;
  display: flex;
}

/* add design */

.menu li {
  width: 150px;
  height: 40px;
  line-height: 40px;
  text-align: center;
  background-color: aqua;
  border: 1px solid #eee;
  box-sizing: border-box;
  cursor: pointer;
  position: relative;
}

/* change anchor tag design */
.menu li a {
  display: block;
  width: 100%;
  text-decoration: none;
  color: #222;
}

.menu li ul li {
  overflow: hidden;
  height: 0;
  border: 1px solid white;
}
7. When focus on li, display children navs.
style.css
.menu {
  width: 750px;
  margin: 0 auto;
  padding: 0;
  display: flex;
}

/* add design */

.menu li {
  width: 150px;
  height: 40px;
  line-height: 40px;
  text-align: center;
  background-color: aqua;
  border: 1px solid #eee;
  box-sizing: border-box;
  cursor: pointer;
  position: relative;
}

/* change anchor tag design */
.menu li a {
  display: block;
  width: 100%;
  text-decoration: none;
  color: #222;
}

.menu li ul li {
  overflow: hidden;
  height: 0;
  border: 1px solid white;
}

/* display children navs */
.menu li:hover > ul > li {
  overflow: visible;
  height: 40px;
}
7. Add transition.
style.css
.menu li {
  width: 150px;
  height: 40px;
  line-height: 40px;
  text-align: center;
  background-color: aqua;
  border: 1px solid #eee;
  box-sizing: border-box;
  cursor: pointer;
  position: relative;

  /* add transition */
  transition: 0.2s;
}