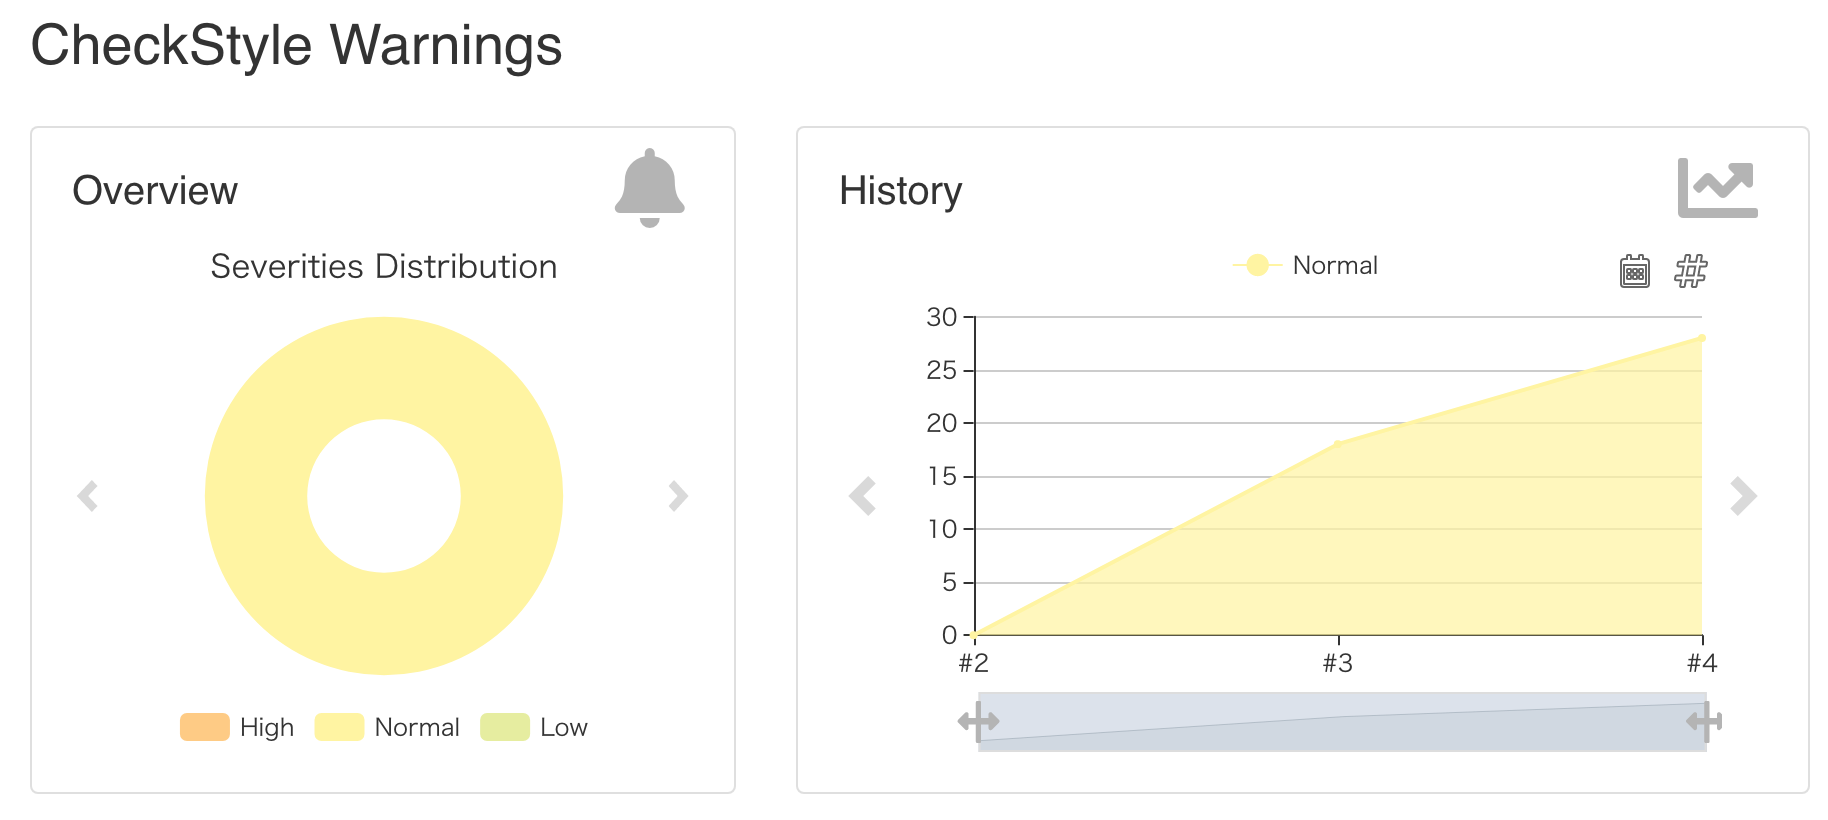
概要
Create React Appではnpm startすることで、自動的にeslintが実行され、コンソールに結果が出力されます。
このeslint部分だけをコマンドで実行して、実行結果をJenkinsで可視化します。
具体的には
- eslintをnpmで実行して、CheckStyle形式で結果を出力し
- それをJenkinsのWarnings Next Generation プラグインに読み込ませていきます。
まずはローカルで試してみましょう
eslintをローカルで実行してみる
以下のコマンドを実行しましょう。
npx eslint ./src/**/*.js ./src/**/*.jsx
すると、結果がターミナルに出力されます。
今回はJenkinsで実行し、チェック結果を可視化したいので、チェックスタイル形式(xml)で結果を出力します。出力結果はファイルに出力しましょう。
npx eslint ./src/**/*.js ./src/**/*.jsx -f checkstyle > ./eslint_check_result.xml
このファイルをJenkinsのプラグインに読み込ませれば良さそうですね。
Jenkins上で実行してみましょう
ローカルで良い感じに動いたので、いよいよJenkins上で実行してみましょう。
Warnings Next Generation Pluginをインストール
従来のCheckStyleプラグインは非推奨となっています。
ですので、代わりに「Warnings Next Generation Plugin」を利用しましょう。
Jenkinsのプラグイン追加画面で「Warnings Next Generation」を検索し、インストールします。
ジョブの設定
設定 - ビルド - シェルの実行 に以下を設定します。
npm install
npx eslint ./src/**/*.js ./src/**/*.jsx -f checkstyle > ./eslint_check_result.xml


