はじめに
Dockerを使ってRailsの環境を構築しました。
本番環境に近い環境で開発する練習がしたかったので、今回Dockerをつかいました。
この記事ではすでにDockerのインストールを終えた方向けに書いてます。
Dockerのインストール方法はこちら
手順1
まずは何でもいいのでディレクトリを作成しましょう!
例: rails_docker
手順2
次に以下のファイルを手順1で作成したディレクトリ内に用意します。
・ Dockerfile
DockerfileはDockerのイメージを作成するもの。今回はRailsの環境を構築するので、Railsのアプリケーションを利用するために必要なファイルなど定義します。
<参考>Docker入門(第一回)~Dockerとは何か、何が良いのか~
・ Gemfile
インストールしたGemを定義するファイル
・ Gemfile.lock
・ docker-compose.yml
複数のコンテナを起動するために使用
$ ls
Dockerfile
Gemfile
docker-compose.yml
Gemfile.lock
手順3(Dockerfile)
それではDockerfileを定義します。
FROM ruby:2.7.0
RUN apt-get update -qq && apt-get install -y build-essential nodejs
RUN mkdir /app
WORKDIR /app
COPY Gemfile /app/Gemfile
COPY Gemfile.lock /app/Gemfile.lock
RUN bundle install
COPY . /app
・FROM こちらでRubyのバージョンを指定します。
・RUN Railsの動作に必要なパッケージをインストールします。
・RUN appディレクトリの作成
・WORKDIR 作業ディレクトリの設定
・COPY GemfileとGemfile.lockをコピー
・Run bundle installを設定して、アプリケーションを実行
・COPY Dockerファイルの内容を全てコンテナにコピー
手順4(Gemflie、Gemfile.lock)
GemfileとGemfile.lockの内容です。
Gemfile
source 'https://rubygems.org'
gem 'rails', '~> 5.2.4'
Gemfile.lock
Gemfile.lockは空で大丈夫です。
手順5(docker-compose.ymlの設定)
version: '3'
services:
  web:
    build: .
    command: bundle exec rails s -p 3000 -b '0.0.0.0'
    volumes:
      - .:/app
    ports:
      - 3000:3000
    depends_on:
      - db
    tty: true
    stdin_open: true
  db:
    image: mysql:5.7
    volumes:
      - db-volume:/var/lib/mysql
    environment:
      MYSQL_ROOT_PASSWORD: password
volumes:
  db-volume:
| パラメータ名 | 説明 |
|---|---|
| version | docker-compose.ymlのバージョン |
| web | Railsのコンテナの定義 |
| build | .はdocker-compose.ymlと同じディレクトリ内という意味で、buildでdockerのイメージを作成します。 |
| command | railsサーバ起動。デフォルト値を設定してます。 |
| volumes | ディレクトリを/appディレクトリにマウント設定。これでpc上で変更を加えても即座にコンテナ上に変更が反映されます。 |
| ports | 公開用のポート。(ホスト側:コンテナ側) |
| depends_on | サービスの依存関係を指定。dbと設定することで、先にdbを起動できます。 |
| tty | コンテナに擬似TTYの割り当 |
| stdin_open | コンテナの標準入力をオープンしたままにします。 |
| db | MySQLサーバコンテナの定義 |
| image | 使用するdbのイメージ |
| volumes | ディレクトリを/var/lib/mysqlにマウント設定。これでDBのデータなどを残せます。 |
| environment | 環境変数の保持 |
手順6
ファイルの定義が終わりましたので、Railsのプロジェクトを起動します。
$ cd rails_docker
$ docker-compose run web rails new . --force --database=mysql
docker-compose run webでwebサービスをコンテナで実行します。
正常にプロジェクトが作成できたら、新規で作成したファイルをコンテナに取り込むために再度buildします。
$ docker-compose build
次にconfin/database.ymlを編集します。
編集する箇所としてはpasswordとhostの部分を以下のように設定します。
# MySQL. Versions 5.1.10 and up are supported.
#
# Install the MySQL driver
#   gem install mysql2
#
# Ensure the MySQL gem is defined in your Gemfile
#   gem 'mysql2'
#
# And be sure to use new-style password hashing:
#   https://dev.mysql.com/doc/refman/5.7/en/password-hashing.html
#
default: &default
  adapter: mysql2
  encoding: utf8
  pool: <%= ENV.fetch("RAILS_MAX_THREADS") { 5 } %>
  username: root
  password: password
  host: db

development:
  <<: *default
  database: app_development

# Warning: The database defined as "test" will be erased and
# re-generated from your development database when you run "rake".
# Do not set this db to the same as development or production.
test:
  <<: *default
  database: app_test

# As with config/secrets.yml, you never want to store sensitive information,
# like your database password, in your source code. If your source code is
# ever seen by anyone, they now have access to your database.
#
# Instead, provide the password as a unix environment variable when you boot
# the app. Read http://guides.rubyonrails.org/configuring.html#configuring-a-database
# for a full rundown on how to provide these environment variables in a
# production deployment.
#
# On Heroku and other platform providers, you may have a full connection URL
# available as an environment variable. For example:
#
#   DATABASE_URL="mysql2://myuser:mypass@localhost/somedatabase"
#
# You can use this database configuration with:
#
#   production:
#     url: <%= ENV['DATABASE_URL'] %>
#
production:
  <<: *default
  database: app_production
  username: app
  password: <%= ENV['APP_DATABASE_PASSWORD'] %>
保存後次のコマンドを入力します。
$ docker-compose up
これでコンテナが起動します。
ただし、まだ開発用のDBを作成していないので下記コマンドを打ちます。
$ docker-compose run web bundle exec rake db:create
DBを作成したら以下のコマンドを打ち
$ docker-compose up
ためしにhttp://localhost:3000/
を打ち込んで見ましょう。

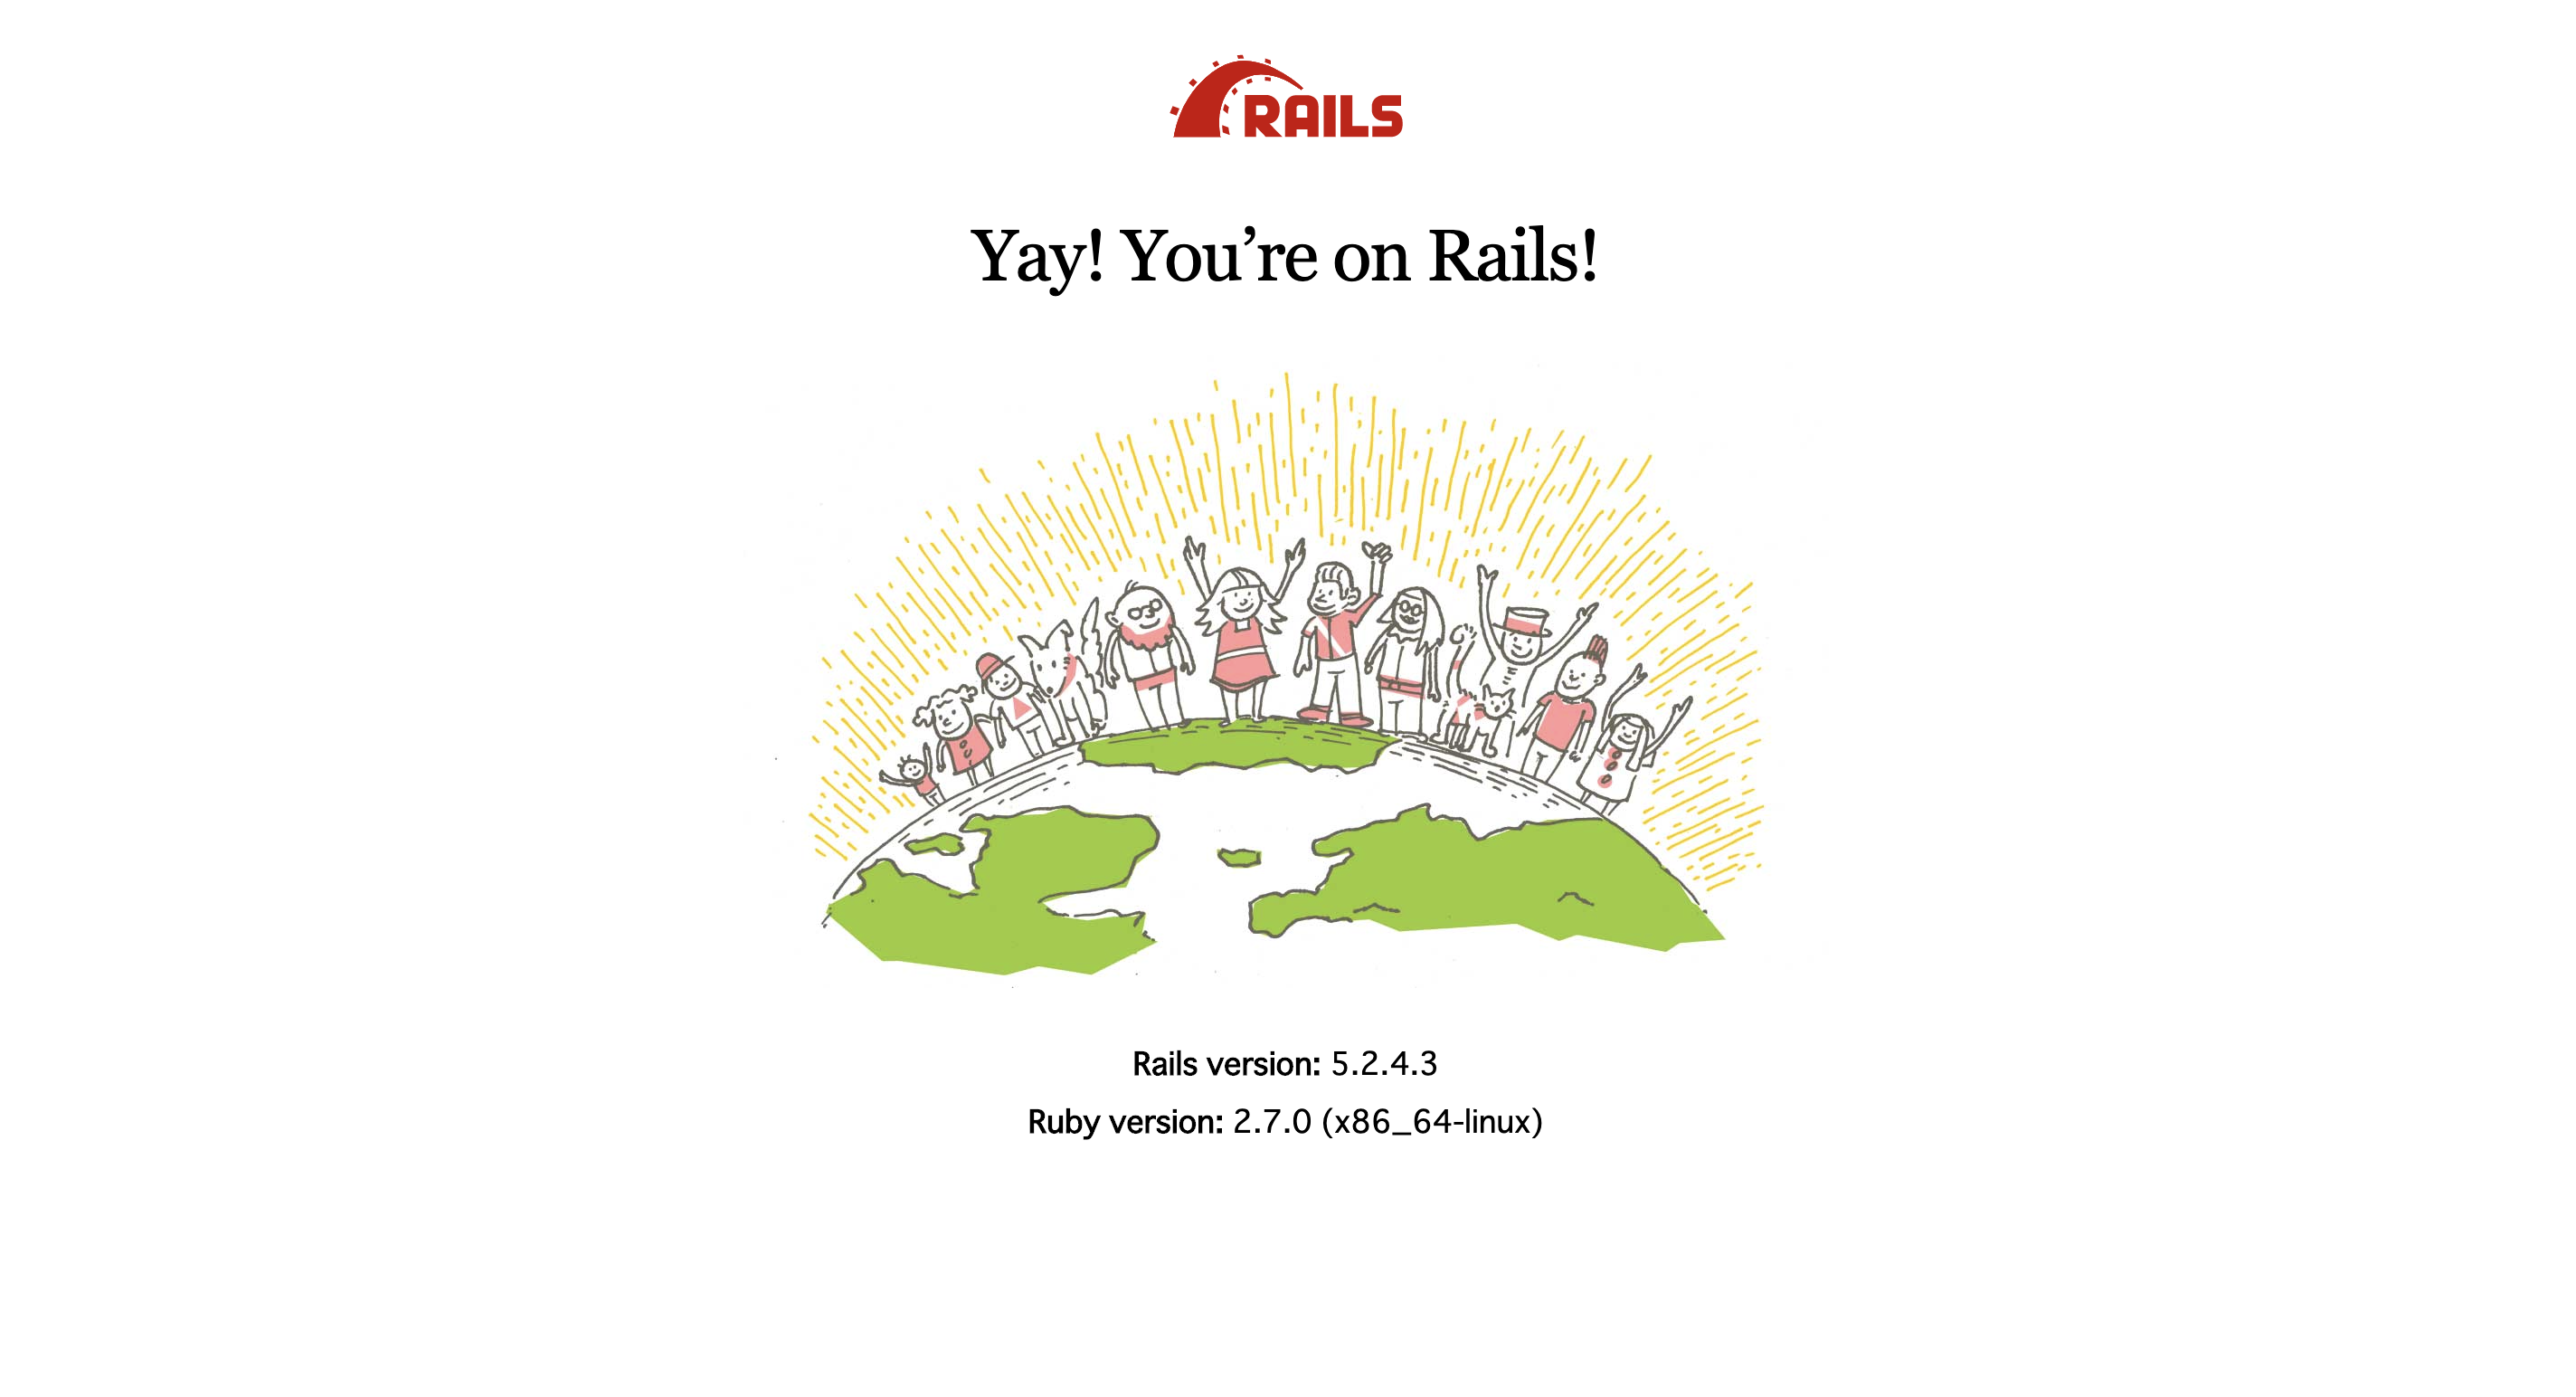
まだ何も記述をしていないので初期画面がでますが、これで無事にDockerを使ってRailsの環境を構築ができました!!
<参考>
今回は下記記事を参考にしました。
ありがとうございました。
https://knowledge.sakura.ad.jp/4786/
http://docs.docker.jp/compose/toc.html
https://qiita.com/kodai_0122/items/795438d738386c2c1966