はじめに
去年の12月に大学のアドベントカレンダーにパノラマ画像を作成する方法を書きました。
当時はOpenCV2系で開発していましたが、OpenCV3でも取り組んでみようと思いやってみました。
前回はSURFとホモグラフィを組み合わせて行いましたが、今回はstitchingにて取り組んでみました。
開発環境
- MacBook Pro(Retina, 13-inch, Early 2015)
- macOS Sierra
- Xcode9.0
- OpenCV3.3
方法
OpenCVにはStitcherクラスが用意されており、これを用いいることで簡易に複数枚の画像からパノラマ画像を合成することが出来ます。
しかしながら、処理時間は少しかかってしまうところが難点ですね。
- 原画像の読み込み
- 複数の画像からなる配列を作成
- Stitcherクラスのインスタントstatusを作成
- status.stitch()関数にて、画像配列から合成画像を作成
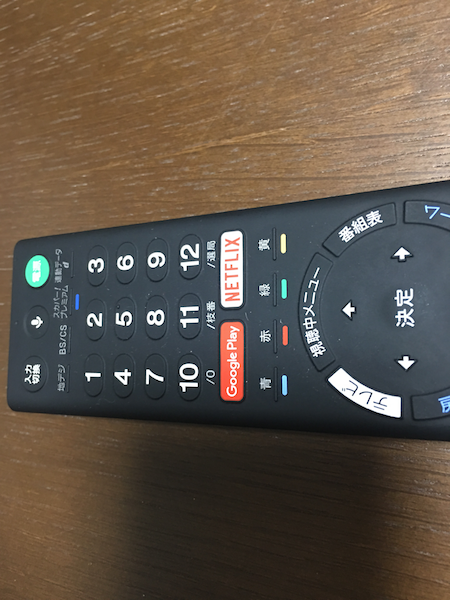
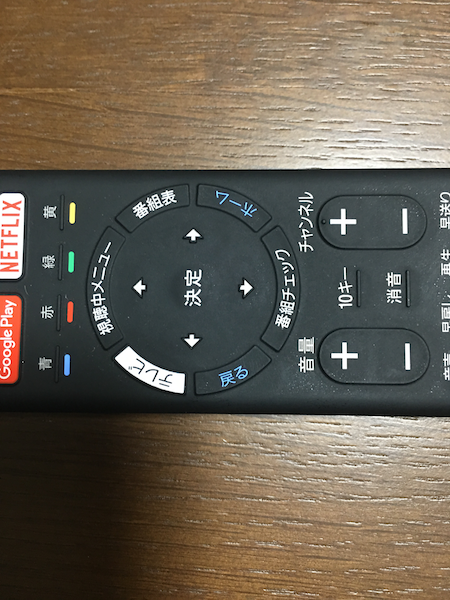
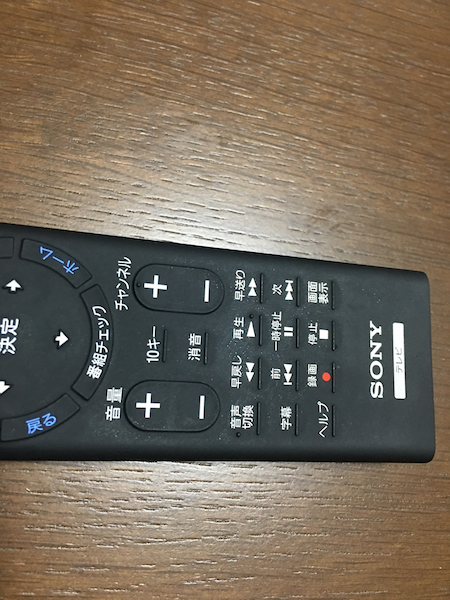
今回は、以下の3枚の画像を合成し、一枚の画像を出力したいと思います。
| A | B | C |
|---|---|---|
 |
 |
 |
接写気味で撮影したBRAVIAのリモコンです。
業務で高さ9cmほどに設置したカメラから3枚画像を撮影し、合成する必要があるためこのケースに近いかたちで写真を撮影しました。
(画像の解像度は450×600です。)
# include "opencv2/core/core.hpp"
# include "opencv2/highgui/highgui.hpp"
# include "opencv2/stitching.hpp"
# include <iostream>

int main(int argc, const char * argv[]) {

    // load image
    cv::UMat Source1;
    cv::imread("A.png", CV_LOAD_IMAGE_COLOR).copyTo(Source1);

    // load image check
    if (Source1.empty()) {
        std::cout << "Failed to open Source image1" << std::endl;
    }

    // load image
    cv::UMat Source2;
    cv::imread("B.png", CV_LOAD_IMAGE_COLOR).copyTo(Source2);

    // load image check
    if (Source2.empty()) {
        std::cout << "Failed to open Source image2" << std::endl;
    }

    // load image
    cv::UMat Source3;
    cv::imread("C.png", CV_LOAD_IMAGE_COLOR).copyTo(Source3);

    // load image check
    if (Source3.empty()) {
        std::cout << "Failed to open Source image2" << std::endl;
    }

    // Create image array
    std::vector<cv::UMat> Sources;
    Sources.push_back(Source1);
    Sources.push_back(Source2);
    Sources.push_back(Source3);

    // Create Panorama image
    cv::Stitcher stitcher = cv::Stitcher::createDefault();
    // output image
    cv::UMat destination;
    // image synthesis
    cv::Stitcher::Status status = stitcher.stitch(Sources, destination);
    if (status != cv::Stitcher::OK) {
        std::cout << "failed to stitch images" << std::endl;
    }
    // Export image
    cv::imwrite("output.png", destination);
}
UMatにて処理を行いましたが、Matでも行えます。
結果
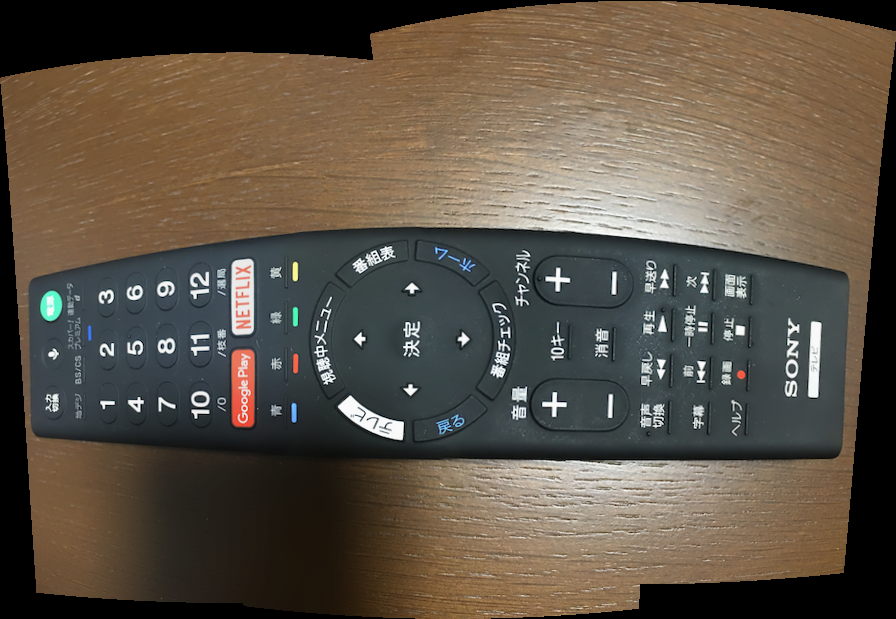
以下が出力画像になります。

概ね綺麗に画像合成出来ているかと思います。
画像が両端に行くに連れ歪んでいることは、撮影対象物とカメラとの距離が変わってしまっているからだと思います。
実行時間は、3.718秒でした。この程度であれば、自分の用途としては許容範囲内かと思っています。
Stitcherクラスを用いて、比較的簡単に画像合成ができることがわかりました。
次回はAKAZE等を用いて画像合成を行ってみたいと思います。