今までElasticsearchは長い事つかっていたのですが、OpenSearchを知る機会に恵まれましたのでOpenSearchの色々な機能について検証した結果を残していきたいと思います。という事でまずはインストール方法を記事にさせていただきます。
1. 環境
OS:CentOS 7.9
Kernel: 3.10.0-1160.80.1.el7.x86_64
opensearch: 2.3.0-1.x86_64
opensearch-dashboards: 2.3.0-1.x86_64
2. OS最新化
いつも通りですが、OSを最新化します。
yum -y update
timedatectl set-timezone Asia/Tokyo
reboot
3. パッケージインストール
各種パッケージをインストールします。OpenSearchはリポジトリを追加してyumでインストールしています。
yum install -y wget vim
cd /etc/yum.repos.d
wget https://artifacts.opensearch.org/releases/bundle/opensearch/2.x/opensearch-2.x.repo
wget https://artifacts.opensearch.org/releases/bundle/opensearch-dashboards/2.x/opensearch-dashboards-2.x.repo
yum install -y opensearch
yum install -y opensearch-dashboards
4. opensearch起動&自動起動設定
OpenSearch起動+自動起動設定を実施しておきます。
systemctl start opensearch
systemctl enable opensearch
5. firewalld設定変更
ブラウザからアクセスできるようfirewalldの設定を変更しておきます。
vim /etc/firewalld/firewalld.conf
AllowZoneDrifting=yes
↓
AllowZoneDrifting=no
:wq

firewall-cmd --add-port=5601/tcp --permanent
firewall-cmd --reload
iptables -L -n  #結果を確認
6. opensearch-dashboardファイル変更
デフォルトではサーバ自身からのアクセスのみ受け付ける設定になっていますので、/etc/opensearch-dashboards/opensearch_dashboards.ymlファイルを下記の通り変更しておきます。
- #server.host: "localhost"
+ server.host: "0.0.0.0"
7. opensearch-dashboard起動&自動起動
変更が完了したらOpenSearch-dashboardsを起動&自動起動設定を行います。
systemctl start opensearch-dashboards
systemctl enable opensearch-dashboards
8. ブラウザアクセス
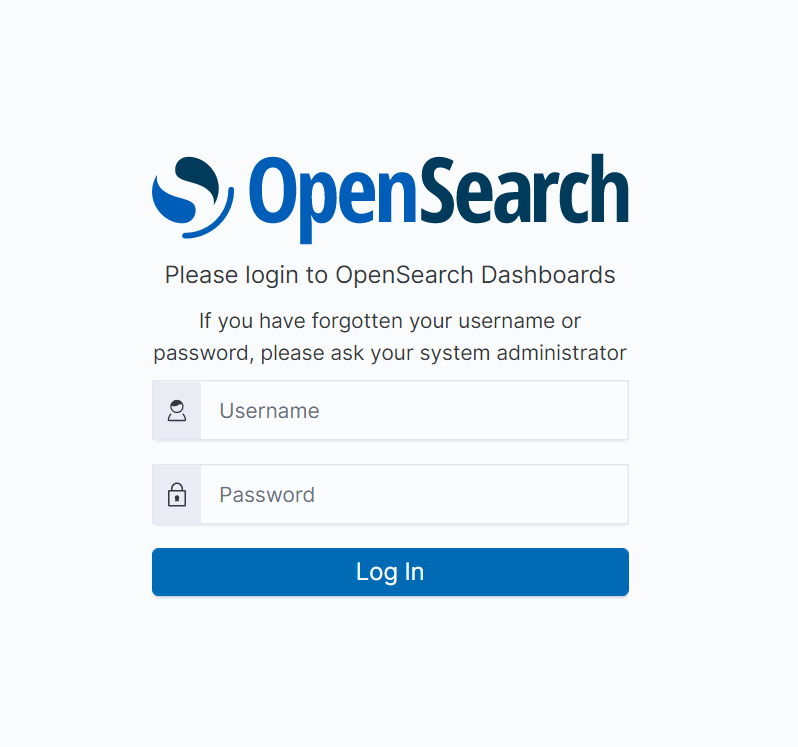
http://ipaddress:5601 で管理画面にアクセスします。ID/PWはadminでログインできます。
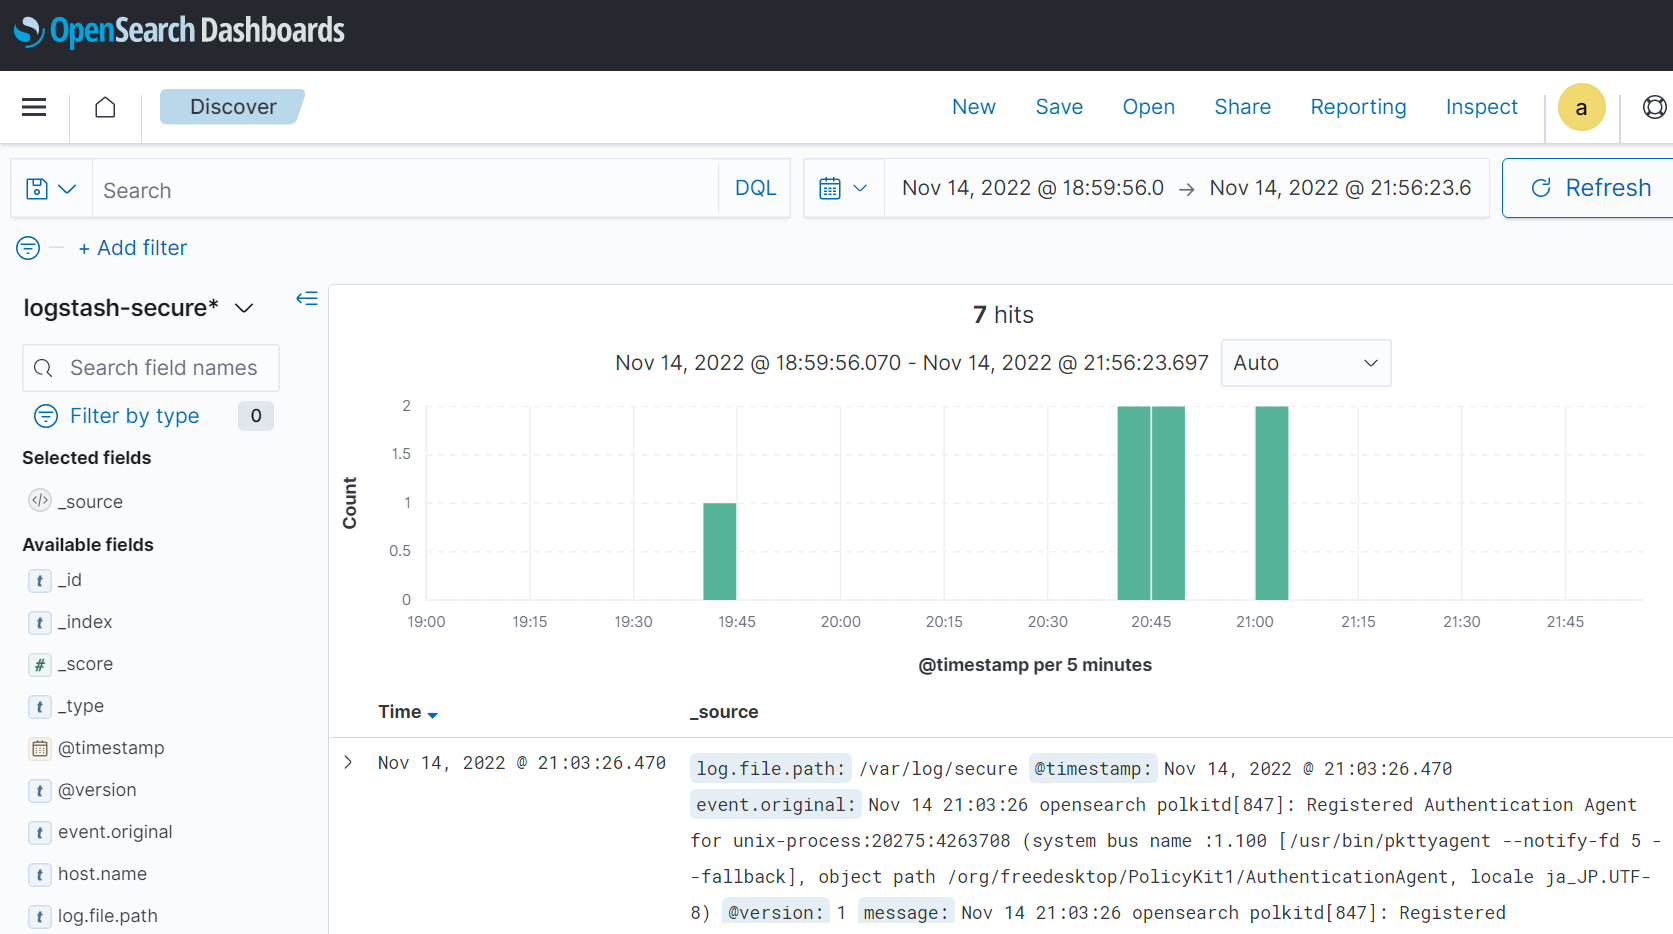
インデックスなど設定すると下記画面のようにデータが表示されます。この辺りはまんまElasticsearchと同じですね。