古めの Intel Mac
導入方法は省略します。
$ tinygo version
tinygo version 0.29.0 darwin/amd64 (using go version go1.21.1 and LLVM version 15.0.0)
$
Seeed XIAO SAMD21とRP2040 両方でほぼ同じように使えました。
blink & hello
末尾「参考URL」から少し直しただけです。
hello/main.go
package main

import (
	"fmt"
	"machine"
	"time"
)

func main() {
	led := machine.LED
	led.Configure(machine.PinConfig{Mode: machine.PinOutput})
	time.Sleep(time.Millisecond * 3000)

	fmt.Printf("Hello! XIAO from TinyGo\r\n")

	count := 0
	for {
		count++
		fmt.Printf("count %d\r\n", count)
		led.Low()
		time.Sleep(time.Millisecond * 500)

		led.High()
		time.Sleep(time.Millisecond * 500)
	}
}
実行 (SAMD21)
$ tinygo flash -target=xiao -monitor hello/main.go
Connected to /dev/cu.usbmodem14101. Press Ctrl-C to exit.
Hello! XIAO from TinyGo
count 1
count 2
count 3
$
別途シリアル通信ソフトが必要,という記事も見たのですが,今回使ったバージョンでは -monitor 指定することであっさり使えました。
USBからリセットできない状況の場合,あらかじめブートローダを起動しておきます。Expansion Boardではリセットボタン2回押しですね。
TinyGoが普通に動いていれば自動でブートローダを起動して書き込んでくれます。
実行 (RP2040)
-target の指定が違うだけです。ソースは同一
$ tinygo flash -target=xiao-rp2040 -monitor hello/main.go
Connected to /dev/cu.usbmodem14101. Press Ctrl-C to exit.
Hello! XIAO from TinyGo
count 1
count 2
count 3
$
こちらも,USBからリセットできない状況の場合,あらかじめブートローダを起動しておきます。[BOOT] 押しながら [RESET] ですね。
TinyGoが普通に動いていれば自動でブートローダを起動して書き込んでくれる,ということも同一です。
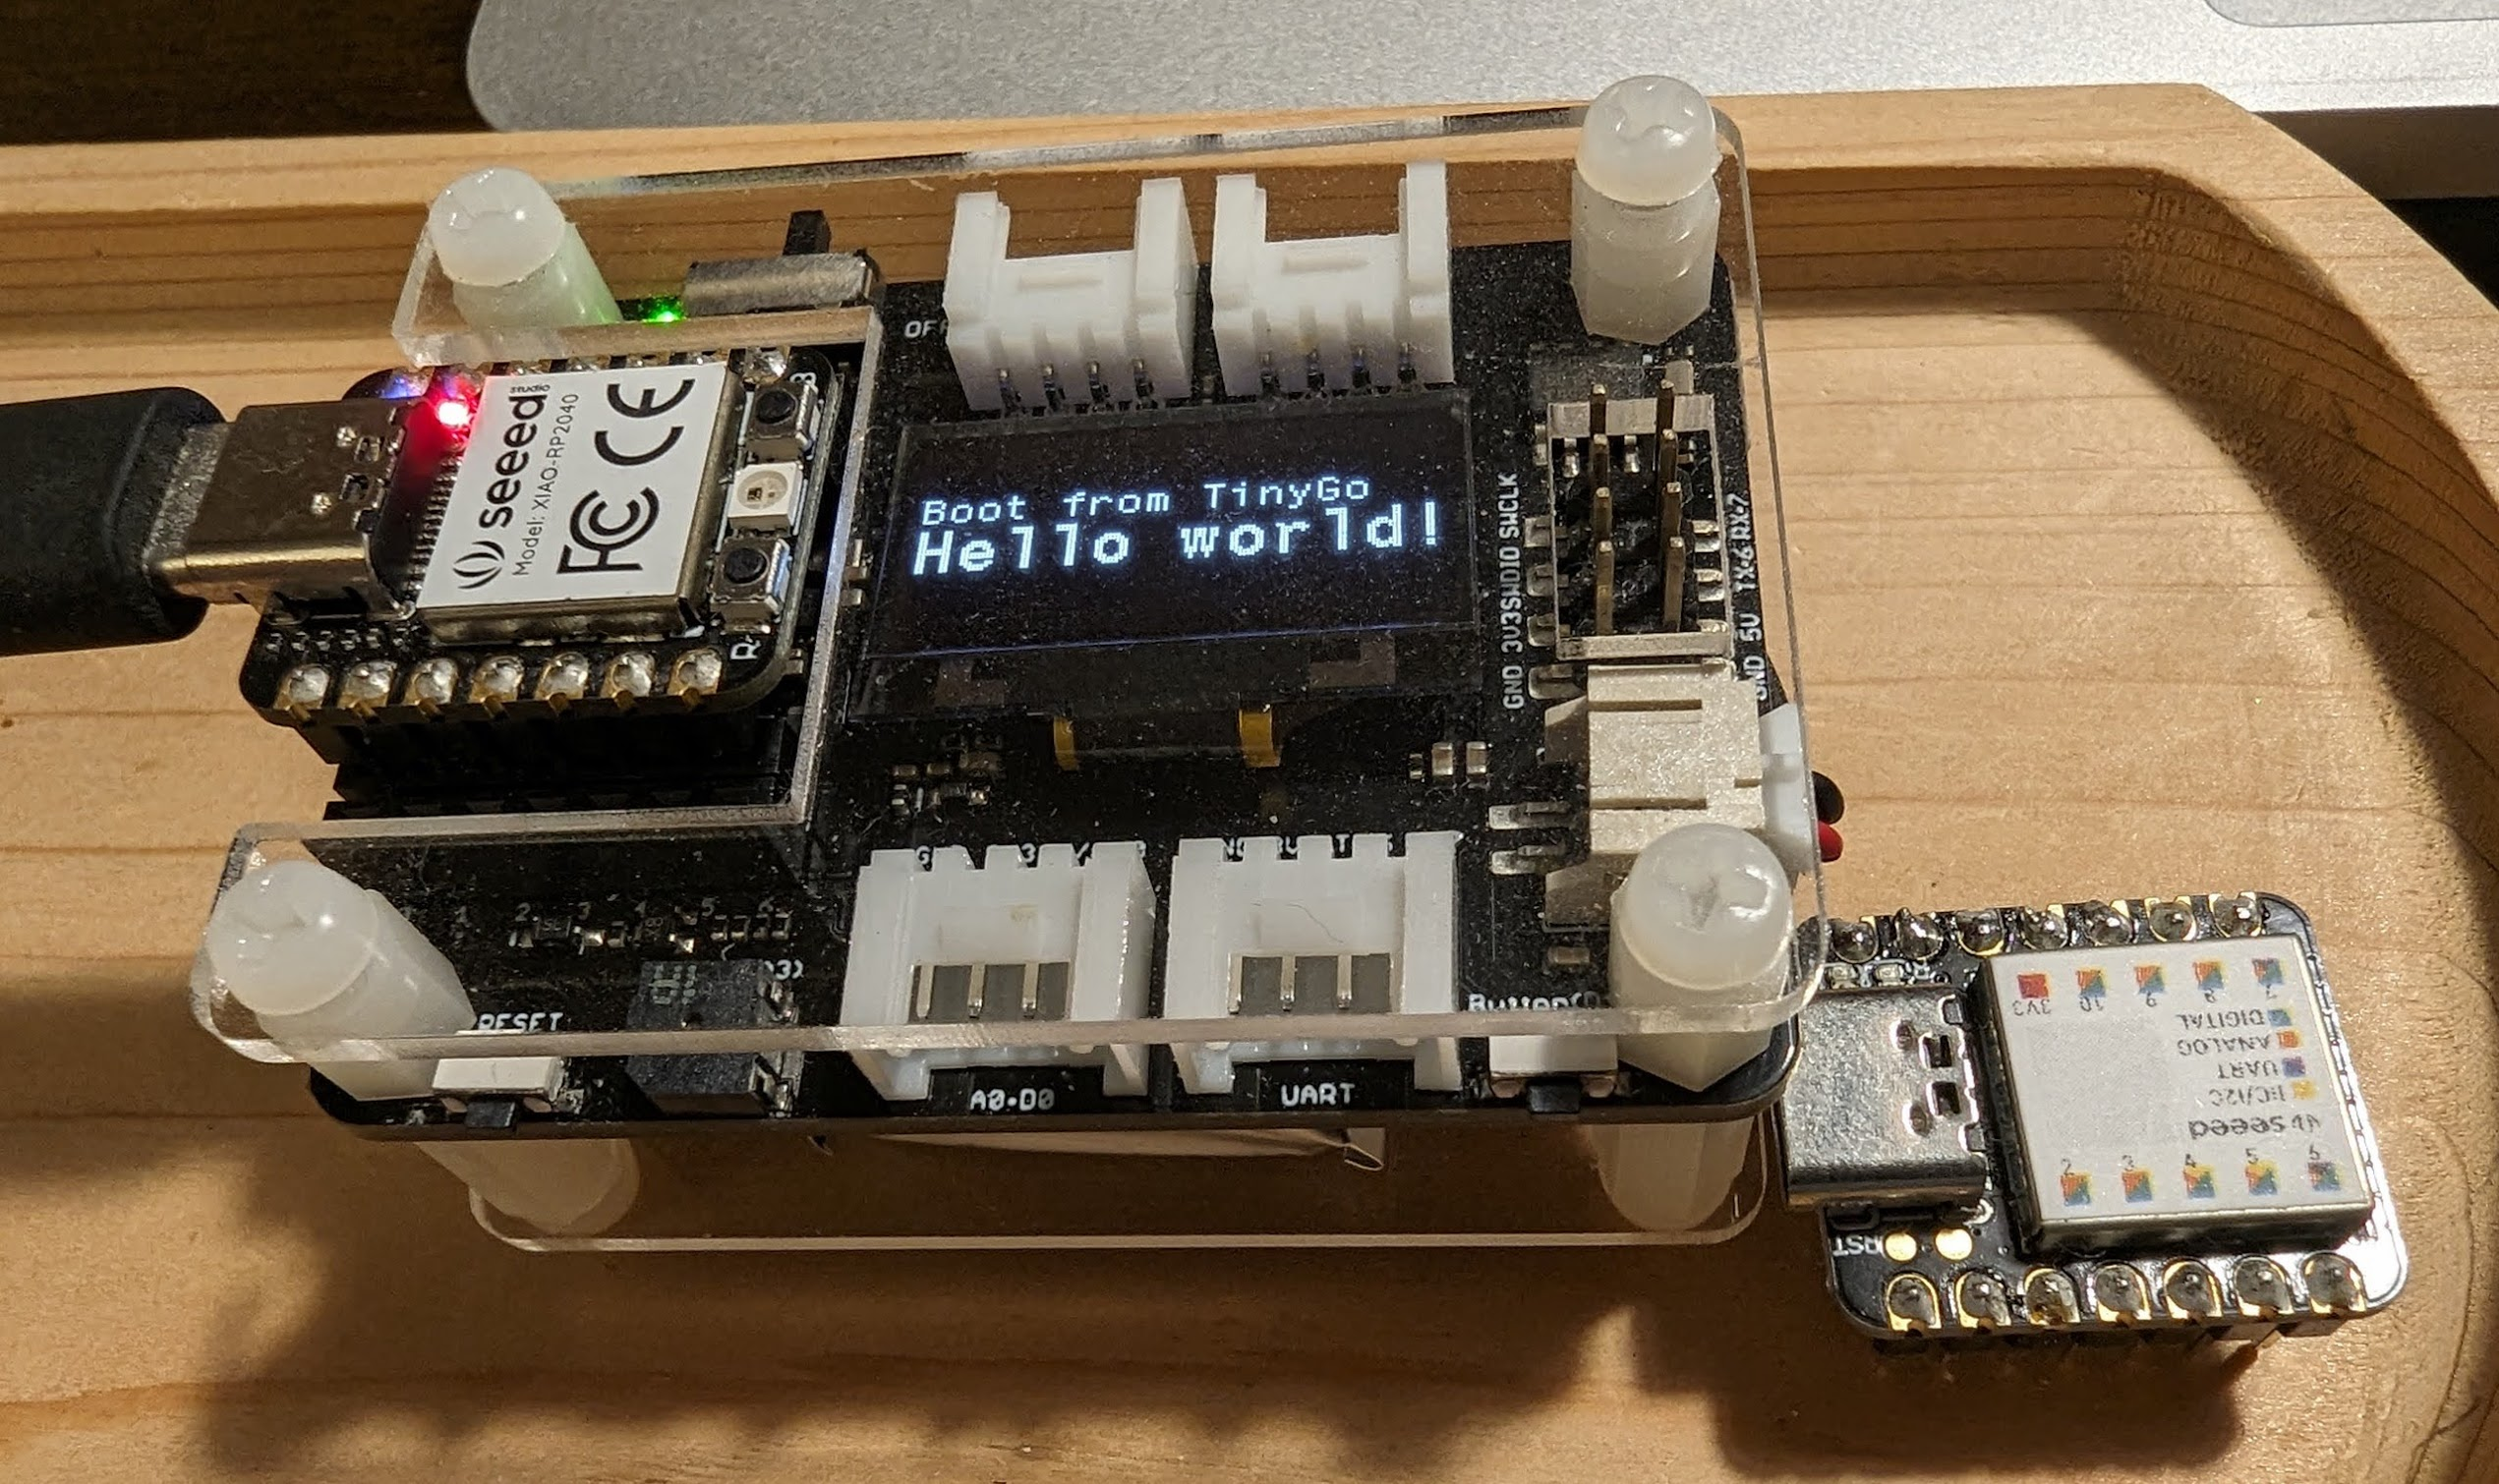
SSD1306 OLEDに文字を表示する
こちらにあるサンプル
これもほんの少し修正します。
main.go
package main

import (
	"machine"
	"time"

	font "github.com/Nondzu/ssd1306_font"
	"tinygo.org/x/drivers/ssd1306"
)

func main() {

	time.Sleep(time.Millisecond * 100) // Please wait some time after turning on the device to properly initialize the display
	machine.I2C0.Configure(machine.I2CConfig{Frequency: 400000}) // for XIAO SAMD21
	//machine.I2C1.Configure(machine.I2CConfig{Frequency: 400000}) // for XIAO RP2040

	// Display
	dev := ssd1306.NewI2C(machine.I2C0) // for XIAO SAMD21
	//dev := ssd1306.NewI2C(machine.I2C1) // for XIAO RP2040
	dev.Configure(ssd1306.Config{Width: 128, Height: 64, Address: 0x3C, VccState: ssd1306.SWITCHCAPVCC})
	dev.ClearBuffer()
	dev.ClearDisplay()

	//font library init
	display := font.NewDisplay(dev)
	display.Configure(font.Config{FontType: font.FONT_7x10}) //set font here

	display.YPos = 20                 // set position Y
	display.XPos = 0                  // set position X
	display.PrintText("Boot from TinyGo") // print text

	display.Configure(font.Config{FontType: font.FONT_11x18}) //set font here

	display.YPos = 30                 // set position Y
	display.XPos = 0                  // set position X
	display.PrintText("Hello world!") // print text

	for {

	}
}
ドライバーとフォントの導入
mkdir ssd1306_font # 作業ディレクトリ作成
cd ssd1306_font    # そこに移動

emacs -nw main.go  # ここでソースを作成

go mod init ssd1306_font # [1]
go mod tidy              # [2]
[1] で go.mod なる「モジュール管理ファイル」を作成。一番最後は通常フォルダー名。
[2] でgo自身がソースを見て適切なモジュール等を記載。
という考え方のようでした。
実行 SAMD21
作業ディレクトリにて
tinygo flash -target=xiao
RP2040の場合
XIAO RP2040 + Expansion Board の場合,I2C1に割り当てられますので,ソースを変更。
main.go 抜粋
	//machine.I2C0.Configure(machine.I2CConfig{Frequency: 400000}) // for XIAO SAMD21
	machine.I2C1.Configure(machine.I2CConfig{Frequency: 400000}) // for XIAO RP2040

	//dev := ssd1306.NewI2C(machine.I2C0) // for XIAO SAMD21
	dev := ssd1306.NewI2C(machine.I2C1) // for XIAO RP2040
作業ディレクトリにて
tinygo flash -target=xiao-rp2040