なんで標準でグラデーション機能ついてないの!!!
冒頭から大声ですみません。普段IllustratorやVSCodeでのGUIお手軽デザインに甘やかされてるので、グラデーションを実装するためにコーディングするのが不満でしょうがなかったのです。
で、Apple様に訴えるため 学びの整理とみなさまへの共有のため記事化します。
初学者ゆえ、不適切な表現やコードがあるかと思います。その際は優しくご指導いただけますと幸いです。
まずはGoogleで先人の知恵を探す
techno monkey様の記事を参考に、コメントで解説をつけながらやってみる。
Swift UIViewの背景をグラデーションさせる方法 -iPhoneアプリ開発-
import UIKit

class ViewController: UIViewController {

    override func viewDidLoad() {
        super.viewDidLoad()

        // グラデーションレイヤーを用意
        let gradientLayer = CAGradientLayer()
        gradientLayer.frame = self.view.bounds // gradientLayerのサイズを指定?

        // グラデーションさせる色の指定
        let color1 = UIColor.orange.cgColor // オレンジ
        let color2 = UIColor.red.cgColor // 赤

        // CAGradientLayerに色を設定(ここでたくさん色を指定することも可能?)
        gradientLayer.colors = [color1, color2]

        // グラデーションの開始点、終了点を設定(0~1)
        gradientLayer.startPoint = CGPoint.init(x: 0.5, y: 0) // 画面上中央
        gradientLayer.endPoint = CGPoint.init(x: 0.5, y: 1) // 画面下中央

        // ViewControllerの親Viewレイヤーにグラデレイヤーを挿入する
        self.view.layer.insertSublayer(gradientLayer, at: 0)
    }

}
 いい感じ。とっても綺麗なグラデーションの出来上がり。
ちゃうねん、StoryBoardでリアルタイムに確認したいねん
これで要件は満たしているけれども、この実装方法だとStoryBoardではグラデーションがプレビューされない。
StoryBoardで背景との兼ね合いを考えながら文字色やボタンの配置を行いたい。
@IBDesignableね
Swiftには@IBDesignableと@IBInspectableという、StoryBoardのGUI上で設定できる項目を増やす方法が用意されているらしい。
なるほどね、これでGUIでのカスタマイズ機能が追加し放題というわけだ。さすがApple様。
早速やってみる!
File -> New -> File...で新しいSwiftファイルを作成する。ここではGradient.swiftと命名(←こういうファイル名はどんな規則に則って決めれば良いのだろう)。
import UIKit

@IBDesignable
final class GradientView: UIView {

    @IBInspectable var Color1: UIColor = UIColor.orange
    @IBInspectable var Color2: UIColor = UIColor.red

    @IBInspectable var Position1: CGPoint = CGPoint.init(x: 0.5, y: 0)
    @IBInspectable var Position2: CGPoint = CGPoint.init(x: 0.5, y: 1)

    // 実際の描画
    override func draw(_ rect: CGRect) {
        // グラデーションレイヤーを用意
        let gradientLayer = CAGradientLayer()
        // gradientLayerのサイズを指定
        gradientLayer.frame = self.bounds

        // グラデーションさせる色の指定
        let color1 = Color1.cgColor
        let color2 = Color2.cgColor

        // CAGradientLayerに色を設定(ここでたくさん色を指定することも可能?)
        gradientLayer.colors = [color1, color2]

        // グラデーションの開始点、終了点を設定(0~1)
        gradientLayer.startPoint = Position1
        gradientLayer.endPoint = Position2

        // ViewControllerの親Viewレイヤーにレイヤーを挿入する
        self.layer.insertSublayer(gradientLayer, at: 0)
    }

}
これでコーディング部分は完了。ViewController.swiftに書いたときと微妙に異なる部分があるので注意。
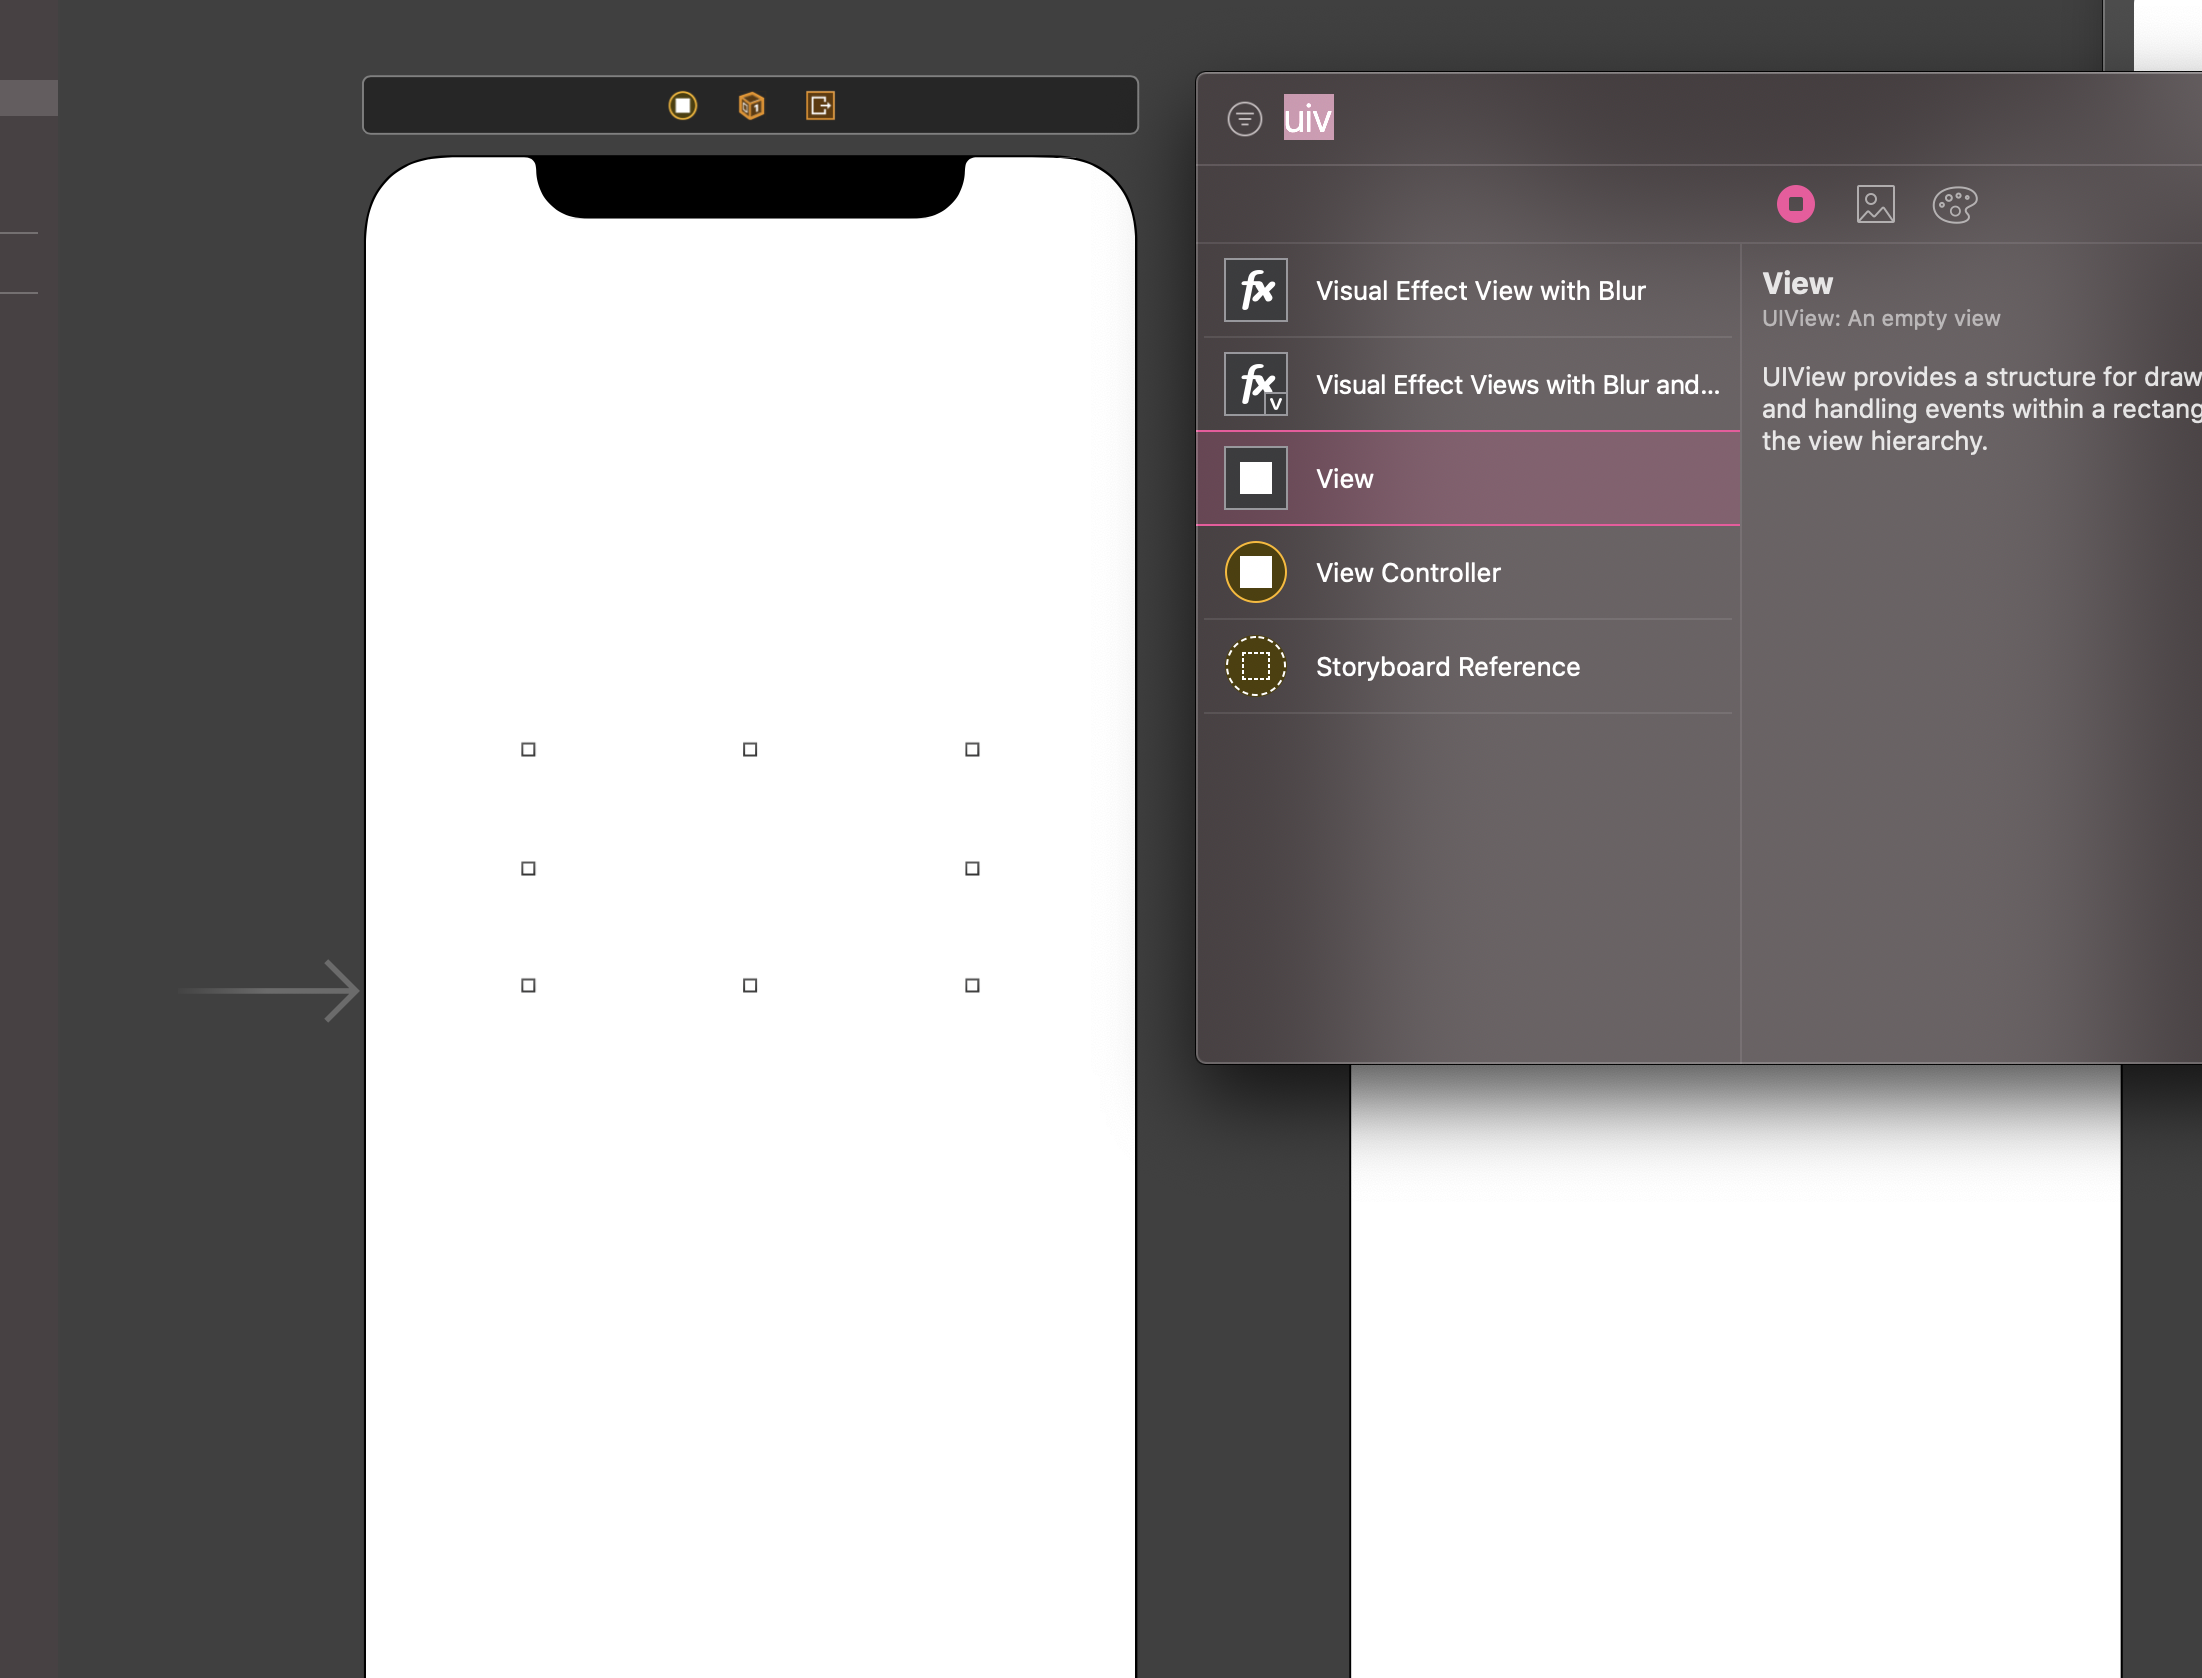
StoryBoardにUIViewを配置
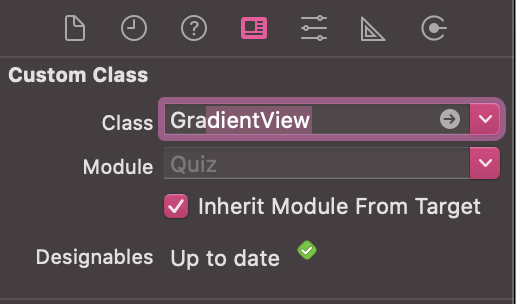
Classを指定
さっき配置したUIViewにClassを指定する

正しくできていればこんな感じで入力予測が出てくる。
完璧じゃん?

あとはこのUIViewを画面全体に広げたり、Auto Layoutしたりして簡単にグラデーションが使える!
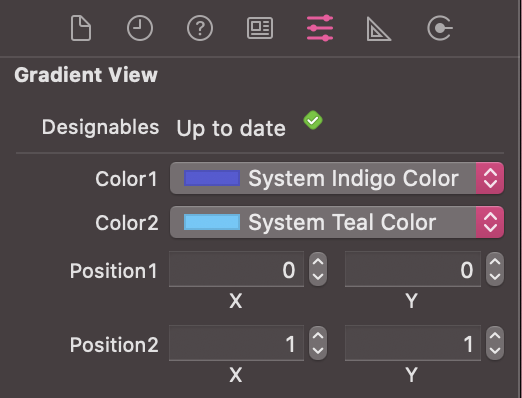
設定も自由
 左上(0, 0)から右下(1, 1)にかけてグラデーションするViewができる(**リアルタイムプレビューで**)。
おしまい
GUIでできることはGUIでやりたいよね。

