目的
- github.ioの編集をすべてクラウドサービスで賄いたい
- cloud9が昔使って良い感じだったのでもう一度使いたい
- リハビリ
手順
すでに会員登録などは済ませている状態から。
[参考]高機能のクラウドIDE,AWS Cloud9の登録方法を丁寧に解説! | ロボット・IT雑食日記
githubリポジトリからクローン
さすがにgitはインストール済みだった。
git clone git@github.com:user/user.github.io.git
jekyll インストール
cd user.github.io
gem install jekyll
※色々足りない物をインストール
gem install bundler
gem install concurrent-ruby
RUN してみる
- Open the “Run” menu.
- Open the “Run Configurations” submenu.
- Click the “New Run Configuration” menu item. A new tab will open.
- Type “Jekyll” in the “Run Config Name” field.
- Type jekyll serve --host $IP --port $PORT --config _config.yml,_local_config.yml in the “Command” field. The “Runner” should change to “Shell command” automatically.
- Click the “CWD” button and choose the root folder of the Jekyll blog.
- Click the “Run” button to build and serve the blog.
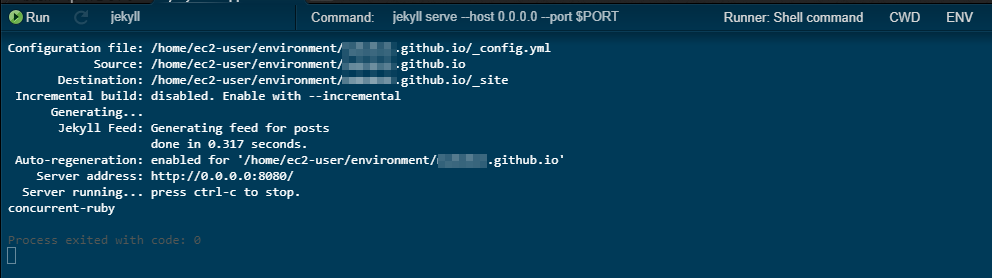
こんな感じ
正常に動いていればプレビュー画面が開いて
レイアウト確認ができます。
あとがき
これで出先で見やすい画面でGithub pagesの編集が出来るようになりました。
自宅以外でも作業が出来るのは大きいアドバンテージだと思ってます。