この記事は、アプリケーションフレームワーク「Flutter」の入門チュートリアルです。
開発環境の構築方法、およびサンプルアプリを iOS/Android エミュレータで起動する方法を解説します。
Flutter とは
Flutter は Google 社が開発しているオープンソースのアプリケーションフレームワークです。
クロスプラットフォームに対応しており、ワンソースで複数のプラットフォーム(iOS、Android、Web、Windows、Mac、Linux)に対応したアプリを開発することができます。
また、マテリアルデザインによる美しい UI を利用することができます。
Flutter には、以下の特徴があります。
- クロスプラットフォーム(iOS、Android、Web、Windows、Mac、Linux)
- Dart 言語 による開発
- 異なるプラットフォームで共通の UI(独自のマテリアル UI)
- ホットリロード(記述したコードをリアルタイムに反映)
- 高速な動作
動作環境
- Mac OS X 10.15.7
- Flutter 2.0.2
- Dart 2.12.1
- Xcode 12.4
- Android Studio 4.1.2
環境構築
次の URL から Flutter SDK「flutter_macos_2.0.2-stable.zip」をダウンロードして、任意のフォルダ(ここでは「~/development」)に解凍してください。
macOS install
https://flutter.dev/docs/get-started/install/macos
$ cd ~/development
$ unzip ~/Downloads/flutter_macos_2.0.2-stable.zip
Flutter SDK を PATH に追加するために、~/.bash_profile を開いて、次の記述を追加してください。
export PATH="$PATH:~/development/flutter/bin"
~/.bash_profile の設定を反映します。
$ source ~/.bash_profile
flutter precache コマンドを実行して、Flutter Tool を事前にダウンロードします。
$ flutter precache
flutter doctor コマンドを実行して、開発に必要なソフトウェアがインストールされているか確認することができます。
$ flutter doctor
[flutter doctor コマンドの結果]
Doctor summary (to see all details, run flutter doctor -v):
[✓] Flutter (Channel stable, 2.0.2, on Mac OS X 10.15.7 19H524 darwin-x64,
    locale ja-JP)
[✓] Android toolchain - develop for Android devices (Android SDK version 29.0.2)
[!] Xcode - develop for iOS and macOS
    ✗ CocoaPods installed but not working.
        You appear to have CocoaPods installed but it is not working.
        This can happen if the version of Ruby that CocoaPods was installed with
        is different from the one being used to invoke it.
        This can usually be fixed by re-installing CocoaPods.
      To re-install see
      https://guides.cocoapods.org/using/getting-started.html#installation for
      instructions.
[✓] Chrome - develop for the web
[✓] Android Studio (version 4.1)
[✓] Connected device (1 available)

! Doctor found issues in 1 category.
Xcode を Mac App Store からインストールします。
Xcode を開くと、利用許諾(ライセンス同意契約)が表示されますので、「Agree(同意)」ボタンを押してください。
iOS シミュレータでアプリを実行
iOS シミュレータを起動します。
$ open -a Simulator
Flutter アプリを作成し、起動します。
$ flutter create my_app
$ cd my_app
$ flutter run
うまくいけば、次のような Flutter アプリが起動します。

※コマンドプロンプトで、q キーを押下すると、アプリを終了します。
コードエディタで「my_app/lib/main.dart」を開いて、ソースコードを確認できます。(この記事では詳しく説明しません。)
import 'package:flutter/material.dart';

void main() => runApp(MyApp());

class MyApp extends StatelessWidget {
  // This widget is the root of your application.
  @override
  Widget build(BuildContext context) {
    return MaterialApp(
      title: 'Flutter Demo',
      theme: ThemeData(
        // This is the theme of your application.
        //
        // Try running your application with "flutter run". You'll see the
        // application has a blue toolbar. Then, without quitting the app, try
        // changing the primarySwatch below to Colors.green and then invoke
        // "hot reload" (press "r" in the console where you ran "flutter run",
        // or simply save your changes to "hot reload" in a Flutter IDE).
        // Notice that the counter didn't reset back to zero; the application
        // is not restarted.
        primarySwatch: Colors.blue,
      ),
      home: MyHomePage(title: 'Flutter Demo Home Page'),
    );
  }
}

class MyHomePage extends StatefulWidget {
  MyHomePage({Key key, this.title}) : super(key: key);

  // This widget is the home page of your application. It is stateful, meaning
  // that it has a State object (defined below) that contains fields that affect
  // how it looks.

  // This class is the configuration for the state. It holds the values (in this
  // case the title) provided by the parent (in this case the App widget) and
  // used by the build method of the State. Fields in a Widget subclass are
  // always marked "final".

  final String title;

  @override
  _MyHomePageState createState() => _MyHomePageState();
}

class _MyHomePageState extends State<MyHomePage> {
  int _counter = 0;

  void _incrementCounter() {
    setState(() {
      // This call to setState tells the Flutter framework that something has
      // changed in this State, which causes it to rerun the build method below
      // so that the display can reflect the updated values. If we changed
      // _counter without calling setState(), then the build method would not be
      // called again, and so nothing would appear to happen.
      _counter++;
    });
  }

  @override
  Widget build(BuildContext context) {
    // This method is rerun every time setState is called, for instance as done
    // by the _incrementCounter method above.
    //
    // The Flutter framework has been optimized to make rerunning build methods
    // fast, so that you can just rebuild anything that needs updating rather
    // than having to individually change instances of widgets.
    return Scaffold(
      appBar: AppBar(
        // Here we take the value from the MyHomePage object that was created by
        // the App.build method, and use it to set our appbar title.
        title: Text(widget.title),
      ),
      body: Center(
        // Center is a layout widget. It takes a single child and positions it
        // in the middle of the parent.
        child: Column(
          // Column is also a layout widget. It takes a list of children and
          // arranges them vertically. By default, it sizes itself to fit its
          // children horizontally, and tries to be as tall as its parent.
          //
          // Invoke "debug painting" (press "p" in the console, choose the
          // "Toggle Debug Paint" action from the Flutter Inspector in Android
          // Studio, or the "Toggle Debug Paint" command in Visual Studio Code)
          // to see the wireframe for each widget.
          //
          // Column has various properties to control how it sizes itself and
          // how it positions its children. Here we use mainAxisAlignment to
          // center the children vertically; the main axis here is the vertical
          // axis because Columns are vertical (the cross axis would be
          // horizontal).
          mainAxisAlignment: MainAxisAlignment.center,
          children: <Widget>[
            Text(
              'You have pushed the button this many times:',
            ),
            Text(
              '$_counter',
              style: Theme.of(context).textTheme.display1,
            ),
          ],
        ),
      ),
      floatingActionButton: FloatingActionButton(
        onPressed: _incrementCounter,
        tooltip: 'Increment',
        child: Icon(Icons.add),
      ), // This trailing comma makes auto-formatting nicer for build methods.
    );
  }
}
Android エミュレータでアプリを実行(Android Studio で開発)
Flutter の公式コードエディタとして、Android Studio、IntelliJ IDEA、Visual Studio Code が用意されています。
この記事では、Android Studio を使用します。
次の URL から Android Studio をダウンロード後、インストールします。
Android Studio
https://developer.android.com/studio
以下のコマンドを実行して、Android SDK のライセンスを承諾します。
$ flutter doctor --android-licenses
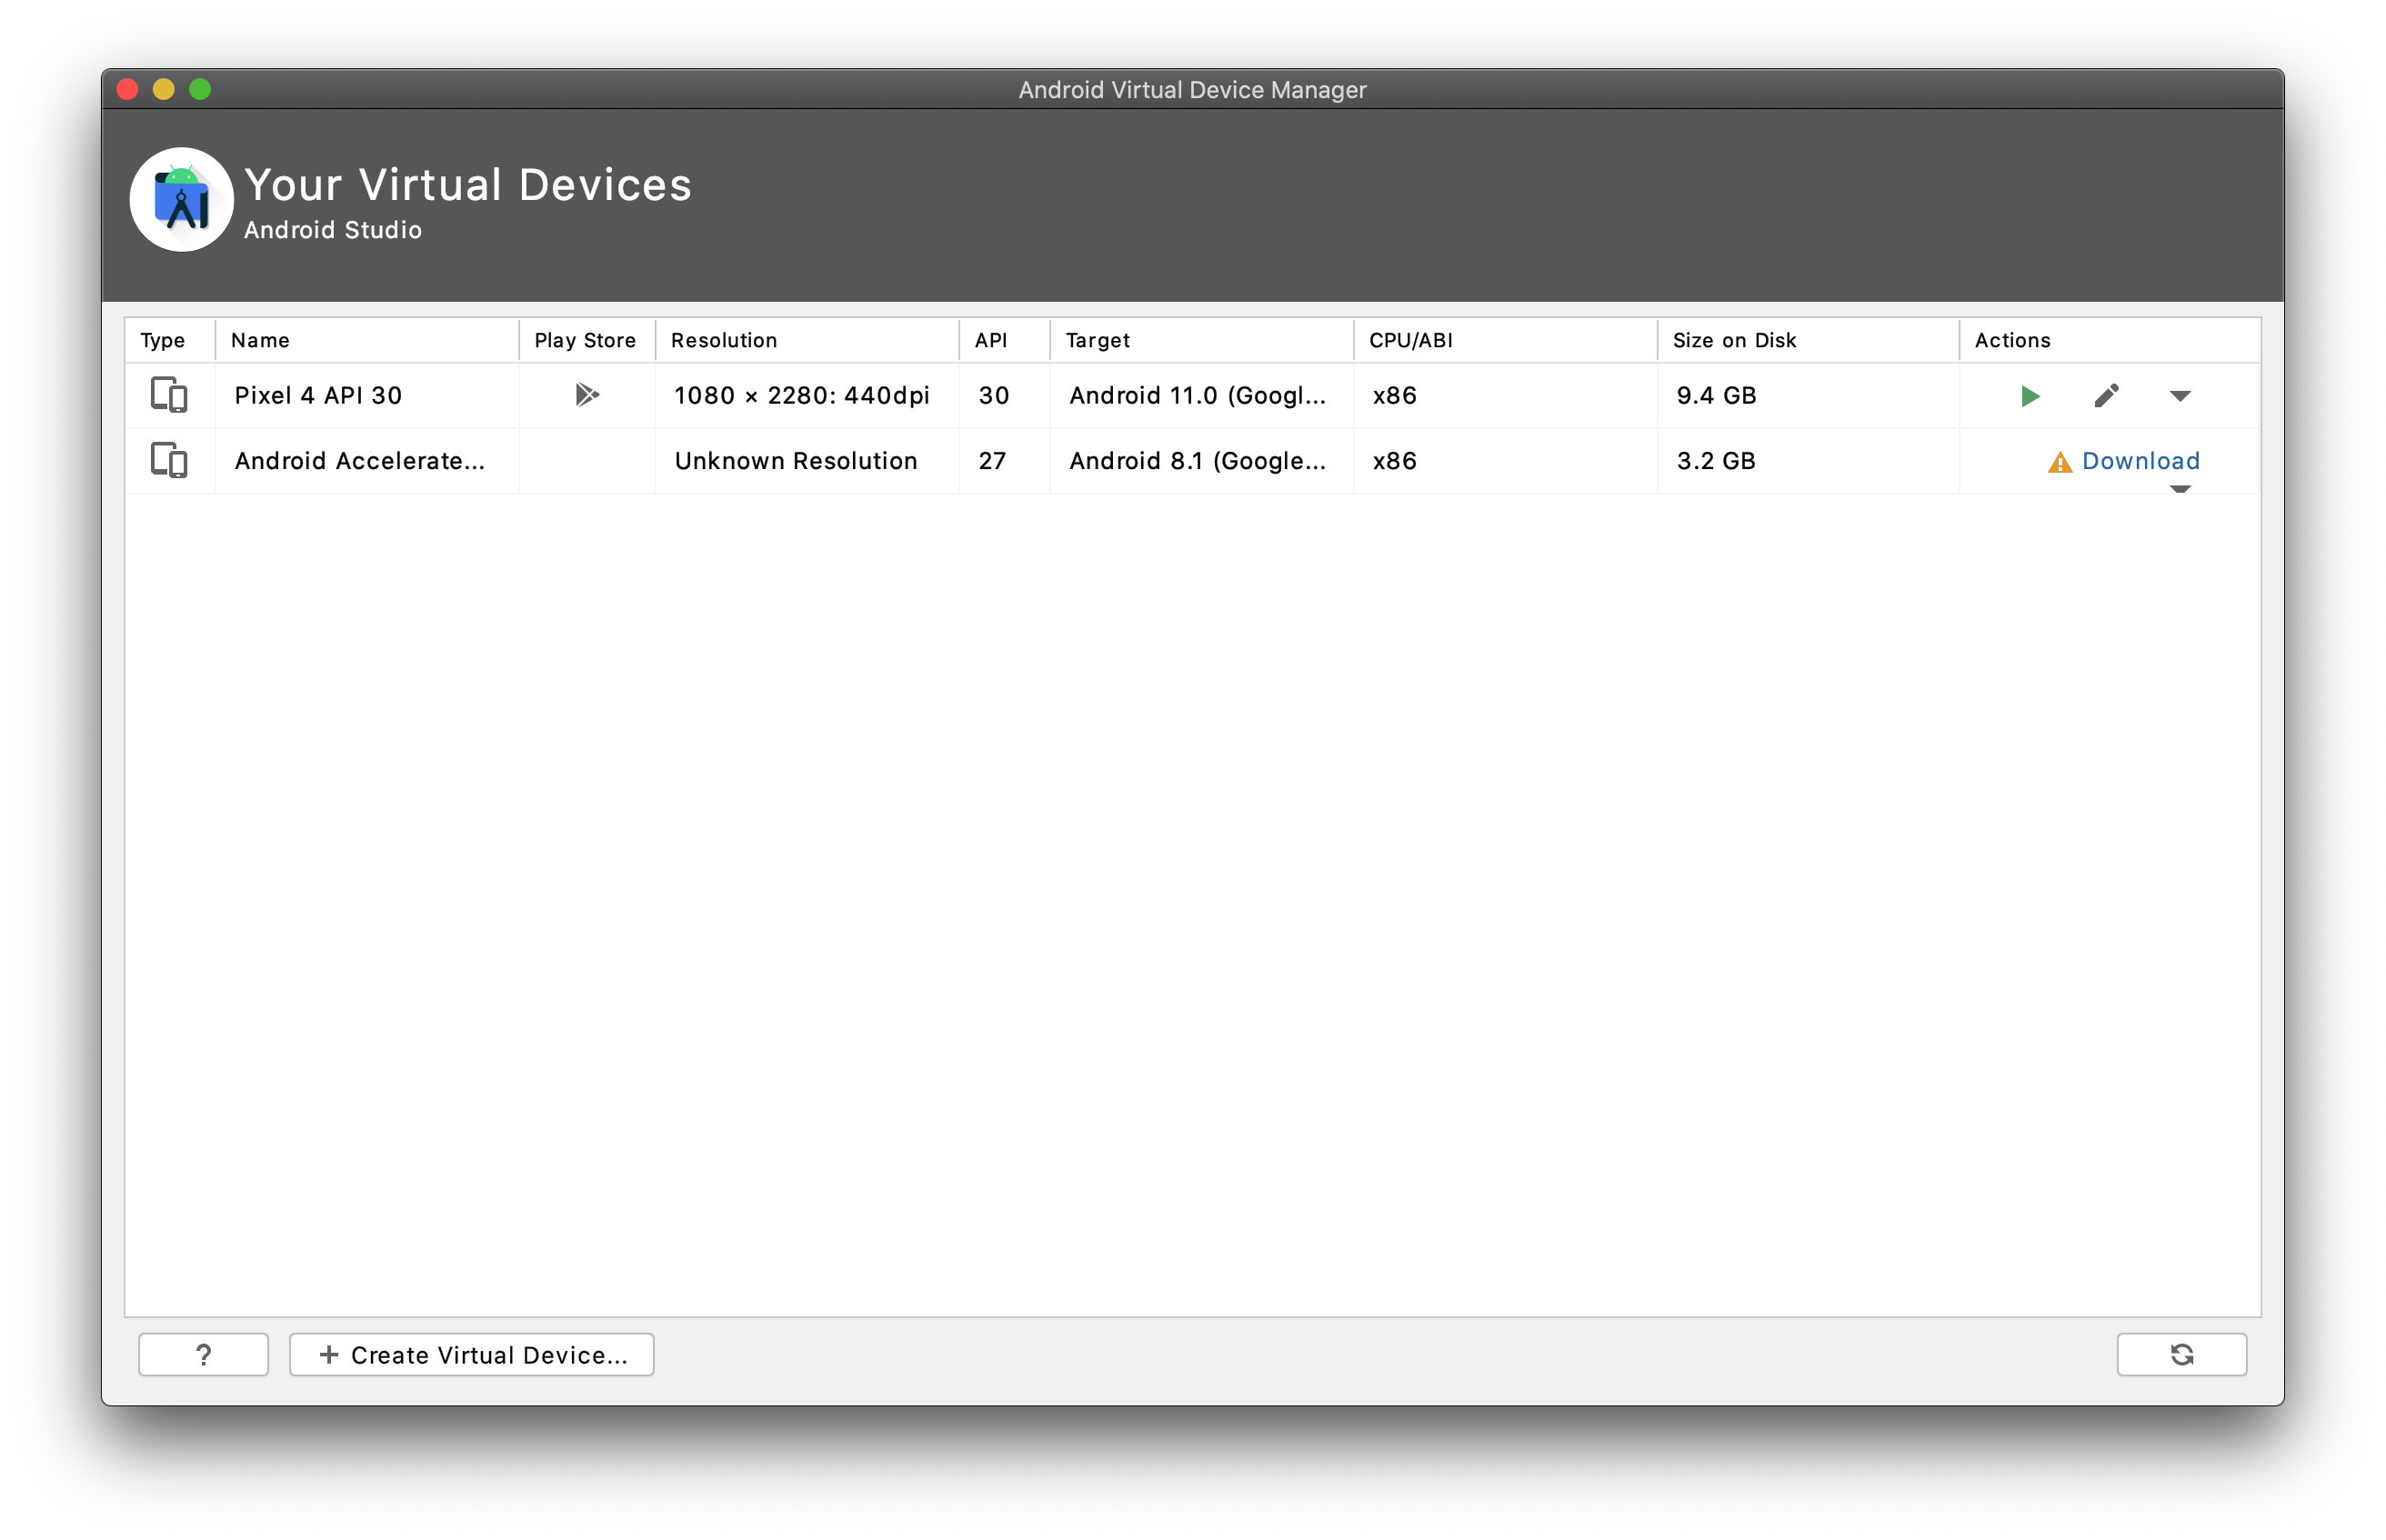
Flutter アプリを Android エミュレータで動作させるには、ADV(Android Virtual Device)をインストールする必要があります。
メニューの「Tools」 > 「AVD Manager」を開いて、任意の Android デバイス(ここでは「Pixel 4 API 30」)を追加してください。
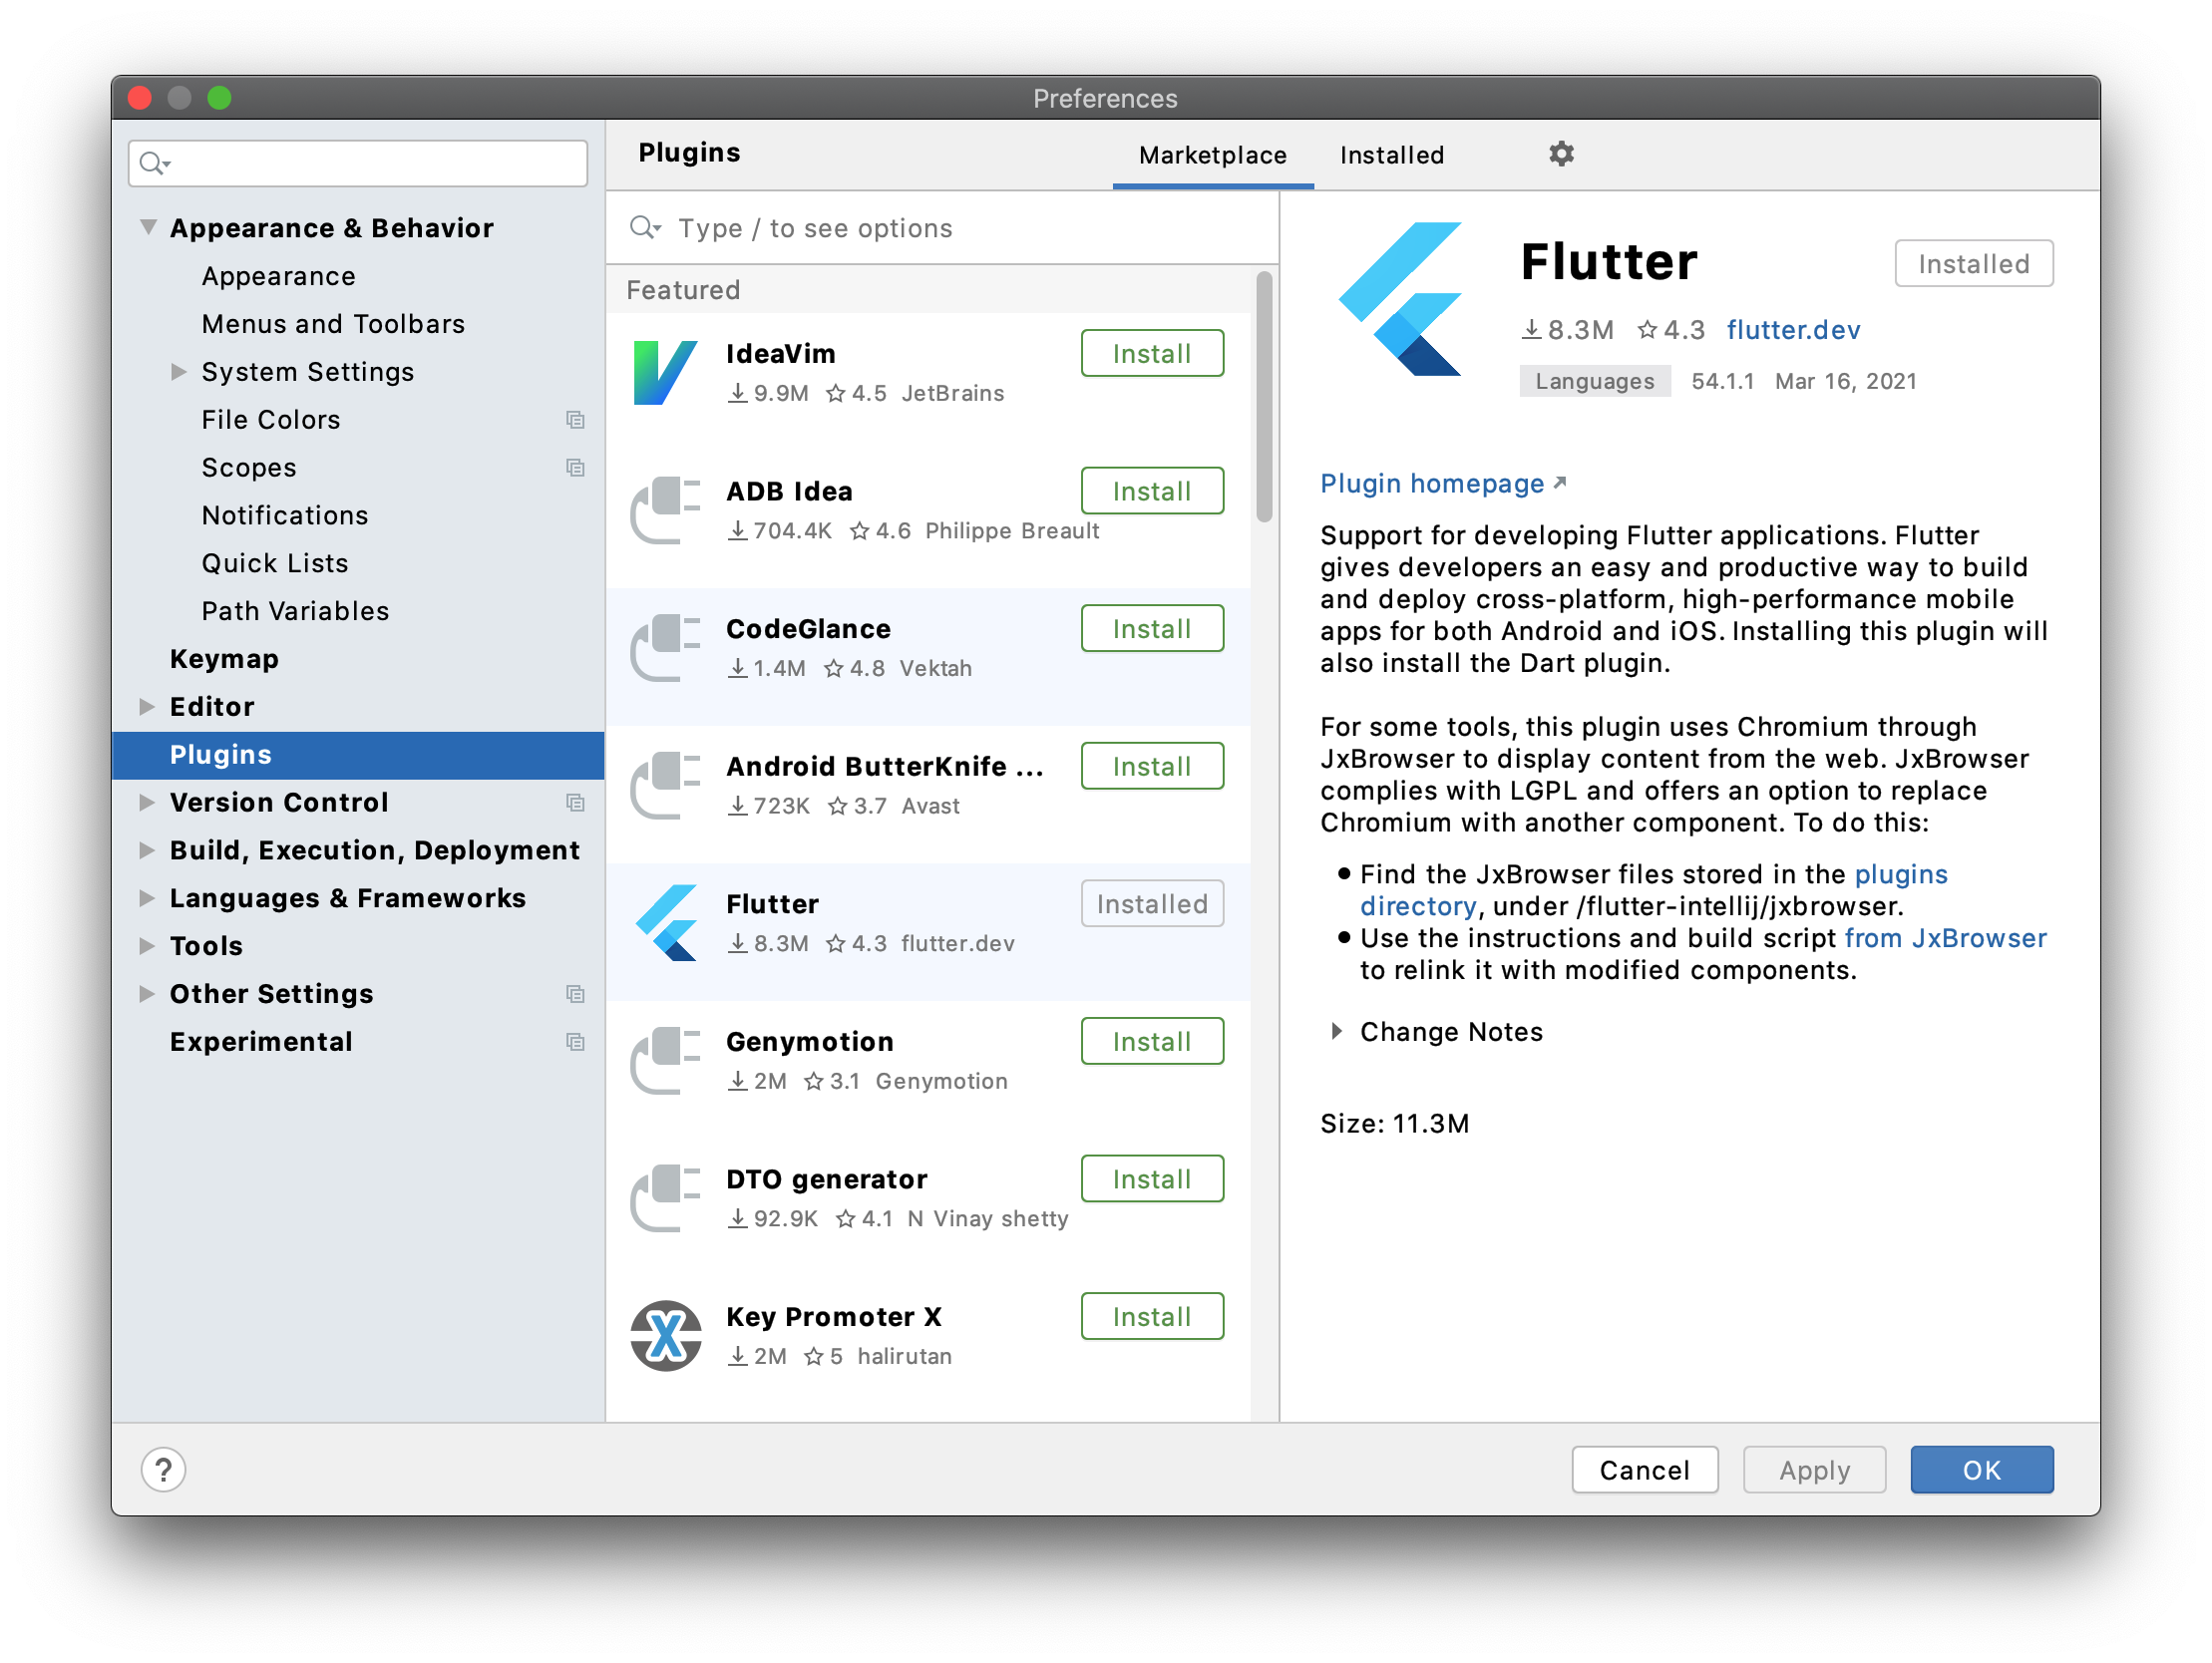
Flutter プラグインをインストールします。
メニューの「Android Studio」 > 「Preference」 > 「Plugins」を開いて、Flutter プラグインをインストールしてください。
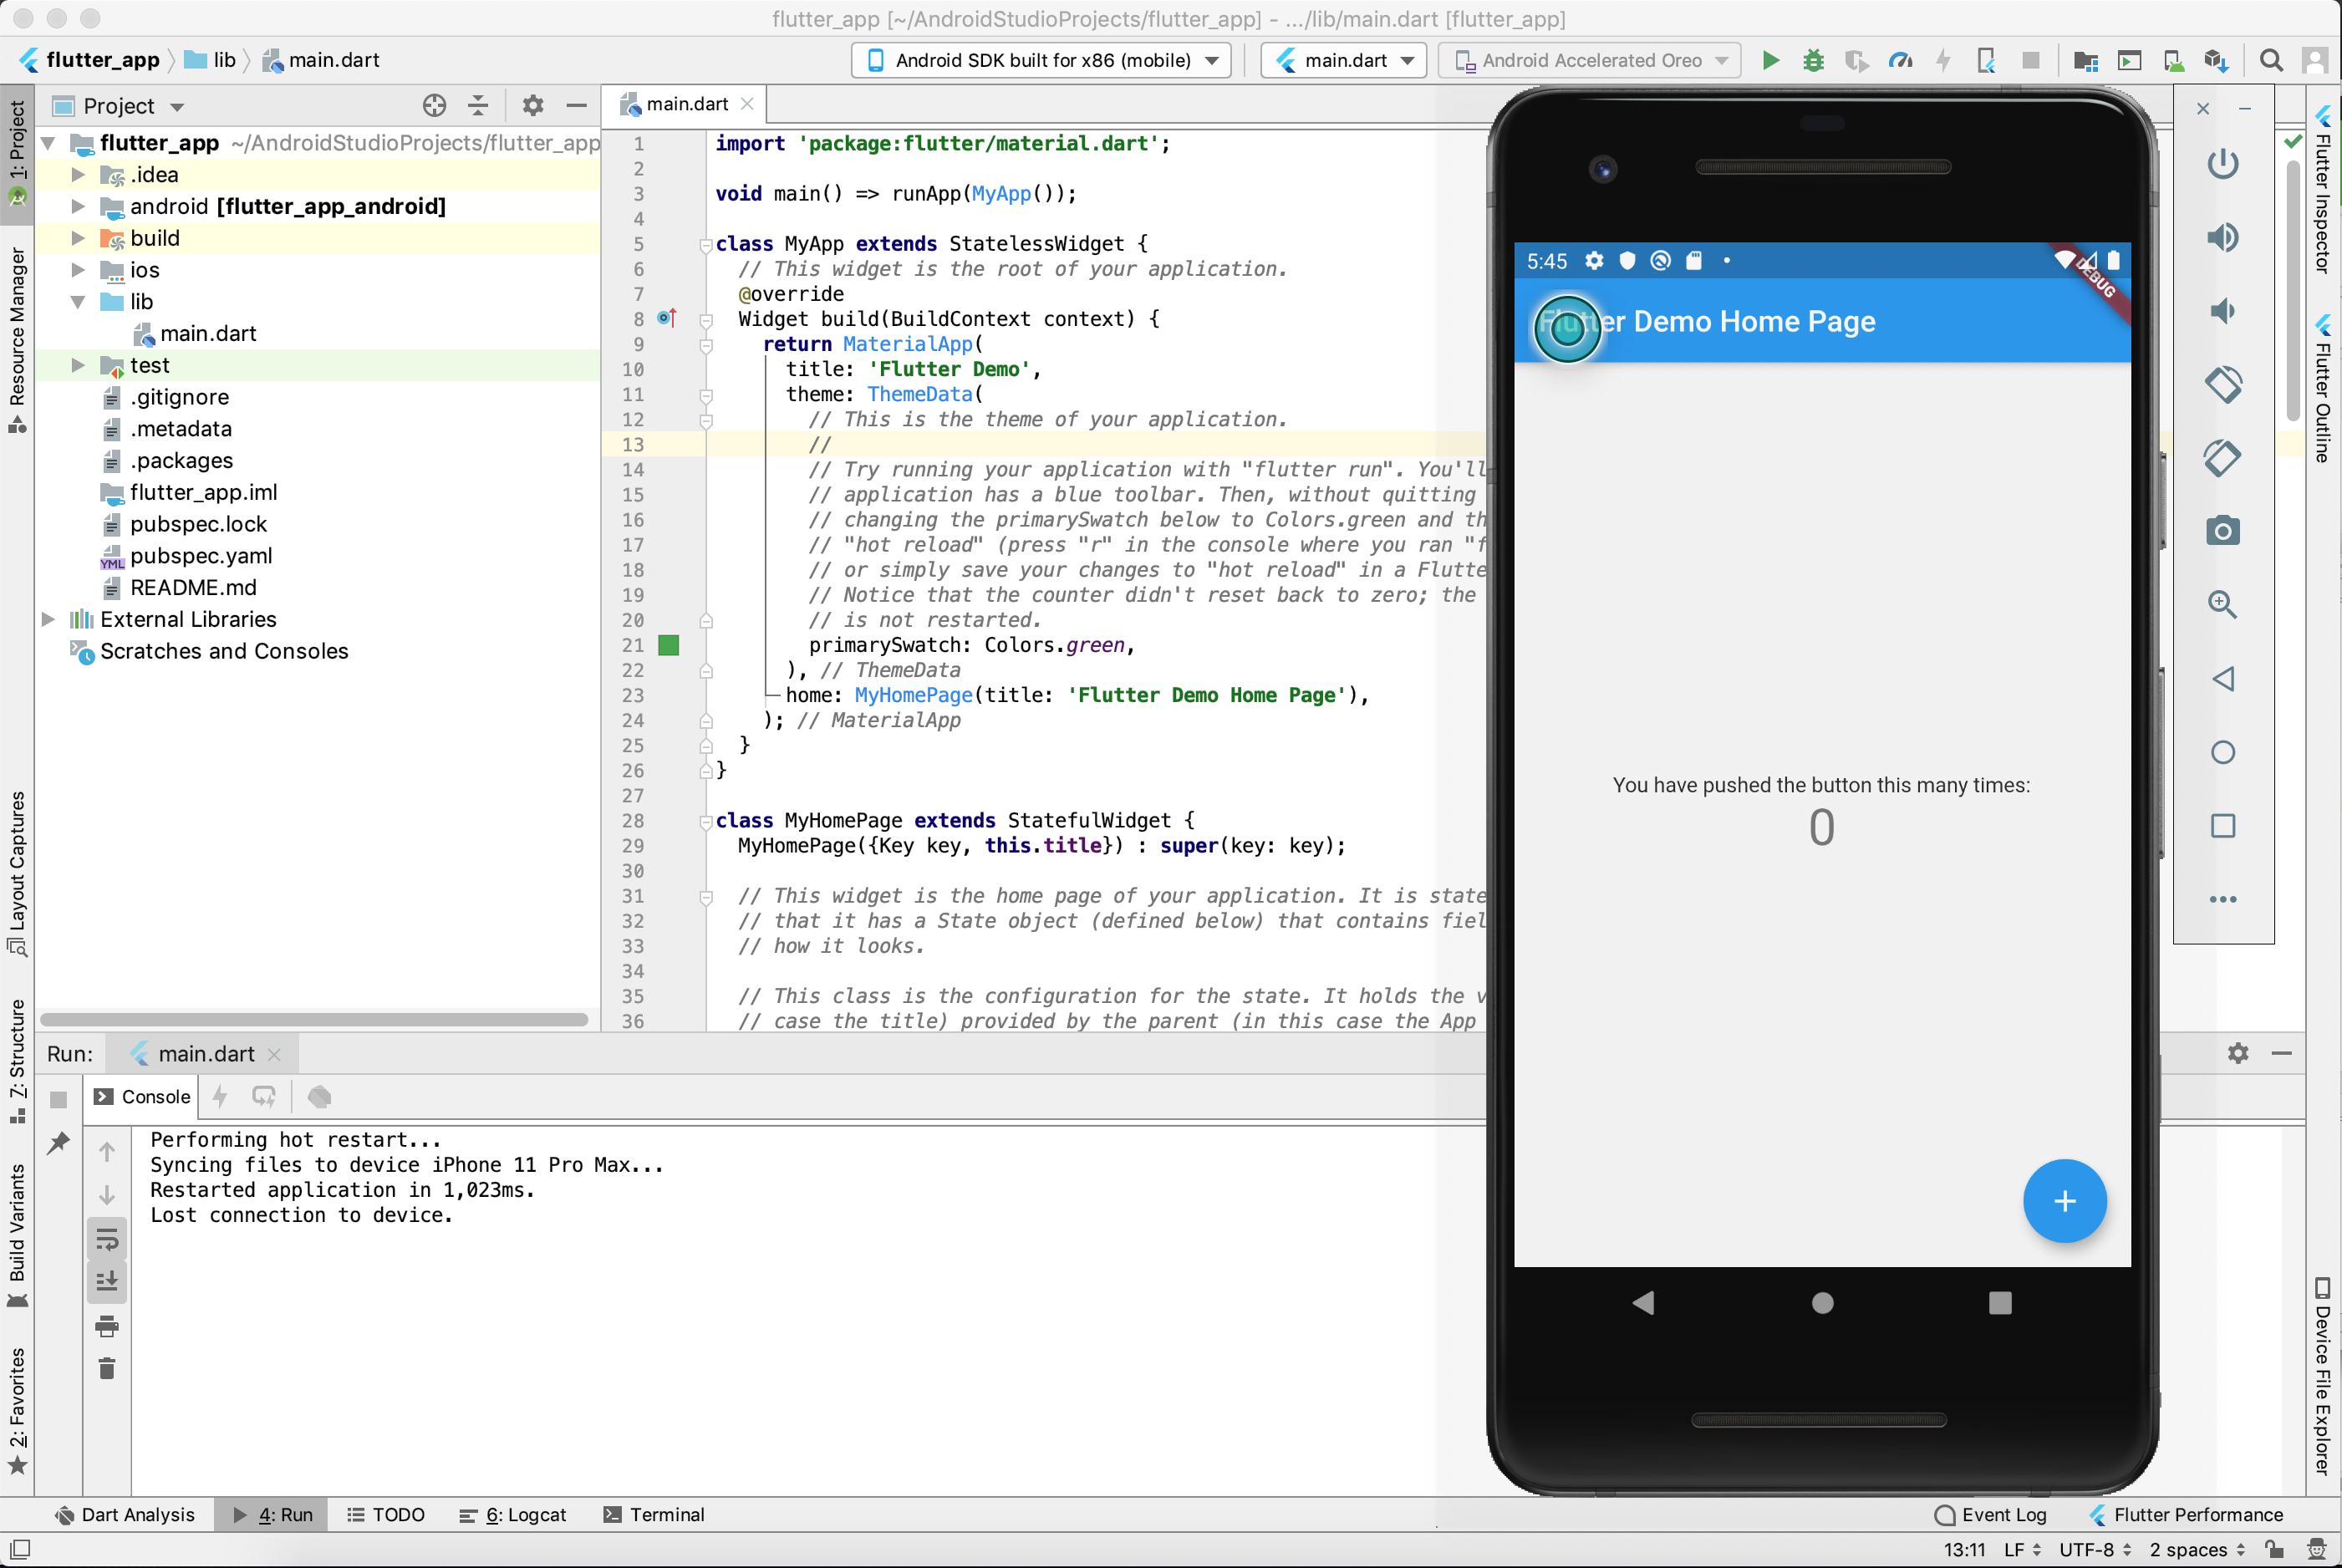
Flutter プラグインをインストールすると、メニューの「File」 > 「New」 > 「New Flutter Project...」を開いて、 Flutter プロジェクトを作成できるようになります。

Flutter プロジェクトを作成後、メニューの「Run」 > 「Run 'main.dart'」を実行すると、Flutter アプリが起動します。
ブラウザでアプリを実行
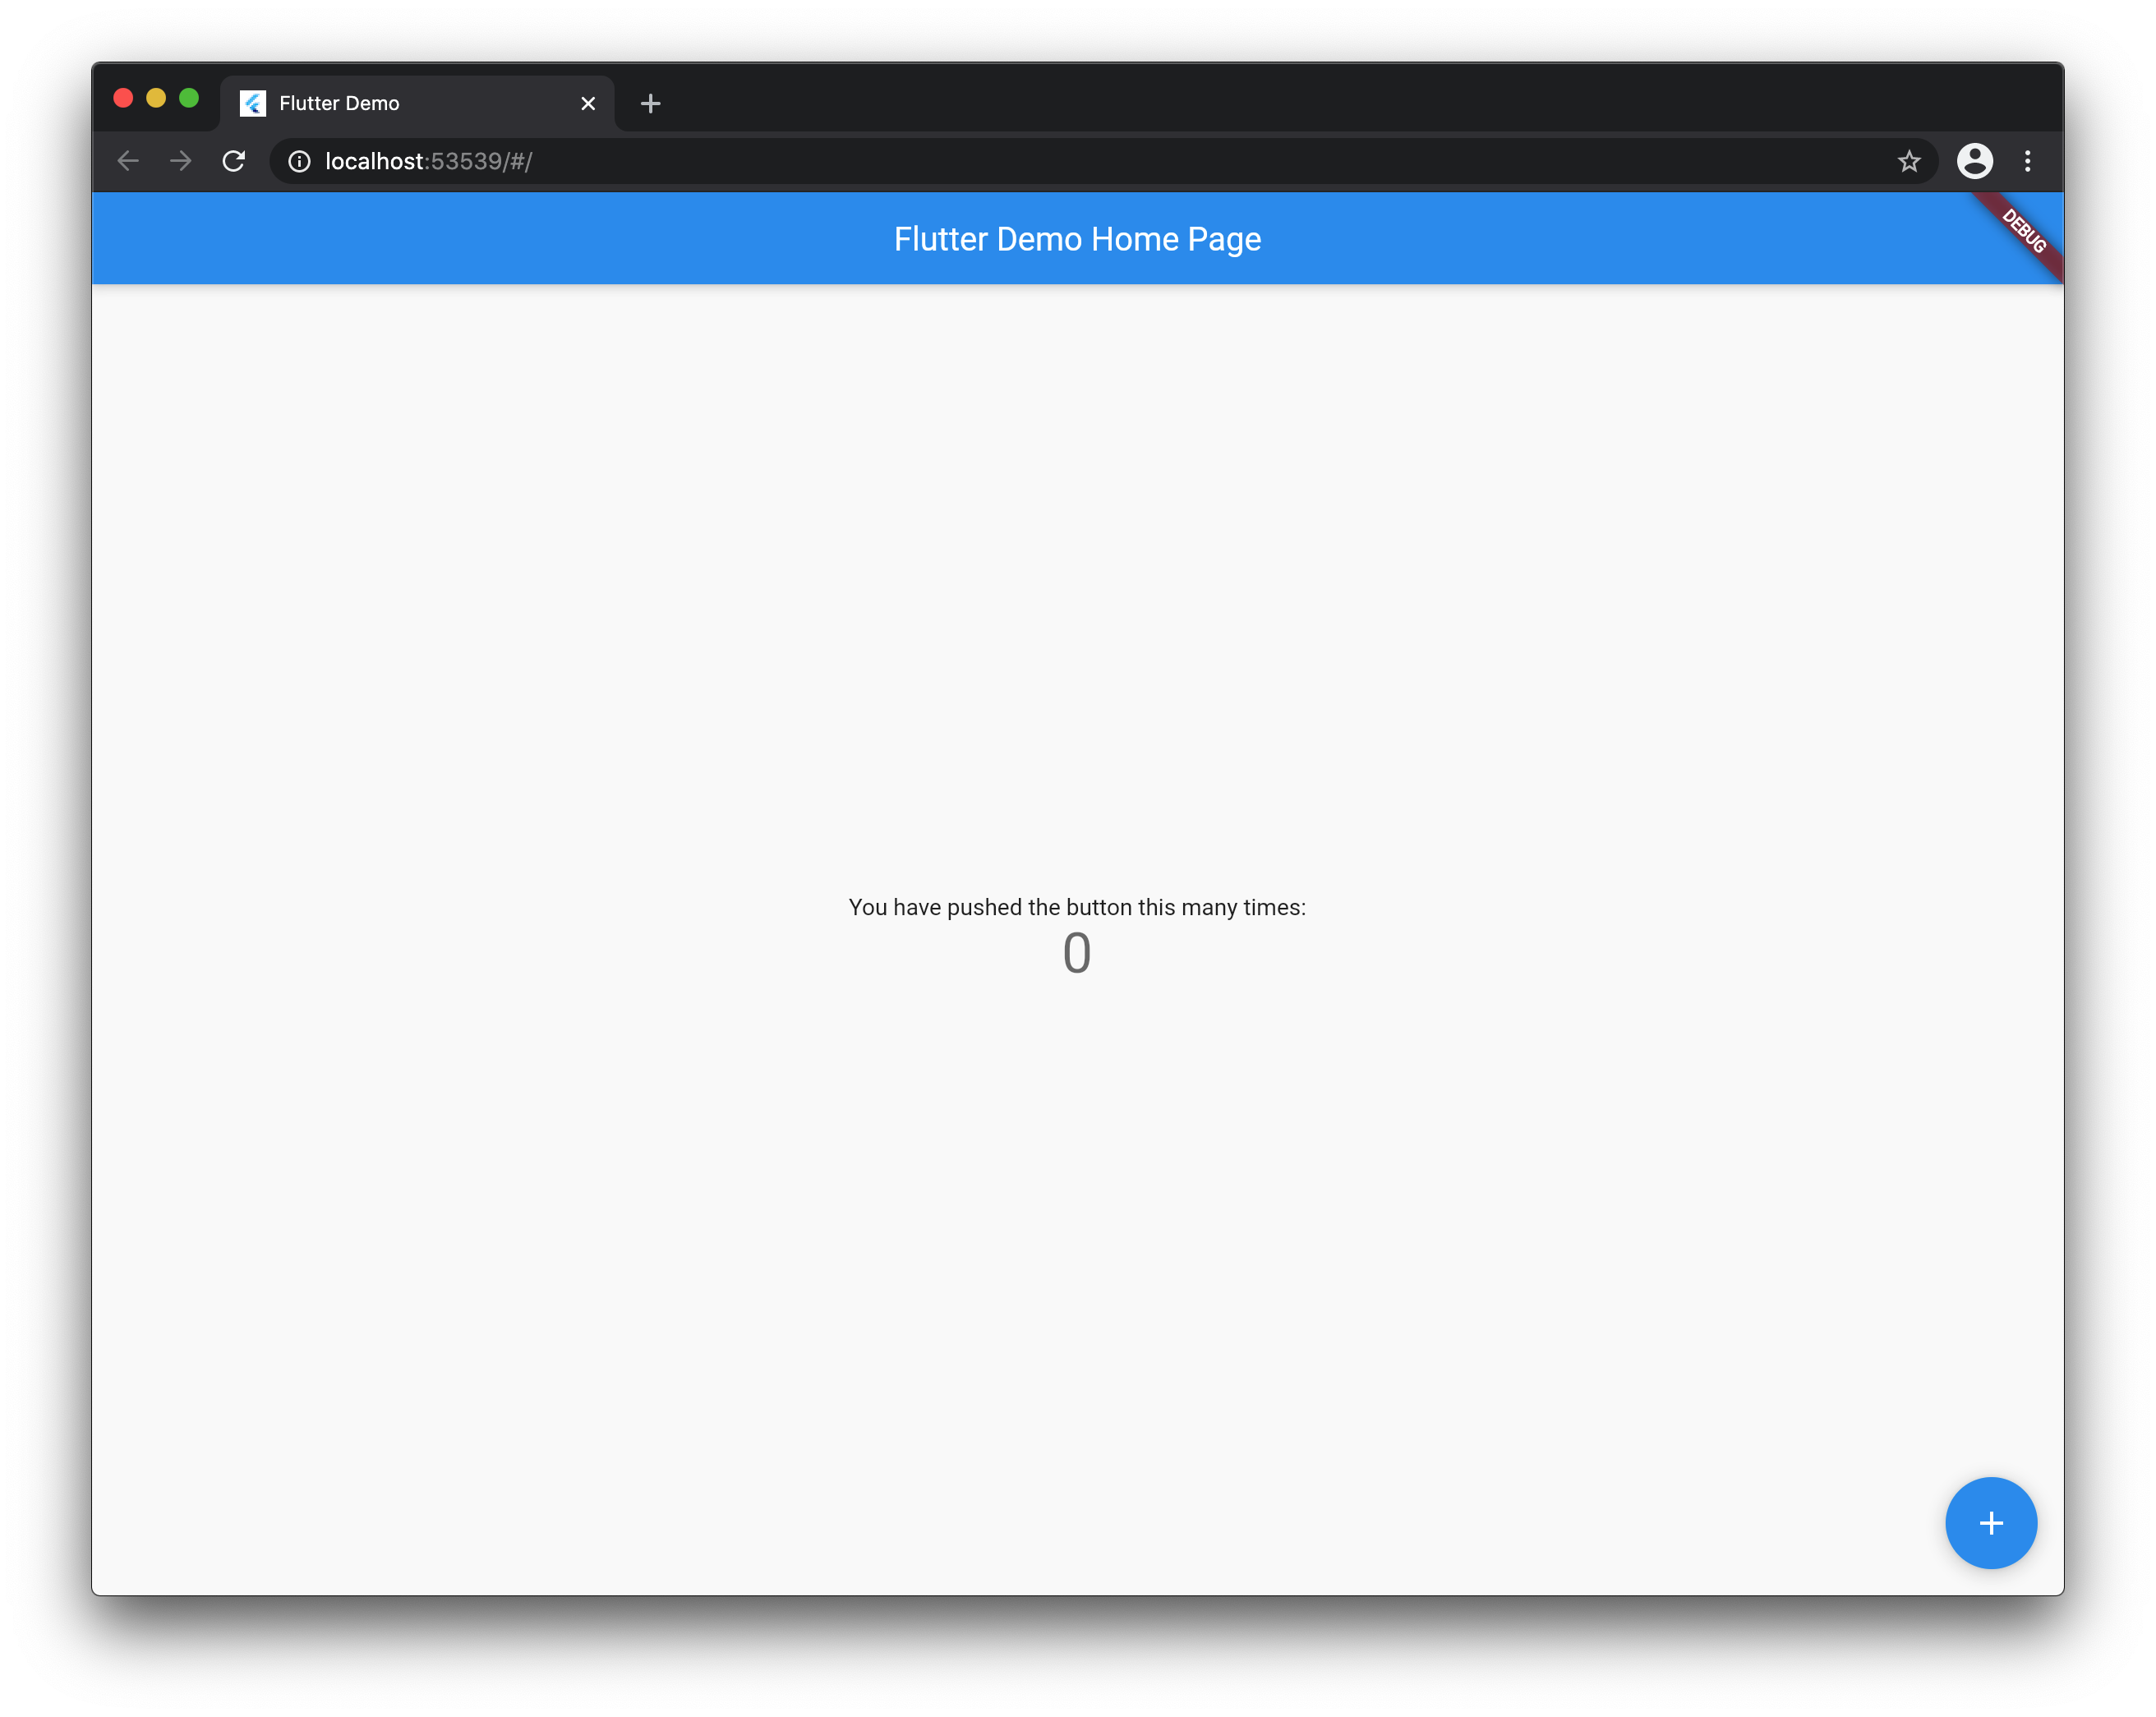
Flutter アプリを Chrome で起動します。
$ flutter run -d chrome
うまくいけば、次のような Flutter アプリが Chrome 上で起動します。
さいごに
Flutter は 2018 年 12 月に正式リリースした新しいフレームワークですが、GitHub のスターはすでに React Native を超えています。
React Native が既存の Web 技術をベースに設計されているのに対して、Flutter は全く一から設計されています。
非常にシンプルで覚えやすいフレームワークとなっていますので、ぜひ触ってみてください。
Flutter はドキュメントも豊富に揃っています。
もっと Flutter を学びたいという方は、以下のサイトを参照してください。