multipassを使ってM1 Mac上でUbuntu VMを動かしてみたので、その手順を紹介します。
multipass とは
multipassは、Linux、Windows、macOS向けの軽量VM(仮想マシン)管理ツールで、multipassを使うと少ない手順でUbuntu VMを導入することができます。
Ubuntuおよび関連プロジェクトの商用サポートおよび関連サービスを販売するCanonical社が開発・提供しています。
検証環境(2021/11/13現在)
- MacBook Pro (16インチ、2021)
- macOS Monterey 12.0.1
- Apple M1 Max
- 32GBメモリ
$ uname -mrsv
Darwin 21.1.0 Darwin Kernel Version 21.1.0: Wed Oct 13 17:33:01 PDT 2021; root:xnu-8019.41.5~1/RELEASE_ARM64_T6000 arm64

$ sw_vers
ProductName:	macOS
ProductVersion:	12.0.1
BuildVersion:	21A559
multipass のインストール
multipassは公式サイトで提供されているpkgをダウンロードしてインストールすると導入できます。また、HomebrewのCaskでも提供されています。
今回はHomebrewでmultipassをインストールします。Caskで提供されているので --cask オプションを付けます。
$ brew install --cask multipass
multipassのインストールが終わったら、コマンドを実行します。
試しにバージョンを確認します。
$ multipass version
multipass   1.8.1+mac
multipassd  1.8.1+mac
また、ヘルプを表示してみます。
# ヘルプ表示
$ multipass help
Usage: multipass [options] <command>
Create, control and connect to Ubuntu instances.

This is a command line utility for multipass, a
service that manages Ubuntu instances.

Options:
  -h, --help     Displays help on commandline options.
  --help-all     Displays help including Qt specific options.
  -v, --verbose  Increase logging verbosity. Repeat the 'v' in the short option
                 for more detail. Maximum verbosity is obtained with 4 (or more)
                 v's, i.e. -vvvv.

Available commands:
  alias     Create an alias
  aliases   List available aliases
  delete    Delete instances
  exec      Run a command on an instance
  find      Display available images to create instances from
  get       Get a configuration setting
  help      Display help about a command
  info      Display information about instances
  launch    Create and start an Ubuntu instance
  list      List all available instances
  mount     Mount a local directory in the instance
  networks  List available network interfaces
  purge     Purge all deleted instances permanently
  recover   Recover deleted instances
  restart   Restart instances
  set       Set a configuration setting
  shell     Open a shell on a running instance
  start     Start instances
  stop      Stop running instances
  suspend   Suspend running instances
  transfer  Transfer files between the host and instances
  umount    Unmount a directory from an instance
  unalias   Remove an alias
  version   Show version details
ヘルプ結果が表示されました。
これでmultipassのインストールは完了です。
multipassでUbuntu VMを作成する
Ubuntu VMを作成するには、 multipass launch コマンドを使います。
# Ubuntu VMを作成する
# - 今回は CPU: 2コア、ストレージ20GB、メモリ4GB で作成する
# - オプションの意味は multipass launch -h で確認できる
$ multipass launch --cpus 2 --disk 20G --mem 4G --name ubuntu
VM作成が完了すると、multipassのVM一覧に ubuntu という項目が現れます。
# multipassで管理しているVM一覧表示
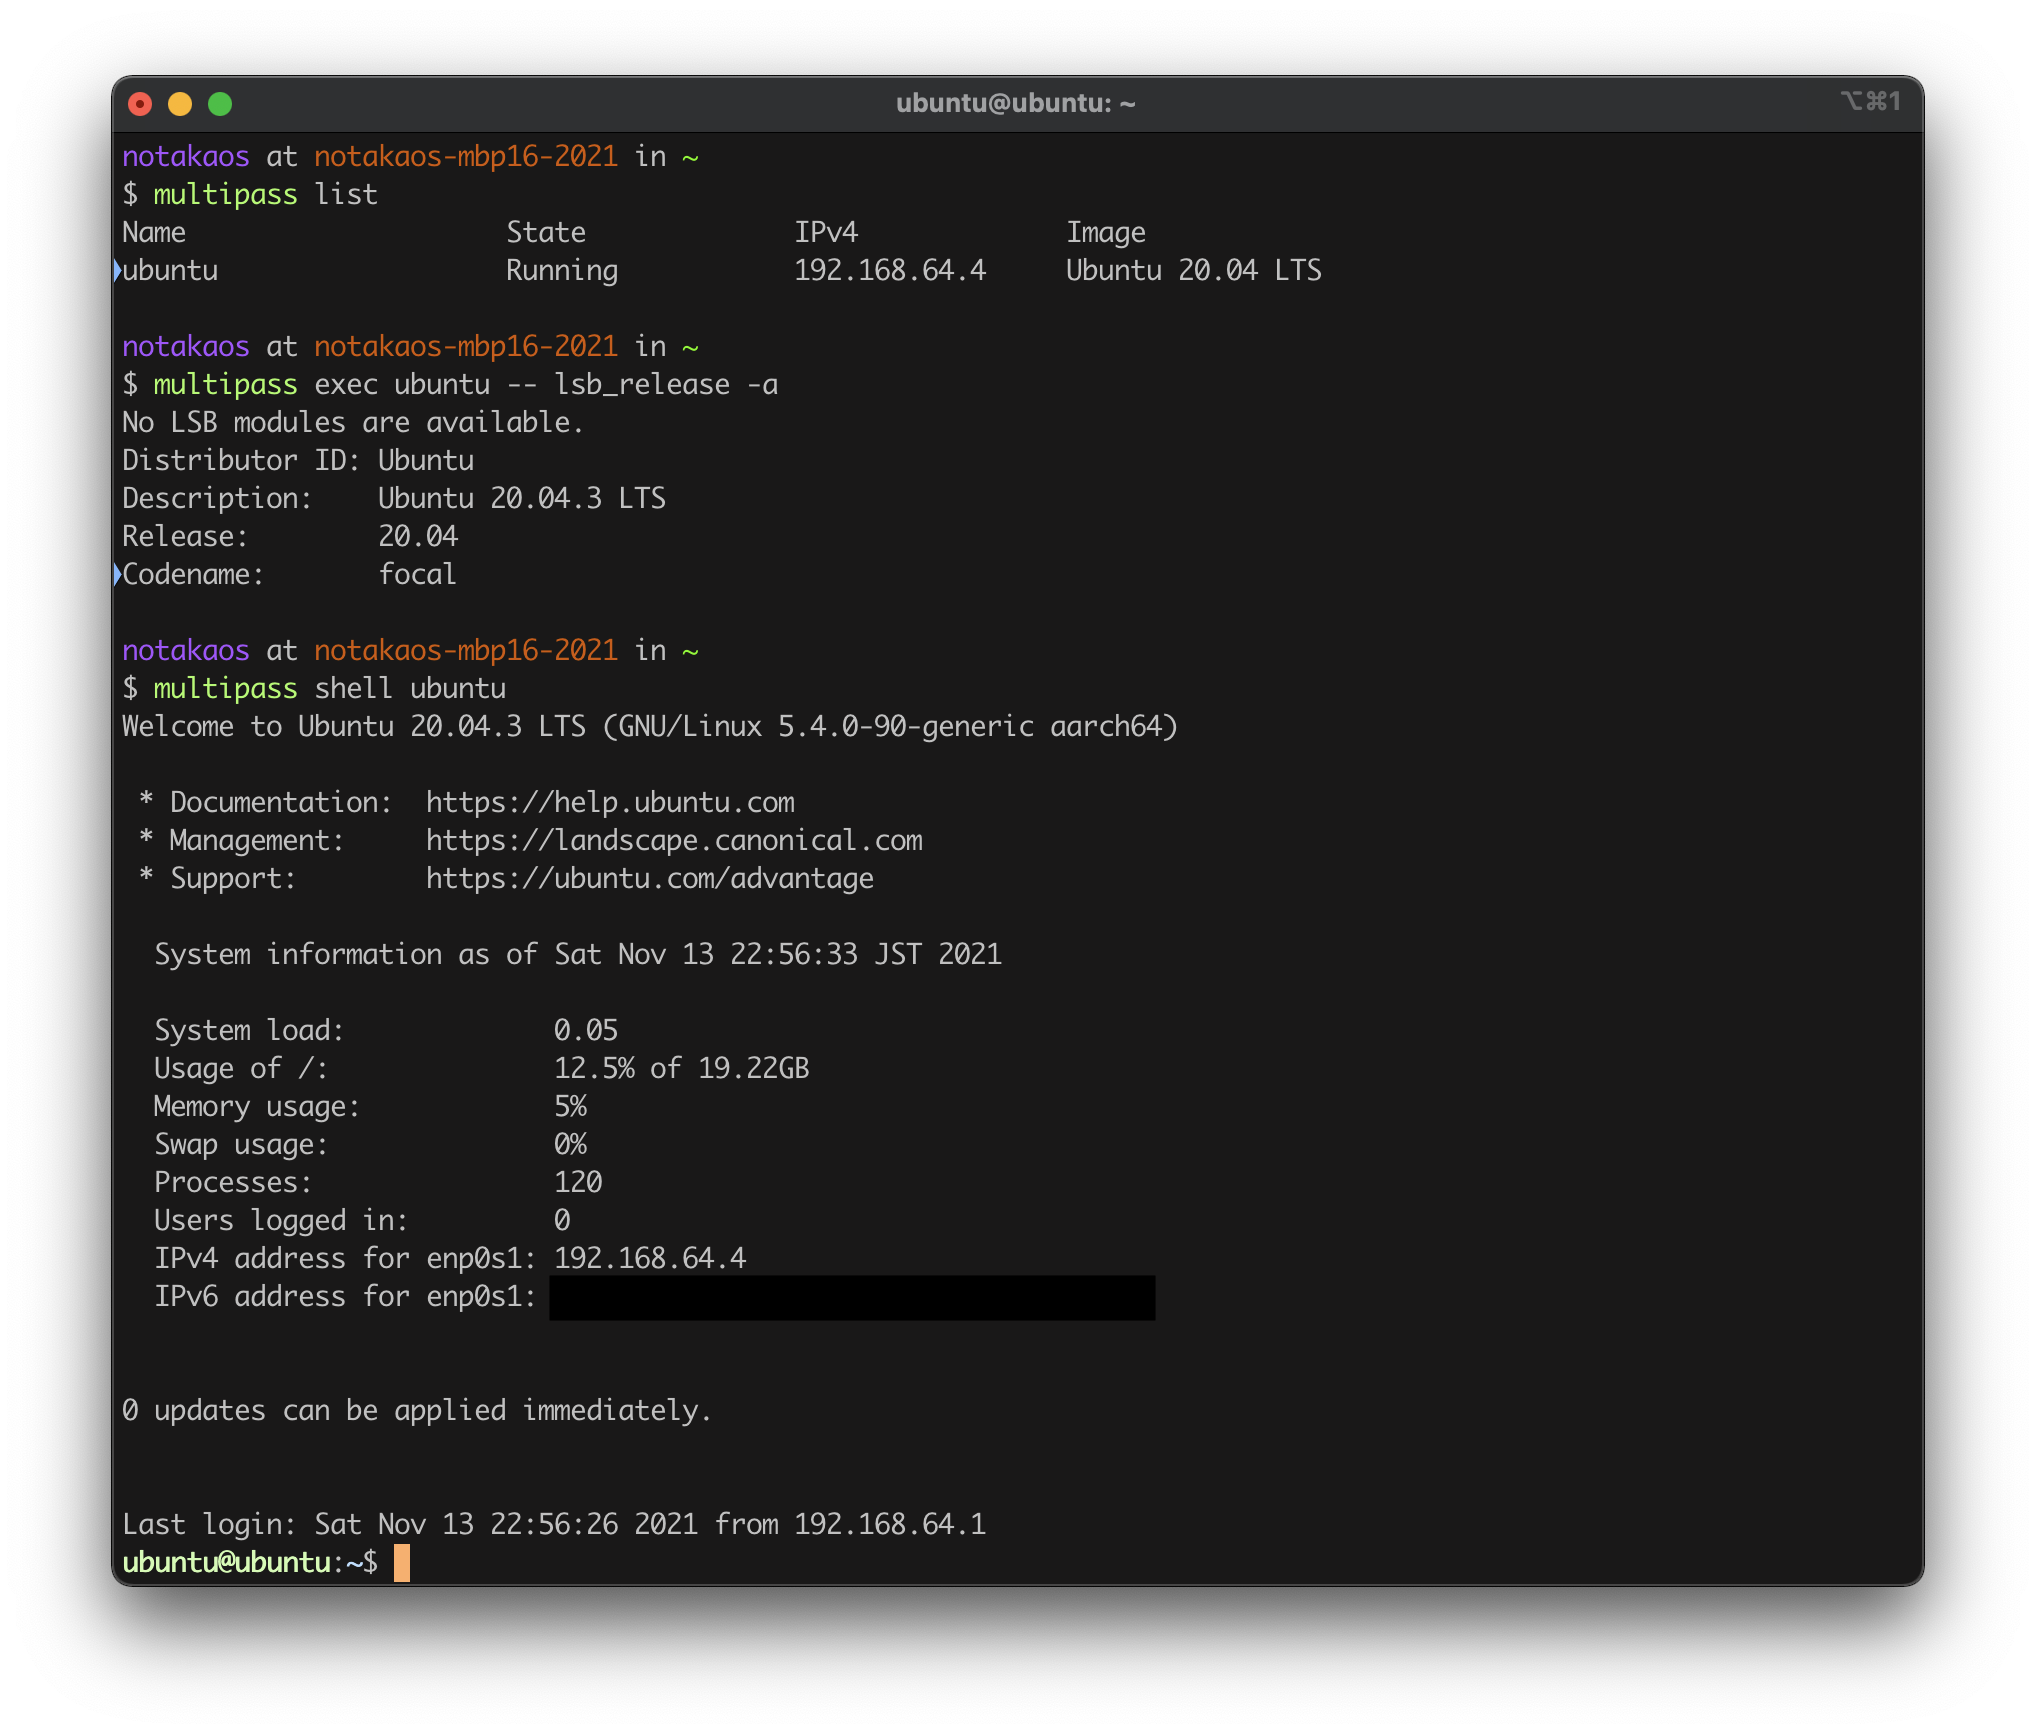
$ multipass list
Name State IPv4 Image
ubuntu Running 192.168.64.4 Ubuntu 20.04 LTS
# VMの情報表示
$ multipass info ubuntu
Name: ubuntu
State: Running
IPv4: 192.168.64.4
Release: Ubuntu 20.04.3 LTS
Image hash: a83b747df657 (Ubuntu 20.04 LTS)
Load: 0.00 0.00 0.00
Disk usage: 2.4G out of 19.2G
Memory usage: 171.5M out of 3.8G
Mounts: --
VM作成後、各種コマンドでVM名を省略した際に使われるプライマリVMを設定するには以下のコマンドを実行します。
multipass set client.primary-name=ubuntu
multipassのUbuntu VM上でコマンド実行
続いてUbuntu VM上でコマンドを実行してみましょう。 multipass exec [VM名] -- に続いて実行したいコマンドを指定します。
# VMの情報表示
$ multipass exec ubuntu -- uname -a
Linux ubuntu 5.4.0-90-generic #101-Ubuntu SMP Fri Oct 15 20:02:26 UTC 2021 aarch64 aarch64 aarch64 GNU/Linux
おお、CPUアーキテクチャがaarch64になっていますね。ARM版Ubuntuが動いているということです。
M1 Macで使われているApple SiliconはARM系のCPUアーキテクチャを採用しているので、multipassでもARM版のUbuntu VMが使われるようです。
他のコマンドも試してみましょう。
# Ubuntu情報の表示
$ multipass exec ubuntu -- lsb_release -a
No LSB modules are available.
Distributor ID:	Ubuntu
Description:	Ubuntu 20.04.3 LTS
Release:	20.04
Codename:	focal

# VMのCPU情報を調べる
$ multipass exec ubuntu -- cat /proc/cpuinfo
processor	: 0
BogoMIPS	: 48.00
Features	: fp asimd evtstrm aes pmull sha1 sha2 crc32 fphp asimdhp cpuid dit
CPU implementer	: 0x41
CPU architecture: 8
CPU variant	: 0x0
CPU part	: 0xd08
CPU revision	: 3

processor	: 1
BogoMIPS	: 48.00
Features	: fp asimd evtstrm aes pmull sha1 sha2 crc32 fphp asimdhp cpuid dit
CPU implementer	: 0x41
CPU architecture: 8
CPU variant	: 0x0
CPU part	: 0xd08
CPU revision	: 3
これは便利!
Ubuntu VMのShellを起動
コマンド単発ではなく、シェルにアクセスしたい場合は multipass shell [VM名] を使用します。
# Ubuntu VMのシェルを起動
$ multipass shell ubuntu
Welcome to Ubuntu 20.04.3 LTS (GNU/Linux 5.4.0-90-generic aarch64)

 * Documentation:  https://help.ubuntu.com
 * Management:     https://landscape.canonical.com
 * Support:        https://ubuntu.com/advantage

  System information as of Sat Nov 13 22:00:06 JST 2021

  System load:             0.0
  Usage of /:              12.5% of 19.22GB
  Memory usage:            8%
  Swap usage:              0%
  Processes:               128
  Users logged in:         1
  IPv4 address for enp0s1: 192.168.64.4
  IPv6 address for enp0s1: xxxx:xxxx:xxx:xxxx:xxxx:xxxx:xxxx:xxxx


0 updates can be applied immediately.


Last login: Sat Nov 13 21:57:29 2021 from 192.168.xxx.xxx
ubuntu@ubuntu:~$
シェルが起動しました。どのシェルが起動しているか確認します。
ubuntu@ubuntu:~$ echo $SHELL
/bin/bash

ubuntu@ubuntu:~$ bash --version
GNU bash, version 5.0.17(1)-release (aarch64-unknown-linux-gnu)
Copyright (C) 2019 Free Software Foundation, Inc.
License GPLv3+: GNU GPL version 3 or later <http://gnu.org/licenses/gpl.html>

This is free software; you are free to change and redistribute it.
There is NO WARRANTY, to the extent permitted by law.
シェルの種類はbashでした。
これで気軽にUbuntuを試すことができそうです。
exit でUbuntu VMのシェルを抜けます。
ubuntu@ubuntu:~$ exit
特定のディレクトリをUbuntu VMにマウントする
multipassで動いているUbuntu VMにファイルをマウントするには、 multipass mount コマンドを使用します。
# マウント用のディレクトリを作成(macOS側)
$ mkdir -p ~/mnt/ubuntu-example

# マウント確認用に適当なファイルを作成
$ touch ~/mnt/ubuntu-example/hello.txt

# ディレクトリのマウント実行
# - multipass mount [マウントしたいmacOS側のディレクトリパス] [VM名]:[マウント先ディレクトリパス]
# - multipass mount -h でヘルプ表示
$ multipass mount ~/mnt/ubuntu-example ubuntu:/mnt/ubuntu-example
multipass info でマウントの状態を確認できます。
# マウント情報表示
$ multipass info ubuntu
Name:           ubuntu
State:          Running
IPv4:           192.168.64.4
Release:        Ubuntu 20.04.3 LTS
Image hash:     a83b747df657 (Ubuntu 20.04 LTS)
Load:           0.08 0.03 0.01
Disk usage:     2.4G out of 19.2G
Memory usage:   178.0M out of 3.8G
Mounts:         /Users/notakaos/mnt/ubuntu-example => /mnt/ubuntu-example
                    UID map: 501:default
                    GID map: 20:default

# Ubuntu VM上でlsコマンド実行
$ multipass exec ubuntu -- ls -l /mnt/ubuntu-example
total 3
-rw-r--r-- 1 ubuntu ubuntu   0 Nov 13 22:16 hello.txt
先ほど作成した ~/mnt/ubuntu-example ディレクトリがUbuntu VMにマウントされていることが確認できました。
マウントが正しく動作するか、Ubuntu VM上でマウントしたディレクトリ内のファイルを編集して、双方向に反映されることを確認してみましょう。
$ multipass exec ubuntu -- vim /mnt/ubuntu-example/hello.txt
Ubuntu VM上でvimが立ち上がるので、 i でインサートモードにし内容を Hello, Ubuntu! と書き換えて、 Esc -> :wq + Enter でファイルを保存してvimを終了します(お好きなように書き換えてください)。
そしてmacOS側で hello.txt の内容を確認します。
$ cat ~/mnt/ubuntu-example/hello.txt
Hello, Ubuntu!
Ubuntu VM側での変更がmacOS側にも反映されることが確認できました。
Ubuntu VMにマウントしたディレクトリをアンマウントする
マウントを解除(アンマウント)したい場合は multipass umount を使います。
# マウント解除実行
# - multipass umount -h でヘルプ表示
$ multipass umount ubuntu:/mnt/ubuntu-example
# マウント解除されているか確認する
$ multipass info ubuntu
Name:           ubuntu
State:          Running
IPv4:           192.168.64.4
Release:        Ubuntu 20.04.3 LTS
Image hash:     a83b747df657 (Ubuntu 20.04 LTS)
Load:           0.06 0.01 0.00
Disk usage:     2.4G out of 19.2G
Memory usage:   172.7M out of 3.8G
Mounts:         --
これでアンマウントされました。
VMの停止/再開/休止状態
multipass stop [VM名] でVMを停止できます。
また multipass start [VM名] でVMを再開できます。
# VM停止
$ multipass stop ubuntu

# VM再開
$ multipass start ubuntu
不要なVMを削除する
不要なVMを削除するには multipass delete [VM名] を使います。
# VM一覧表示
$ multipass list
Name                    State             IPv4             Image
ubuntu                  Running           192.168.64.4     Ubuntu 20.04 LTS

# VM削除
multipass delete ubuntu
VMを削除すると、VM一覧の State 欄が Deleted に変わります。
# delete後のVM一覧確認
$ multipass list
Name                    State             IPv4             Image
ubuntu                  Deleted           --               Not Available
この状態は削除マークがついただけで、まだストレージ上にはデータが残っている状態となります(論理削除)1。
ストレージ上からVMのデータを完全に消し去るには、 multipass purge を実行します。
# DeletedマークがついているVMを完全削除する
$ multipass purge
# purge後のVM一覧確認
$ multipass list
No instances found.
listからVMが消えました。
これでVM削除完了です。
multipassのアンインストール方法
multipassも不要であれば、アンインストールスクリプトが用意されているので、それを実行するだけです。
# pkgを直接インストールした場合のアンインストール方法
sudo sh "/Library/Application Support/com.canonical.multipass/uninstall.sh"

# homebrew経由でインストールした場合のアンインストール方法
brew uninstall multipass
multipass感想
- 導入がとても簡単
- サクッと動くのはいいね
- multipass execがめちゃ便利
- 軽い、M1 Max MacBook ProだとUbuntu VMが動いていてもファンが回らないのは嬉しい
- 全体的にいい感じ
To be continued...
M1 Macではまだハードウェアアクセラレーションが使えない等の制限があるようですが、現時点でもかなりの完成度ですね。今後のアップデートにも期待したいです!
参考URL
- multipass 公式サイト
- multipass GitHubリポジトリ
- Canonical Transforms Linux on Mac | Ubuntu
- Ubuntu開発元、M1 MacにMultipassをサポート。わずか20秒でLinuxを実行 - Engadget 日本版
-
この段階であれば
multipass recover [VM名]で削除フラグがついたVMを復活させることもできます ↩