こんにちは
本日は12月10日のはずです
ところで皆様、tangramというWEB GISライブラリーをご存知でしょうか?
実は私はつい最近まで知りませんでした
AmazonLocationServiceのチュートリアルにあったのが気になりまして調べてみたのですが
なんと、GLSLがガンガン使える、とてもマニアックな地図ライブラリーのようです
GLSL好きの私にピッタリではないですか、、むしろ今までなぜ知らなかったのだろう
ということで触ってみたのですが
日本語の情報が
ほとんど無いという、、、
ちなみに英語のドキュメントは以下です
ということで、今回はまず地図を出すくらいまでを解説したいと思います
導入
最初、ゼロから構築したいなと思って色々やってみたのですが、なかなか手強く、公式で紹介している方法でお伝えします
まずはじめに、以下のリポジトリをCloneします
次に以下より、Nextzen API Keyを取得します
Cloneしたリポジトリのscene.yamlの17行目のapi_keyを先程取得したkeyに書き換えます
sources:
    nextzen:
        type: MVT
        url: https://tile.nextzen.org/tilezen/vector/v1/512/all/{z}/{x}/{y}.mvt
        url_params:
            api_key: ************************* ←これを書き換える
        tile_size: 512
        max_zoom: 16
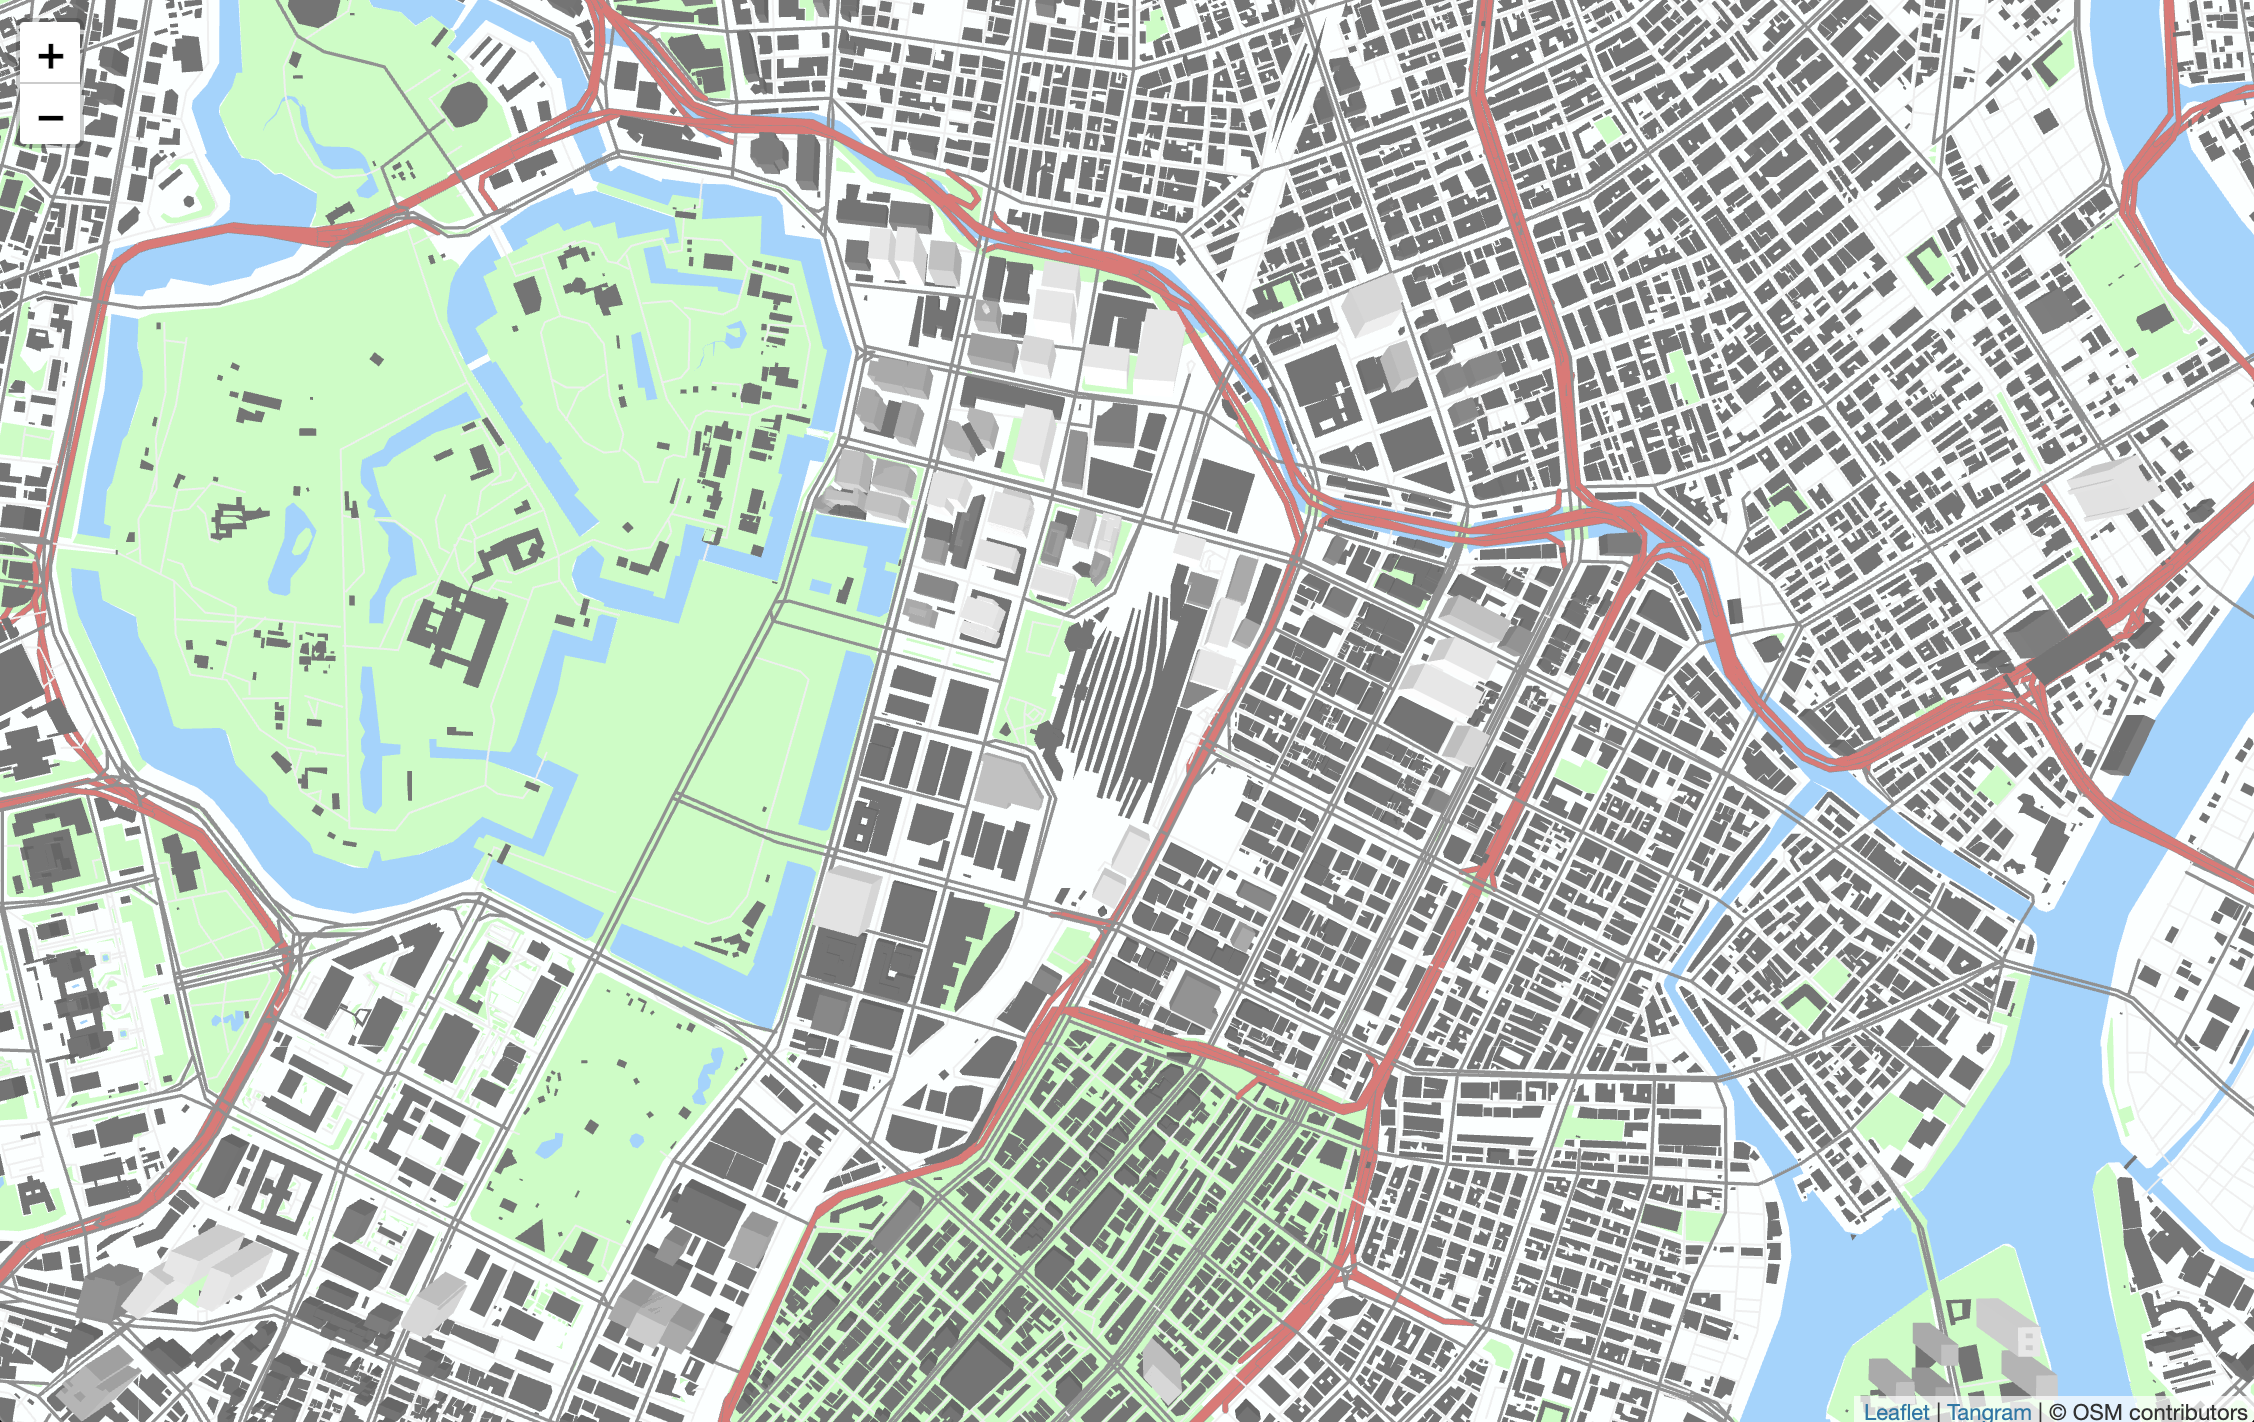
初期表示は東京に変えてしまいましょう
index.htmlの50行目を書き換えます
map.setView([40.70531887544228, -74.00976419448853], 15);
あとは、http-serverなりなんなりで、ローカルサーバーを立ち上げて、確認します
少し触ってみる
どうやら、scene.yamlを書き換えてスタイルを定義していくような作りになっているようです
そのyamlファイルのスタイルに直接GLSLが書けるというなかなかすごい作りですね。。
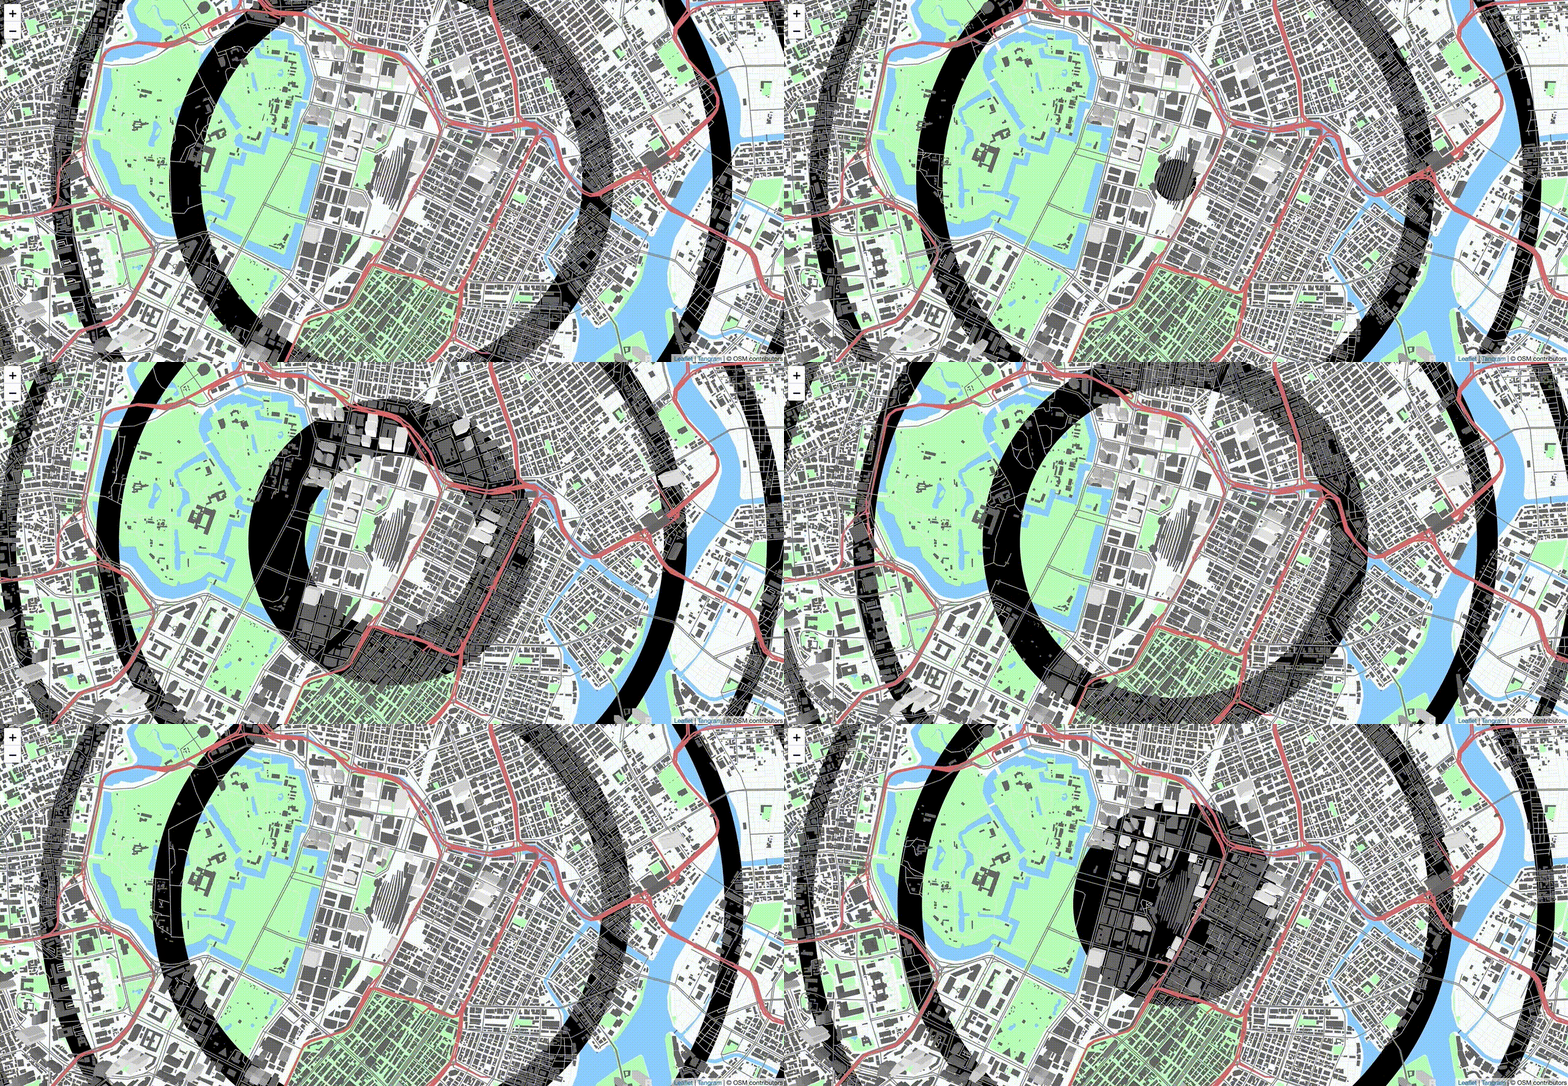
exampleのファイルから拝借して、いじってみたyamlファイルがこちら
import:
    - https://tangrams.github.io/blocks/functions/aastep.yaml
    - https://tangrams.github.io/blocks/patterns/stripes.yaml

cameras:
    camera1:
        type: perspective

lights:
    light1:
        type: directional
        direction: [0, 1, -.5]
        diffuse: .3
        ambient: 1

sources:
    nextzen:
        type: MVT
        url: https://tile.nextzen.org/tilezen/vector/v1/512/all/{z}/{x}/{y}.mvt
        url_params:
            api_key: ********************* ← 取得したAPIキーを入れる
        tile_size: 512
        max_zoom: 16

layers:
    earth:
        data: { source: nextzen }
        draw:
            polygons:
                style: animation
                order: function() { return feature.sort_rank; }
                color: '#ddeeee'

    landuse:
        data: { source: nextzen }
        draw:
            polygons:
                style: animation
                order: function() { return feature.sort_rank; }
                color: '#aaffaa'

    water:
        data: { source: nextzen }
        draw:
            polygons:
                style: animation
                order: function() { return feature.sort_rank; }
                color: '#88bbee'

    roads:
        data: { source: nextzen }
        filter:
            not: { kind: [path, rail, ferry] }
        draw:
            lines:
                order: function() { return feature.sort_rank; }
                color: gray
                width: 8
                cap: round
        highway:
            filter:
                kind: highway
            draw:
                lines:
                    order: function() { return feature.sort_rank; }
                    color: '#cc6666'
                    width: 12
                    outline:
                        color: grey
                        width: 1.5
        minor_road:
            filter:
                kind: minor_road
            draw:
                lines:
                    order: function() { return feature.sort_rank; }
                    color: lightgrey
                    width: 5

    buildings:
        data: { source: nextzen }
        draw:
            polygons:
                order: function() { return feature.sort_rank; }
                color: |
                    function () {
                        var h = feature.height || 20;
                        h = Math.min((h + 50)/ 255, .8); // max brightness: .8
                        h = Math.max(h, .4); // min brightness: .4
                        return [h, h, h];
                    }
        3d-buildings:
            filter: { $zoom: { min: 15 } }
            draw:
                polygons:
                    extrude: function () { return feature.height > 20 || $zoom >= 16; }
styles:
    animation:
        base: polygons
        mix: [patterns-stripes]
        animated: true
        shaders:
            blocks:
                filter: |
                    vec2 xy = gl_FragCoord.xy/u_resolution.xy;
                    xy.x *= u_resolution.x/u_resolution.y;
                    xy = xy-vec2(.5*u_resolution.x/u_resolution.y,.5);

                    float t = -u_time*.5;
                    float radius = 0.0;
                    radius = dot(xy,xy)*2.;

                    color.rgb = mix(color.rgb,
                        0.5-color.rgb,
                        1.0-aastep(.3,sin(fract(radius+t)*3.1415)));
実用性はともかく、なんかすごいですよね
次はもう少し色々やってみます!

