はじめに
Seeed Studio XIAO ESP32S3 Senseを購入したのでビボログ。XIAOのESP32C6を購入して日も浅いんですが、やる気があるうちに即購入。この手のESP32-cam商品は需要があるようで日進月歩って感じですね。個人的にバッテリー駆動が好きなので、いよいよかなと思い購入。そこらへんをお触りしたい感じです。

購入
スイッチサイエンスにて ¥2,724(税込)で購入。XIAO-ESP32S3のみが ¥1,456(税込)なので、カメラが高いんですね。

内容物
- 1 x XIAO ESP32S3
- 1 x カメラボード
- 1 x アンテナ
- 2 x ピンヘッダー(7ピン)
- 2 x XIAO用ヒートシンク
実触
定番のビデオ ストリーミングを実行してみる。
- Windows10
- ArduinoIDE 2.3.4
今回も「基本設定」ー「追加のボードマネージャ」が必要です。
https://raw.githubusercontent.com/espressif/arduino-esp32/gh-pages/package_esp32_index.json
ボードマネージャで espressif/arduino-esp32 のバージョンを最新の3.1.3 ではコンパイルエラーになります。3.0.7 にダウングレード。

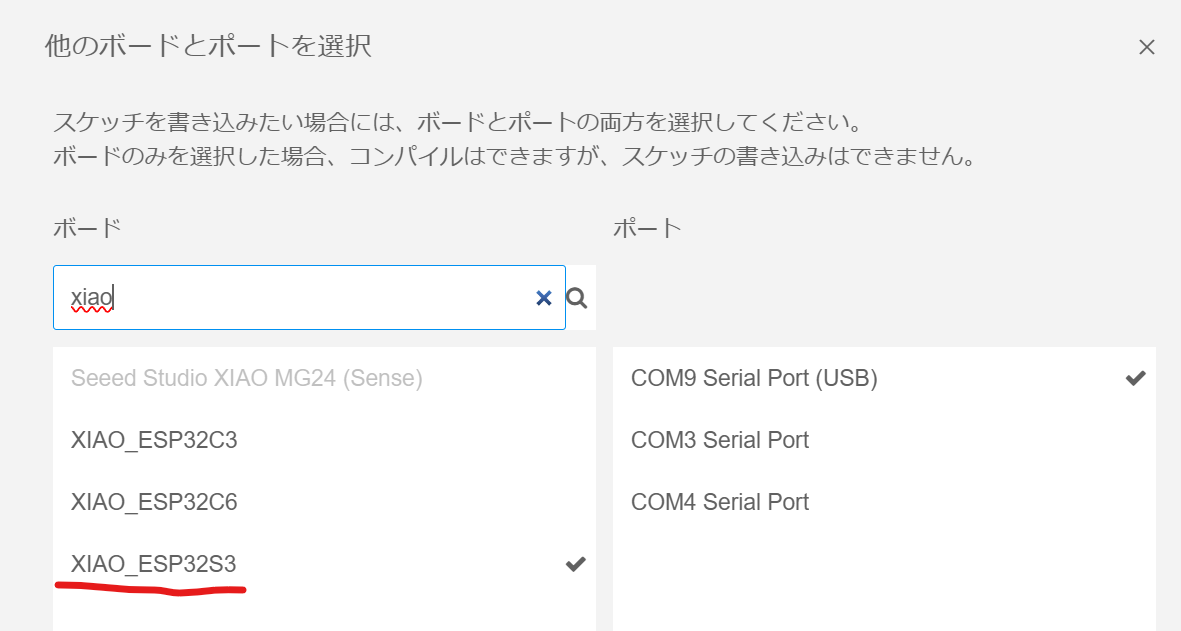
ボードは XIAO_ESP32S3
ボード設定「ツール」ー「PSRAM」を[OPI PSRAM]に。

プログラムは以下よりダウンロード。
<>Code から ZIP か git でクローン。
この中の「CameraWebServer_for_esp-arduino_3.0.x.ino」を開いて、以下を変更して、コンパイル&アップロードすれば準備完了。
const char *ssid = "************";
const char *password = "************";
シリアルモニタを開くと以下のようにWiFiに繋がればOK。

URLをブラウザで開いて、[Start Stream]ボタン。

おわりに
ヒートシンクが付属するように、ストリーミングをするとかなり熱くなりますのでご注意。次回は、いよいよバッテリー駆動へのお触りです。