ずっとOAuth2の認証の際にはライブラリを使っていたのだけど、どうも中がどうなっているのか分からなくて気持ち悪かったので実装してみた。
結果から言うと、セキュリティが重視される技術なので難解な感じなのかとおもいきや想像していたよりも楽だった。
OAuth2の流れ
1.指定された情報を元にURLを作り、webViewでそれを開く。
2.おなじみの認証画面が出るのでユーザーは認証する。
3.(1)で作ったURLで指定したリダイレクト先に飛ぶので、そのURLにコードが付いている
4.そのコードをトークン発行APIに投げるとアクセストークンが返ってくる
5.APIを叩く際にヘッダーにアクセストークンを付けていれば認証したアカウントからのアクセスとして扱われる
超簡単ですね!
それではFeedly Cloud APIを例に実際に実装してみましょう
よんでね
開発用のIDとsecretとかはここにあるよ
https://groups.google.com/forum/#!topic/feedly-cloud/ZNn0UUOyCZw
実装してみる
1.指定された情報を元にURLを作り、webViewでそれを開く。
の通りにURLを組み立てます
- (NSURL*)authorizationURL{
    //https://developer.feedly.com/v3/auth/
    NSString*base = @"https://sandbox.feedly.com";
    NSString*api  = @"/v3/auth/auth";
    NSDictionary*params = @{@"response_type":@"code",
                            @"client_id":self.clientId,
                            @"redirect_uri":@"http://localhost",
                            @"scope":@"https://cloud.feedly.com/subscriptions"};
    NSMutableString*url = [NSMutableString string];
    [url appendString:base];
    [url appendString:api];
    [url appendString:@"?"];
    NSCharacterSet* chars = [NSCharacterSet alphanumericCharacterSet];
    for (NSString*key in params.allKeys) {
        NSString*param = [NSString stringWithFormat:@"%@=%@&",
                          key,
                          [params[key] stringByAddingPercentEncodingWithAllowedCharacters:chars]];
        [url appendString:param];
    }
    return [NSURL URLWithString:url];
}
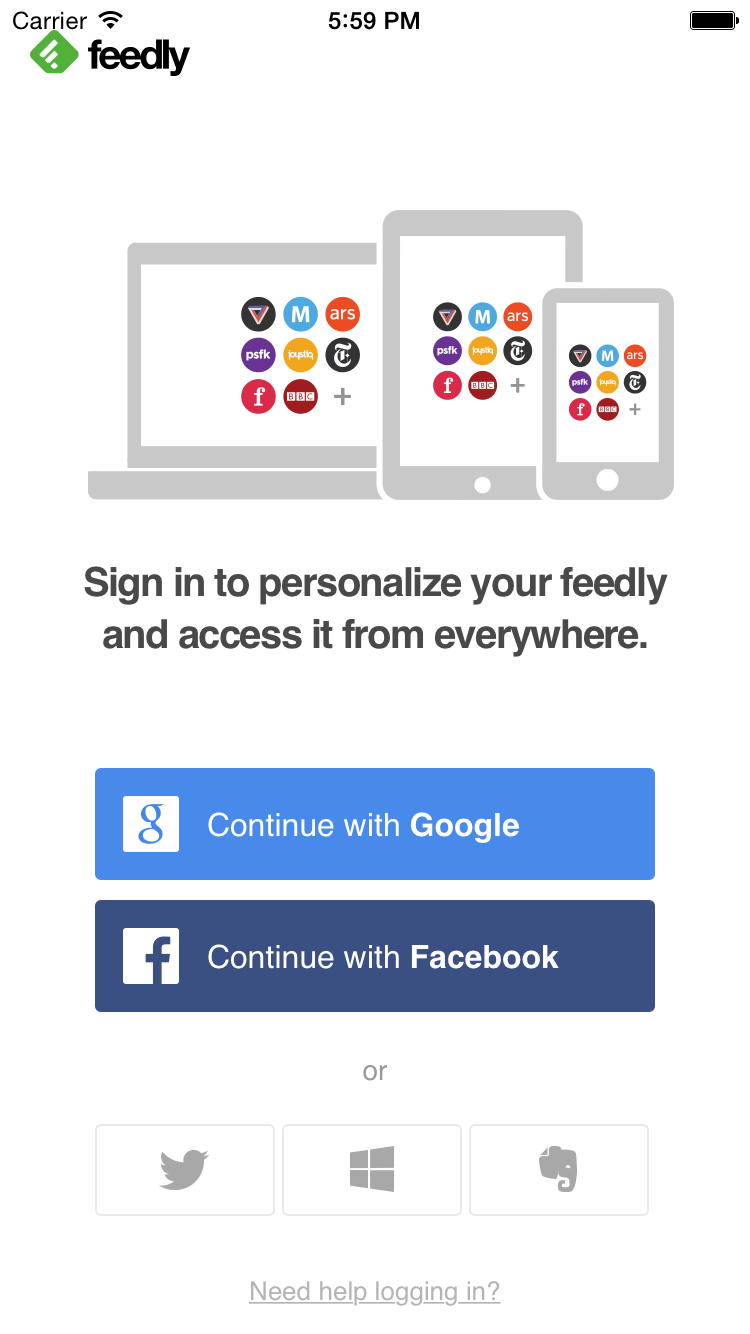
これで生成したURLをUIWebViewで開くと、認証ページに移ります。
2.おなじみの認証画面が出るのでユーザーは認証する。
3.(1)で作ったURLで指定したリダイレクト先に飛ぶので、そのURLにコードが付いている
どれでもいいので認証すると、
- (BOOL)webView:(UIWebView *)webView shouldStartLoadWithRequest:(NSURLRequest *)request navigationType:(UIWebViewNavigationType)navigationType;
で、http://localhost/?code=*********というアドレスを拾う事ができます。
この****の部分を取得したら
4.そのコードをトークン発行APIに投げるとアクセストークンが返ってくる
    NSMutableString*url = [NSMutableString string];
    NSString*base = @"https://sandbox.feedly.com";
    NSString*api = @"/v3/auth/token";
    NSDictionary *params = @{@"client_id":self.clientId,
                            @"client_secret":self.clientSecret,
                            @"grant_type":@"authorization_code",
                            @"redirect_uri":@"http://localhost:8080",
                            @"code":code};
    [url appendString:base];
    [url appendString:api];
    NSError*error=nil;
    NSData*data=[NSJSONSerialization dataWithJSONObject:params options:2 error:&error];
    NSString*jsonstr=[[NSString alloc]initWithData:data encoding:NSUTF8StringEncoding];
    NSMutableURLRequest *req = [NSMutableURLRequest requestWithURL:[NSURL URLWithString:url]];
    [req setValue:@"application/json" forHTTPHeaderField:@"Content-Type"];
    [req setHTTPMethod:@"POST"];
    NSLog(@"%@",jsonstr);
    [req setHTTPBody:[jsonstr dataUsingEncoding:NSUTF8StringEncoding]];
    [NSURLConnection sendAsynchronousRequest:req
                                       queue:[NSOperationQueue mainQueue]
                           completionHandler:^(NSURLResponse *response, NSData *data, NSError *error) {
                               NSLog(@"responce");
                               if (data) {
                                   NSError*JSONError = nil;
                                   NSDictionary*result = [NSJSONSerialization JSONObjectWithData:data options:NSJSONReadingAllowFragments error:&JSONError];
                                   if (JSONError) {
                                       return;
                                   }
                                   if ([[result allKeys] containsObject:@"access_token"]) {
//とれた
                                   }
                               } else {
                               }
                           }];
Referenceの通りにURLを組み立てて、POSTリクエストをします。
これで認証は完了です!
5.APIを叩く際にヘッダーにアクセストークンを付けていれば認証したアカウントからのアクセスとして扱われる
APIを叩く際はNSMutableURLRequestに
[req addValue:token forHTTPHeaderField:@"Authorization"];
とするだけで、そのアカウントからのアクセスだと判定されます。
簡単でしょ!
