構成
ruby 2.3.1
rails5
unicorn
capistrano
nginx
目次
手順
VPSのセットアップ
http://vps.sakura.ad.jp/specification/
から好きな構成を選んで申し込み。
今回は一番小さいプラン512にしました。
申し込みをしたら
https://secure.sakura.ad.jp/vps/#/servers/
にログインして標準OSをインストールします。
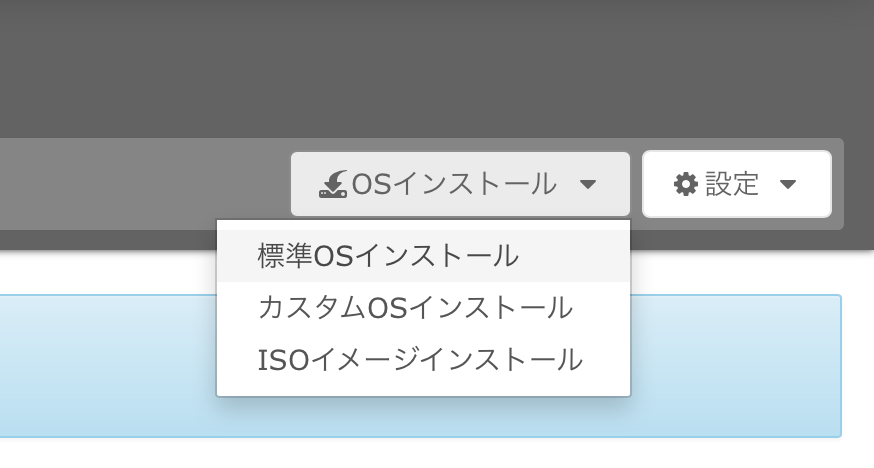
rootのパスワードもここで設定します。忘れないようにメモしておきます。

ステータスが稼働中になるまでしばらく待ちます

またこのページに表示されているIPv4アドレスが契約したIPアドレスになります。

稼働中ステータスになったらVNCコンソールを開いて眺めます。

結構かかるので結構待ちます。(20分くらいかな
ちなみにUpdating RPMS on system:と出ていて固まっていても大丈夫です。
https://blog.fudi55.net/archives/454.html
tk1_xxx_xxxx login: _と表示された表示になったら次のステップに進みます。
SSHでログイン
さくらのサーバーにログインします。terminal.appを開いて
ssh root@xxx.xxx.xx.xx (xxx.xxx.xx.xxはサーバのIPアドレス)
でログインします。質問にはyes、OSインストール時に決めたパスワードを入力します。
ここで
WARNING: REMOTE HOST IDENTIFICATION HAS CHANGED!が出る場合は
ssh-keygen -R xxx.xxx.xx.xx
でホストから設定を消せば先に進めるはずです。
ユーザーの作成
デプロイ用のユーザーを作っておきます。
~]# useradd deploy
~]# passwd deploy
New password: パスワード入力
visudoしてユーザー権限を広げておく
deploy ALL=(ALL) ALL
deployユーザーをwheelに入れておく
usermod -G wheel deploy
nginxのインストール
~]# rpm -ivh http://nginx.org/packages/centos/6/noarch/RPMS/nginx-release-centos-6-0.el6.ngx.noarch.rpm
~]# yum -y install nginx
cd /etc/nginx/conf.d/
mv default.conf default.conf.bak
vim sample.conf
upstream staging {
  server unix:/tmp/unicorn.staging.sock;
}

server {
  listen 80 default_server;
  server_name xxx.xxx.xx.xx;

  access_log /var/log/nginx/access.log;
  error_log /var/log/nginx/error.log;

  root /home/deploy/staging/current/;
  location / {
    location ^~ /staging {
      proxy_pass http://staging;
    }
  }
}
~
MySQL
yum install http://dev.mysql.com/get/mysql-community-release-el6-5.noarch.rpm
yum install mysql mysql-devel mysql-server mysql-utilities
yum install sqlite-devel
yum install nodejs --enablerepo=epel
rbenvとrubyのインストール
下準備
yum install gcc-c++ glibc-headers openssl-devel readline libyaml-devel readline-devel zlib zlib-devel
rbenvのインストールとセットアップ
~]# git clone https://github.com/sstephenson/rbenv.git /usr/local/rbenv
~]# git clone git://github.com/sstephenson/ruby-build.git /usr/local/rbenv/plugins/ruby-build
chgrp -R wheel /usr/local/rbenv/
chmod -R g+rwxXs /usr/local/rbenv/
chmod -R g-s /path/to/rbenv
bash_profileに追記(deployユーザーもやっておく)
export RBENV_ROOT="/usr/local/rbenv"
export PATH="${RBENV_ROOT}/bin:${PATH}"
eval "$(rbenv init --no-rehash -)"
ruby2.3.1のインストール
~]# rbenv install 2.3.1
//~~~待つ
rbenv global 2.3.1
rbenv rehash
yum install rubygems
gem install sqlite3 -v '1.3.12'
deployユーザーの公開鍵の作成
一度vpsからログアウトしてdeployユーザーでログインしなおします。
exit
ssh deploy@xxx.xxx.xx.xx
ssh-keygen
//enter
less ~/.ssh/id_rsa.pub
コピペしてqで出る
deployユーザーの公開鍵の登録
githubなら
Personal settings > personal > SSH and GPG keys
bitbucketなら
SSHKeyの登録から
ついでにリポジトリを作る
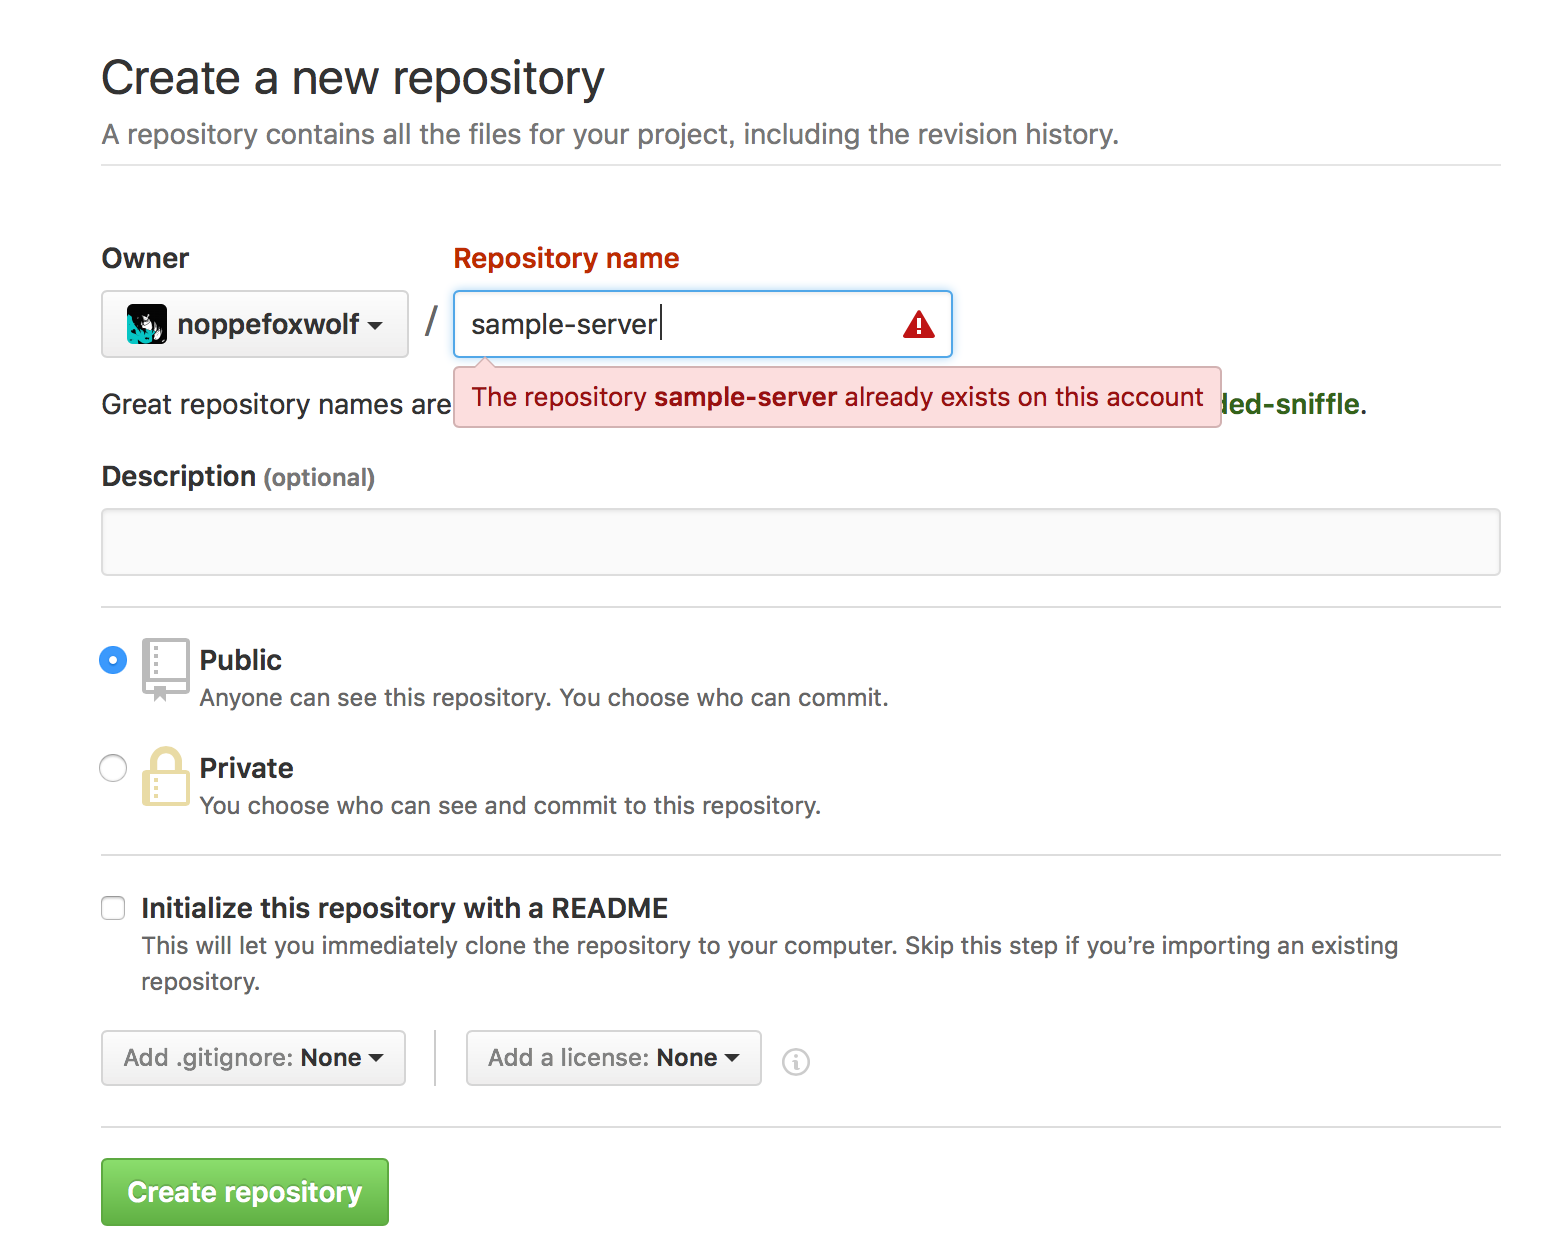

デプロイするアプリケーションを作る
rails new sample
cd sample

git init
gibo rails >> .gitignore
config/secrets.ymlを.gitignoreに追記する
git add .
git commit -am "first init"
git remote add origin git@github.com:noppefoxwolf/sample-server.git
git push -u origin master

bundle exec rails generate controller Welcome index
bundle exec rails s
http://localhost:3000/welcome/index
にアクセスしてみる
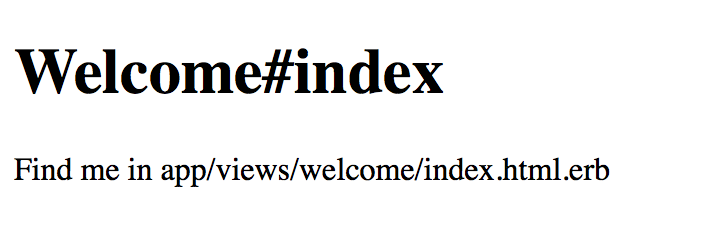
これがでればOK
Ctrl+Cでサーバ止める
Gemfileに以下を追記
group :development do
  gem "capistrano"
  gem 'capistrano-rails'
  gem "capistrano-rbenv"
  gem 'capistrano-bundler'
  gem 'capistrano3-unicorn', :git => 'git@github.com:noppefoxwolf/capistrano3-unicorn.git'
end

group :production, :staging do
  gem 'unicorn'
end
bundle update
bundle exec cap install
質問はnoを選ぶ(ci環境の誘導みたいなやつなので)
require "capistrano/setup"
require "capistrano/deploy"

require 'capistrano/rbenv'
require 'capistrano/rails'
require 'capistrano3/unicorn'

set :linked_files, %w{config/secrets.yml}
# Load custom tasks from `lib/capistrano/tasks` if you have any defined
Dir.glob("lib/capistrano/tasks/*.rake").each { |r| import r }
set :pty, true
server 'xxx.xxx.xx.xx', user: 'deploy', roles: %w{app db web}

set :linked_dirs, %w{bin log tmp/backup tmp/pids tmp/sockets vendor/bundle}

shared_path = "/home/deploy/staging/shared"
set :unicorn_pid, "#{shared_path}/tmp/pids/unicorn.pid"
set :unicorn_options, -> { "--path /staging" }
set :unicorn_exec, -> { "unicorn_rails" }
lock '3.6.1'

set :application, 'sample'
set :repo_url, 'git@github.com:noppefoxwolf/sample-server.git'
set :deploy_to, '/home/deploy/staging'
set :pty, true
set :scm, :git
set :rbenv_ruby, '2.3.1'
set :rbenv_type, :system

after 'deploy:publishing', 'deploy:restart'
namespace :deploy do
  desc 'Restart application'
  task :restart do
    invoke 'unicorn:restart'
  end
end
mkdir config/unicorn
touch config/unicorn/staging.rb
base = "/home/deploy/staging"
current_path = "#{base}/current"
shared_path = "#{base}/shared"
working_directory current_path

worker_processes 2
preload_app true
timeout 30

stderr_path "#{current_path}/log/unicorn.stderr.log"
stdout_path "#{current_path}/log/unicorn.stdout.log"
listen "/tmp/unicorn.staging.sock"
pid "#{shared_path}/tmp/pids/unicorn.pid"

# ダウンタイム無し
preload_app true

before_fork do |server, worker|
  ENV['BUNDLE_GEMFILE'] = File.expand_path('Gemfile', current_path)
  old_pid = "#{server.config[:pid]}.oldbin"
  if File.exists?(old_pid) && server.pid != old_pid
    begin
      sig = (worker.nr + 1) >= server.worker_processes ? :QUIT : :TTOU
      Process.kill(sig, File.read(old_pid).to_i)
    rescue Errno::ENOENT, Errno::ESRCH
      # someone else did our job for us
    end
  end
end

after_fork do |server, worker|
  defined?(ActiveRecord::Base) and ActiveRecord::Base.establish_connection
end
git add .
git commit -am "setup capistrano"
git push -u origin master
db設定
staging:
  <<: *default
  database: db/staging.sqlite3
git commit -am "setup database"
git push -u origin master
Mac→VPSの接続に必要な鍵
http://www.tooyama.org/ssh-key.html
を参照しつつ
//local
brew install ssh-copy-id
ssh-copy-id -i ~/.ssh/id_rsa.pub deploy@xxx.xxx.xx.xx
で送る
サブディレクトリ対応
require_relative 'config/environment'

# run Rails.application
if ENV['RAILS_RELATIVE_URL_ROOT']
  map ENV['RAILS_RELATIVE_URL_ROOT'] do
    run Rails.application
  end
else
  run Rails.application
end
秘密情報入れる
.gitignoreから外したsecrets.ymlはshareに置く
vim staging/shared/config/secrets.yml
staging:
  secret_key_base: xxxxxxxx
rake secretで作るのがいい
nginxのユーザー変える
権限周り
13 permission errorになるので
chmod 700 /home/deploy/
chmod 700 /home/
とかでhomeとdeployのディレクトリに権限与えておく(700でいいかは知らない
デプロイ
bundle exec cap staging deploy
おまけ
よく使うコマンド
less -r ファイル名
で開いてShift+Fで更新待ちに出来る。
ログファイルでこれをやっておいてブラウザで更新かけたりするといい感じにログが拾える
ps -ef --forest | grep unicorn
動いてるunicornプロセスを出す
kill -9 1958
psコマンドで取得したID指定すれば殺せる
セキュリティ周り
https://dogmap.jp/2011/05/12/vps-security/
は最低限やっておけば大体OK
あとで
綺麗にまとめたい