環境メモ
⭐️Mac OS Mojave バージョン10.14
⭐️iPhone7(IOS 12.3.1)
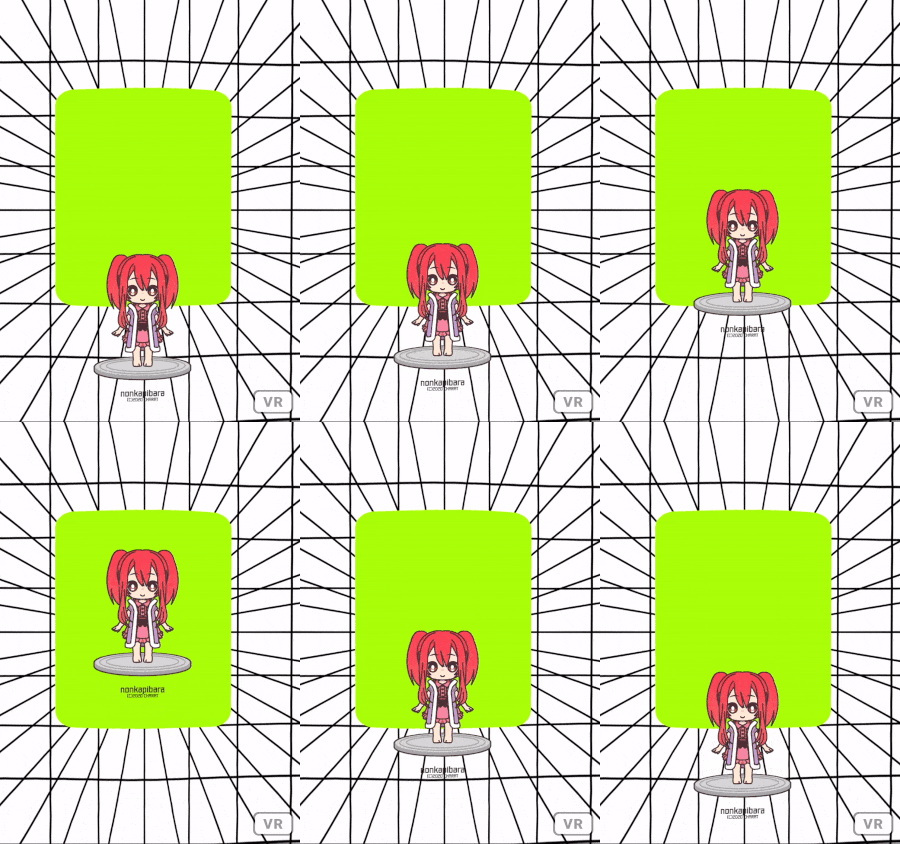
a-entityの後ろにanimationを追加します。
animationにobject3D.position.y軸にして、toに動かす位置を指定します。ここでは2.5に設定します。
dir: alternate 交互に移動
loop: true で無限に上下します。


index.html
<!DOCTYPE html>
<html>
  <head>
    <meta charset="utf-8">
    <title>Hello, WebVR! • A-Frame</title>
    <meta name="description" content="Hello, WebVR! • A-Frame">
    <script src="https://aframe.io/releases/1.0.3/aframe.min.js"></script>
  </head>
  <body>
    <a-scene>
      <a-sky src="template_color.png"></a-sky>
      <a-entity  animation="property: object3D.position.y; to: 2.5; dir: alternate; dur: 1000; loop: true">
        <a-image src="girl.png" width="4" height="4" position="0 -0.2 -5"></a-image>
      </a-entity>
    </a-scene>
  </body>
</html>
アレンジ
↓↓完成内容
🏖️WebVR👯♀️Aframe
— non (@nonnonkapibara) February 2, 2020
360度全天球のテンプレートを作って🌸
png画像をアニメーション表示してみたよぉ🍬
ハンズオン勉強会資料に「おまけページ」追加してみた☺️
似顔絵メーカーCHARAT(キャラット)💕でオリジナルのキャラクターpng画像で作ってみた😍https://t.co/bdam5d9OX1 pic.twitter.com/tVgAscRY9B
index.html
<!DOCTYPE html>
<html>
  <head>
    <meta charset="utf-8">
    <title>Hello, WebVR! • A-Frame</title>
    <meta name="description" content="Hello, WebVR! • A-Frame">
    <script src="https://aframe.io/releases/1.0.3/aframe.min.js"></script>
  </head>
  <body>
    <a-scene>
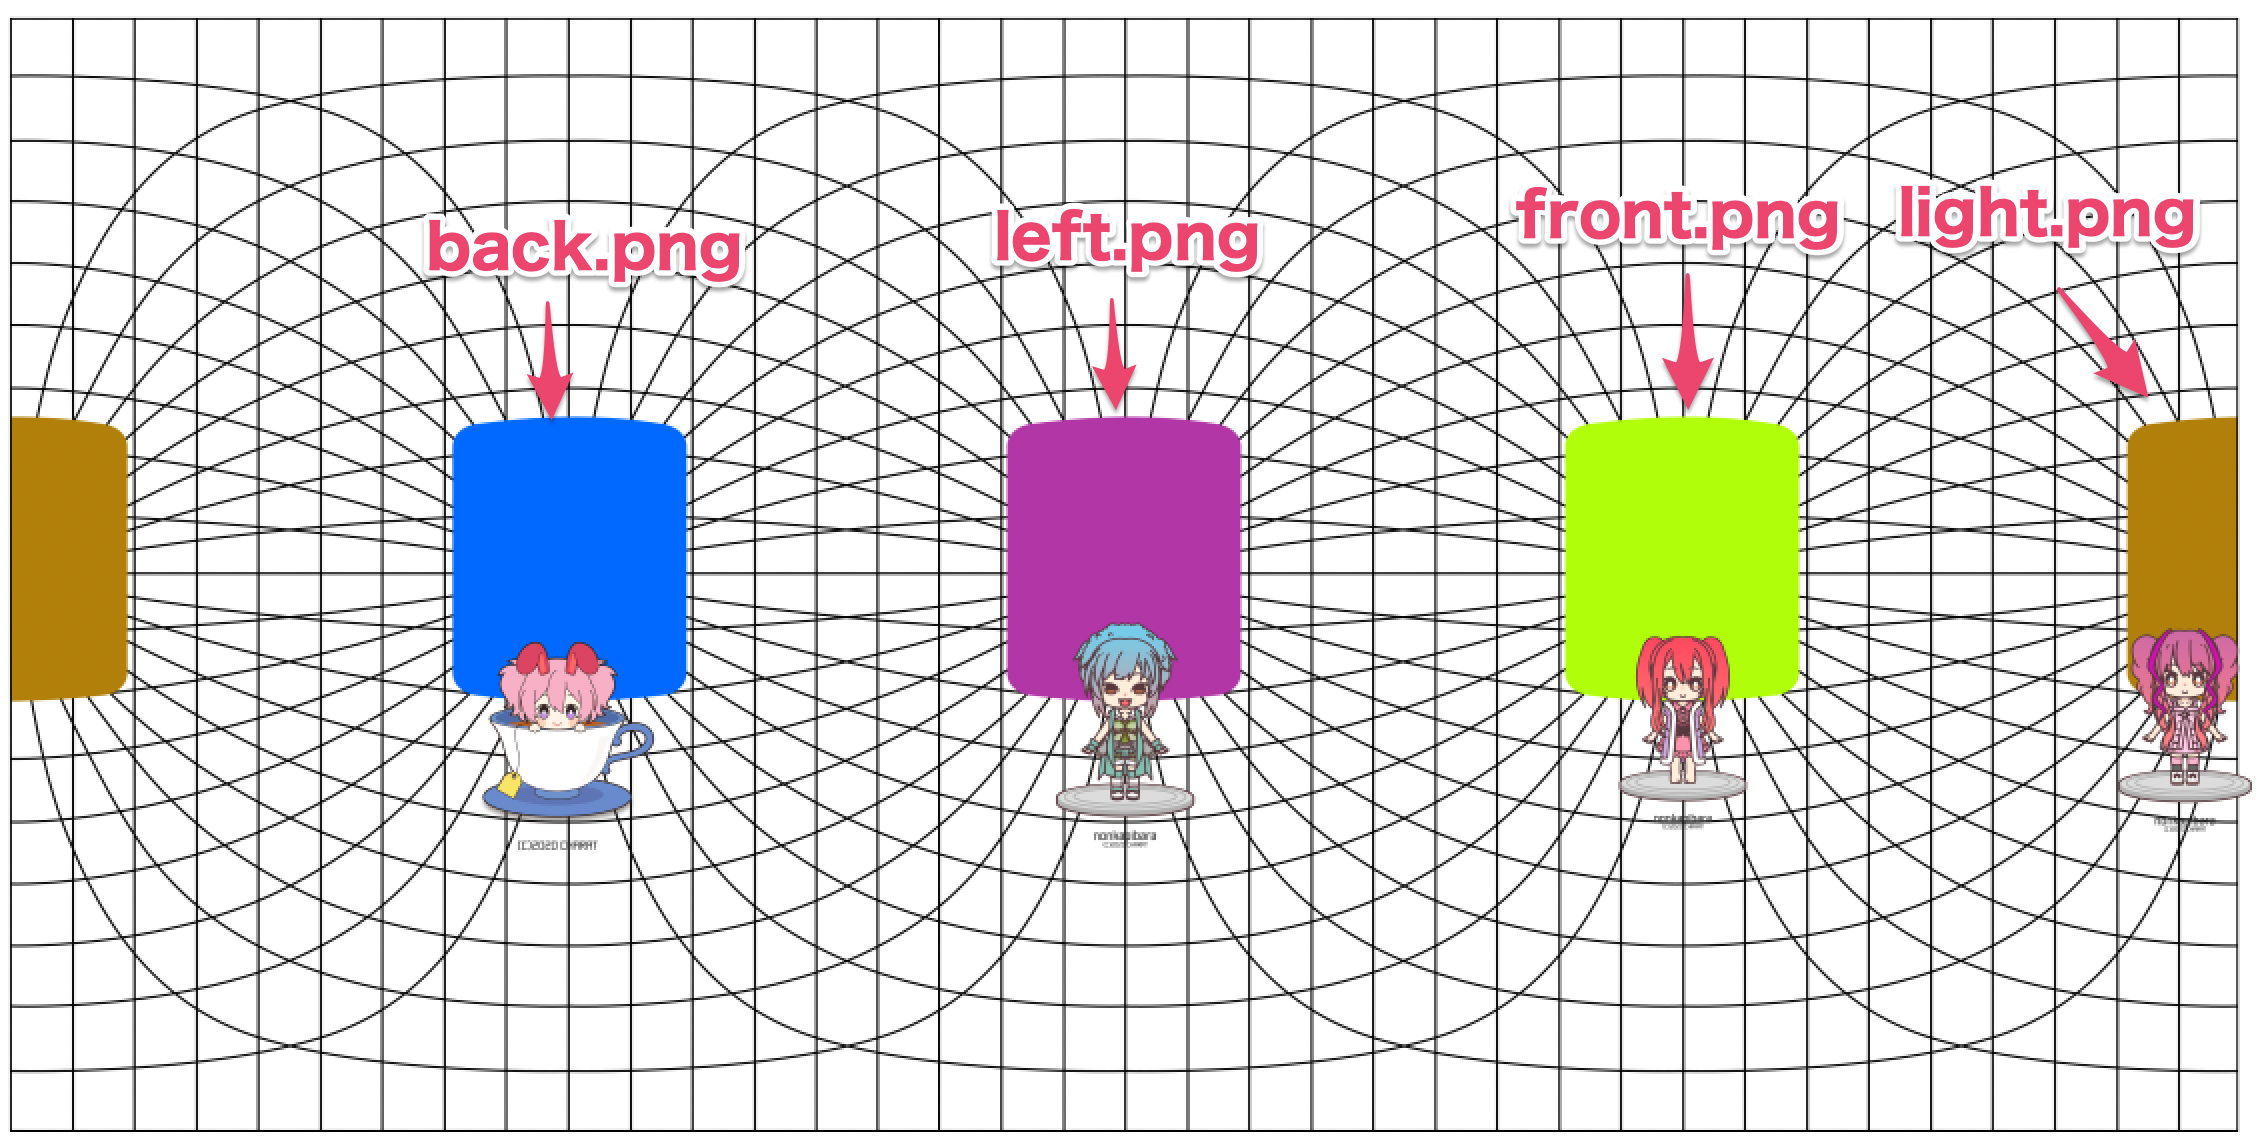
      <a-sky src="template_color"></a-sky>
      <a-entity  animation="property: object3D.position.y; to: 2.5; dir: alternate; dur: 1000; loop: true">
        <a-image src="front.png" width="4" height="4" position="0 -0.2 -5"></a-image>
        <a-image src="light.png" width="4" height="4" rotation="0, -90, 0" position="5 -0.2 0"></a-image>
        <a-image src="back.png" width="4" height="4" rotation="0, 180, 0" position="0 -0.2 6"></a-image>
        <a-image src="left.png" width="4" height="4" rotation="0, 90, 0" position="-5 -0.2 0"></a-image>
      </a-entity>
    </a-scene>
  </body>
</html>

