はじめに
前回は「24 日目に LINE ミニアプリが完成する初心者 ── Day6. 資料請求フォームの開発準備」と題して、フォーム開発に必要な環境構築を行いました。
今回は、前回作ったコンポーネントを元に、資料請求フォームのUIを作成していきます。
フォームのバリデーションにはreact-hook-formを使用していきます。
ページの作成
まずは表示をさせるページの作成を行います。
src/nextjs/pages配下にcatalogディレクトリを作成し、その中にindex.tsxを作成します。
export default function Catalog() {
  return <h1>資料請求ページ</h1>;
}
ターミナルでプロジェクトを起動してみましょう。
npm run dev
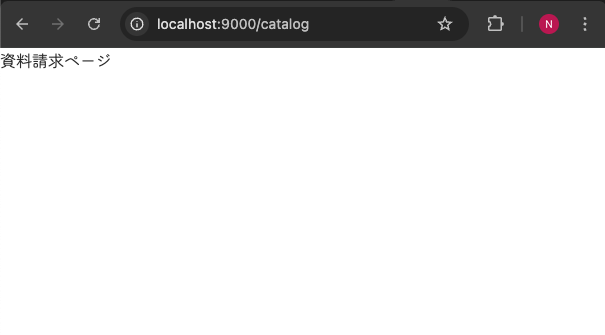
/catalogにアクセスするとページが表示されました。
フォーム UI の作成
先ほど作ったcatalogページはあくまで表示制御するためのファイルのため、フォーム用のコンポーネントは別でファイルを作っていきたいと思います。
CatalogPage.tsx の作成
components/pages/catalogディレクトリにCatalogPage.tsxを作成します。
export default function CatalogPage() {
  return (
    <div>
      <h1 className="text-3xl font-medium text-center p-12">
        資料請求フォーム
      </h1>
      <div className="text-center">
        <p>カタログをご希望の方はこちらからお問い合わせください。</p>
        <p>※同業の方の情報収集目的でのお問い合わせはご遠慮ください。</p>
      </div>
    </div>
  );
}
これを先ほど作ったページにインポートします。
import CatalogPage from "@/components/pages/catalog/CatalogPage";

export default function Catalog() {
  return <CatalogPage />;
}
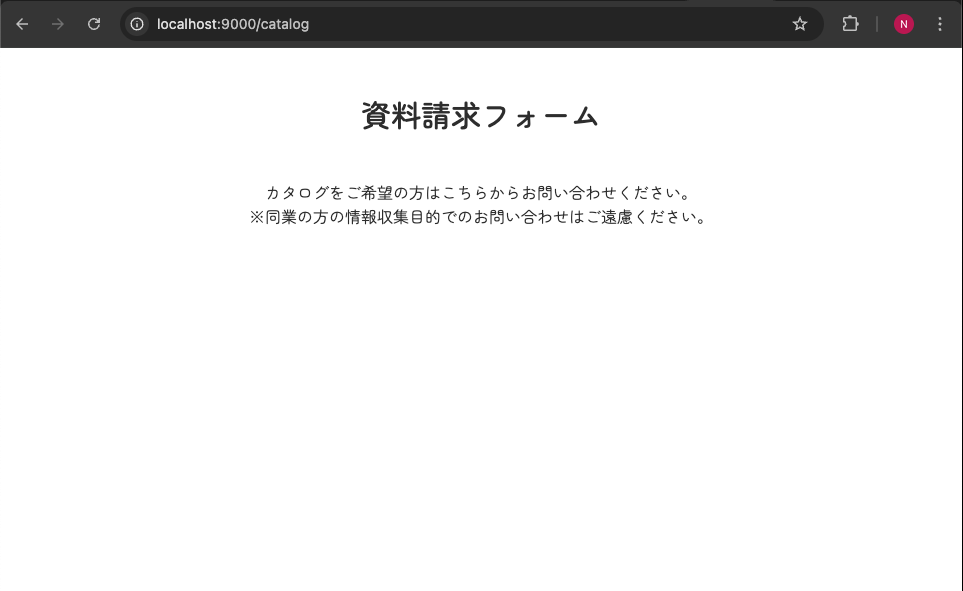
ページを見てみると`CatalogPage.tsx`の内容が表示されました。
型定義とフォームの初期設定
フォームで使用する各フィールドの型をCatalogPagePropsとして定義したいと思います。
前回の設計を元に型を定義していきます。
type CatalogPageProps = {
  name: string;           // お名前
  email: string;          // メールアドレス
  tel: string;            // お電話番号
  postalCode: string;     // 郵便番号
  prefecture: string;     // 都道府県
  city: string;           // 市区町村
  address: string;        // 町名・番地
  message: string;        // ご意見・ご質問
  privacyPolicy: boolean; // プライバシーポリシー同意
};
なお、telやpostalCodeはハイフンを許容するため、string型にしています。
react-hook-form の設定
useFormフックを使用してフォームの状態管理を行います。
register、handleSubmit、errorsを取得し、フォームのバリデーションと送信処理を設定します。
import { useForm } from "react-hook-form";

export default function CatalogPage() {
  const {
    register,
    handleSubmit,
    formState: { errors },
  } = useForm<CatalogPageProps>();

  return (
    // (中略)
  );
}
フォームの送信処理
はじめにonSubmitとして、フォームのデータを受け取る関数を定義します。
今回は一旦dataをコンソールに出力するだけの処理を記述します。
const onSubmit: SubmitHandler<CatalogPageProps> = (data) => console.log(data);
この`onSubmit`を`handleSubmit`に渡して、フォームの送信処理を行います。
// (中略)

  return (
    <div>
      <h1 className="text-3xl font-medium text-center p-12">
        資料請求フォーム
      </h1>
      <div className="text-center">
        <p>カタログをご希望の方はこちらからお問い合わせください。</p>
        <p>※同業の方の情報収集目的でのお問い合わせはご遠慮ください。</p>
      </div>
    </div>
    <form onSubmit={handleSubmit(onSubmit)} className="p-10">
      {/* ここにフォームの入力フィールドを実装 */}
    </form>
  );
4. 入力フィールドの実装
各入力フィールドは、前回作成した UI コンポーネントを使用して実装します。
import { Button, Checkbox, Input, Select, Textarea } from "@/components/ui";
import { prefectureOptions } from "utils/prefectures";

// (中略)

      <form onSubmit={handleSubmit(onSubmit)} className="p-10">
        <Input
          label="お名前"
          required={true}
          placeholder="例)山田 太郎"
        />
        <Input
          label="メールアドレス"
          required={true}
          placeholder="例)email@address.com"
        />
        <Input
          label="お電話番号"
          required={true}
          placeholder="例)0466-54-7227"
        />
        <Input
          label="郵便番号"
          required={true}
          formSize=""
          placeholder="例)251-0056"
        />
        <Select
          label="都道府県"
          required={true}
          placeholder="- 都道府県選択 -"
          options={prefectureOptions}
        />
        <Input
          label="市区町村"
          required={true}
          placeholder="例)藤沢市羽鳥"
        />
        <Input
          label="町名・番地"
          required={true}
          placeholder="例)2-1-24 三上ハイツ101"
        />
        <Textarea
          label="ご意見・ご質問"
          placeholder="例)住宅ローンについて質問したい"
        />
        <Checkbox
          label="プライバシーポリシーに同意する"
        />
        <Button type="submit" label="送信する" />
      </form>
都道府県の Select に渡している`prefectureOptions`は、value と label を持つオブジェクトの配列を作って渡しています。
export const prefectureOptions = [
  { value: "1", label: "北海道" },
  { value: "2", label: "青森県" },
  // (中略)
];
バリデーションの設定
上記で追加したフィールドに対して、バリデーションを設定していきます。
import { useForm } from "react-hook-form";
import { Button, Checkbox, Input, Select, Textarea } from "@/components/ui";
import { prefectureOptions } from "utils/prefectures";

export default function CatalogPage() {
  const {
    register,
    handleSubmit,
    formState: { errors },
  } = useForm<CatalogPageProps>();

  // (中略)

      <form onSubmit={handleSubmit(onSubmit)} className="p-10">
        <Input
          label="お名前"
          required={true}
          placeholder="例)山田 太郎"
          error={!!errors.name}
          helperText={errors.name?.message}
          {...register("name", { required: "お名前を入力してください" })}
        />
        <Input
          label="メールアドレス"
          required={true}
          placeholder="例)email@address.com"
          error={!!errors.email}
          helperText={errors.email?.message}
          {...register("email", {
            required: "メールアドレスを入力してください",
            pattern: {
              value: /^[A-Z0-9._%+-]+@[A-Z0-9.-]+\.[A-Z]{2,}$/i,
              message: "メールアドレスの形式が不正です",
            },
          })}
        />
        <Input
          label="お電話番号"
          required={true}
          placeholder="例)0466-54-7227"
          error={!!errors.tel}
          helperText={errors.tel?.message}
          {...register("tel", {
            required: "電話番号を入力してください",
            pattern: {
              value: /^(?!-)(\d{2,4}-?\d{2,4}-?\d{3,4}|\d{10,11})$/,
              message: "電話番号の形式が不正です",
            },
          })}
        />
        <Input
          label="郵便番号"
          required={true}
          formSize=""
          placeholder="例)251-0056"
          error={!!errors.postalCode}
          helperText={errors.postalCode?.message}
          {...register("postalCode", {
            required: "郵便番号を入力してください",
            pattern: {
              value: /^(\d{3}-\d{4}|\d{7})$/,
              message: "郵便番号の形式が不正です",
            },
          })}
        />
        <Select
          label="都道府県"
          required={true}
          placeholder="- 都道府県選択 -"
          error={!!errors.prefecture}
          helperText={errors.prefecture?.message}
          options={prefectureOptions}
          {...register("prefecture", {
            required: "都道府県を選択してください",
          })}
        />
        <Input
          label="市区町村"
          required={true}
          placeholder="例)藤沢市羽鳥"
          error={!!errors.city}
          helperText={errors.city?.message}
          {...register("city", {
            required: "市区町村を入力してください",
          })}
        />
        <Input
          label="町名・番地"
          required={true}
          placeholder="例)2-1-24 三上ハイツ101"
          error={!!errors.address}
          helperText={errors.address?.message}
          {...register("address", {
            required: "町名・番地を入力してください",
          })}
        />
        <Textarea
          label="ご意見・ご質問"
          placeholder="例)住宅ローンについて質問したい"
          {...register("message")}
        />
        <Checkbox
          label="プライバシーポリシーに同意する"
          error={!!errors.privacyPolicy}
          helperText={errors.privacyPolicy?.message}
          {...register("privacyPolicy", {
            required: "プライバシーポリシーへの同意は必須です",
          })}
        />
        <Button type="submit" label="送信する" />
      </form>
    </div>
registerに渡しているオブジェクトのrequiredプロパティには、バリデーションのメッセージを指定しています。
errorsのバリデーションエラーをerrorとhelperTextにそれぞれ渡すことで、設定したエラーメッセージが表示できる様になります。
動作確認
資料請求フォームの UI ができたので、実際に画面で動作を確認してみます。
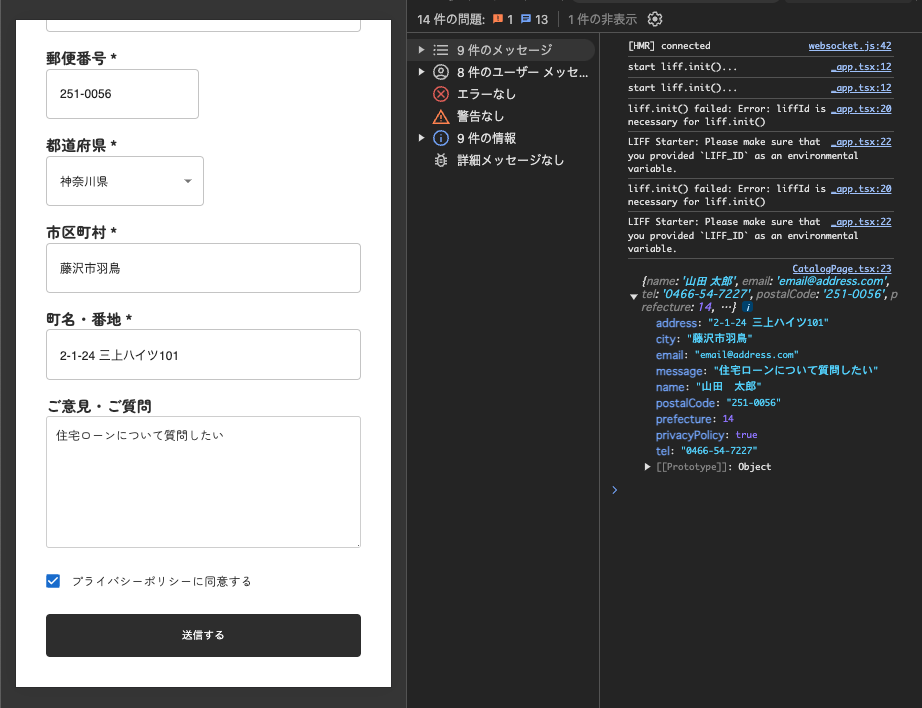
何も入力せずに送信ボタンを押してみると、バリデーションエラーが表示されました。

次に内容を入力して送信ボタンを押してみると、データがコンソールに出力されました。
これで資料請求フォームのUIは実装完了です!
まとめ
ここまでで、資料請求フォームの UI を作成してきました。
react-hook-formを使用することで、効率的なフォームのバリデーションと状態管理を実現できました。
次回は、フォーム送信後に表示される完了画面を実装していきます。
残りは 17 日!
気になる方は是非フォローやカレンダー購読をお願いします![]()


