AndroidStudioでボタンに画像とテキストを表示させたいときはButtonタグにdrawableStart等を使ってやれば,ボタンの中に画像とテキストを表示することができる.しかし元々drawableに用意していた画像を表示させたくなった時,画像が大きいと画像がボタンに収まりきらない.これは小さいサイズの画像を作ることで簡単に解決できるが,別の解決方法が知りたかった(画像を作るのが面倒だった)のでdrawableStart等を使わずに表示する方法を載せる.
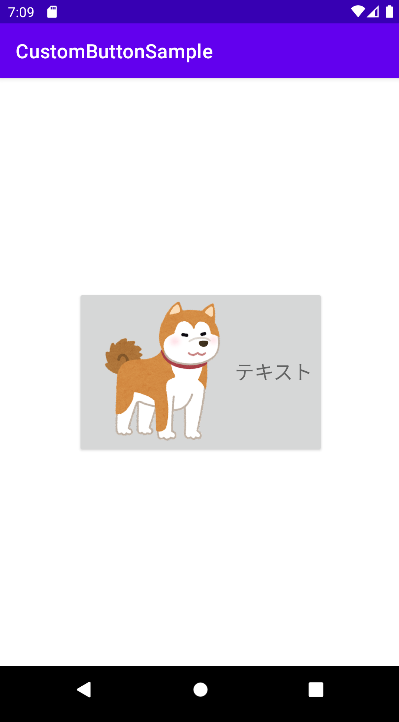
完成イメージ
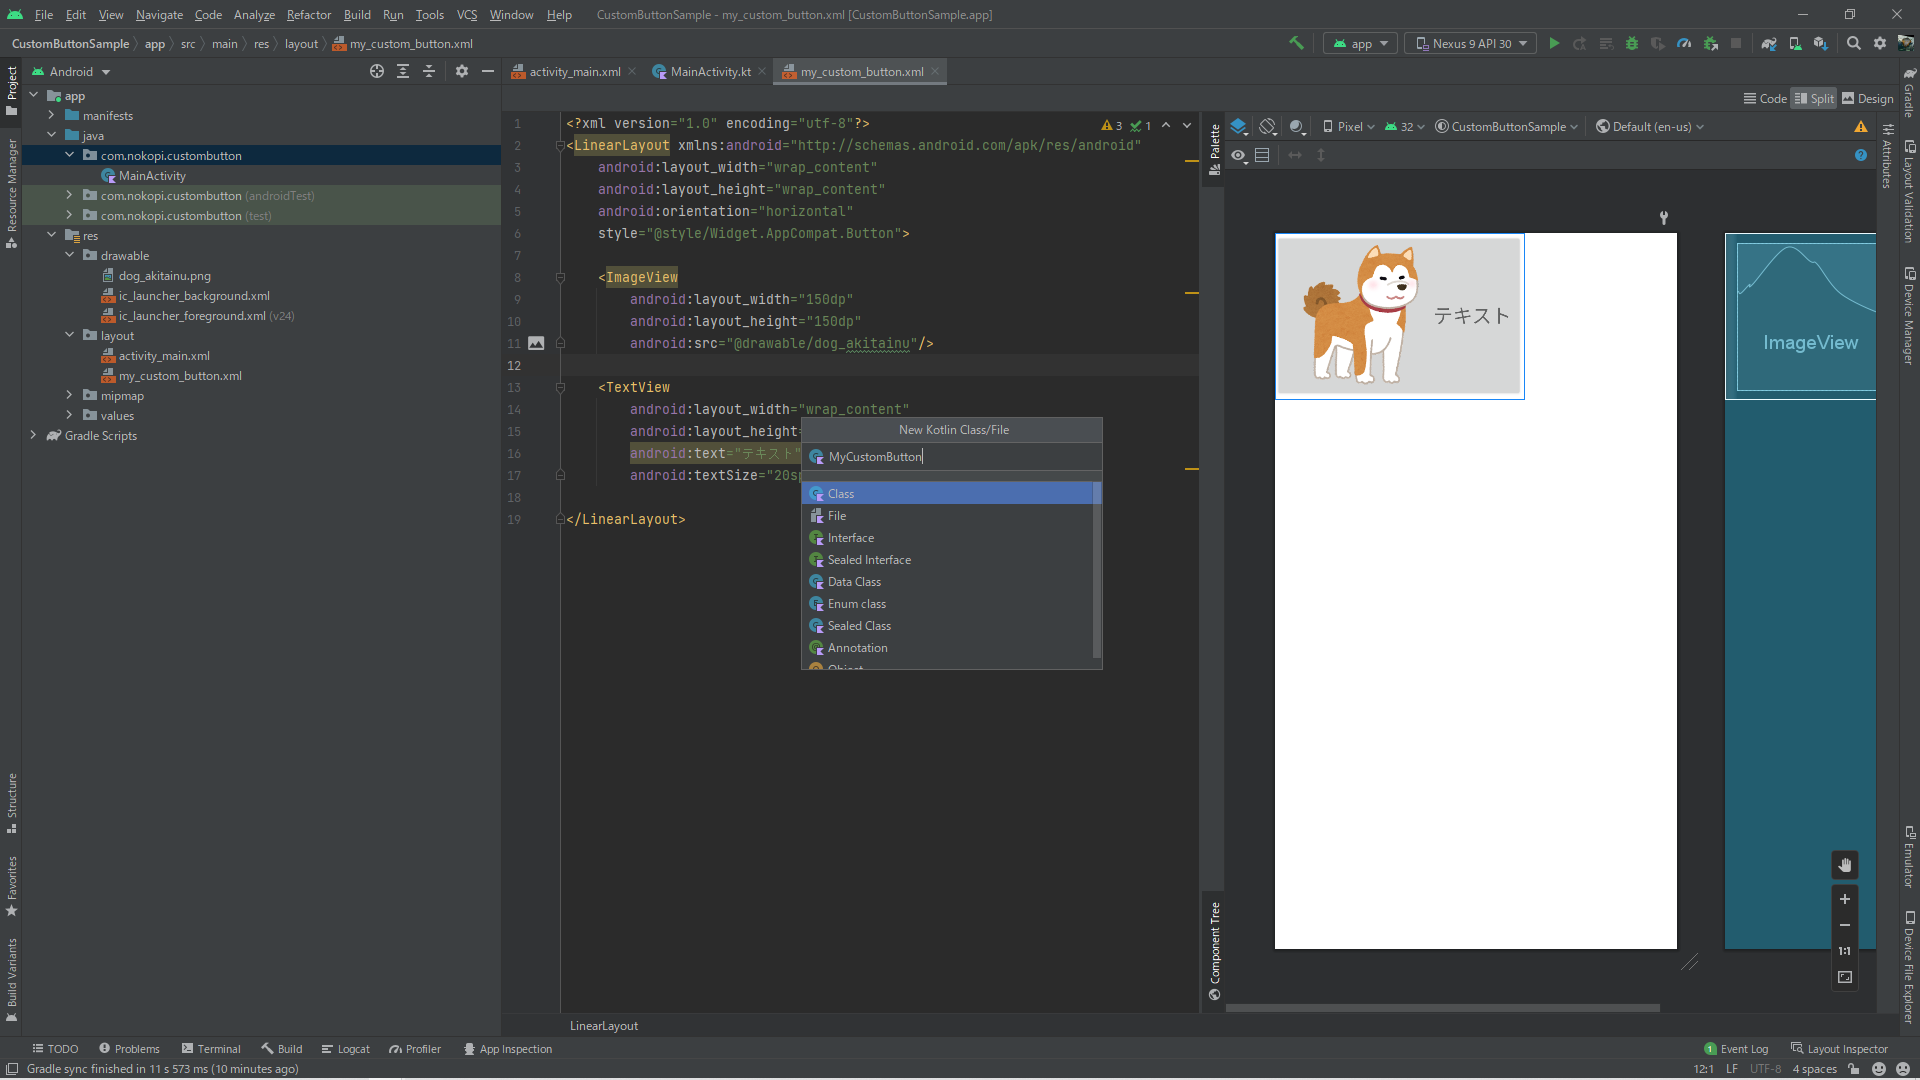
完成したときのイメージはこんな感じ.
ボタンの見た目を作成
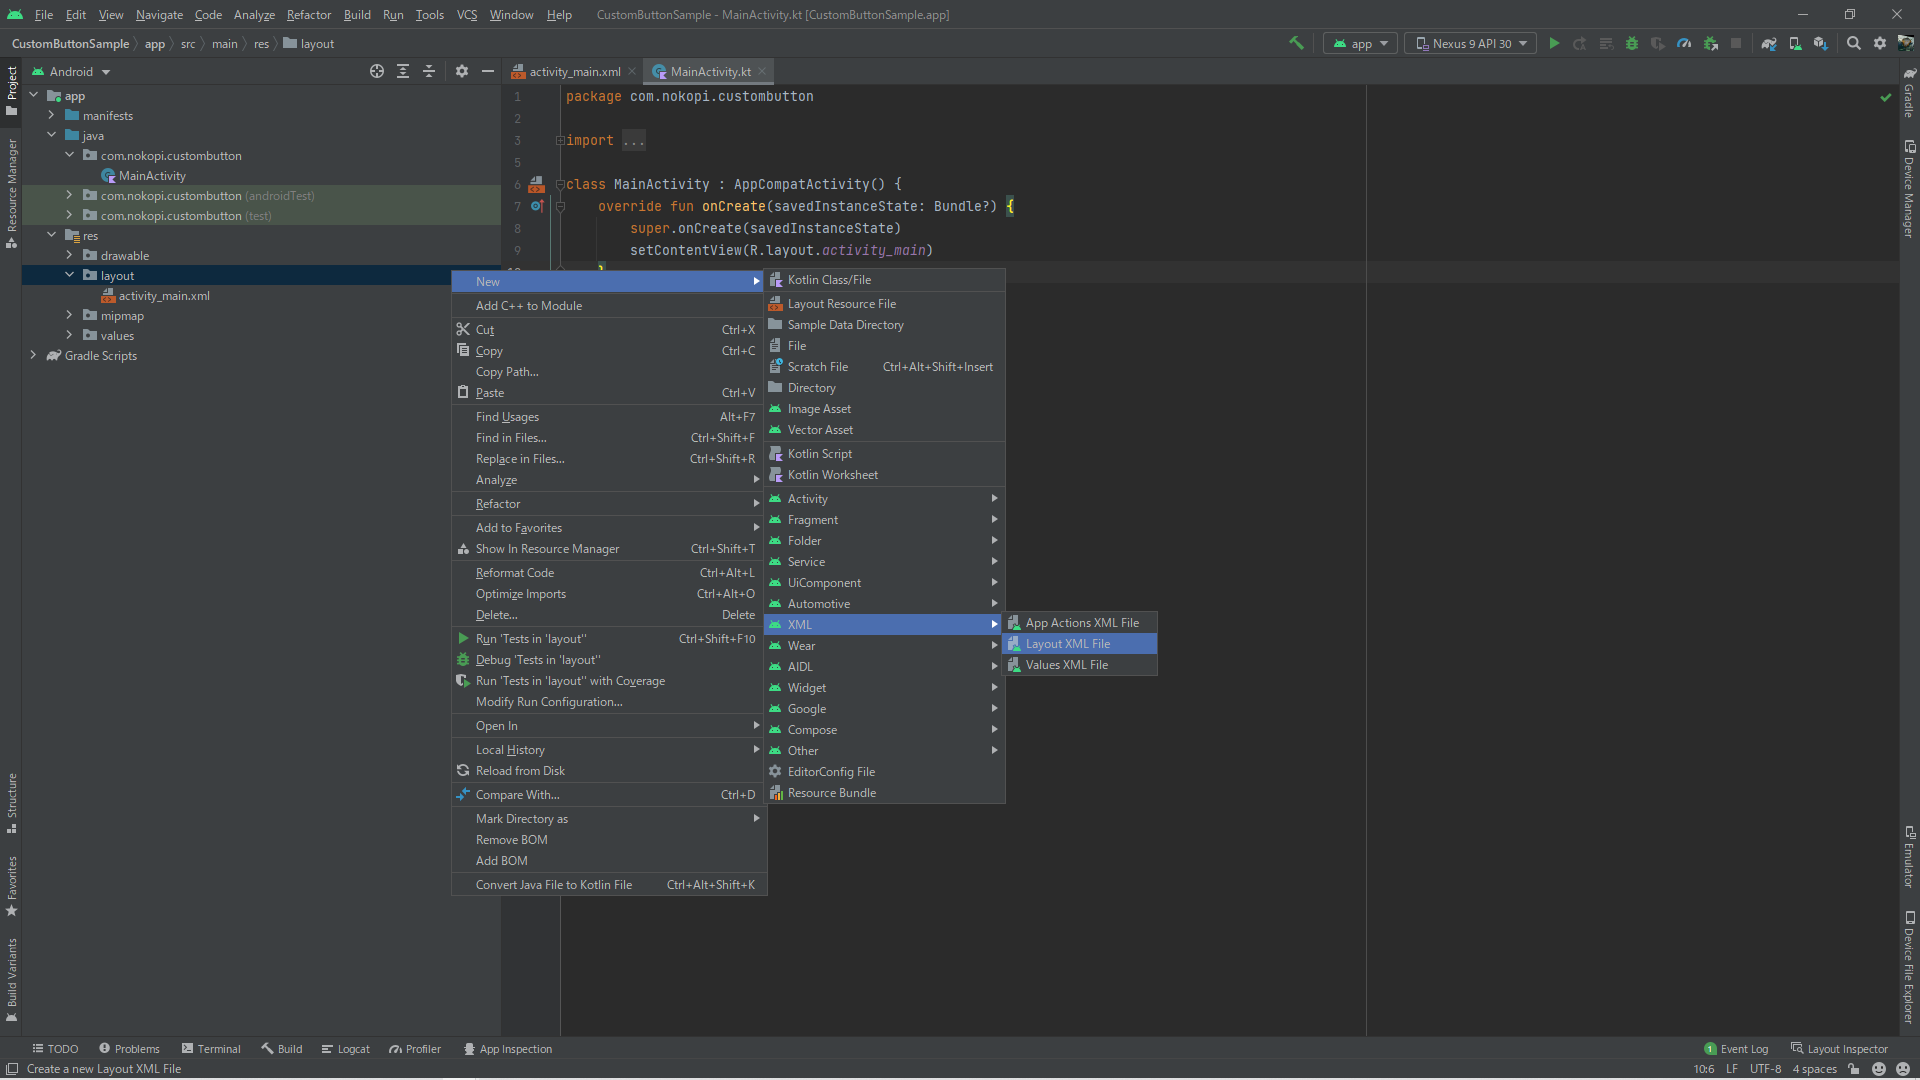
ボタンの見た目を作成するためにまずレイアウトファイルを作成する.
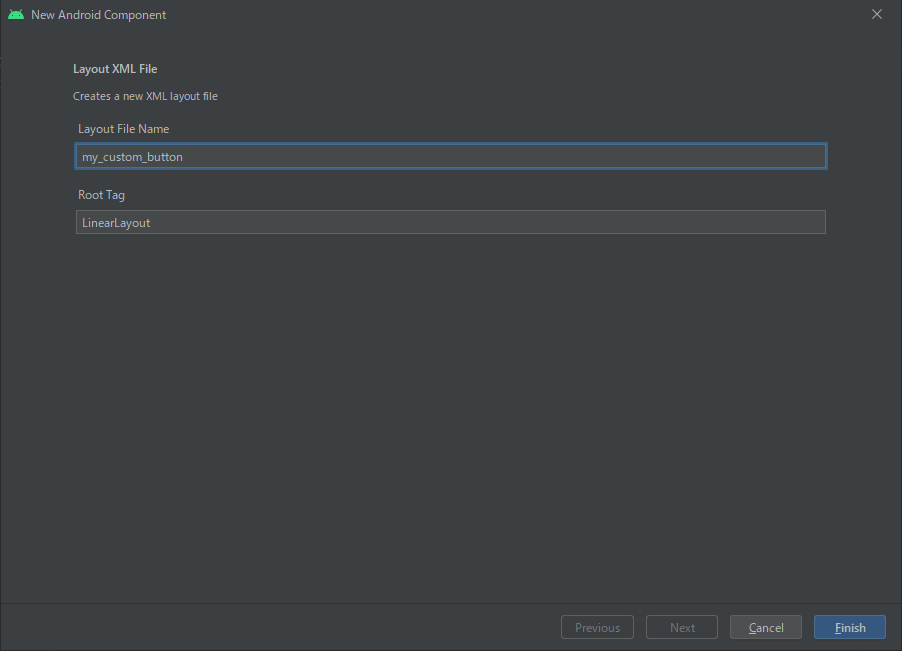
layoutフォルダで右クリック → New -> XML -> Layout XML Fileの順にクリック → Layout File Nameに好きな名前を付けてFinish
作成したレイアウトファイルに以下を記述
ImageViewのsrcに表示させたい画像を指定する.
my_custom_button.xml
<?xml version="1.0" encoding="utf-8"?>
<LinearLayout xmlns:android="http://schemas.android.com/apk/res/android"
    android:layout_width="wrap_content"
    android:layout_height="wrap_content"
    android:orientation="horizontal"
    style="@style/Widget.AppCompat.Button">

    <ImageView
        android:layout_width="150dp"
        android:layout_height="150dp"
        android:src="@drawable/dog_akitainu"/>

    <TextView
        android:layout_width="wrap_content"
        android:layout_height="wrap_content"
        android:text="テキスト"
        android:textSize="20sp"/>

</LinearLayout>
ボタンのClassファイルを作る
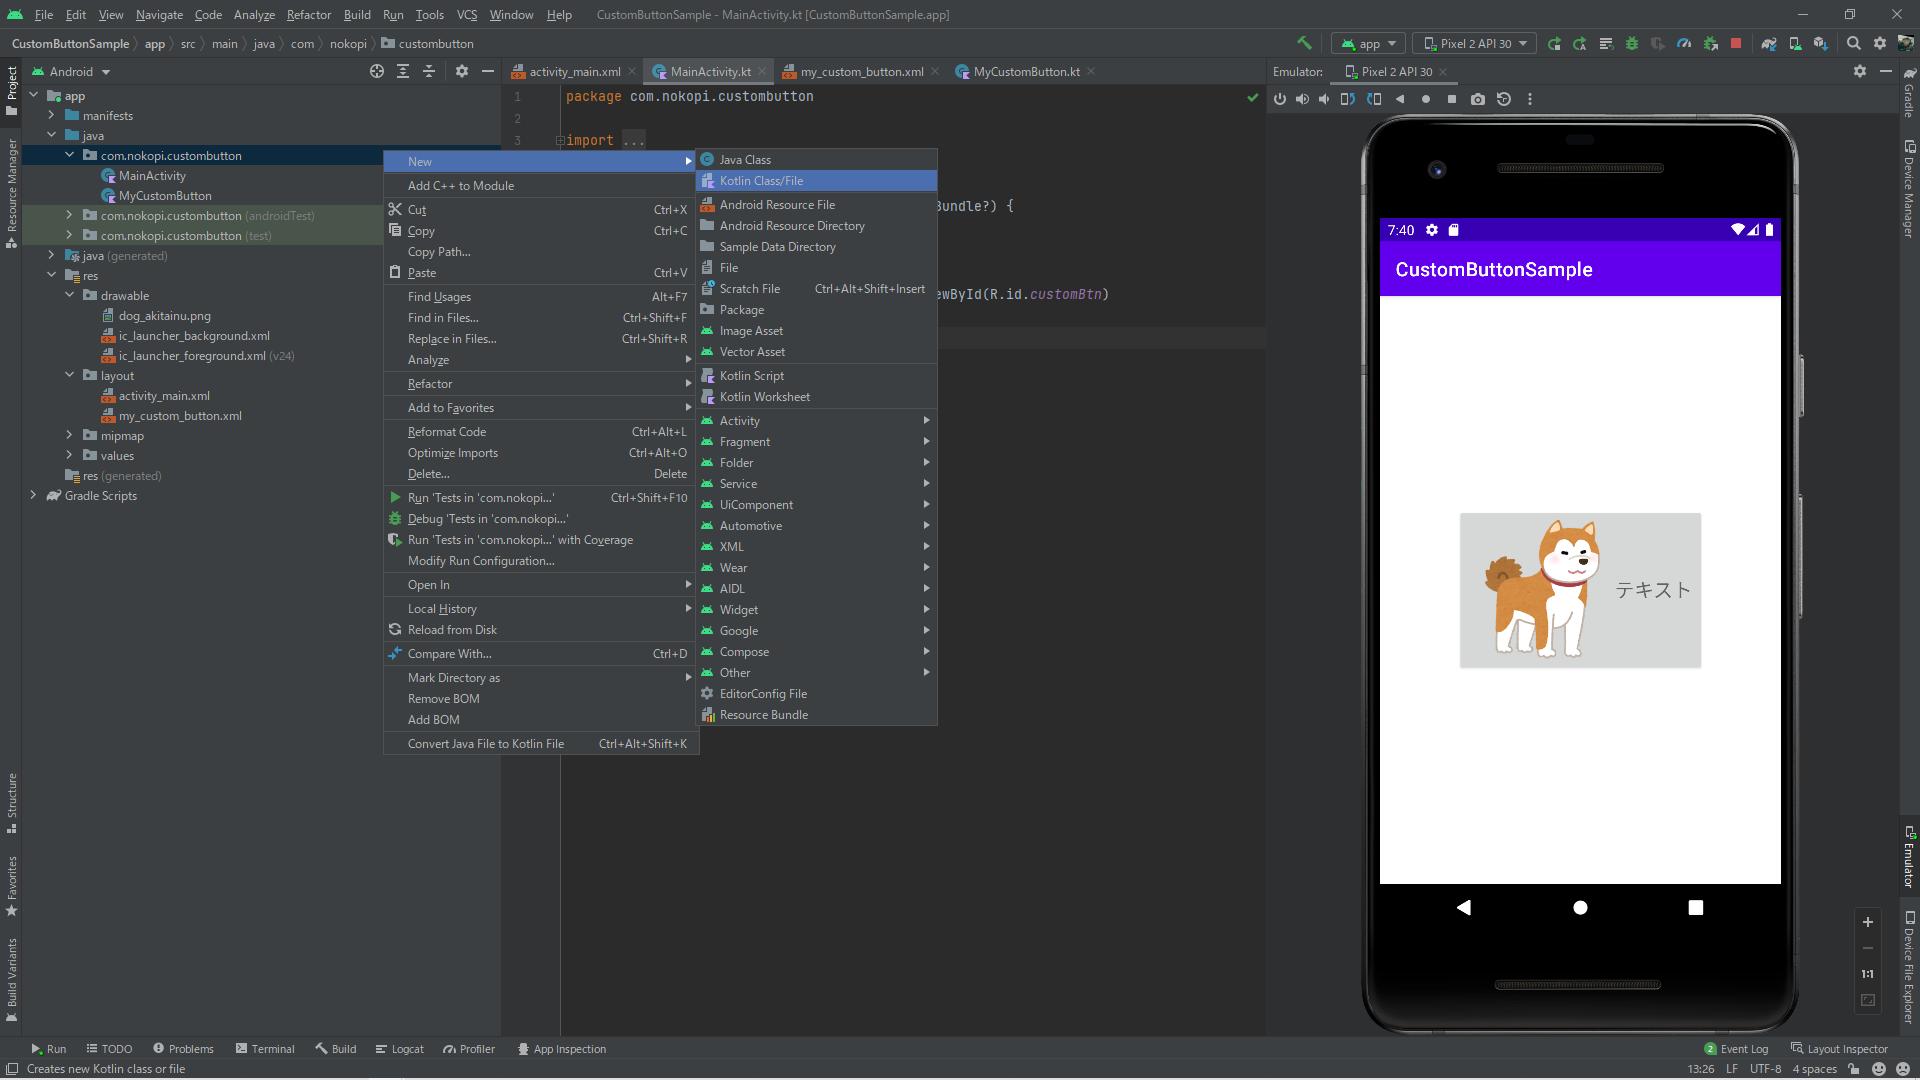
パッケージで右クリック → New -> Kotlin Class Fileの順にクリック → 好きな名前を付けてClassを選択
作成したClassファイルに以下を記述
LayoutInflaterには先ほど作成したレイアウトファイルを指定
MyCustomButon.kt
class MyCustomButton @JvmOverloads constructor(context: Context, attrs: AttributeSet? = null, defStyleAttr: Int = 0): LinearLayout(context, attrs, defStyleAttr) {
    init {
        LayoutInflater.from(context).inflate(R.layout.my_custom_button, this)
    }

    private var listener: OnClickListener? = null

    override fun setOnClickListener( l: OnClickListener?) {
        listener = l
    }

    override fun dispatchTouchEvent(ev: MotionEvent): Boolean {
        if (ev.action == MotionEvent.ACTION_UP) {
            if (listener != null) {
                post { listener!!.onClick(this) }
            }
        }
        return super.dispatchTouchEvent(ev)
    }
}
作成したボタンを使う
使いたいactivityのレイアウトファイルで作成したボタンのClassファイルを指定する
activity_main.xml
<?xml version="1.0" encoding="utf-8"?>
<androidx.constraintlayout.widget.ConstraintLayout xmlns:android="http://schemas.android.com/apk/res/android"
    xmlns:app="http://schemas.android.com/apk/res-auto"
    xmlns:tools="http://schemas.android.com/tools"
    android:layout_width="match_parent"
    android:layout_height="match_parent"
    tools:context=".MainActivity">

    <com.nokopi.custombutton.MyCustomButton
        android:id="@+id/customBtn"
        android:layout_width="wrap_content"
        android:layout_height="wrap_content"
        app:layout_constraintBottom_toBottomOf="parent"
        app:layout_constraintLeft_toLeftOf="parent"
        app:layout_constraintRight_toRightOf="parent"
        app:layout_constraintTop_toTopOf="parent"/>

</androidx.constraintlayout.widget.ConstraintLayout>
activity内での記述は変数の型に注意すれば普通のボタンと一緒.
MainActivity.kt
val customBtn: MyCustomButton = findViewById(R.id.customBtn)
customBtn.setOnClickListener {
   //ボタン押したときの処理
}
参考資料
おわりに
この作り方を覚えておけばレイアウト次第で自分好みのボタンが作れるようになるので便利だなと思いました.
最後まで読んでいただきありがとうございました!何かありましたらコメントお願いします.