弊社ではciscornさんの先導でSvelte-maplibre-glというSvelte 5で利用可能なMapLibre GL JSのラッパーライブラリを開発しています!
詳しい説明は他記事に譲るとして、今回はそれを使って簡単な地図アプリを作る!ということをやってみようと思いますー!
地図を出すだけならほんっっっっとうに簡単なので、今回はAmplifyでデプロイするということもやってみましょう!
また、アプリケーションっぽさを出すために外部のAPIを利用しようと思います。
今回はmicroCMSを利用して、地図で見れる旅行日記的なアプリケーションを目指してみました!
コードはこちらに上がっています!
(あまりに安直な名称)
プロジェクトの準備
早速プロジェクトを作成していきましょう!
SvelteKitでプロジェクト作成します。今回はTypeScriptを使っていきます!
❯ npx sv create sample
┌  Welcome to the Svelte CLI! (v0.6.6)
│
◇  Which template would you like?
│  SvelteKit minimal
│
◇  Add type checking with Typescript?
│  Yes, using Typescript syntax
│
◆  Project created
│
◇  What would you like to add to your project? (use arrow keys / space bar)
│  prettier, eslint, vitest, tailwindcss
│
◇  tailwindcss: Which plugins would you like to add?
│  none
│
◇  Which package manager do you want to install dependencies with?
│  npm
│
◆  Successfully setup add-ons
│
◆  Successfully installed dependencies
│
◇  Successfully formatted modified files
│
◇  Project next steps ─────────────────────────────────────────────────────╮
│                                                                          │
│  1: cd sample                                                            │
│  2: git init && git add -A && git commit -m "Initial commit" (optional)  │
│  3: npm run dev -- --open                                                │
│                                                                          │
│  To close the dev server, hit Ctrl-C                                     │
│                                                                          │
│  Stuck? Visit us at https://svelte.dev/chat                              │
│                                                                          │
├──────────────────────────────────────────────────────────────────────────╯
│
└  You're all set!
必要なパッケージをインストールしていきます。
npm i -D amplify-adapter microcms-js-sdk svelte-maplibre-gl
npm run devでサーバーが立ち上がればOKです!
データの用意
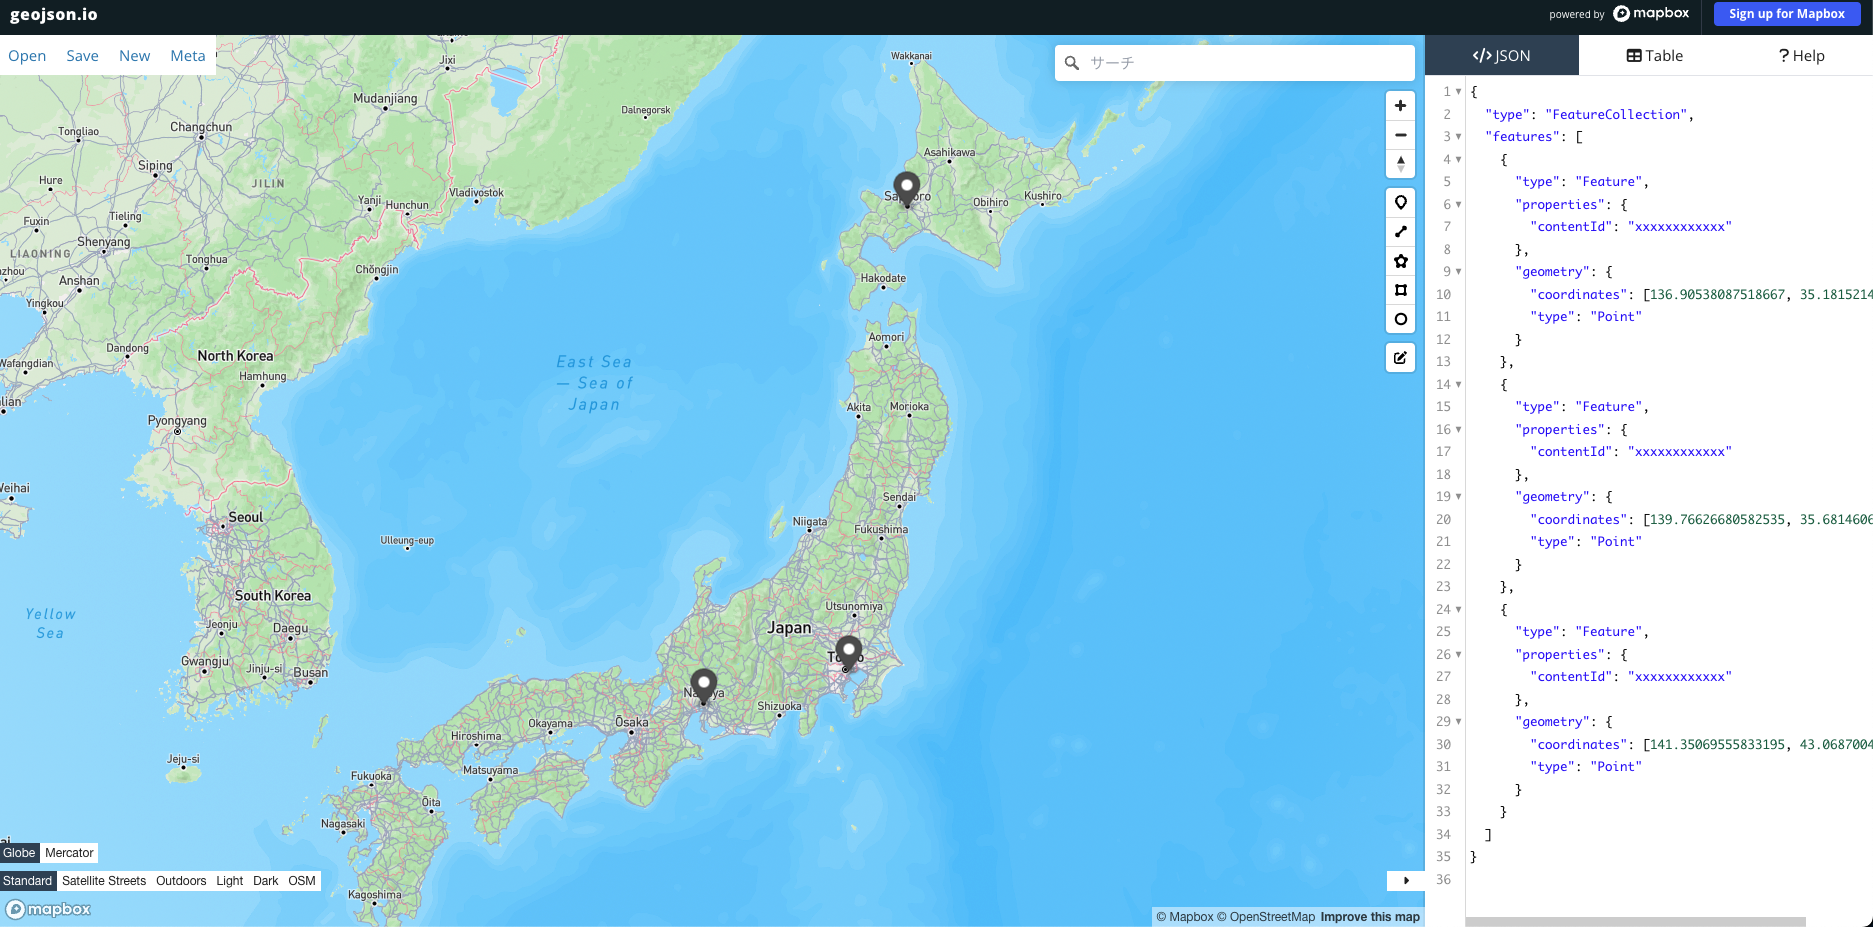
geojson.ioなどで適当なGISデータを作成します。
今回は適当に札幌・東京・名古屋あたりにピンを指してみました。
properties.contentIdがxxxxxxxxxxxxになっていますが、後からmicroCMSの記事のIDを差し込みます。
こんな感じのデータです。
src/lib/assets/data/sample.json
{
	"type": "FeatureCollection",
	"features": [
		{
			"type": "Feature",
			"properties": {
				"contentId": "xxxxxxxxxxxx"
			},
			"geometry": {
				"coordinates": [136.90538087518667, 35.1815214332498],
				"type": "Point"
			}
		},
		{
			"type": "Feature",
			"properties": {
				"contentId": "xxxxxxxxxxxx"
			},
			"geometry": {
				"coordinates": [139.76626680582535, 35.681460699146825],
				"type": "Point"
			}
		},
		{
			"type": "Feature",
			"properties": {
				"contentId": "xxxxxxxxxxxx"
			},
			"geometry": {
				"coordinates": [141.35069555833195, 43.06870048875908],
				"type": "Point"
			}
		}
	]
}
次に、ピンとして利用するためのアイコンを用意します。
今回はICOOON MONOの鉛筆アイコンを利用します。
src/lib/assets/data/icon.png
これら2つのデータはsrc/lib/assets/dataに格納しておいてください。
(icon.pngとsample.jsonという名称で格納しました。)
ルーターの作成
SvelteKitはファイルベースでルーティングしてくれます。
なので、/mapというURLを利用したい場合はsrc/routesにmapというフォルダを作ります。
ひとまず/map/+page.svelteというファイルを作成しましょう。
中身はこれだけ。
/map/+page.svelte
/map
http://localhost:5173/map に接続すると/mapが表示されたかと思います。
地図を出す
やってもやらなくても良いですがroutesディレクトリのルートにあるsrc/routes/+page.tsにこんな記述しておくと、http://localhost:5173 にリクエストした時にも強制的にhttp://localhost:5173/mapにリダイレクトしてくれます。
src/routes/+page.ts
import { redirect } from "@sveltejs/kit";

export function load() {
	redirect(303, "/map");
}
次に、/map/+page.svelteを修正して地図を出します。
/map/+page.svelte
<script lang="ts">
	import maplibregl from 'maplibre-gl';
	import { MapLibre } from 'svelte-maplibre-gl';

	let map: maplibregl.Map | undefined = $state.raw();
</script>

<div class="h-full w-screen">
	<MapLibre
		bind:map
		class="h-[100vh] min-h-[300px]"
		style="https://basemaps.cartocdn.com/gl/voyager-gl-style/style.json"
		zoom={5}
		center={{ lng: 137.5, lat: 38.5 }}
	></MapLibre>
</div>
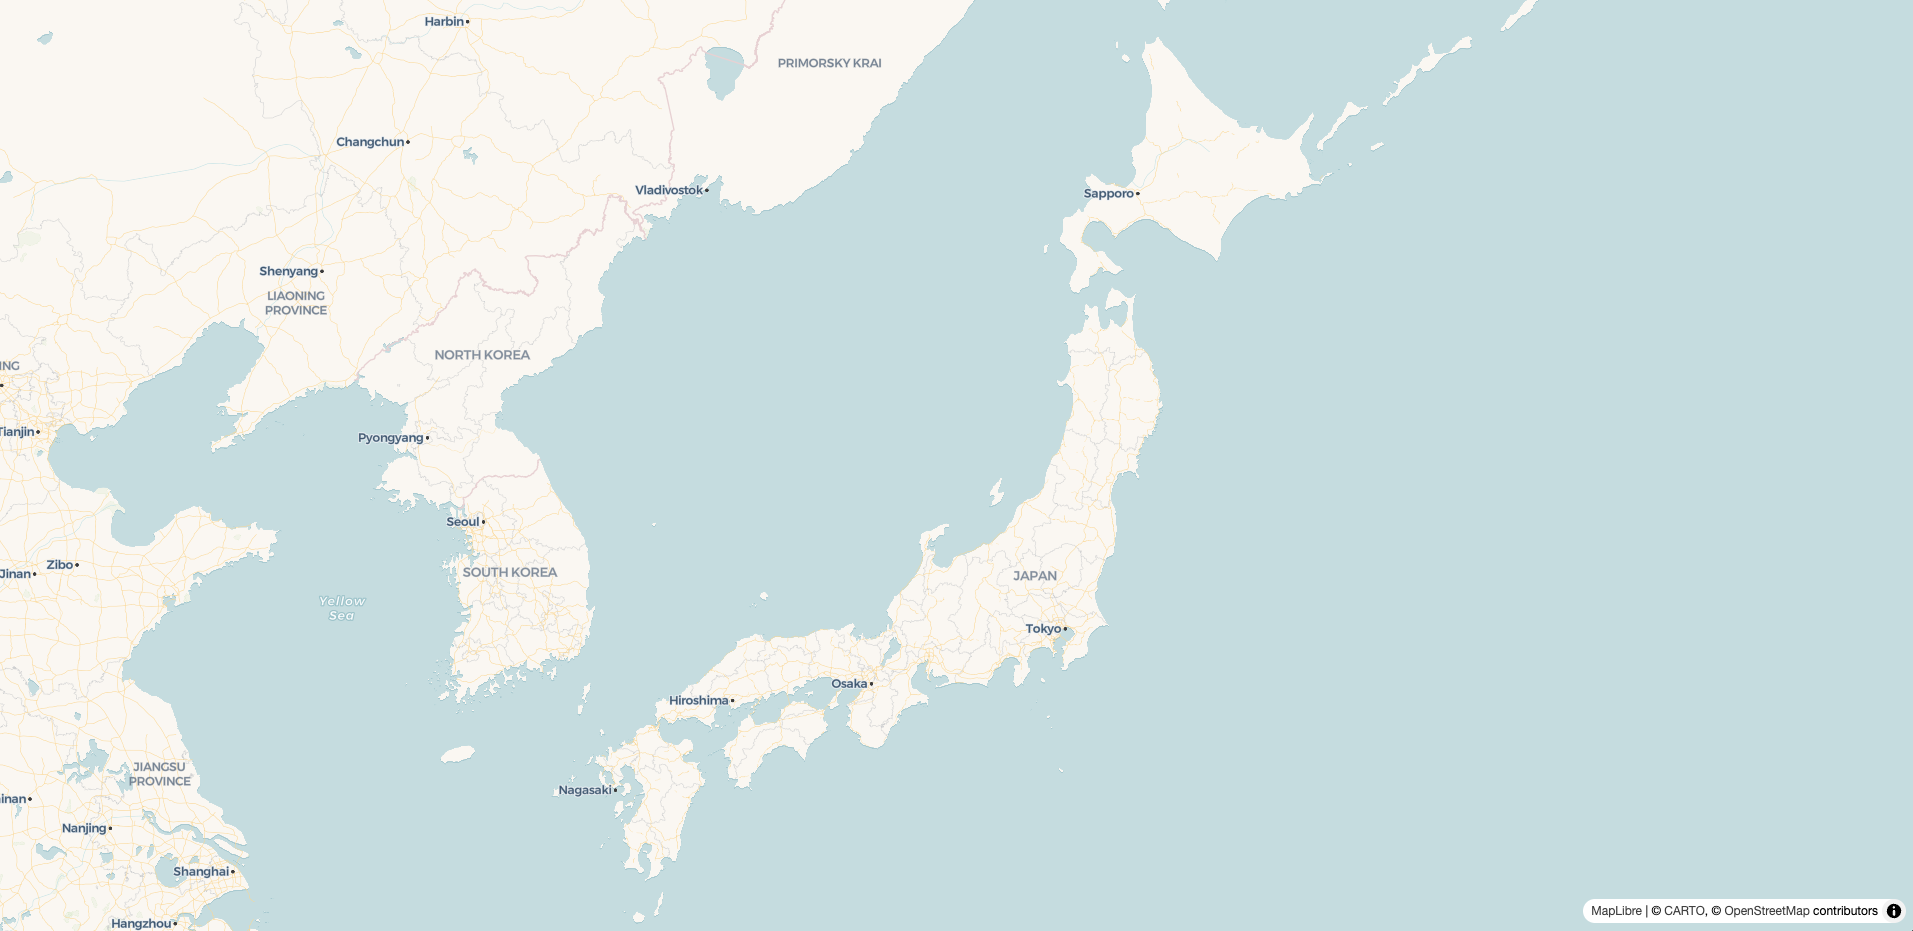
たったこれだけで、地図が出せます!
データの追加、アイコンの表示
以下のように修正してみましょう!
/map/+page.svelte
<script lang="ts">
	import icon from "$lib/assets/data/icon.png";
	import geoJson from "$lib/assets/data/sample.json";

	import maplibregl from "maplibre-gl";
	import {
		GeoJSONSource,
		ImageLoader,
		MapLibre,
		SymbolLayer,
	} from "svelte-maplibre-gl";

	let map: maplibregl.Map | undefined = $state.raw();
	let geojson = geoJson as GeoJSON.FeatureCollection<GeoJSON.Geometry>;

	const fetchPostData = async (id: string) => {
		try {
			const res = await fetch(`/api/posts/${id}`);
			if (!res.ok) throw new Error("Failed to fetch post data");
			return await res.json();
		} catch (error) {
			console.error(error);
			return null;
		}
	};

	const handlePopup = async (e: maplibregl.MapLayerMouseEvent) => {
		const id = e.features?.[0]?.properties.contentId;
		if (!id) return;

		const post = await fetchPostData(id);

		if (post) {
			new maplibregl.Popup()
				.setLngLat(e.lngLat)
				.setHTML(
					`
					<div>
						<h2 class="text-xl">${post.title}</h2>
						<img src="${post.eyecatch.url}" alt="${post.title}" class="w-full h-auto" />
					</div>
				`,
				)
				.addTo(map!);
		} else {
			new maplibregl.Popup()
				.setLngLat(e.lngLat)
				.setHTML("<p>データの取得に失敗しました。</p>")
				.addTo(map!);
		}
	};
</script>

<div class="h-full w-screen">
	<MapLibre
		bind:map
		class="h-[100vh] min-h-[300px]"
		style="https://basemaps.cartocdn.com/gl/voyager-gl-style/style.json"
		zoom={5}
		center={{ lng: 137.5, lat: 38.5 }}
	>
		<GeoJSONSource id="sample-source" data={geojson}>
			<ImageLoader
				images={{
					icon: icon,
				}}
			>
				<SymbolLayer
					onclick={(e) => {
						handlePopup(e);
					}}
					id="sample-layer"
					layout={{
						"icon-image": "icon",
						"icon-size": 0.75,
					}}
				></SymbolLayer>
			</ImageLoader>
		</GeoJSONSource>
	</MapLibre>
</div>
以下のような構成になっています。
-
GeoJSONSource: 作成したjsonを読み取る -
ImageLoader: 画像を読み取る -
SymbolLayer: 読み込まれたjsonに書かれている位置情報に、シンボル(今回なら読み込んだ画像)を表示する
Sourceでデータを読み込み、Layerでデータを表示する流れです。
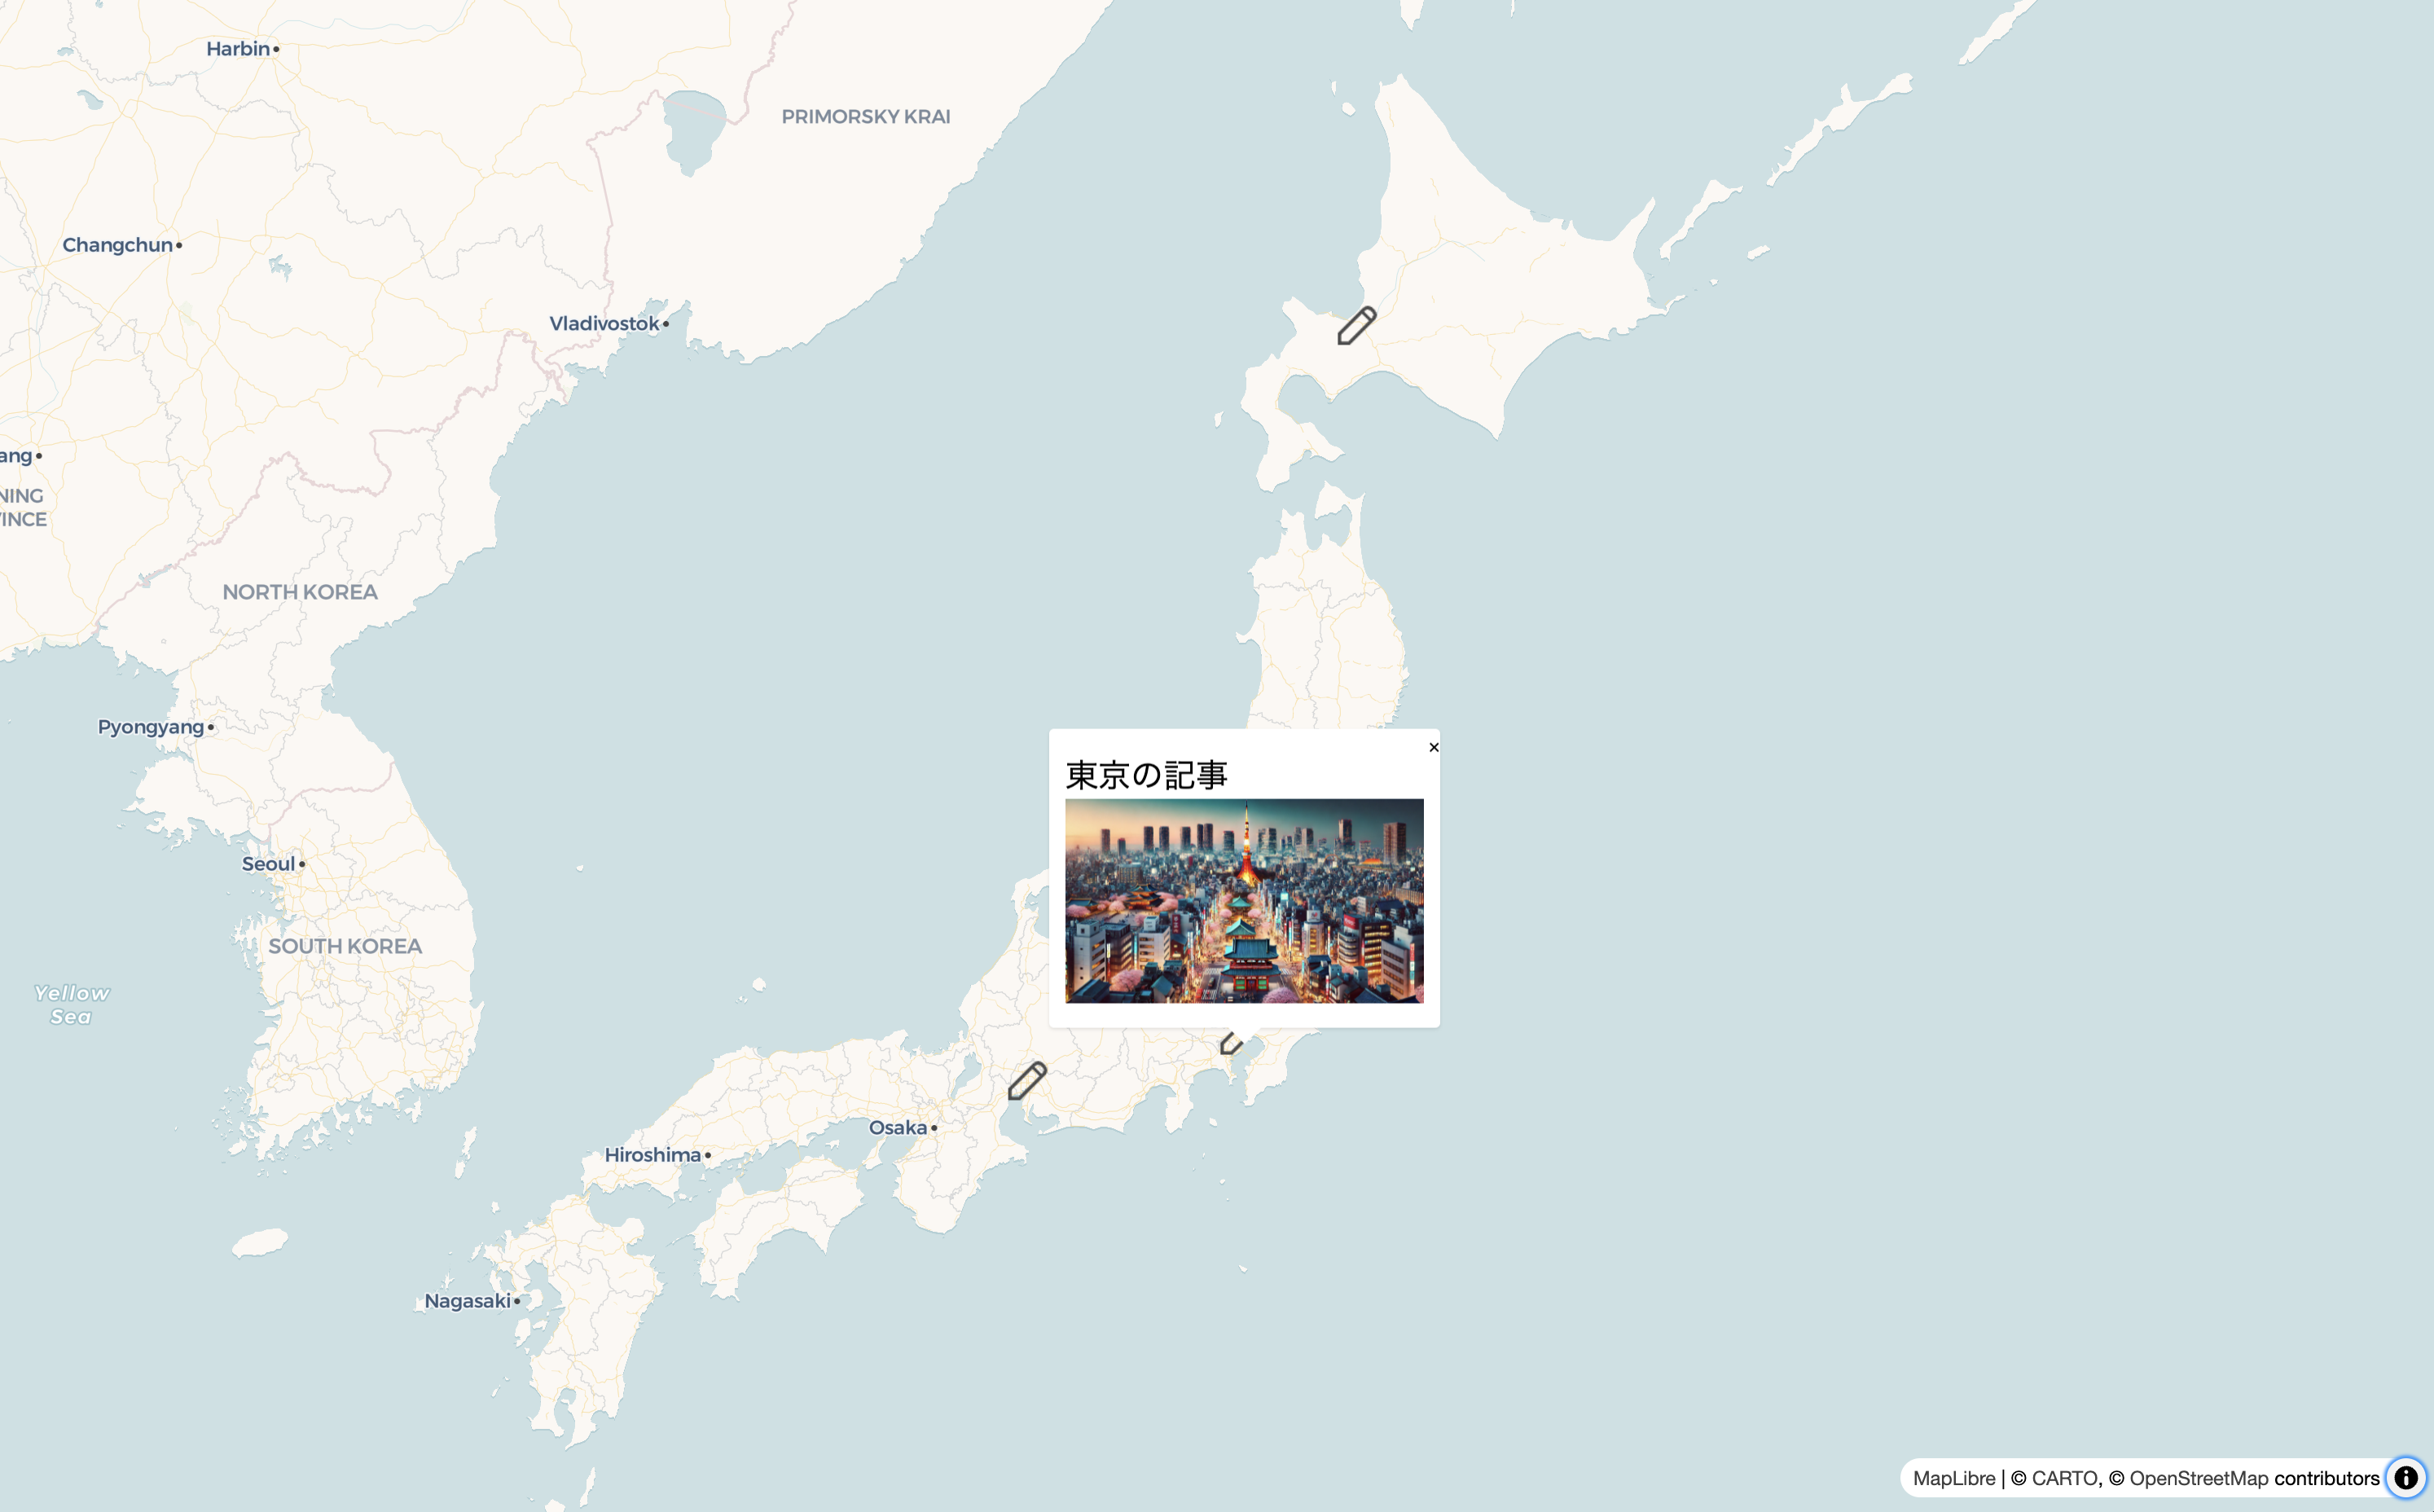
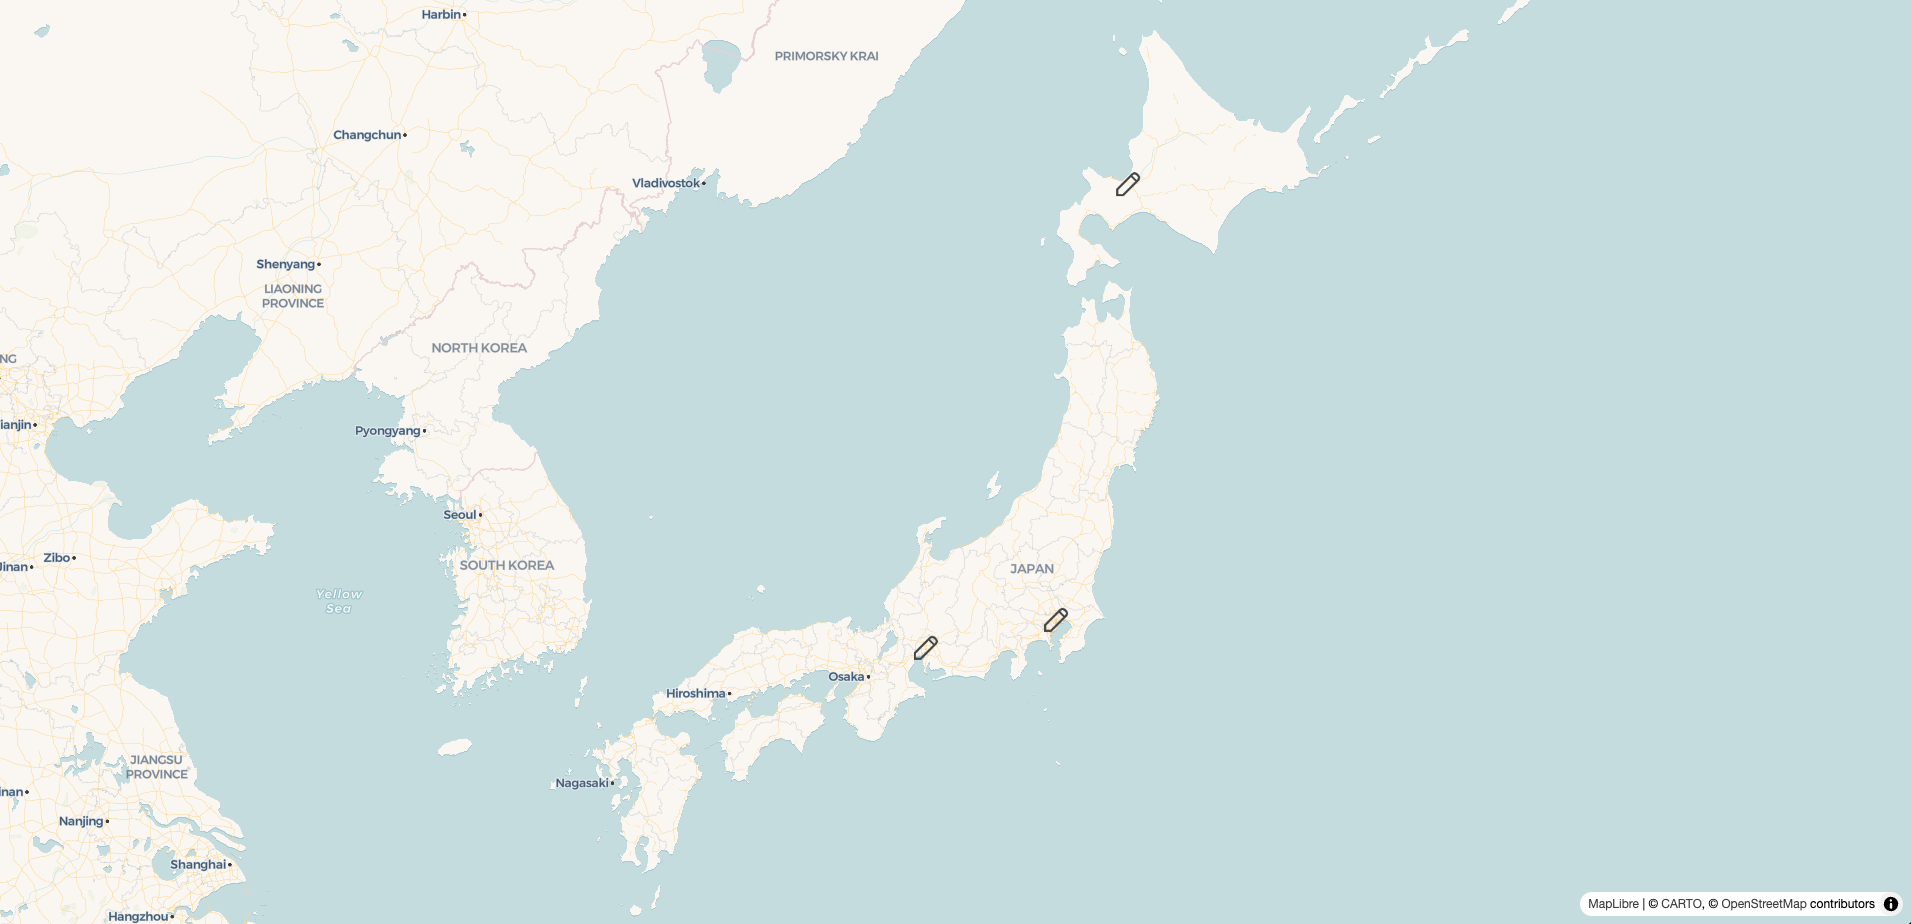
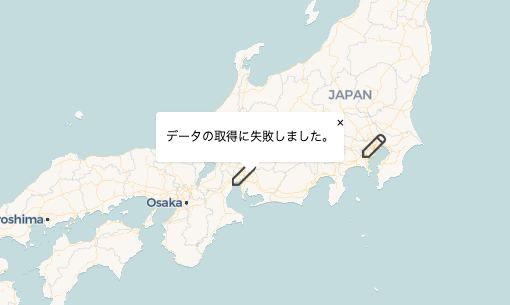
ブラウザでアクセスすると、地図にアイコンが出てきました!
ただ、今はmicroCMSのデータを受け取れないため、アイコンをクリックしてもデータが取得できないかと思います。
microCMSを触ってみる
とても簡単にサインアップできるので、会員登録などの話は端折ります!
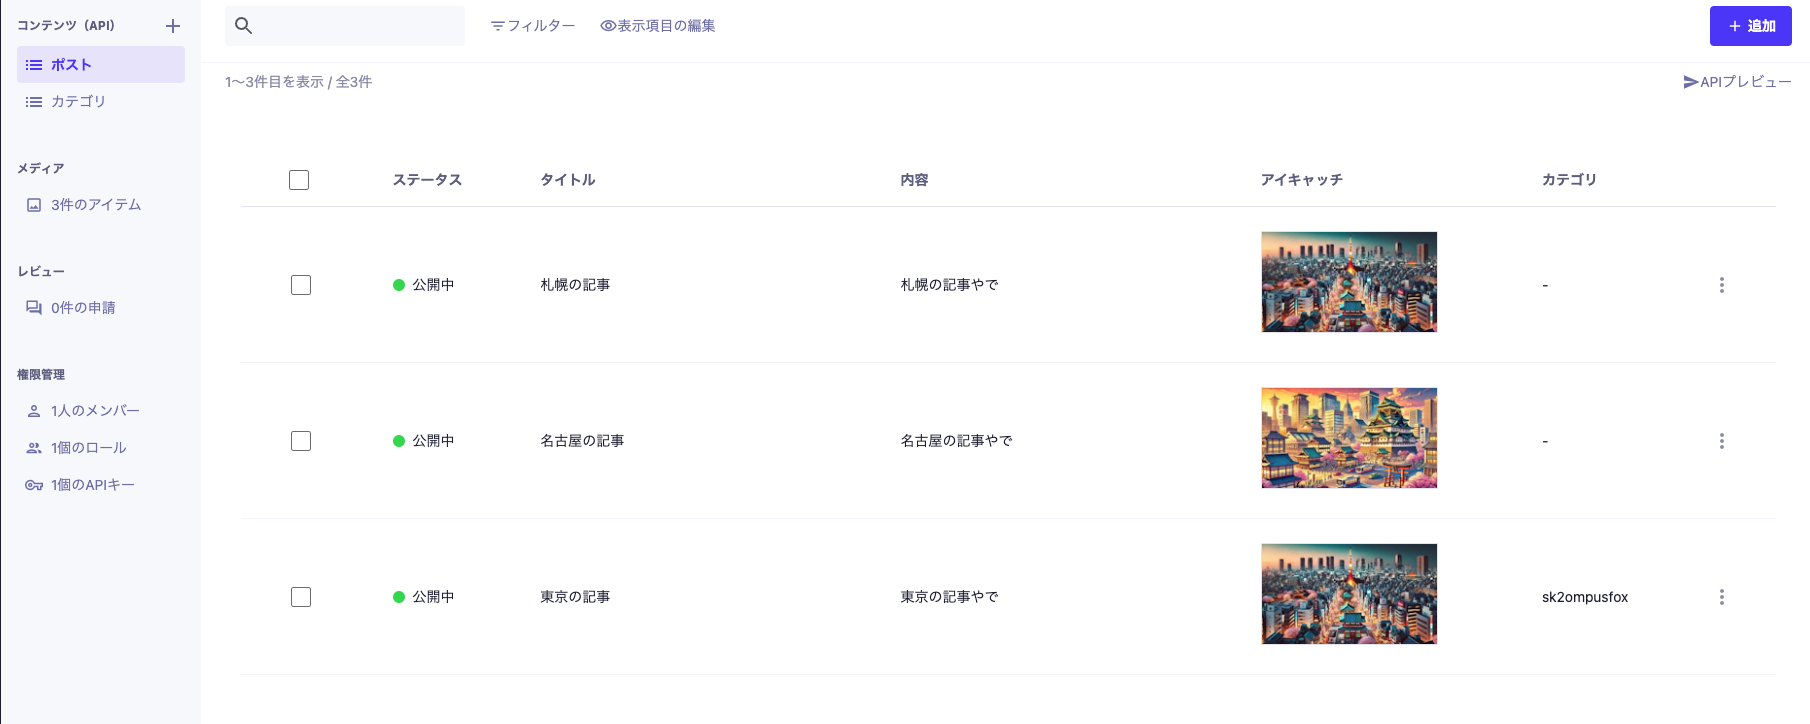
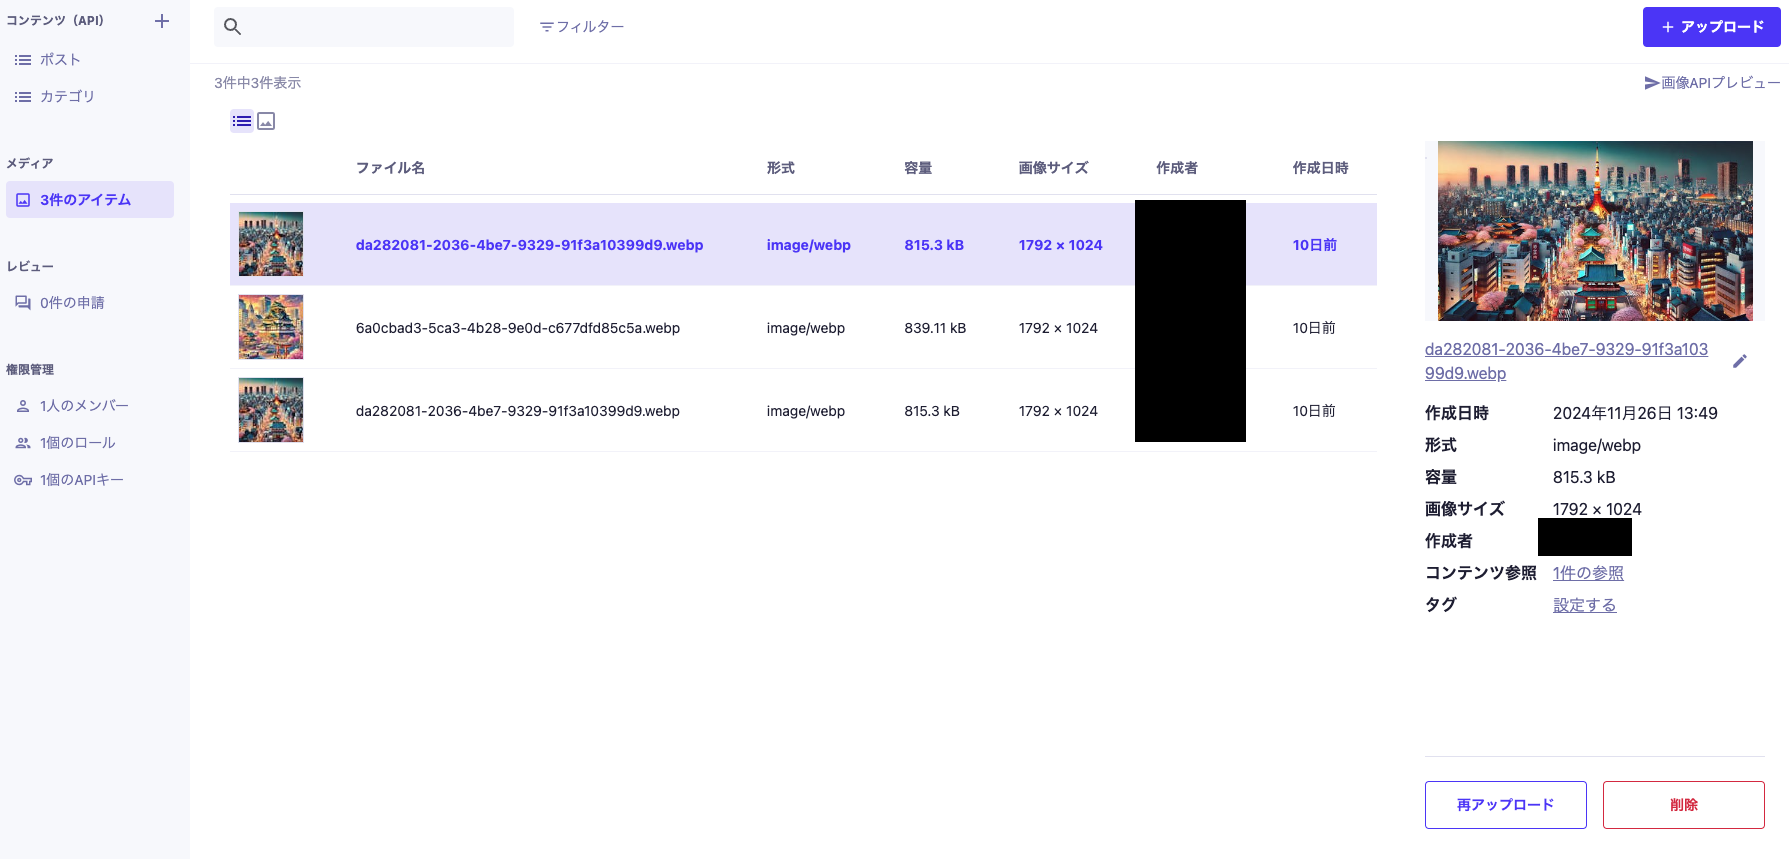
ダッシュボードにアクセスするとこんな感じで記事一覧が出てきます。
(会員登録したばっかりだと、サンプル記事があると思います。)
記事を書いていない人はまず適当に書いてみましょう!
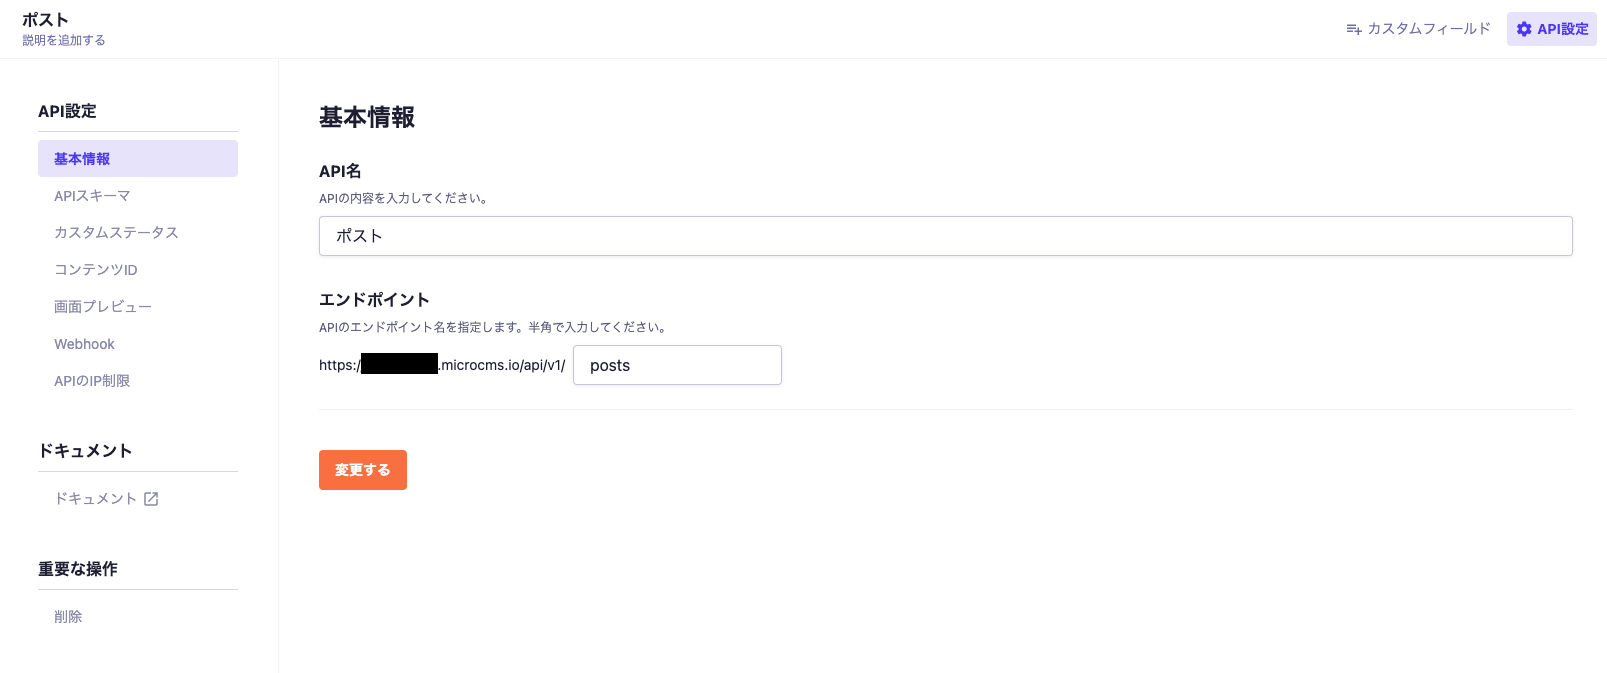
画面右上の歯車アイコンから配信されているAPIの設定を変更できます。
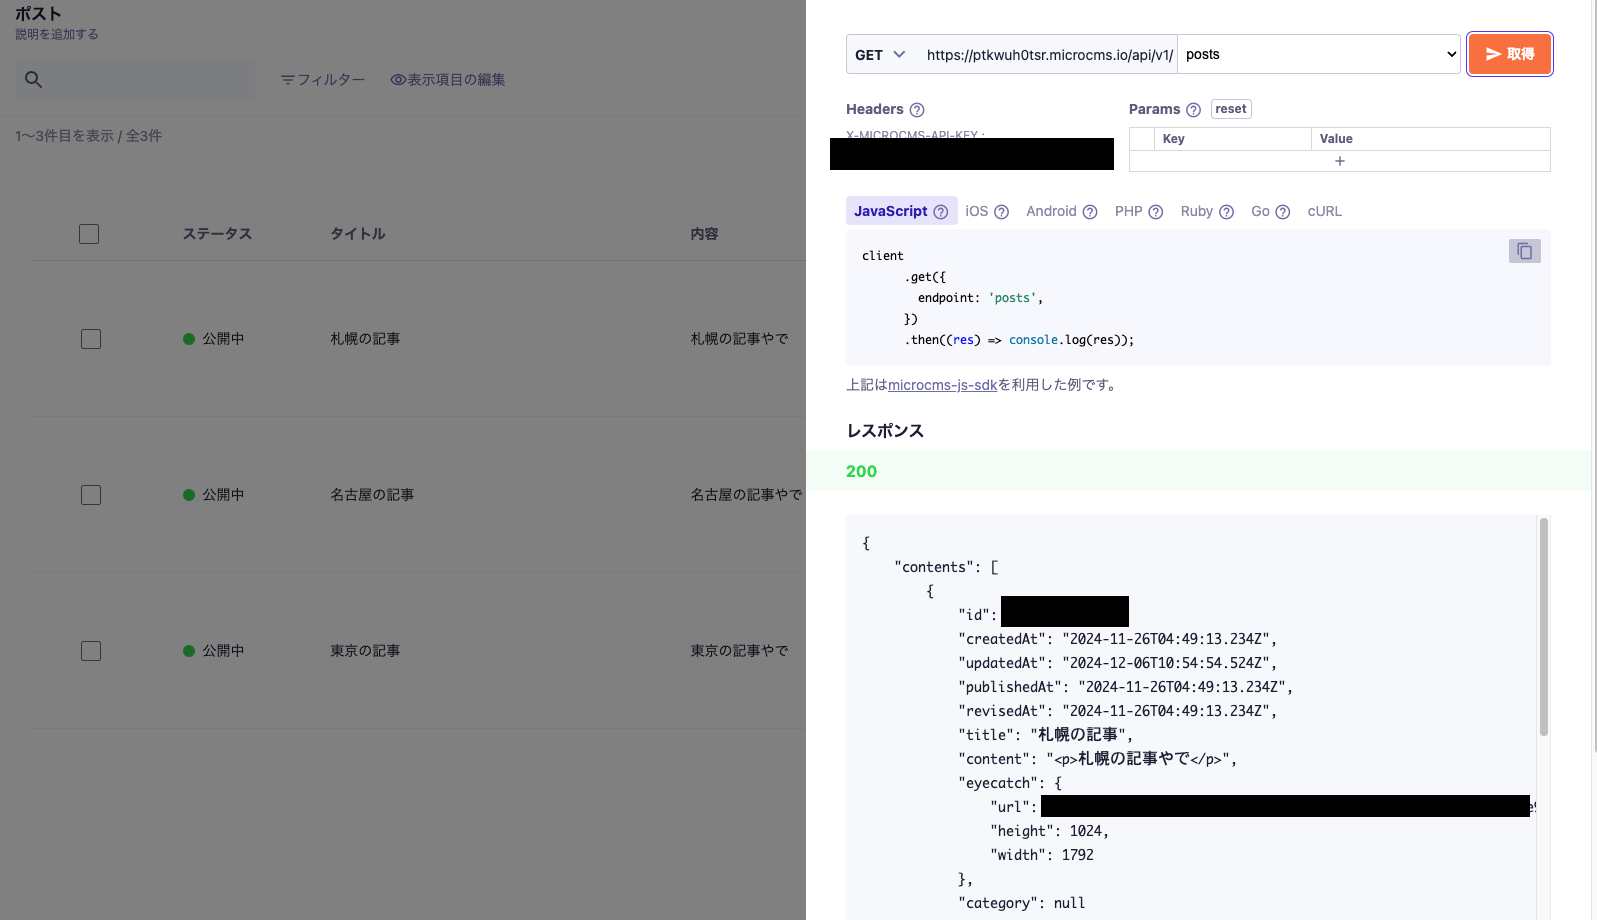
今回はエンドポイントの記事配信のパスを/api/v1/postsに変更したのと…
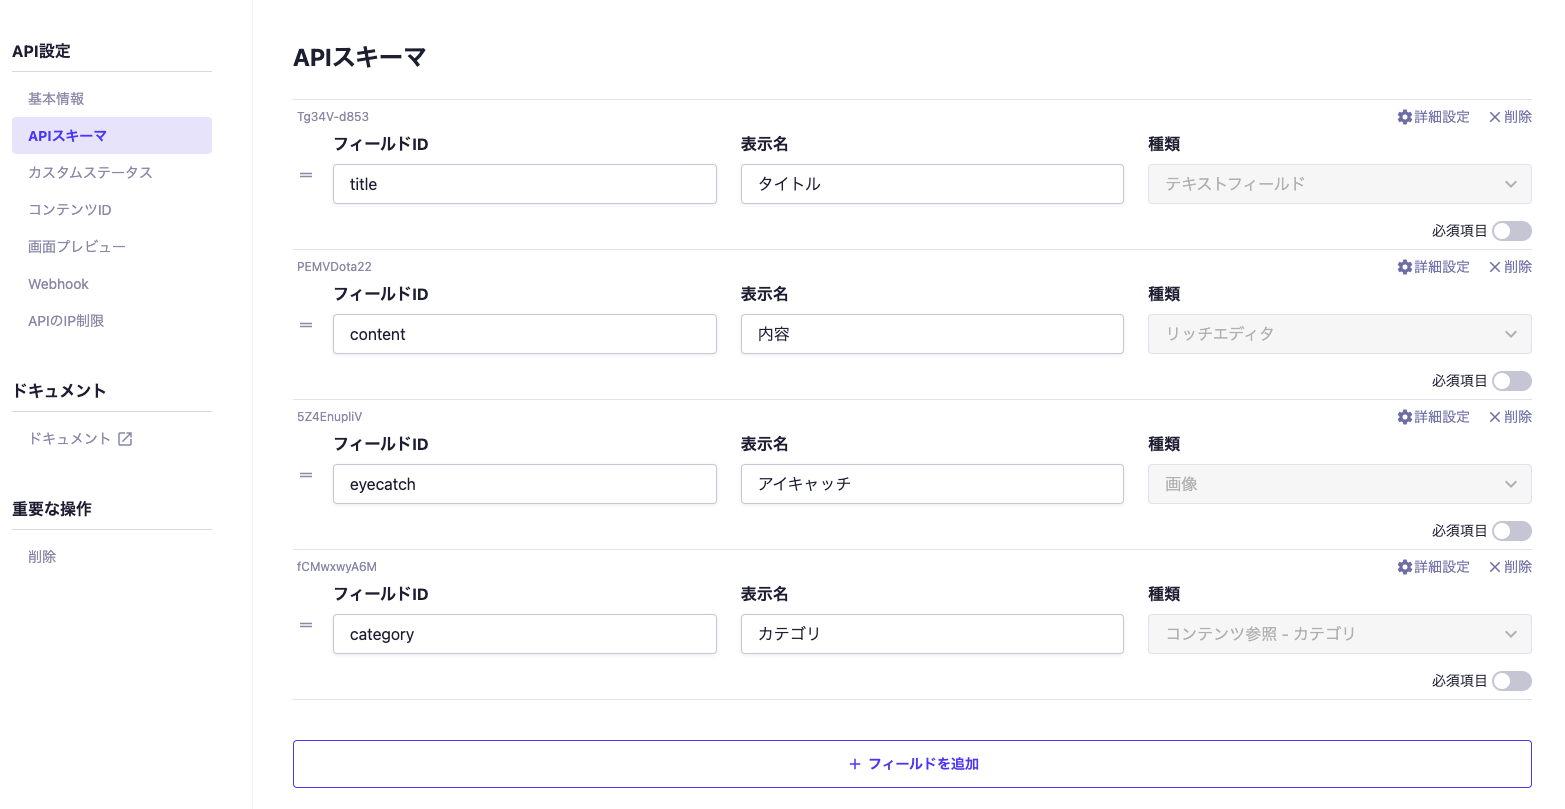
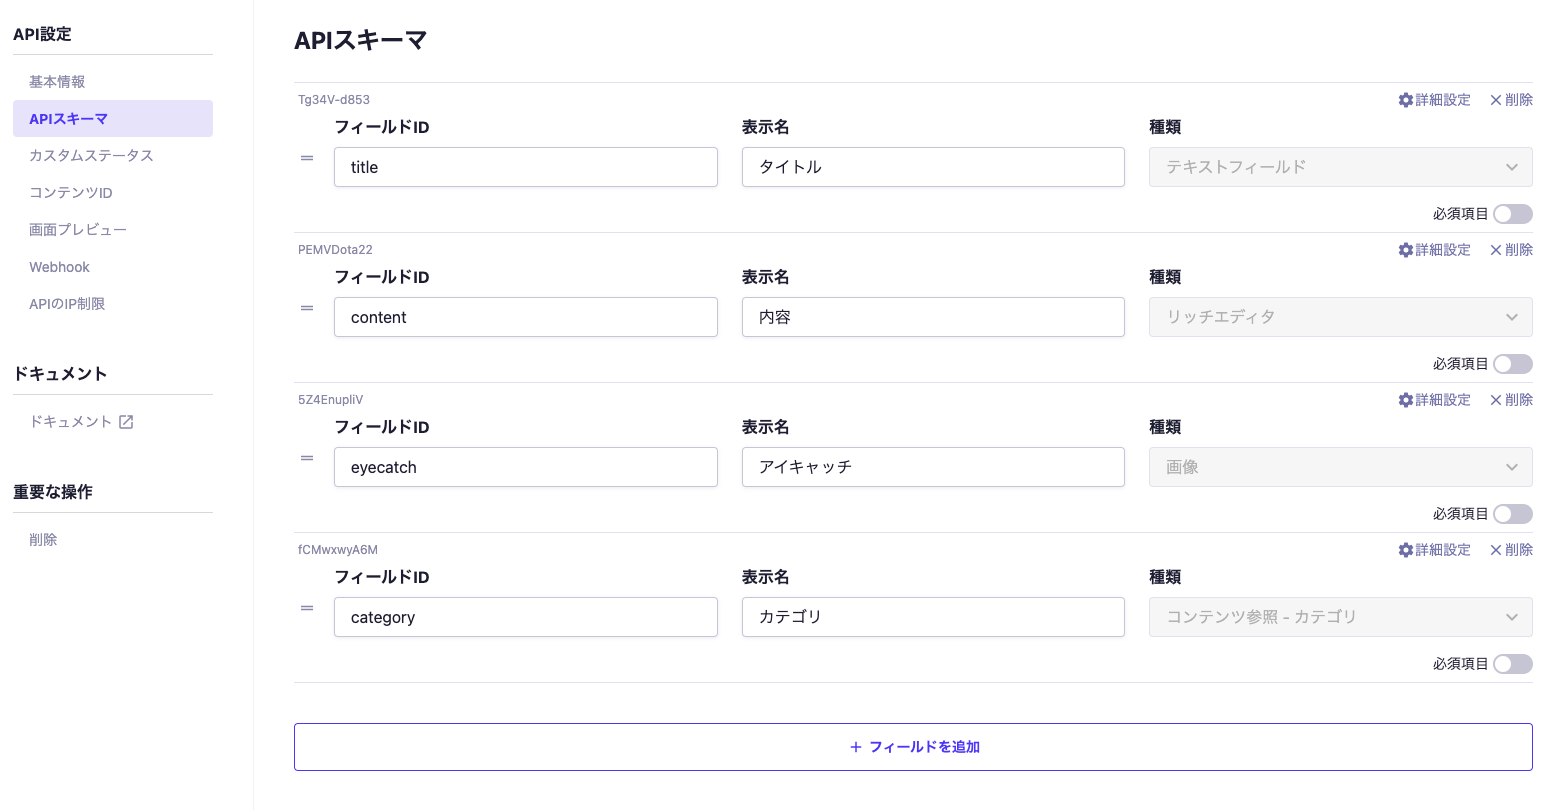
APIから配信される情報を変更してみました!
サムネイル画像はこんな感じで別途アップロードしています。
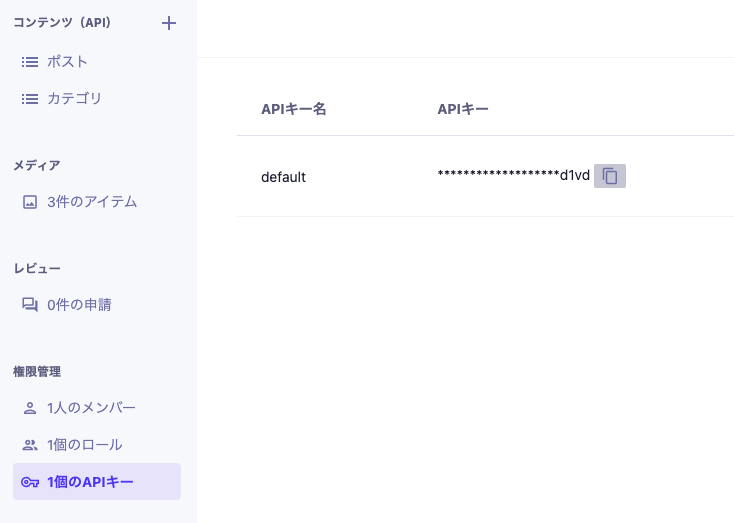
APIキーはここからコピーして、プロジェクトのルートに.envファイルを配置し、MICROCMS_API_KEYとして設定しておきましょう!
.env
MICROCMS_API_KEY=
SERVICE_DOMAIN=
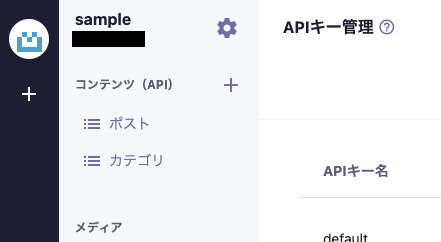
SERVICE_DOMAINは画面左上のSampleってとこに書いてる黒塗りの部分に記載の情報を格納してください。
microCMSのAPIから配信されるデータを受け取る
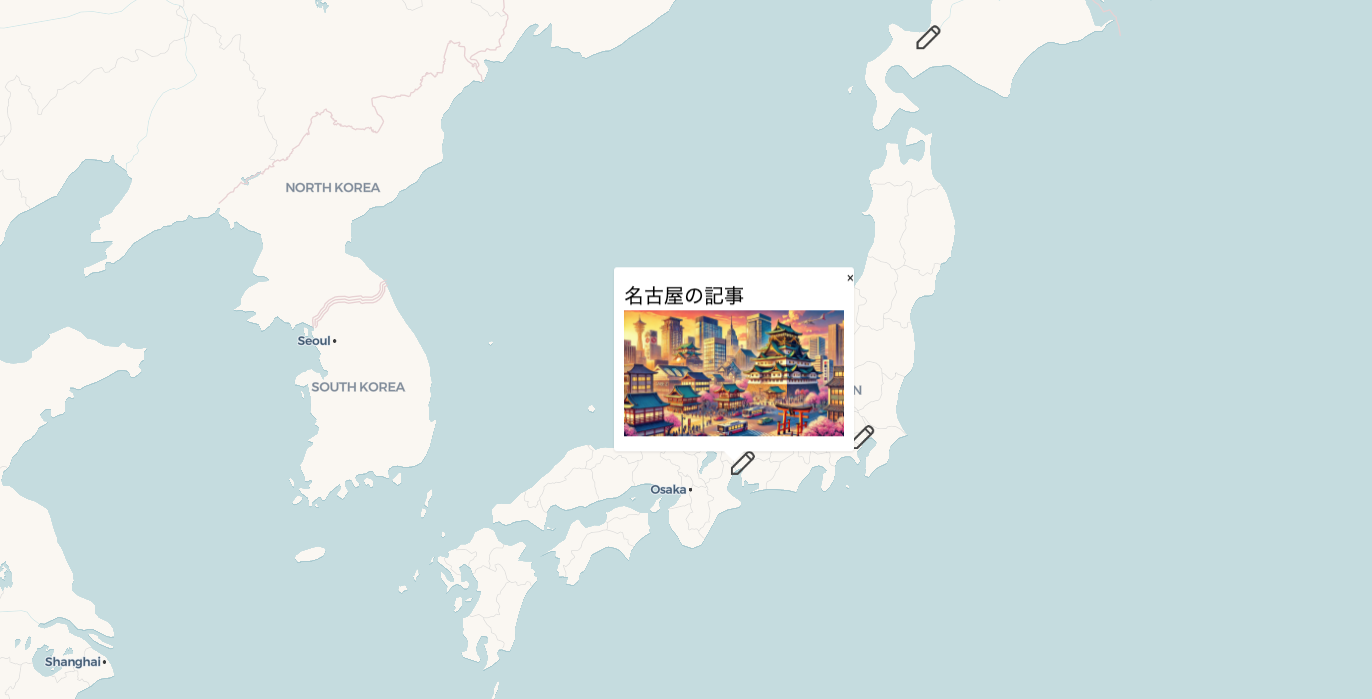
データを受け取って、地図上に「タイトル」と「サムネイル画像」を表示していきます!
SvelteKitではフロントだけでなくサーバー側の処理をしたり、WebAPIを作成することもできるので、microCMSのデータを取得するAPIを作成してみましょう!
と、その前にまずはAPIとしてちゃんと動作するか確認しておきましょう。
こんな感じでapiディレクトリ以下に+server.tsを配置するだけです。
src/routes/api/+server.ts
import { json } from "@sveltejs/kit";

export const GET = async () => {
	return json({ message: "Hello from the server!" });
};
http://localhost:5173/api に接続するとちゃんとレスポンスが返ってきていますね!
{
    message: "Hello from the server!"
}
ではAPIを作成していきましょう!
src/routes/api/posts/[id]/+server.ts
import { getPostDetail } from "$lib/cms/cms-client.server";
import { error, json } from "@sveltejs/kit";

export const GET = async ({ params }) => {
	const { id } = params;

	if (!id) {
		throw error(400, "ID is required");
	}

	const post = await getPostDetail(id);

	if (!post) {
		throw error(404, "Post not found");
	}

	return json(post);
};
getPostDetail関数は別のユーティリティを作成し、そこから読み取っています。
それらの処理を作っていきましょう!存在していないフォルダは適宜作成していってください!
src/lib/cms/index.ts
export { getPostDetail } from "./cms-client.server";
export type { List, Post, PostCategory } from "./types";
型情報は、先ほど修正したAPIのスキーマに合わせて修正してあげます。
src/lib/cms/types.ts
type MicrocmsImage = {
	url: string;
	height: number;
	width: number;
};

export type PostCategory = {
	id: string;
	name: string;
	description: string;
	createdAt: string;
	updatedAt: string;
	publishedAt: string;
	revisedAt: string;
};

export type Post = {
	id: string;
	createdAt: string;
	updatedAt: string;
	publishedAt: string;
	revisedAt: string;
	title: string;
	content: string;
	eyecatch: MicrocmsImage;
	category: PostCategory;
};

export type List<T> = {
	contents: T[];
	totalCount: number;
	offset: number;
	limit: number;
};
APIのレスポンスはダッシュボードから手軽に確認することができるため、調整が楽でした!
src/lib/cms/cms-client.server.ts
import { createClient, type MicroCMSQueries } from "microcms-js-sdk";

import { MICROCMS_API_KEY, SERVICE_DOMAIN } from "$env/static/private";
import type { Post } from "./types";

let client: ReturnType<typeof createClient> | undefined = undefined;
const getClient = () => {
	if (client) return client;
	client = createClient({
		serviceDomain: SERVICE_DOMAIN ?? "",
		apiKey: MICROCMS_API_KEY ?? "",
	});
	return client;
};

const getPostDetail = async (
	id: string,
	queries: MicroCMSQueries = {},
): Promise<Post | null> => {
	const client = getClient();
	try {
		return (await client.get({
			endpoint: "posts",
			contentId: id,
			queries,
		})) as Post;
	} catch {
		return null;
	}
};

export { getPostDetail };
最後に、src/lib/assets/data/sample.jsonのcontentIdを書いたブログのIDに変更しましょう!
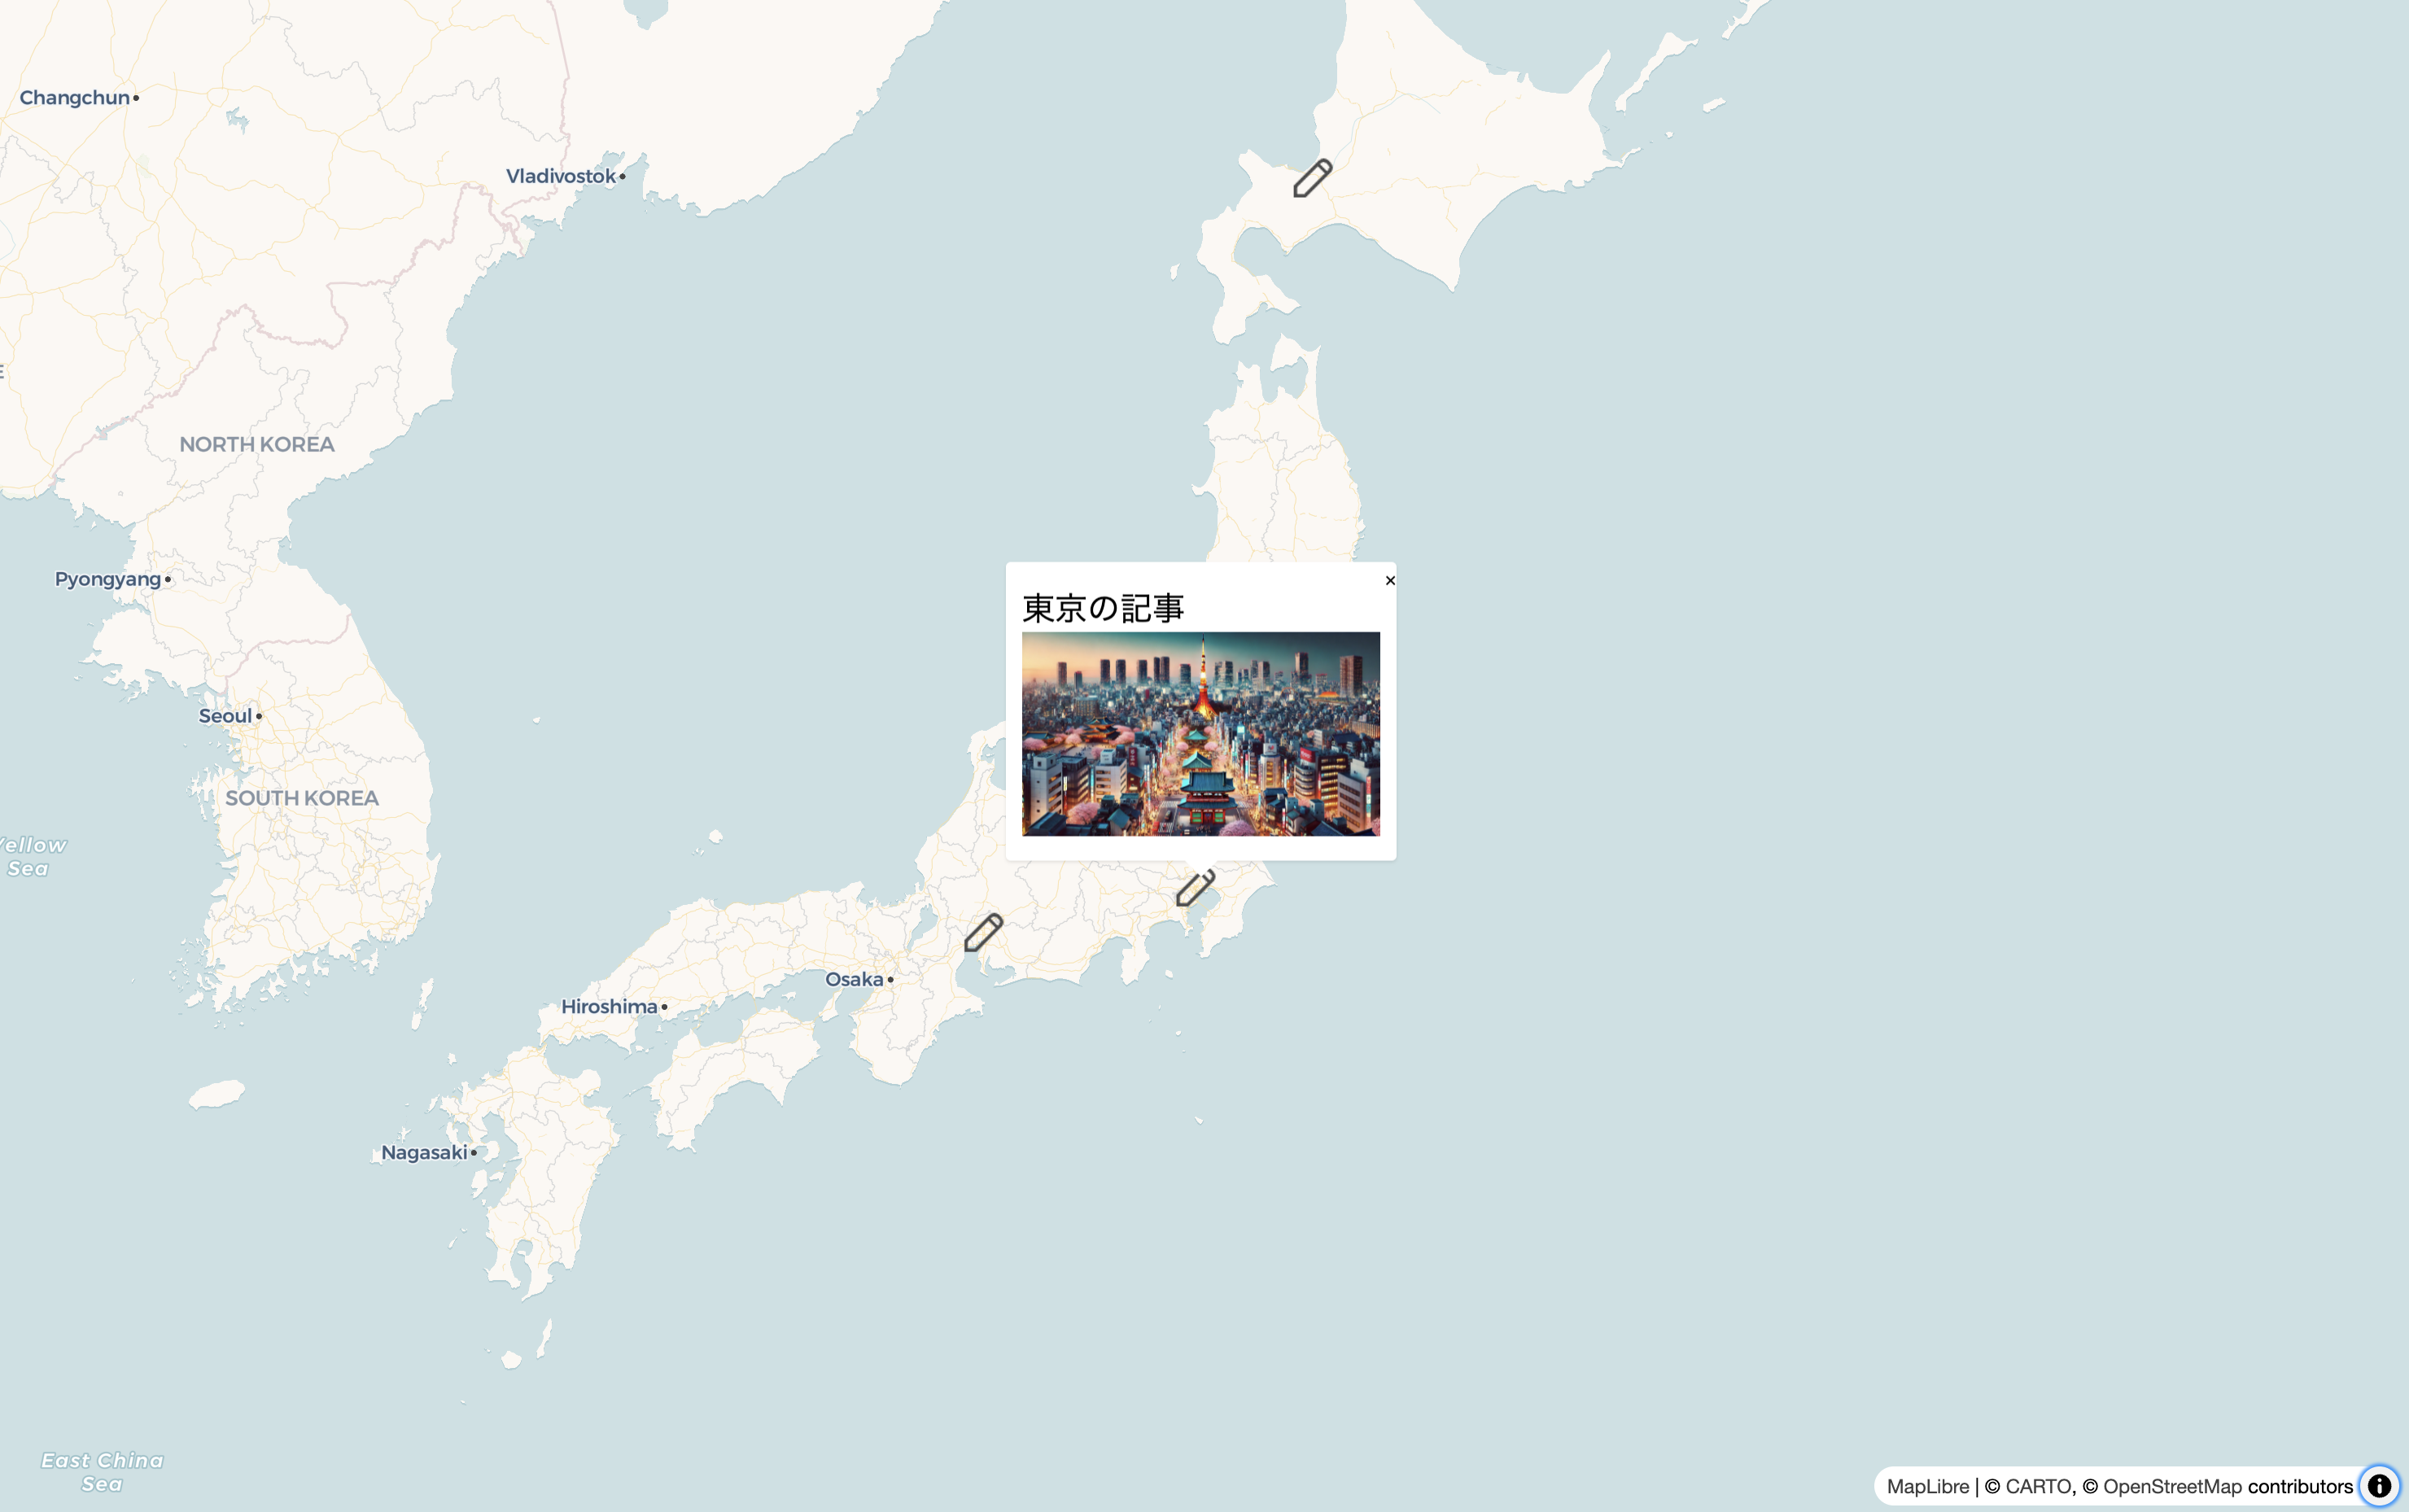
するとこんな感じでタイトルと画像を取得できるはずです!!!
Amplifyにデプロイしてみる
Amplify(というかAWS)への登録なども割愛します!
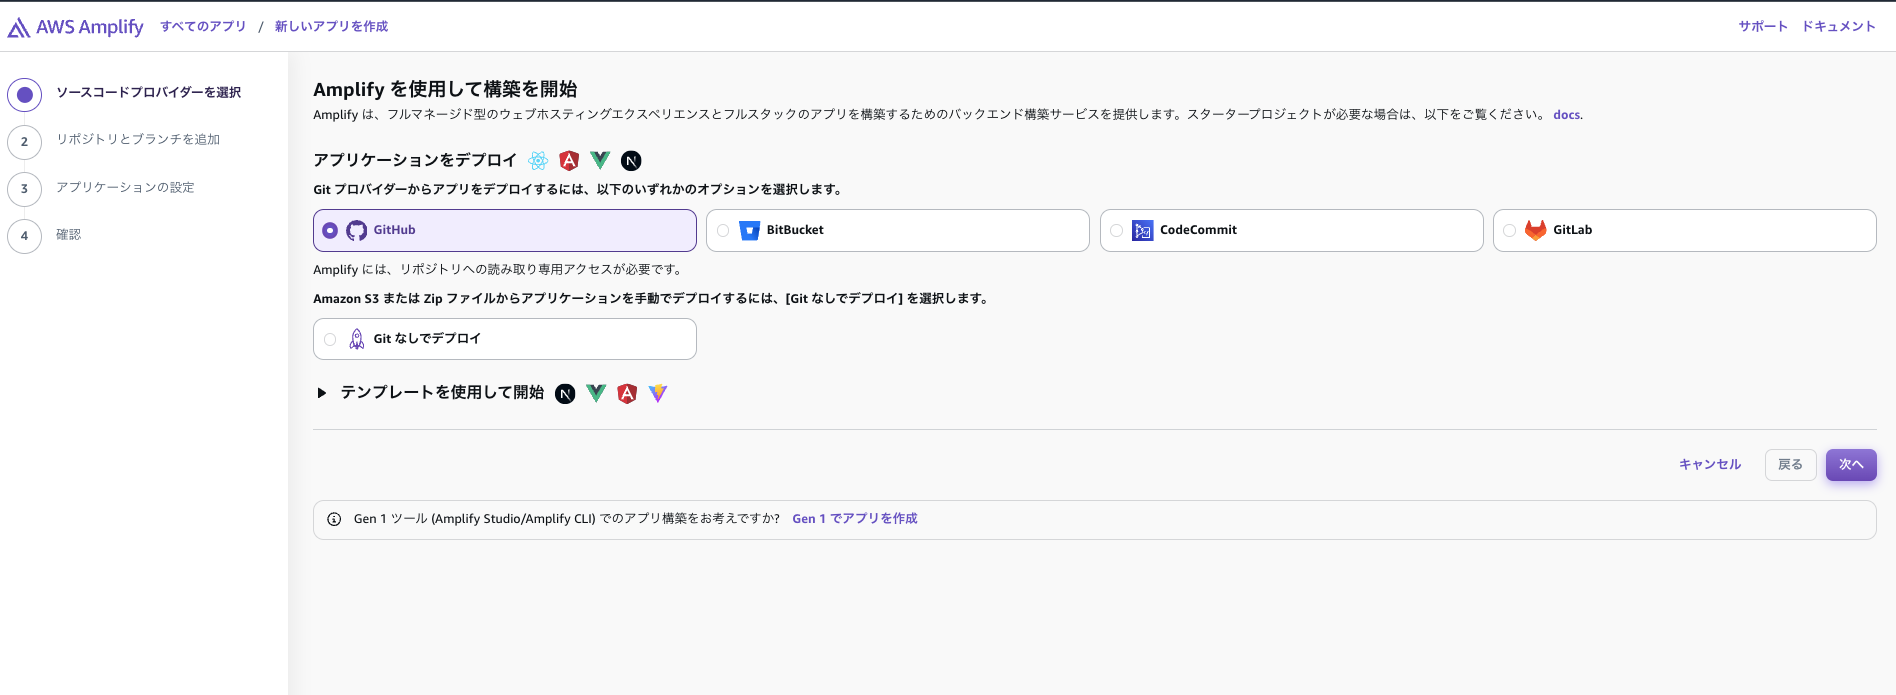
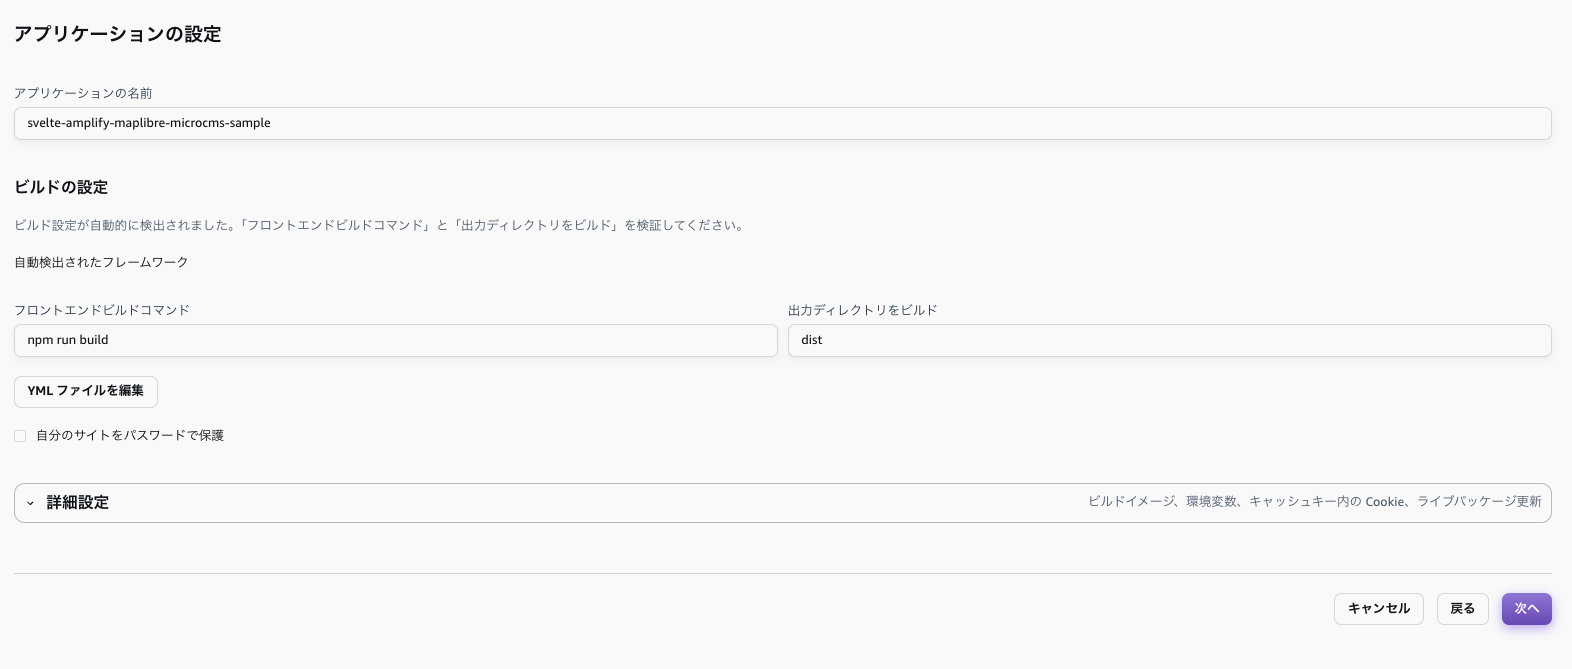
すでにアップロードしているものが見えちゃってますが、左上の「新しいアプリを作成」からデプロイのための設定を行うことができます。
GitHubなどで書いたソースコード一式をパブリックリポジトリとして登録しておくと、デプロイがめっちゃ簡単です!
「次へ」を入力するとGitHubの連携する画面が出てくるので適宜許可しましょう。
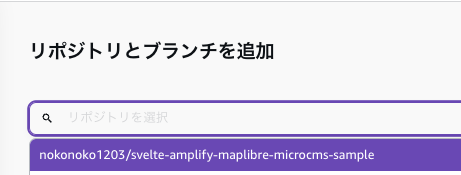
するとリポジトリが選択できるようになると思います。
出てこなければ「GitHubのアクセス許可をアップデート」しましょう。
リポジトリとブランチを設定します。
適宜修正し…
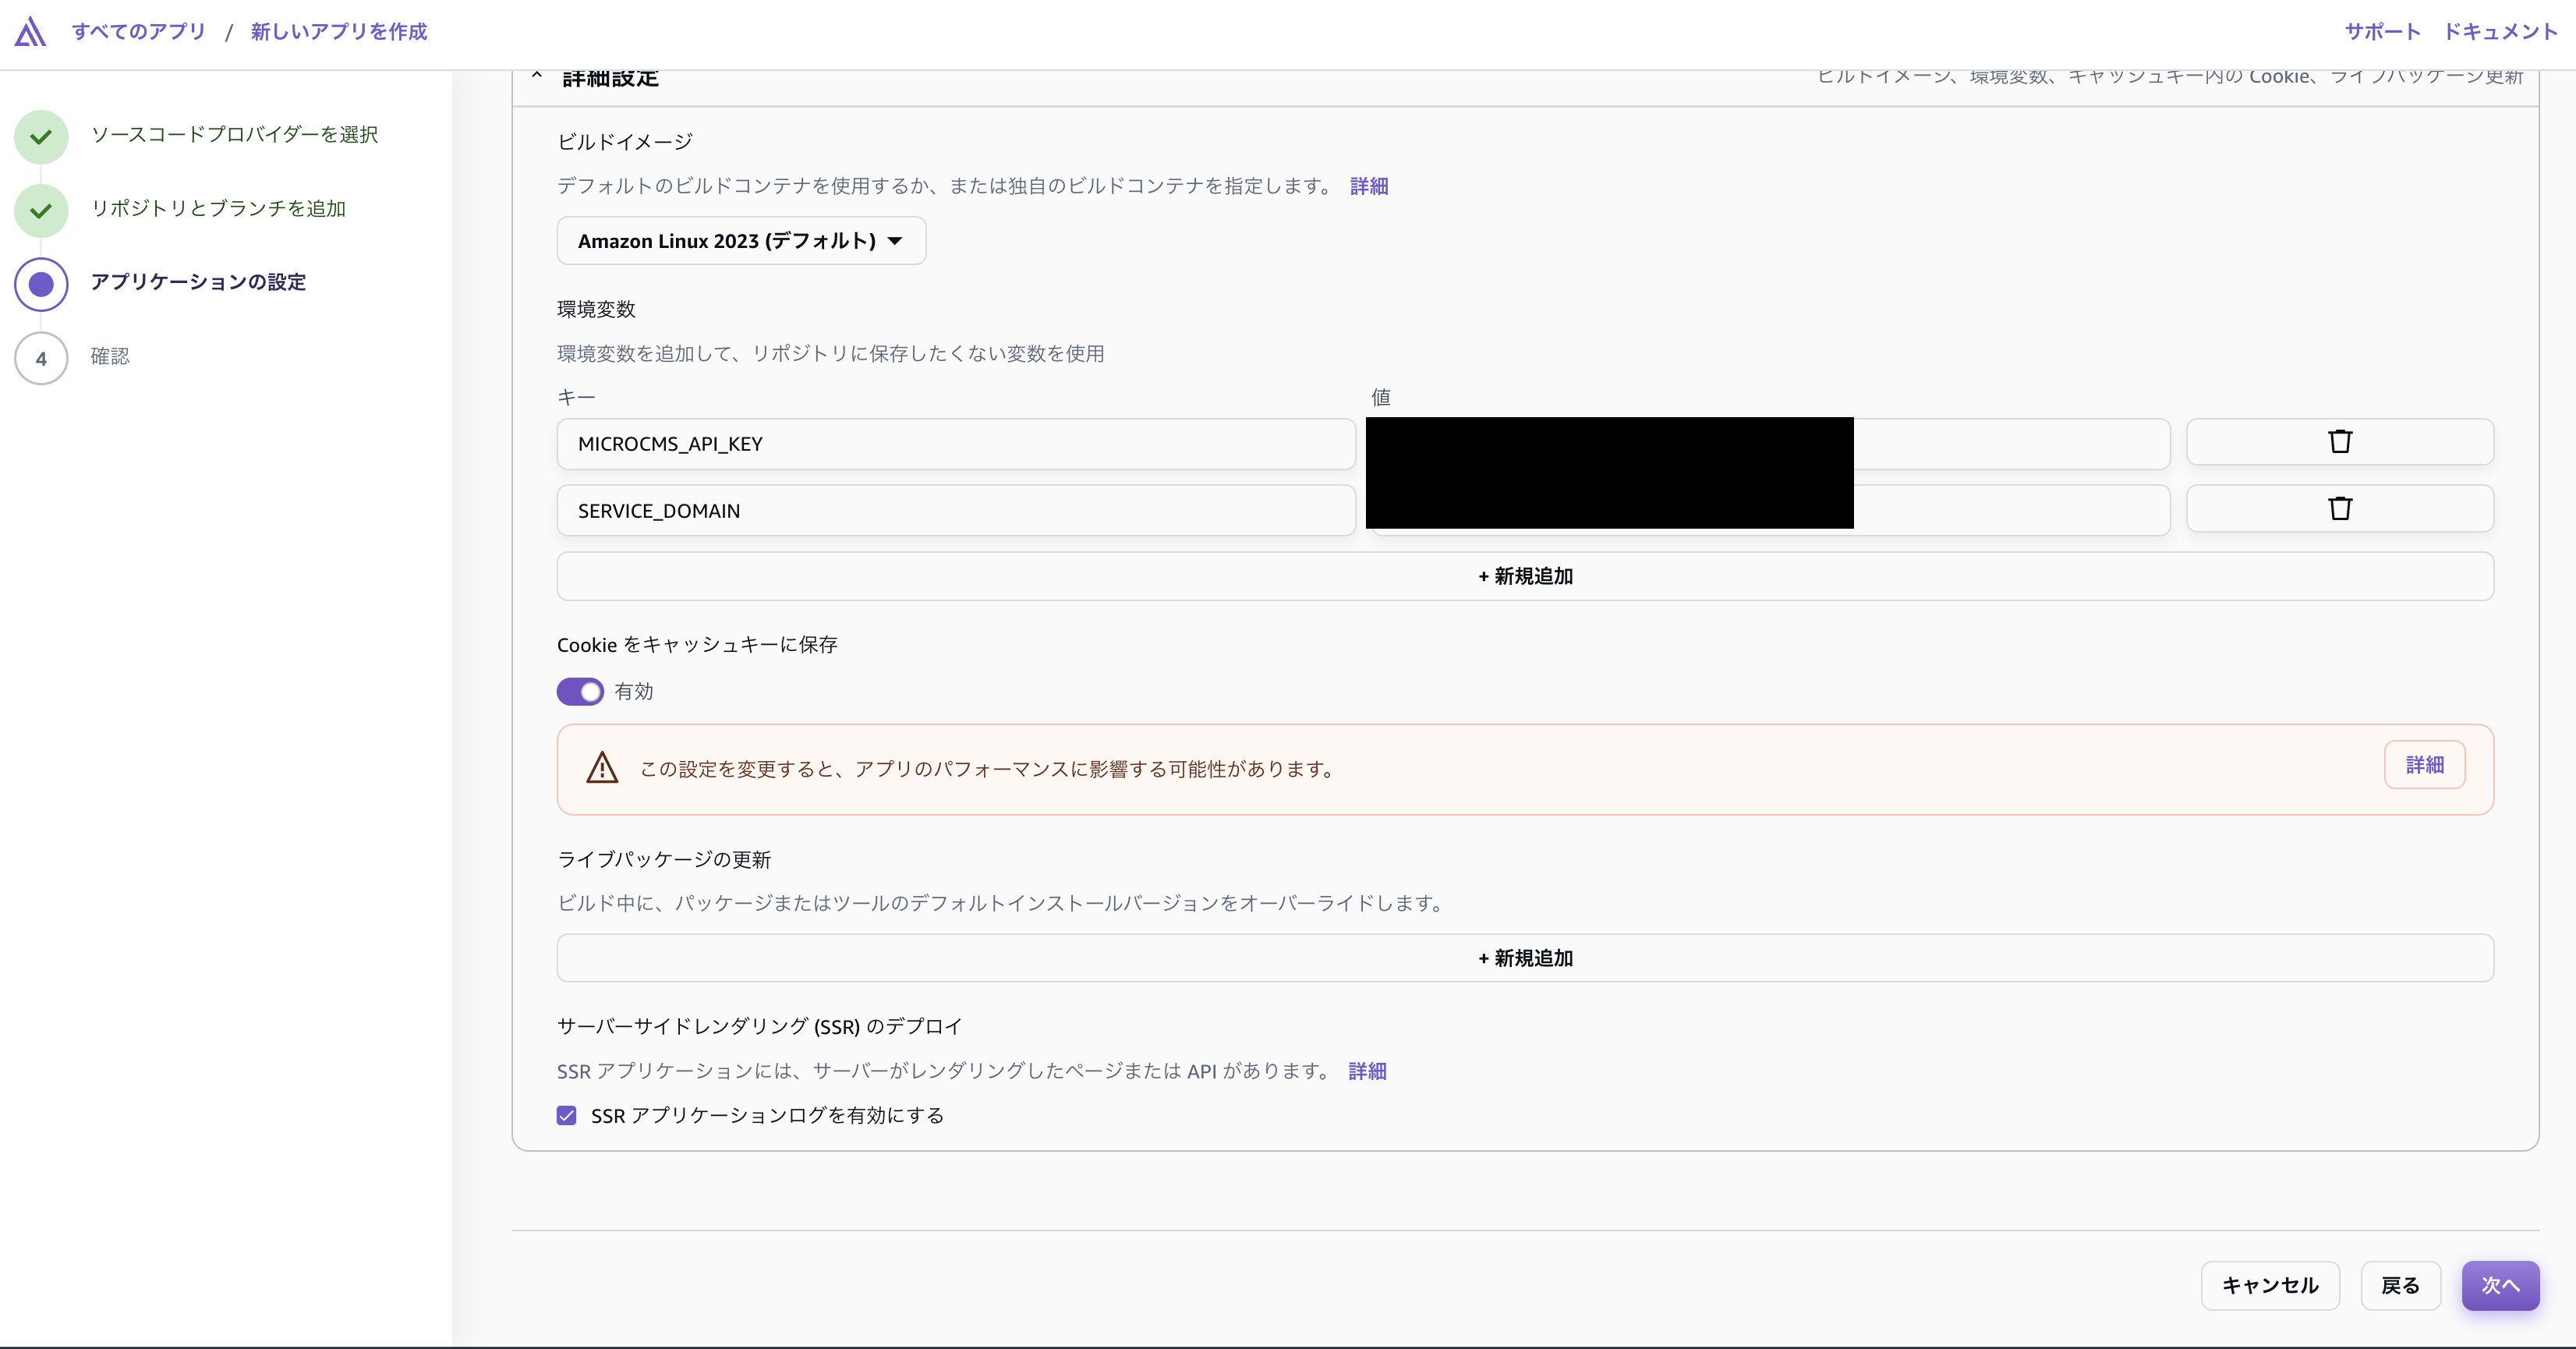
環境変数なども入れておき…
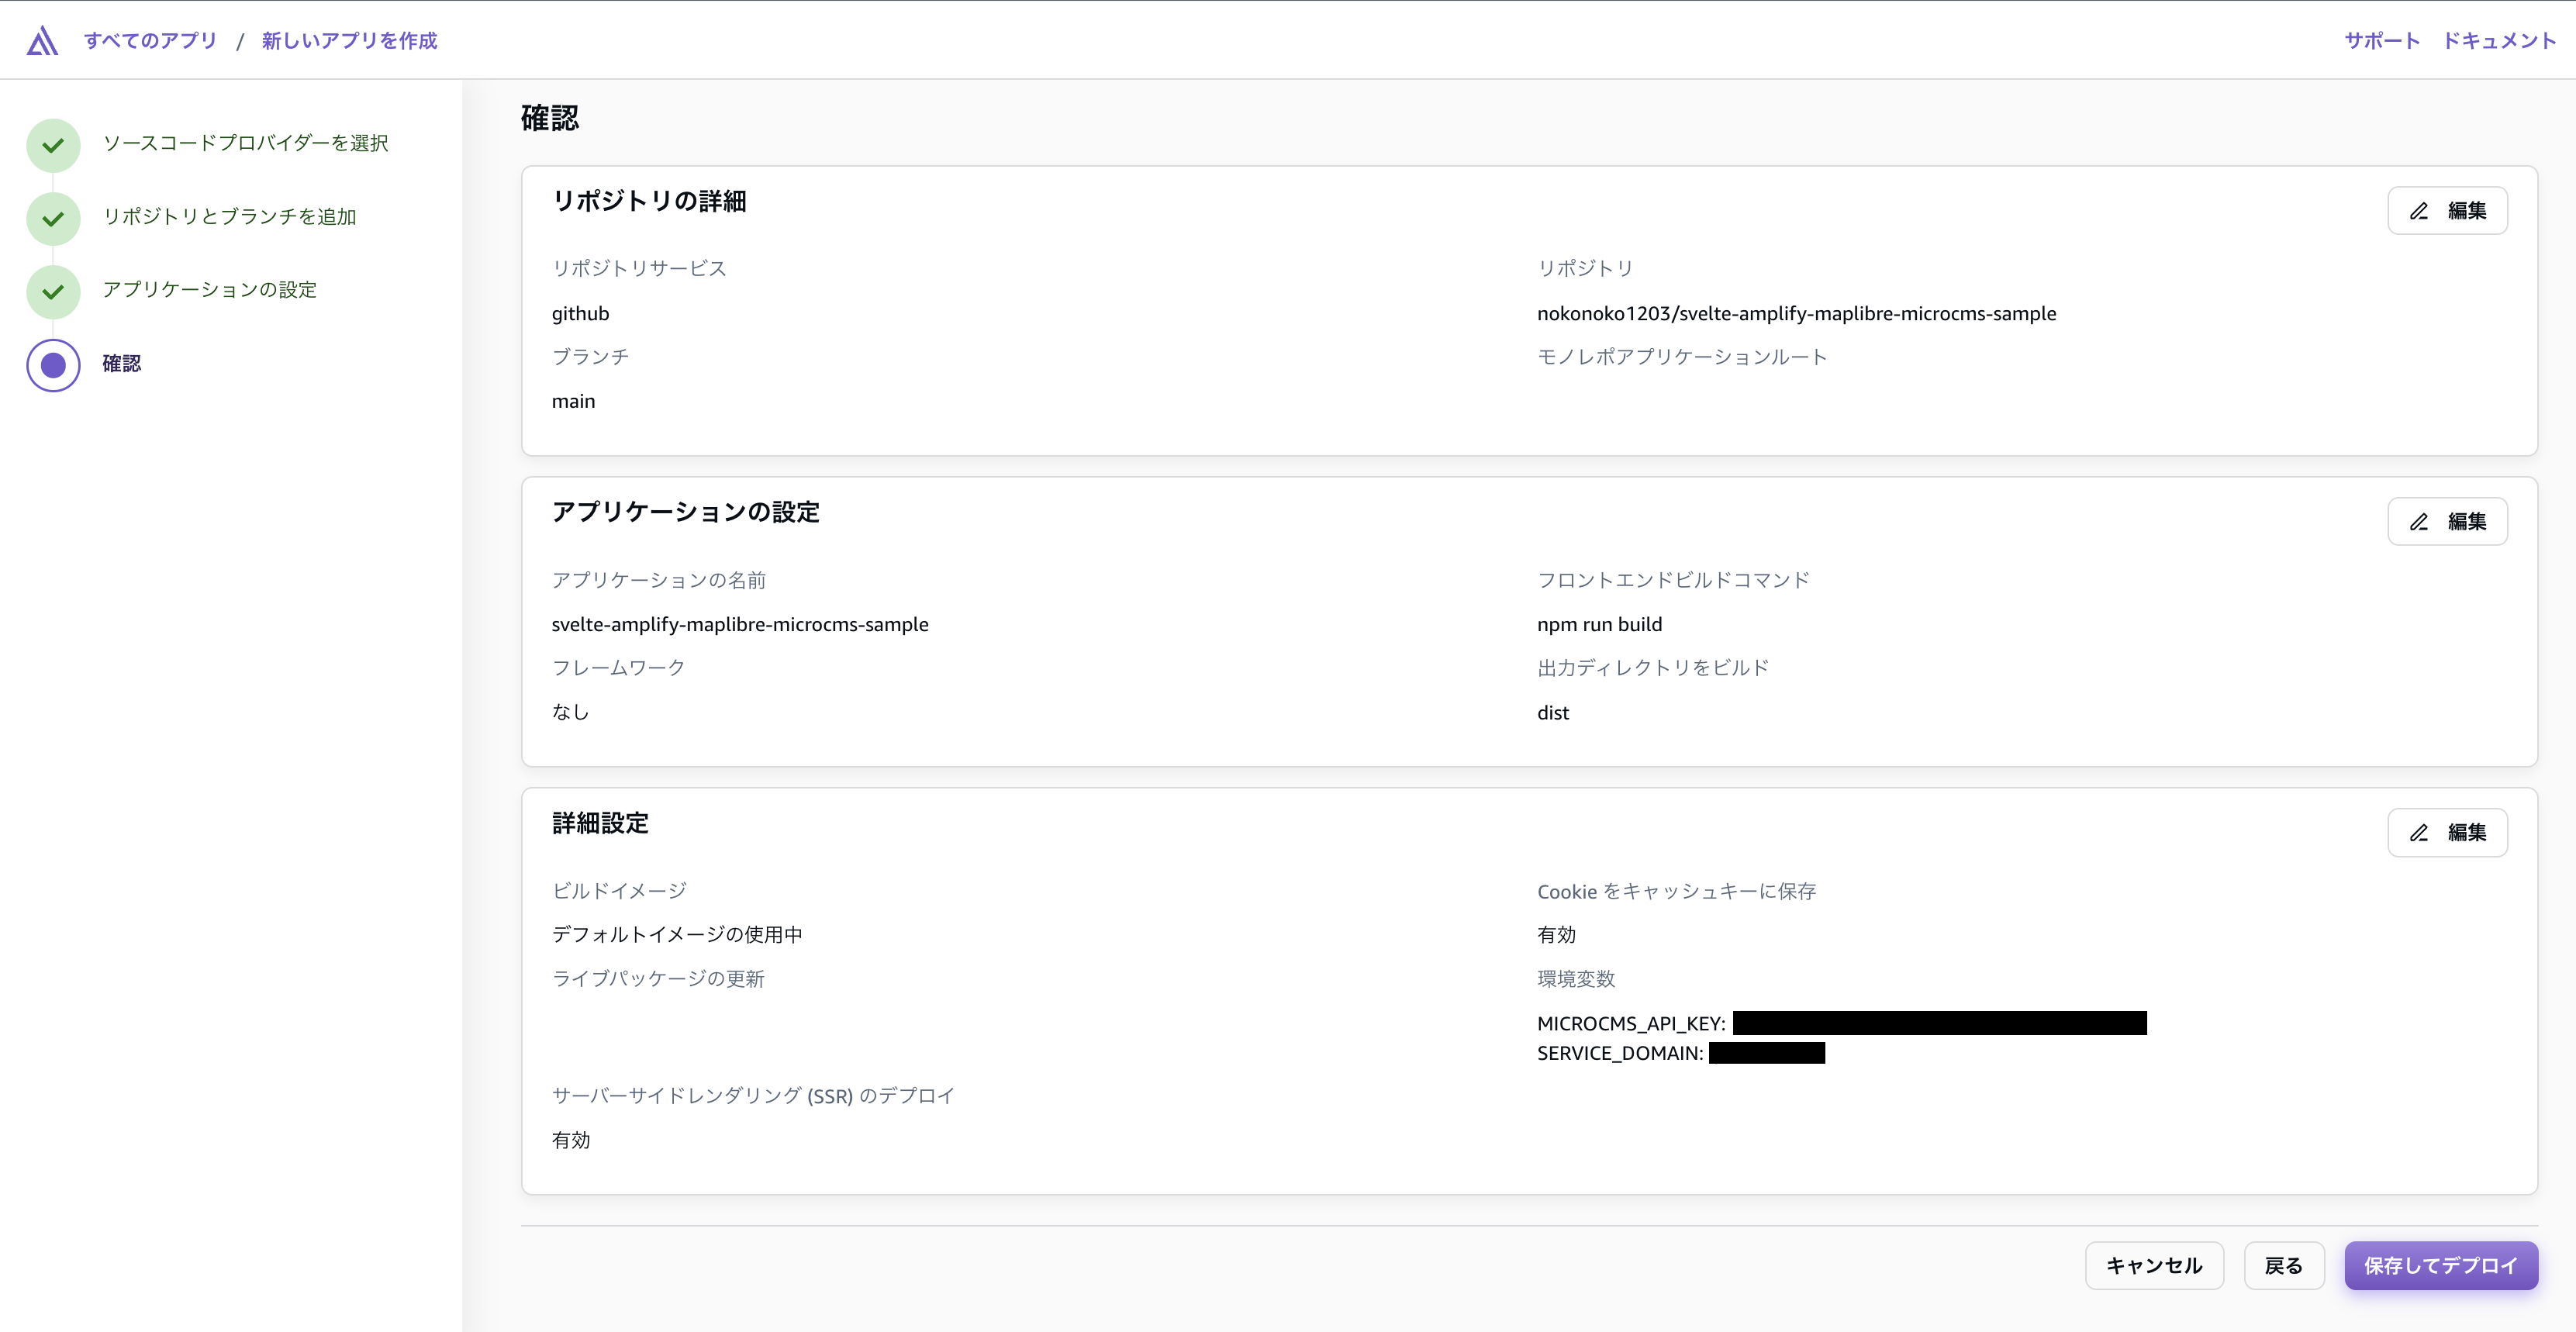
設定を確認してデプロイするだけ!!!
GOGO!
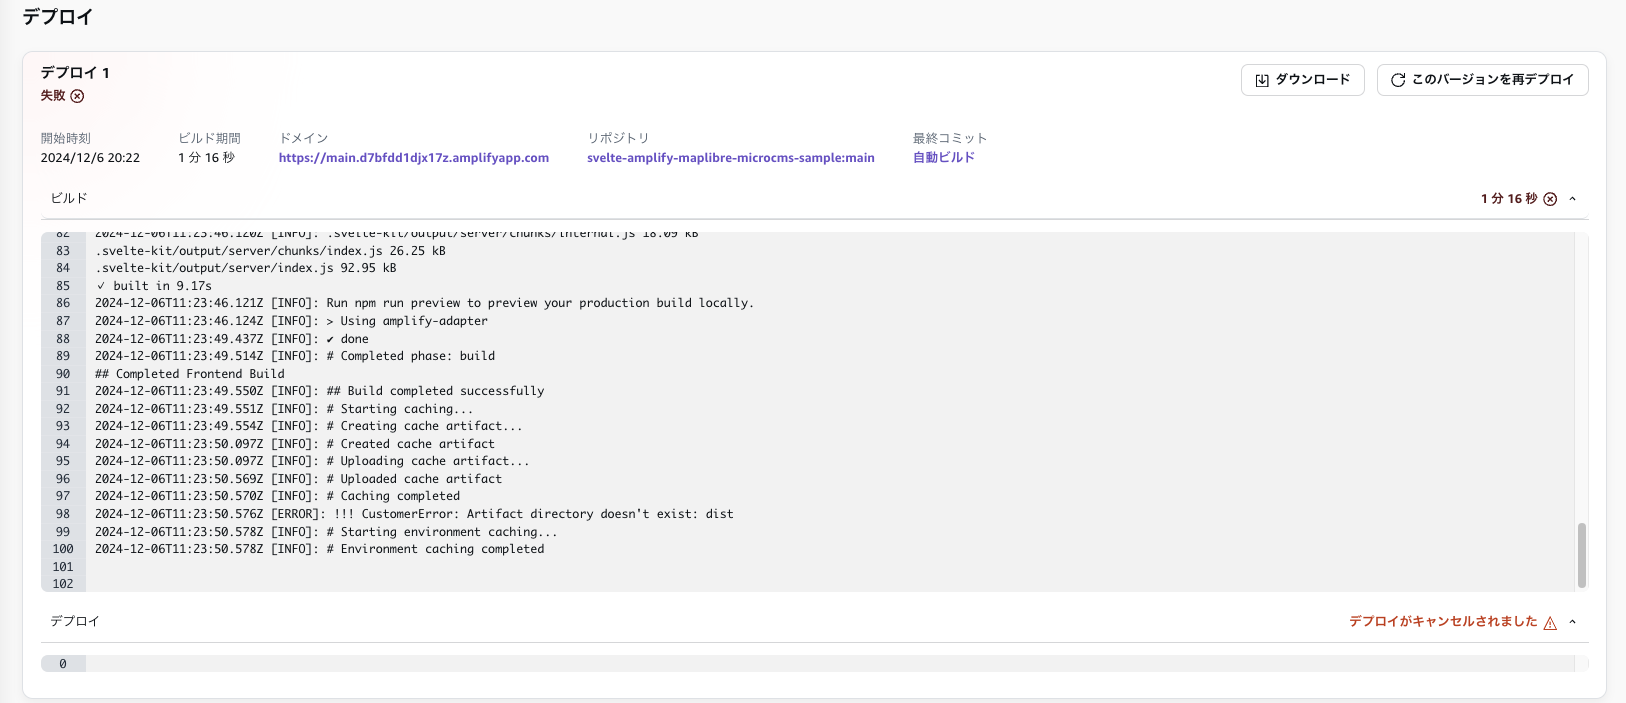
で、ビルドに失敗したりするわけっすよね…
悲しい…
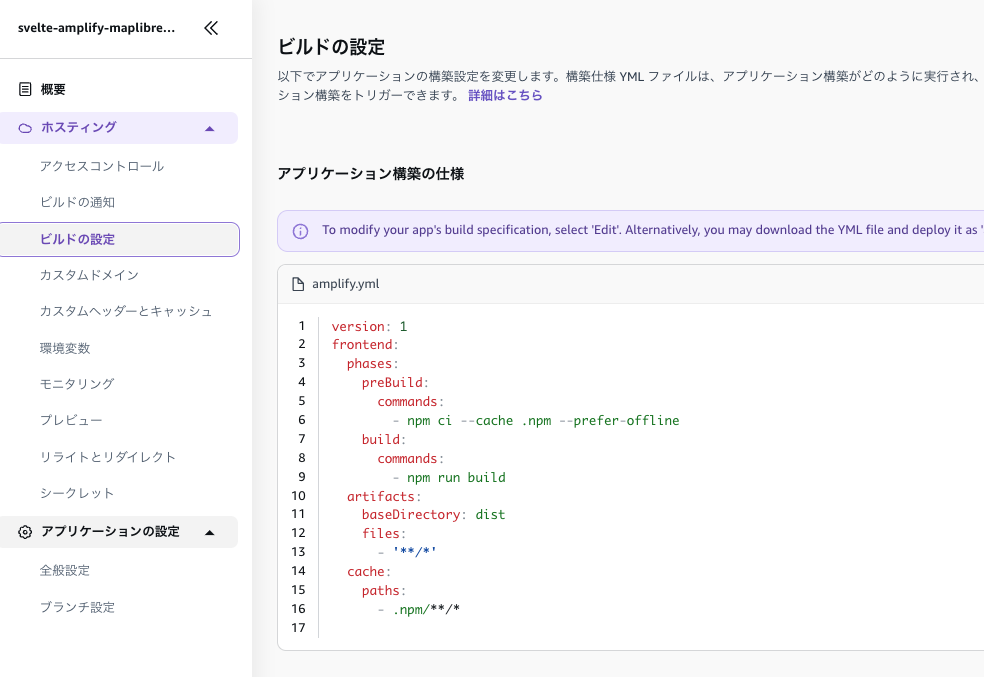
今回は、ビルドされたファイル群がないぞーと怒られています。
ローカルマシンでnpm run buildと入力すると多分buildというフォルダができると思います。
でもビルドの設定を確認するとbaseDirectory: distの記載がありますね。
これをbaseDirectory: buildに変更してあげます。
また、公式ドキュメントに示されている通り、サーバー側で環境変数を利用するためにはビルド時に.envを出力してあげる必要があるようでした。
結果的にデプロイ用の設定はこんな感じになります。
version: 1
frontend:
    phases:
        preBuild:
            commands:
                - npm ci --cache .npm --prefer-offline
        build:
            commands:
                - echo "MICROCMS_API_KEY=$MICROCMS_API_KEY" >> .env
                - echo "SERVICE_DOMAIN=$SERVICE_DOMAIN" >> .env
                - npm run build
    artifacts:
        baseDirectory: build
        files:
            - '**/*'
    cache:
        paths:
            - '.npm/**/*'
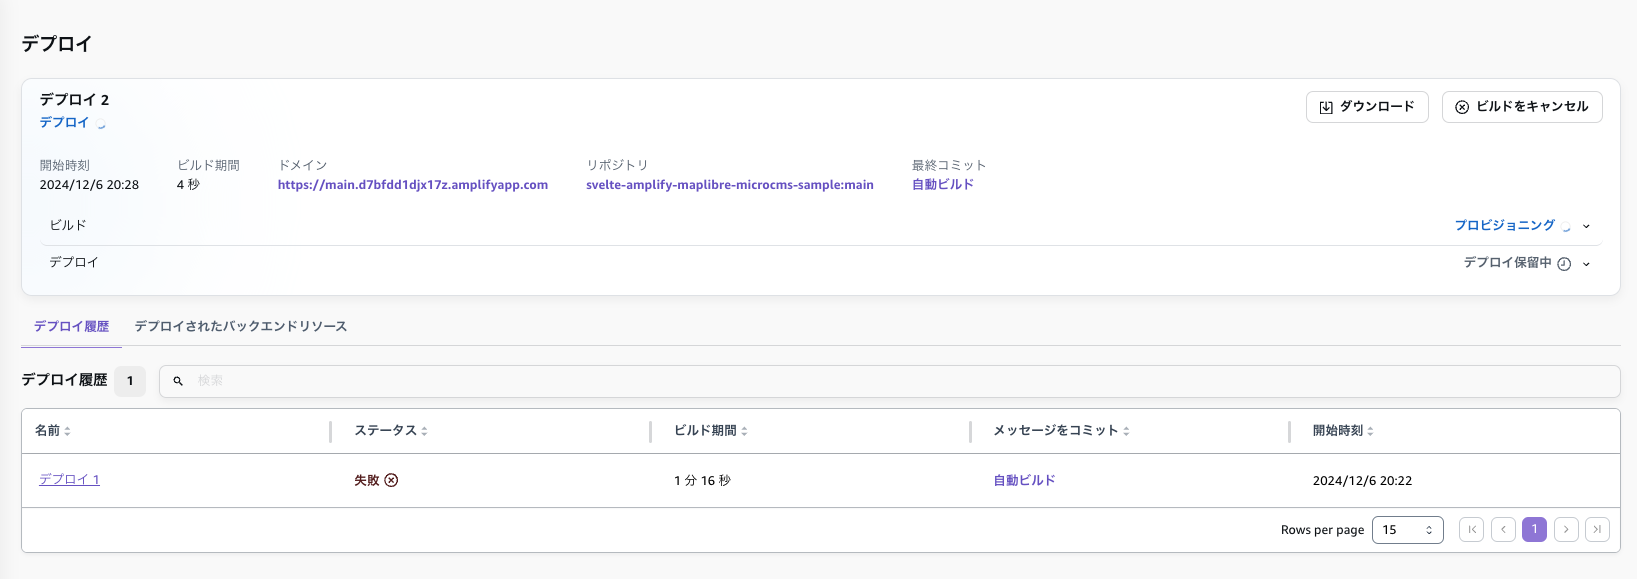
設定を変更したので再度デプロイしてみましょう!
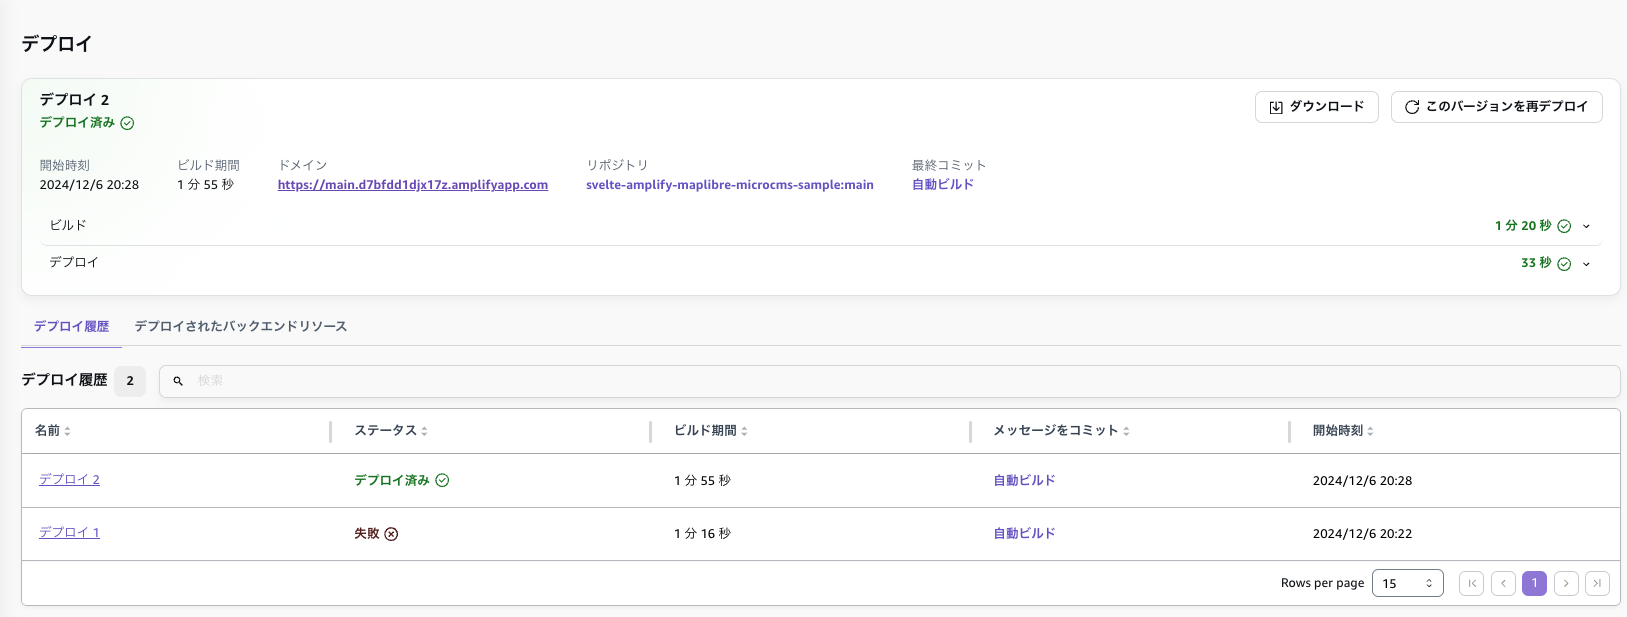
成功しましたー!!!
ということで書かれたURLに接続してみましょう!
良さそうですね!
こんな感じで設定しておくと、mainブランチにマージされると自動的に再デプロイされます!
最高!
おわりに
ということで、SvelteKit・Svelte MapLibre GL・microCMS・Amplify Gen 2を利用して地図上にブログ記事を載せる旅行地図日記的なアプリを作ってみました!
僕はサーバー寄りのエンジニアなんですが、こんだけ便利なツール群が揃っているとフロントエンドもたのしいなーと思いました!
構築からデプロイまでめちゃくちゃスムーズに行けるようになっているので、皆さんも地図アプリ作ってみてくださーい!
