こんなツイートを見て激震が走りました。
「え、めっちゃ簡単に建物ポリゴン抽出してない?」
ツイート主は界隈の有名人で、Pythonのコードを1行書くだけで誰でも手軽にインタラクティブな地図アプリを作れるLeafmapを使ってみようでも紹介したleafmapの作者でもあります。
恐る恐るNotebookを見ると、やっぱりめっちゃ簡単にセグメンテーションされていそうです。
しかも、leafmapを利用し、セグメンテーションの結果をjupyter notebook上で即可視化していますね。
こんなん見せられたらやってみるしかないですよね。
データのダウンロード
このライブラリは、どうやら航空写真(オルソ画像)をセグメンテーションしてくれるライブラリのようなので、PLATEAUのオルソ画像を利用しましょう!
東京都の40cm解像度のデータを、以下から入手することができます。
https://www.geospatial.jp/ckan/dataset/plateau-tokyo23ku-2022/resource/fbcbb007-a234-43b0-ad1e-d4e5e61e95cb
パッケージのインストール
※20230720時点最新版のv0.8.5では対象のデータがうまくセグメンテーションされなかったため、だいぶ古いバージョンを利用しています
データのダウンロードが終わったらライブラリをインストールします。
poetryやjupyter notebook、VSCodeなどを利用していきますが、利用方法などは個別の記事に任せますので、ググってみてください!
とにかく、Pythonが実行可能で、なおかつjupyterが動くようになっていれば良いでしょう。
poetry add segment-geospatial==0.3.0 leafmap localtileserver
セグメンテーション
適当なnotebookを作成し、どんどん実行していきましょう。
まずは必要なパッケージをインストールします。
import os
import leafmap
import torch
from samgeo import SamGeo
import rasterio
ダウンロードした画像ファイルの中から適当に一つ読み込ませます。
image_path = "data/13100_tokyo-23ku_2022_ortho_1_op/images/53394594.tif"
image = rasterio.open(image_path)
leafmapで可視化する際に必要となるので、画像の中心座標を取得しましょう。
bbox = image.bounds
xmin, ymin, xmax, ymax = bbox

center = [(ymin + ymax) / 2, (xmin + xmax) / 2]
一度leafmapのインスタンスを作成しておきます。
m = leafmap.Map(center=center, zoom=16)
m.add_basemap("SATELLITE")
m
notebook上で地図が見れるようになったかと思います。
セグメンテーション結果書き出し用のフォルダを作成します。
os.makedirs("data/output/", exist_ok=True)
for file in os.listdir("data/output/"):
    os.remove(os.path.join("data/output/", file))

out_dir = os.path.join(os.path.expanduser("data/output/"), "downloads")
checkpoint = os.path.join(out_dir, "sam_vit_h_4b8939.pth")
学習済みモデルを動かし、セグメンテーションを行います。
# device = "mps" if torch.cuda.is_available() else "cpu"
device = "cuda" if torch.cuda.is_available() else "cpu"
sam = SamGeo(model_type="vit_h", checkpoint=checkpoint, device=device)

mask = "data/output/segment.tif"
sam.generate(image_path, mask)
セグメンテーション結果をポリゴンとして書き出しつつ、leafmapで表示します。
vector = "data/output/segment.gpkg"
sam.tiff_to_gpkg(mask, vector, simplify_tolerance=None)

style = {
    "color": "#3388ff",
    "weight": 2,
    "fillColor": "#7c4185",
    "fillOpacity": 0.5,
}
m.add_vector(vector, layer_name="Vector", style=style)
m
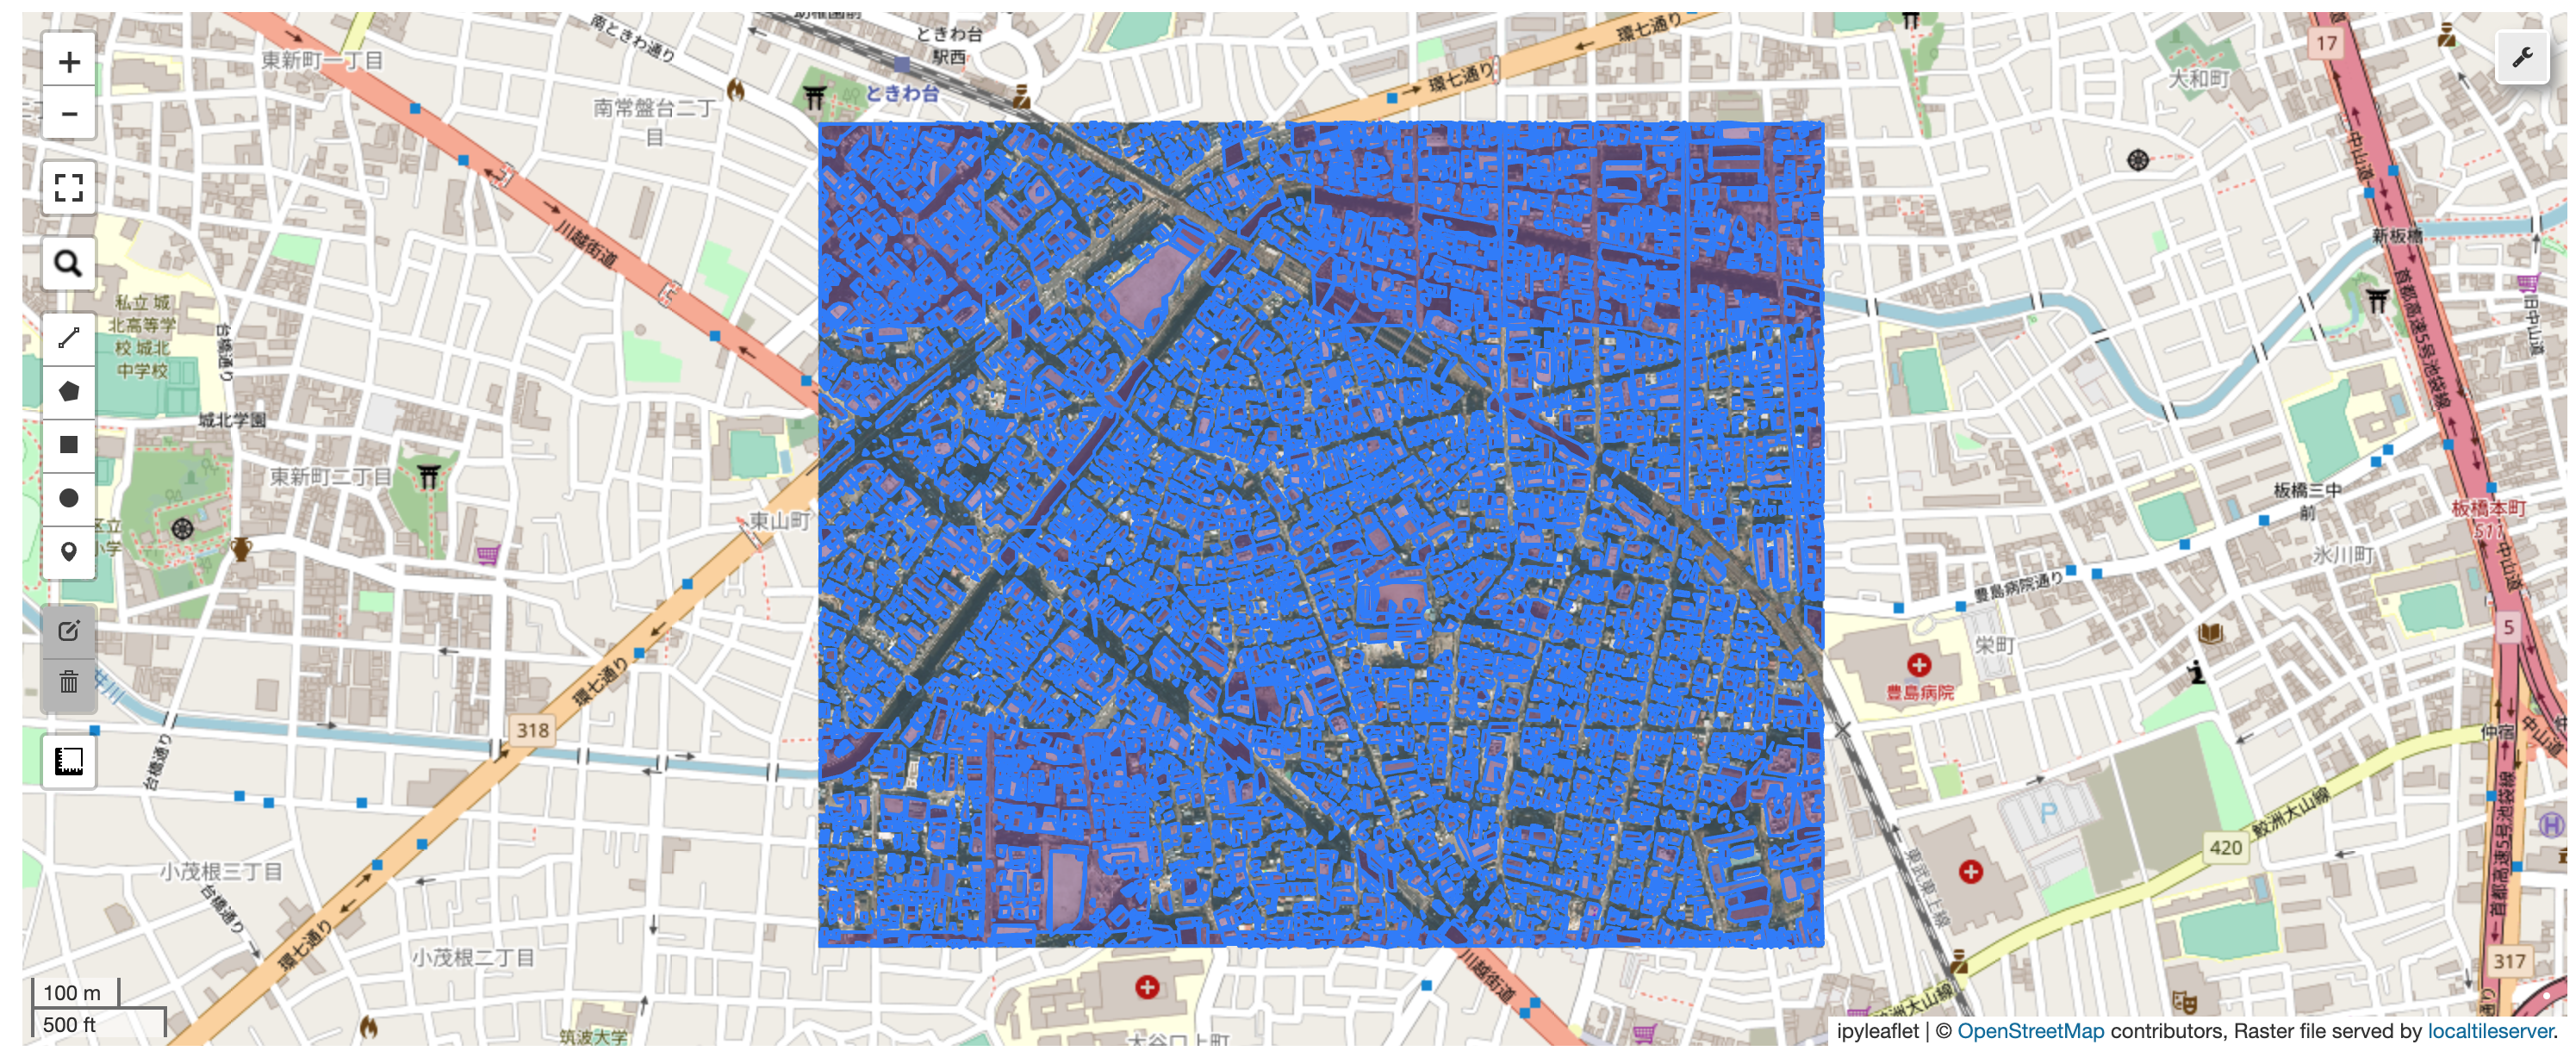
こんな感じになりました。
ズームするとこう。
かなりいい感じではないでしょうか!!!


