はじめに
はい!!!今年もやってまいりましたMIERUNEアドベントカレンダー!!!
記念すべき1日目は「何をするにもまずは環境構築からだよね!」ということで、モダンな技術をふんだんに使ってフロントエンド側の環境を構築し、簡単な地図アプリ用テンプレートを作成いきたいと思います!
最新技術を利用すればめんどくさい環境構築も簡単に行えるようになるぞーっていうのを知ってもらえればなーと思います!
こちらに記載の手順を全部実行したテンプレートは以下のリポジトリで公開していますので、せっかちな方はこちらからどうぞ!
https://github.com/nokonoko1203/next_map_template
実行環境
今回はこんな環境で行いました!これ以外の環境で動作するかは確認しておりませんので、ご留意ください。
- Node.js: v16.6.0
- yarn: 1.22.11
- OS: macOS 11.1
% sw_vers
ProductName:    macOS
ProductVersion: 11.1
BuildVersion:   20C69
プロジェクト作成
Next.jsでプロジェクト作成
それでは早速やっていきましょう!
Next.js自体のチュートリアルは「大幅にリニューアルされた Next.js のチュートリアルをどこよりも早く全編和訳しました」なんかにお任せするとして、ひとまず作業用ディレクトリを作成しましょう!
mkdir next_map_template
cd next_map_template
以下コマンドでNext.jsのプロジェクトをカレントディレクトリに作成します。
プロジェクト名を聞かれるので「.」を入力してエンターを押してください。
yarn create next-app . --typescript
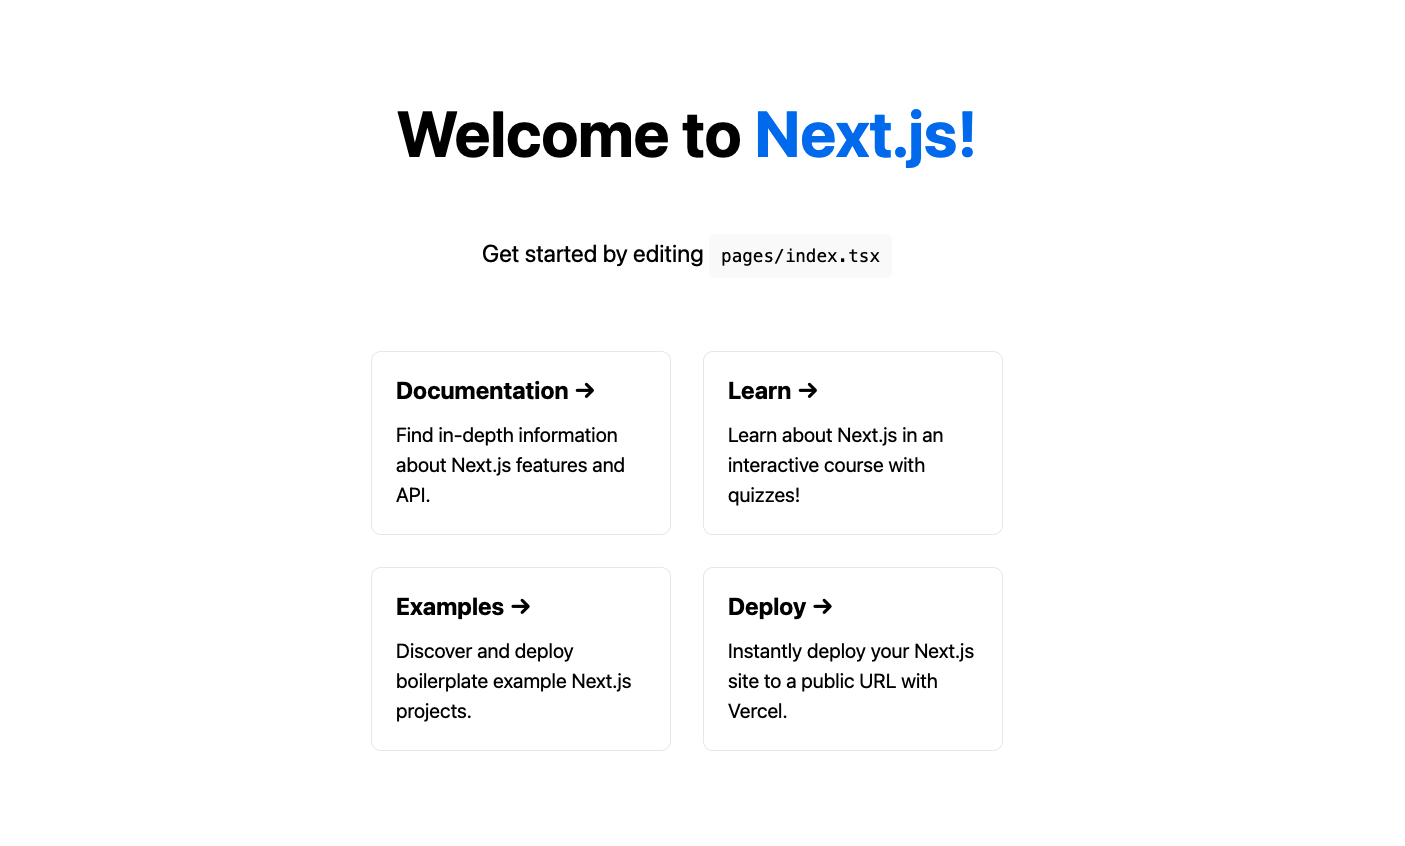
この段階で以下のコマンドを入力し、Next.jsの初期画面がhttp://localhost:3000/から閲覧できるか確認しましょう。
ディレクトリの整理
続いてデフォルトで作成されるフォルダだけでは実際に内部のロジックを実装していく際にコンポーネントの分割などが難しいので、srcという開発用のフォルダを作ってpagesとstylesを移動させていきます。
mkdir src
mv pages styles src
次に、TypeScriptの設定をしていきます。tsconfig.jsonを以下のように修正します。ちょっと緩めに設定していきますので、この辺はお好みで良いかと思います。
- tsのコンパイルオプションを緩めに設定する
- typeのルートフォルダを設定する
{
  "compilerOptions": {
    "target": "es5",
    "lib": [
      "dom",
      "dom.iterable",
      "esnext"
    ],
    "allowJs": false,
    "skipLibCheck": true,
    "strict": true,
    "noImplicitAny": false,
    "forceConsistentCasingInFileNames": true,
    "noEmit": true,
    "esModuleInterop": true,
    "module": "esnext",
    "moduleResolution": "node",
    "resolveJsonModule": true,
    "isolatedModules": true,
    "jsx": "preserve",
    "baseUrl": ".",
    "paths": {
      "@/*": [
        "src/*"
      ]
    }
  },
  "typeRoots": [
    "types",
    "node_modules/@types"
  ],
  "include": [
    "next-env.d.ts",
    "**/*.ts",
    "**/*.tsx"
  ],
  "exclude": [
    "node_modules"
  ]
}
Next.js自体の設定も行なっていきます。next.config.jsを修正しましょう。
以下の設定を行うことで、.envファイルの設定がproductionの時に、assetPrefixが指定URLのものになります。
('https://example.com/'の部分は任意の本番環境用URLを設定してください。)
また、Next.js標準ではビルド時に.nextというディレクトリが生成されますが、それをbuildというディレクトリ名に変更します。
const isProd = process.env.BUILD_OPTION === 'production';

module.exports = {
  reactStrictMode: true,
  distDir: 'build',
  assetPrefix: isProd ? 'https://example.com/' : '.',
};
package.jsonのを修正して各種コマンドをscriptに登録します。これによって例えばyarn buildを実行するとyarn clean && next build && yarn exportが実行されるようになります。
"scripts": {
    "dev": "next dev",
    "start": "next start",
    "clean": "rm -rf .next out",
    "export": "BUILD_OPTION=development next export",
    "export:prod": "BUILD_OPTION=production next export",
    "build": "yarn clean && next build && yarn export",
    "build:prod": "yarn clean && next build && yarn export:prod",
    "lint": "next lint"
  },
HTMLの<html>と<body>タグを拡張可能にするため、src/pages/_document.tsxを作成し、中身を編集します。
touch src/pages/_document.tsx
import NextDocument, { Head, Html, Main, NextScript } from 'next/document';

interface Props {}
class Document extends NextDocument<Props> {
  render() {
    return (
      <Html lang="ja">
        <Head></Head>
        <body>
          <Main />
          <NextScript />
        </body>
      </Html>
    );
  }
}

export default Document;
Next.jsプロジェクトのpageコンポーネント以外をpagesディレクトリに置いてしまうとエラーが出るのでcomponentsフォルダを作成します。
mkdir src/components
Tailwind CSS導入
簡単な記法で綺麗なデザインができるように、cssフレームワークを導入していきます。
今回はTailwind CSSというフレームワークを導入していきます。
まずはインストールを行います。
yarn add -D tailwindcss@latest postcss@latest autoprefixer@latest
次に以下のコマンドを実行して、自動で設定ファイルを作成します。
yarn tailwindcss init -p
tailwind.config.jsを修正
module.exports = {
  mode: 'jit',
  purge: [
    './src/pages/**/*.{js,ts,jsx,tsx}',
    './src/components/**/*.{js,ts,jsx,tsx}',
    './src/layout/**/*.{js,ts,jsx,tsx}',
  ],
  darkMode: false,
  theme: {
    fontFamily: {
      body: [
        'Avenir',
        'Helvetica Neue',
        'Helvetica',
        'Arial',
        'Hiragino Sans',
        'ヒラギノ角ゴシック',
        'メイリオ',
        'Meiryo',
        'YuGothic',
        'Yu Gothic',
        'MS Pゴシック',
        'MS PGothic',
        'sans-serif',
      ],
    },
    extend: {},
  },
  variants: {
    extend: {},
  },
  plugins: [],
};
インストールしたtailwind cssを利用するため、src/pages/_app.tsxに追記します
import 'tailwindcss/tailwind.css';
src/styles/styles.cssを作成し、ファイルを以下のように編集します。
touch src/styles/styles.css
@tailwind base;
@tailwind components;
@tailwind utilities;
src/pages/_document.tsxに追記し、tailwind.config.jsで設定したfontを差し込む
import NextDocument, { Head, Html, Main, NextScript } from 'next/document';

interface Props {}
class Document extends NextDocument<Props> {
  render() {
    return (
      <Html lang="ja">
        <Head></Head>
        <body className="font-body">
          <Main />
          <NextScript />
        </body>
      </Html>
    );
  }
}

export default Document;
地図系ライブラリのインストール
最後に、利用する地図ライブラリをインストールしていきます。
今回はMapLibre GL JSとDeck.glをインストールします。
yarn add deck.gl maplibre-gl
- Deck.glはTypeScriptを利用するために型定義をインストールする必要があるので、そちらもインストールしていきます。
yarn add -D @danmarshall/deckgl-typings
地図の表示
最後に、簡単に地図表示を行います。
まず地図描画用のコンポーネントを格納するディレクトリとファイル本体を作成します。
mkdir src/components/Map
touch src/components/Map/index.tsx
作成したindex.tsxを編集して以下のようにします。
import maplibregl from "maplibre-gl";
import {useEffect, useRef} from "react";

let map: maplibregl.Map;


const Map = () => {
  const mapContainer = useRef<HTMLDivElement | null>(null);

  useEffect(() => {
    if (!map) {
      if (!mapContainer.current) return;

      map = new maplibregl.Map({
        container: mapContainer.current,
        style: {
          "version": 8,
          "sources": {
            "photo": {
              "type": "raster",
              "tiles": ["https://cyberjapandata.gsi.go.jp/xyz/seamlessphoto/{z}/{x}/{y}.jpg"],
              "tileSize": 256,
              "attribution": "<a href='http://maps.gsi.go.jp/development/ichiran.html' target='_blank'>地理院地図</a>"
            }
          },
          "layers": [
            {
              "id": "base",
              "type": "raster",
              "source": "photo",
              "minzoom": 0,
              "maxzoom": 22
            }
          ]
        },
        center: [139.77, 35.67],
        zoom: 11,
        bearing: 0,
        pitch: 60
      });
    }

    map.addControl(new maplibregl.NavigationControl());
  }, [])


  return (
    <>
      <div className="h-full" ref={mapContainer}/>
    </>
  );
};

export default Map;
その後、src/pages/index.tsxを編集してMapコンポーネントを読み込ませます。
import type {NextPage} from 'next'
import Map from "@/components/Map";

const Home: NextPage = () => {
  return (
    <div className="h-screen">
      <Map/>
    </div>
  )
}

export default Home
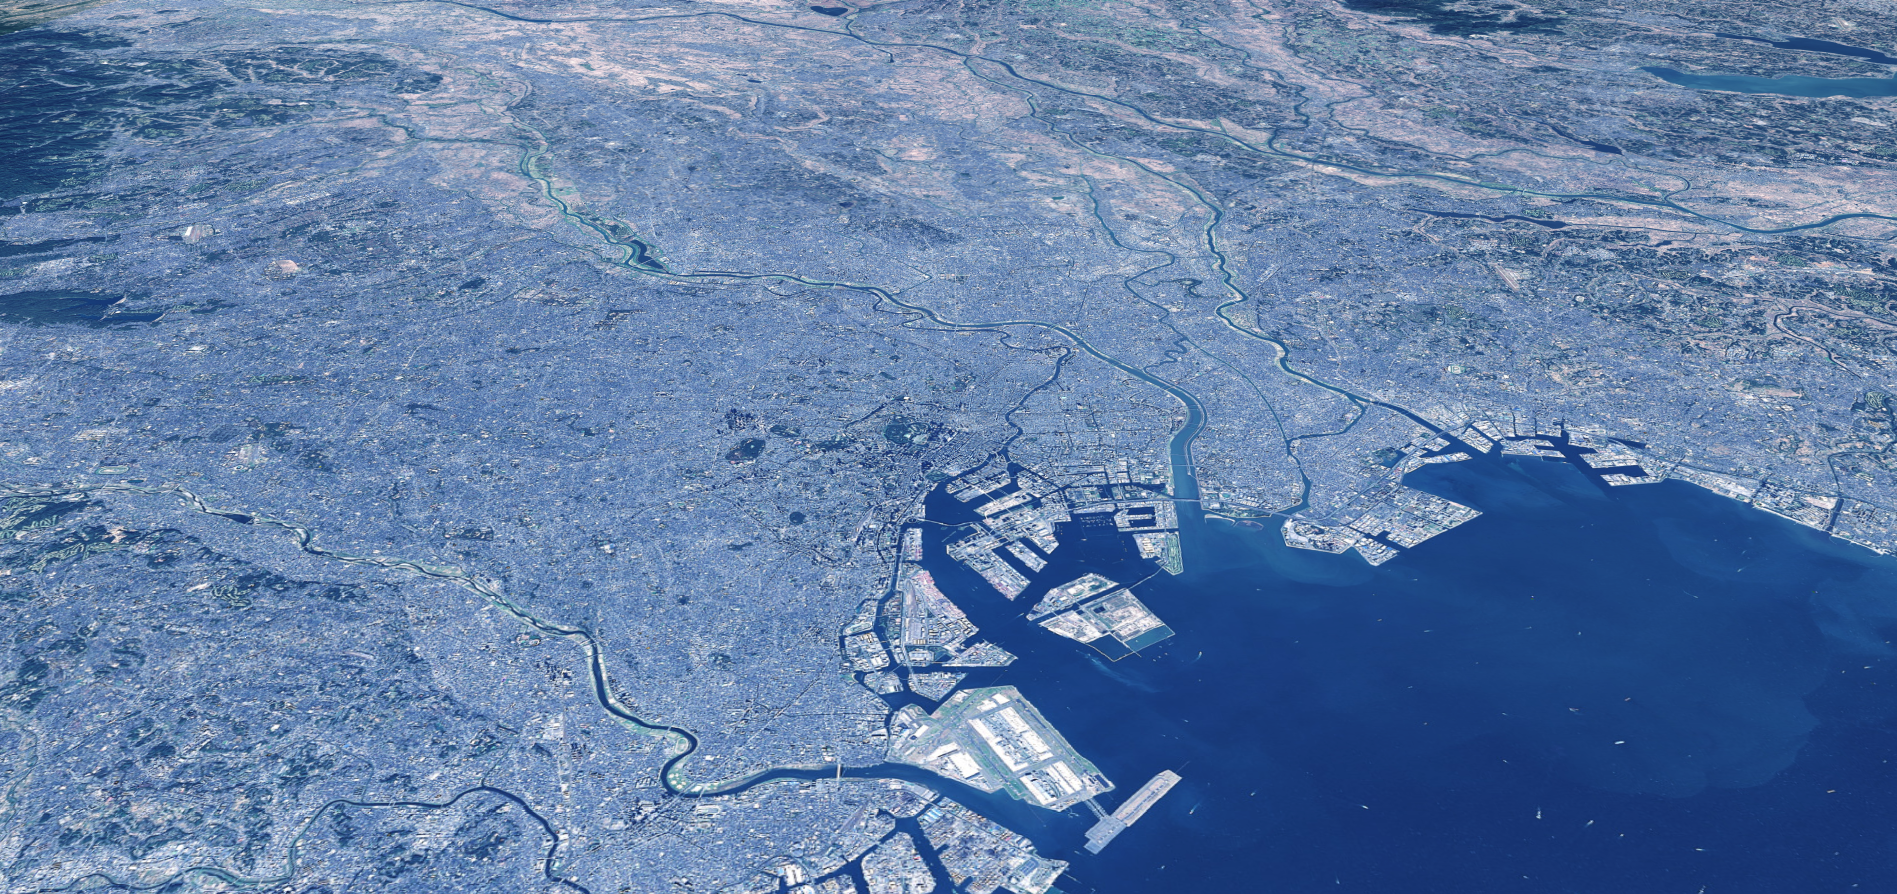
http://localhost:3000/をブラウザで確認して以下のような表示がされていれば完了です!
終わりに
お疲れ様でした!
設定の変更箇所が多く大変だったかと思いますが、一度テンプレートを作成してしまえば、あとは開発専念することできますので、ぜひやってみてくだっさい!
ただ冒頭で述べた通り、これらの設定を全て行なったテンプレートをパブリックに公開しておりますので、めんどくさければこちらをお使いください!
https://github.com/nokonoko1203/next_map_template