概要
NGINXだとロードバランサーを簡単に作れるみたいなので試してみた
※今回はUbunutu環境でテストしている
NGINXのインストール
・NGINXをインストール
sudo apt-get update
sudo apt-get install nginx
・systemd initシステムでサービスが実行されていることを確認できる
$systemctl status nginx
● nginx.service - A high performance web server and a reverse proxy server
     Loaded: loaded (/lib/systemd/system/nginx.service; enabled; vendor preset: enabled)
     Active: active (running) since Tue 2021-11-09 02:26:51 UTC; 17min ago
       Docs: man:nginx(8)
   Main PID: 2857918 (nginx)
      Tasks: 7 (limit: 28758)
     Memory: 8.2M
     CGroup: /system.slice/nginx.service
             ├─2857918 nginx: master process /usr/sbin/nginx -g daemon on; master_process on;
             ├─2857919 nginx: worker process
             ├─2857920 nginx: worker process
             ├─2857921 nginx: worker process
             ├─2857922 nginx: worker process
             ├─2857923 nginx: worker process
             └─2857924 nginx: worker process

Nov 09 02:26:51 doktor-loadtest systemd[1]: Starting A high performance web server and a reverse proxy server...
Nov 09 02:26:51 doktor-loadtest systemd[1]: Started A high performance web server and a reverse proxy server.
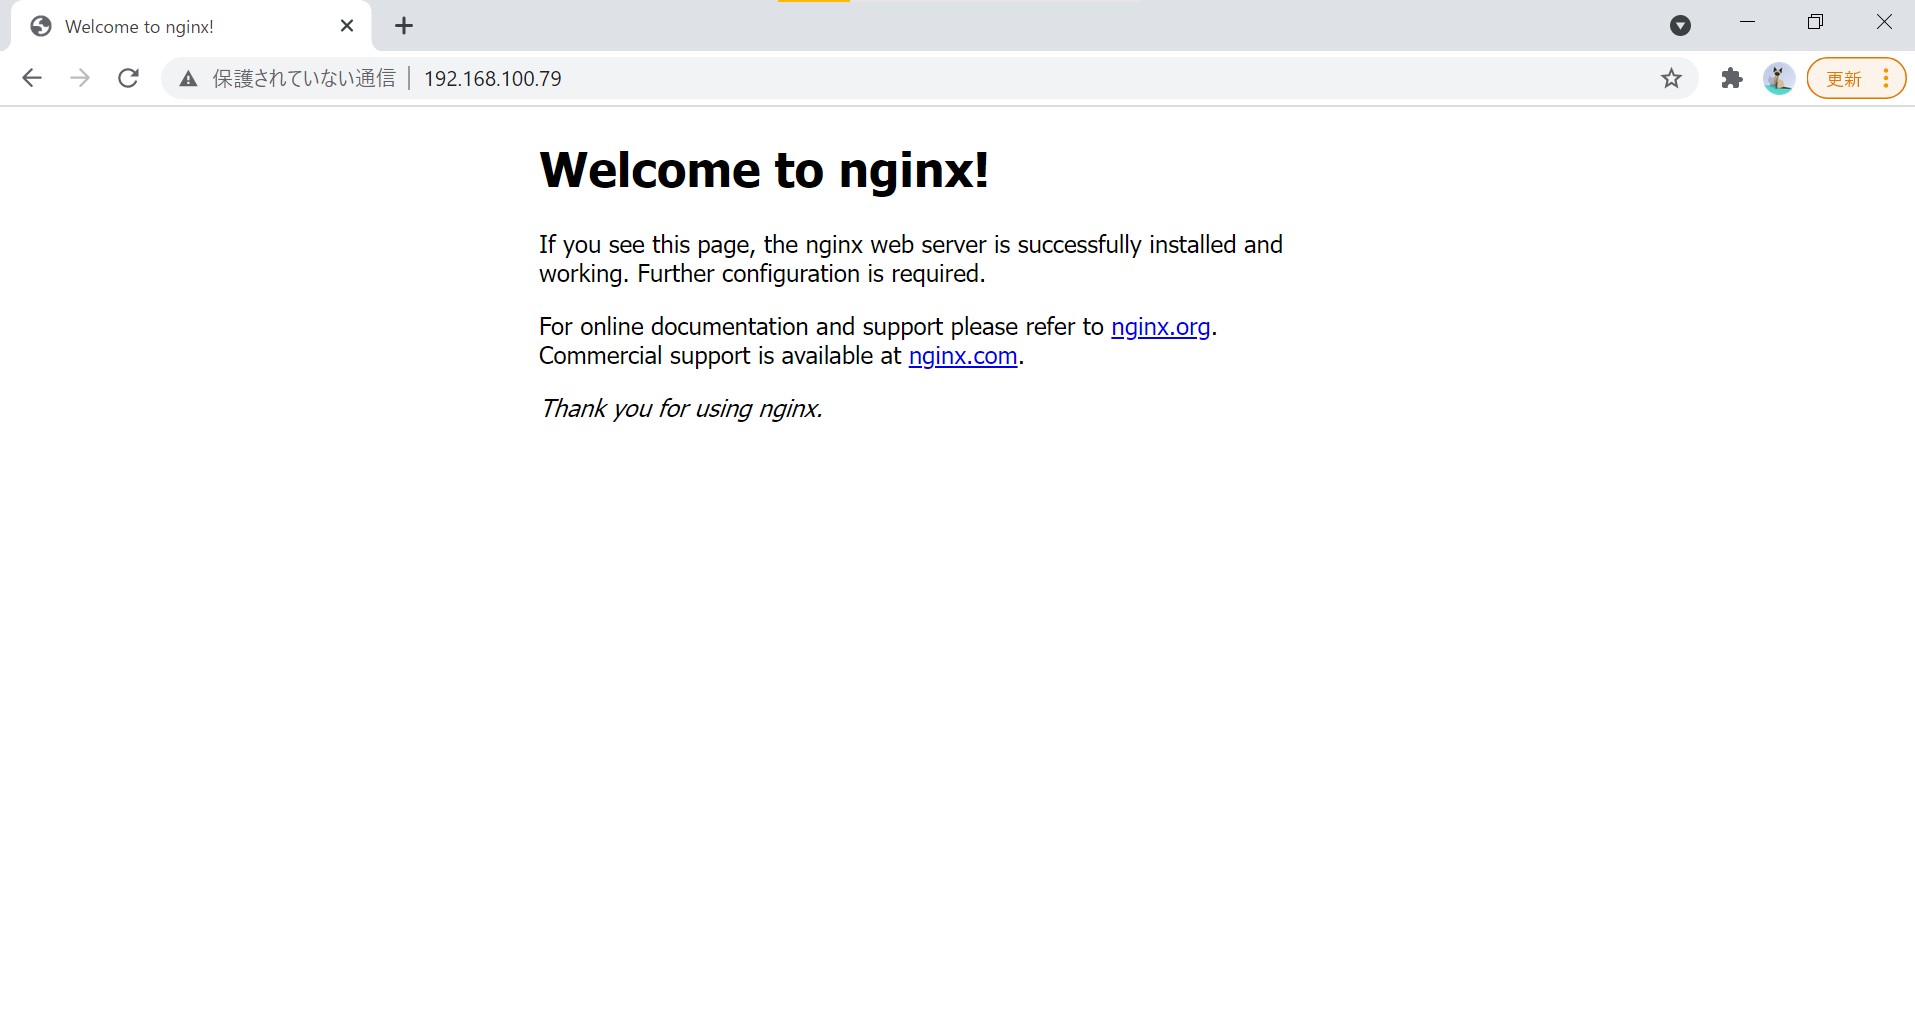
・自分のVMのIPアドレスに接続してnginxサーバーが起動しているか確認
ロードバランサーの設定
1./etc/nginx/にあるnginx.confを開く
vim /etc/nginx/nginx.conf
2.httpの欄に以下を加える
→ロードバランサーの方式はデフォルトだとラウンドロビン方式になる
※今回はpod内で動いてるflaskサーバーに直接接続する
nginx.conf
http {
    #追加部分↓
    upstream backend {
        server 10.1.204.5:3100;
        server 10.1.204.7:3100;
        server 10.1.204.8:3100;#分散先サーバーのIPアドレス:portを記述
    }
    server {
        listen 8888;

        location / {
            proxy_pass http://backend;
        }
    }
Pod情報↓
nogisora@nginx-loadbalancer:/etc/nginx$ microk8s kubectl get pod -owide
NAME                         READY   STATUS    RESTARTS   AGE     IP           NODE                 NOMINATED NODE   READINESS GATES
cpuup-pod1-fdcc5b4df-9bq8r   1/1     Running   0          2d12h   10.1.204.5   nginx-loadbalancer   <none>           <none>
cpuup-pod2-f8b7b8498-7gbdv   1/1     Running   0          69m     10.1.204.7   nginx-loadbalancer   <none>           <none>
cpuup-pod3-97d997668-qv4zc   1/1     Running   0          68m     10.1.204.8   nginx-loadbalancer   <none>           <none>
3.nginxを再起動
sudo service nginx restart
4.nginx -tを出力して以下の結果が出れば設定変更完了
sudo nginx -t
nginx: the configuration file /etc/nginx/nginx.conf syntax is ok
nginx: configuration file /etc/nginx/nginx.conf test is successful
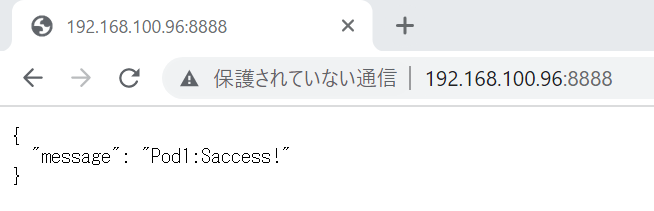
5.nginxサーバ側のportに接続して確認
接続1回目↓
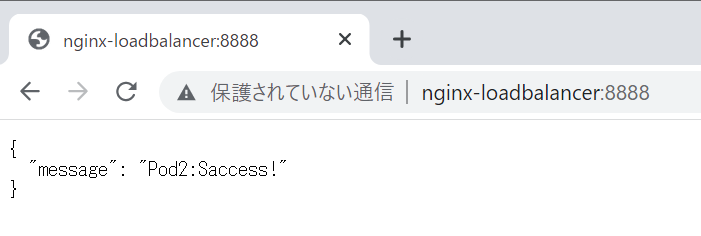
接続2回目↓
接続3回目↓
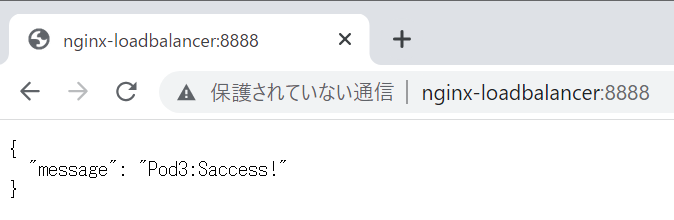
ラウンドロビン方式で上から順番に接続できることが確認出来た
ラウンドロビン方式以外の負荷分散もできそうなので色々試してみます
参考文献
1.https://www.digitalocean.com/community/tutorials/how-to-install-nginx-on-ubuntu-20-04-ja
2.https://4geek.net/notes-about-nginx/
3.https://qiita.com/WisteriaWave/items/fa2e7f4442aee497fe46
4.https://qiita.com/tukiyo3/items/52345d51c6bc27602bb3