はじめに
開発版、adhocは実機転送で、
release版でのアプリ配布が可能なのでiTunes ConnectでのTestFlightを使うと
疎通まで軽い気持ちでやってみます ![]()
環境
Mac OS X 10.9.5 Mavericks
Xcode 6.0.1 with swift
Python 2.7.5
iOS開発者ライセンス
Standard版など、TestFlightを使うにはiTunes Connectが使えるライセンスを保有
Enterprise版などでは、MDMや自前で配布用のWebサーバなどを使えば可能です。※今回触れません。
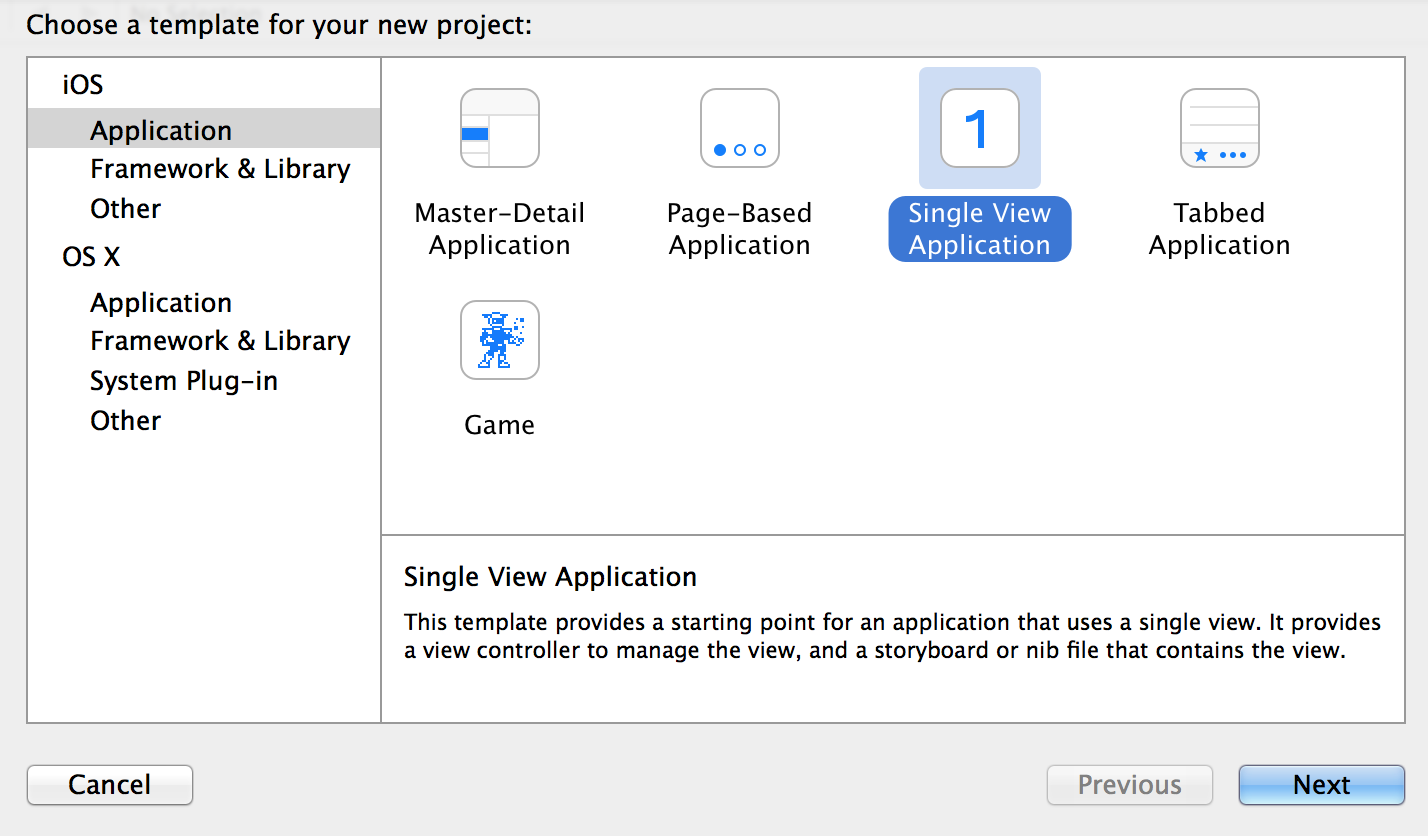
Xcode
swiftのプロジェクトを作っておきます。
受信するデバイス
Push通知を受信するデバイス次の状態まで設定していること
(1)iTunesConnectにユーザ登録しているAppleIDがある
(2)TestFlightをインストール
(3)TestFlightで(1)のAppleIDを設定
参考
iOS8からのTestFlight利用に向けて
http://qiita.com/nofrmm/items/bd8dda556ed88577c330
送信用のスクリプト
送信側は(個人的に)Pythonを使いたいので、ここではPyAPNsを使います。
設定
Certificates, Identifiers & Profiles
AppIDと証明書
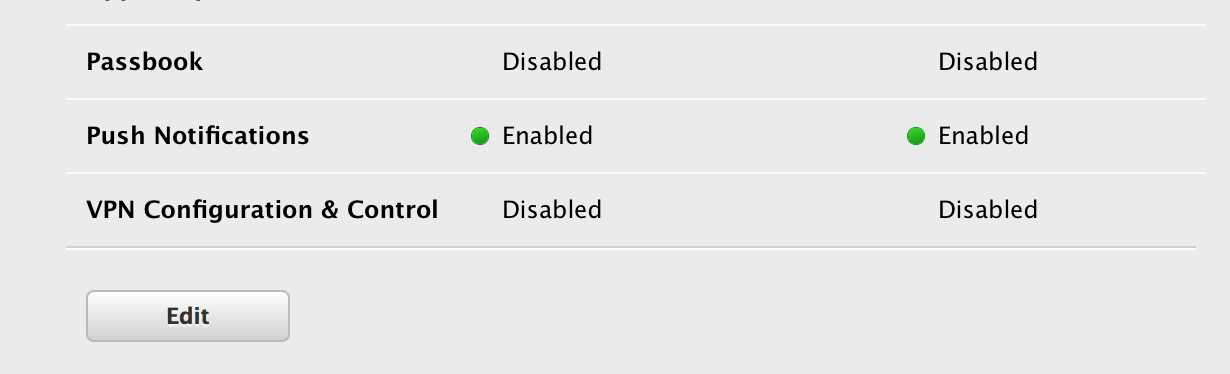
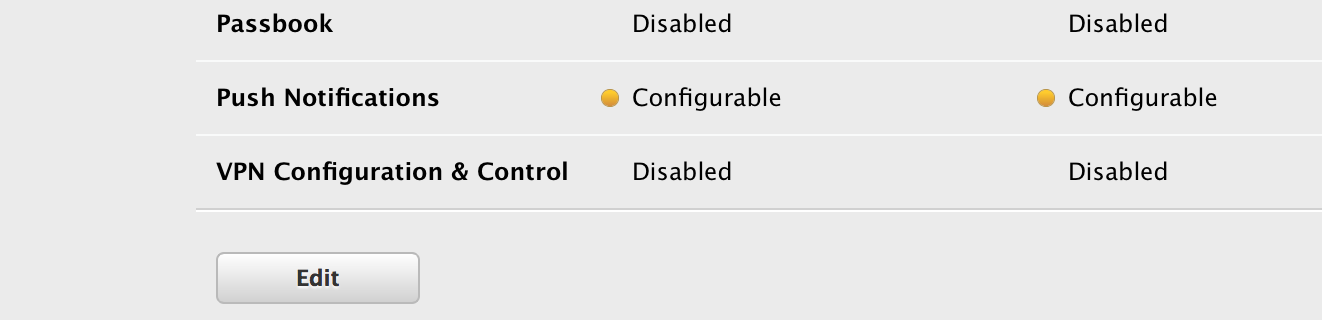
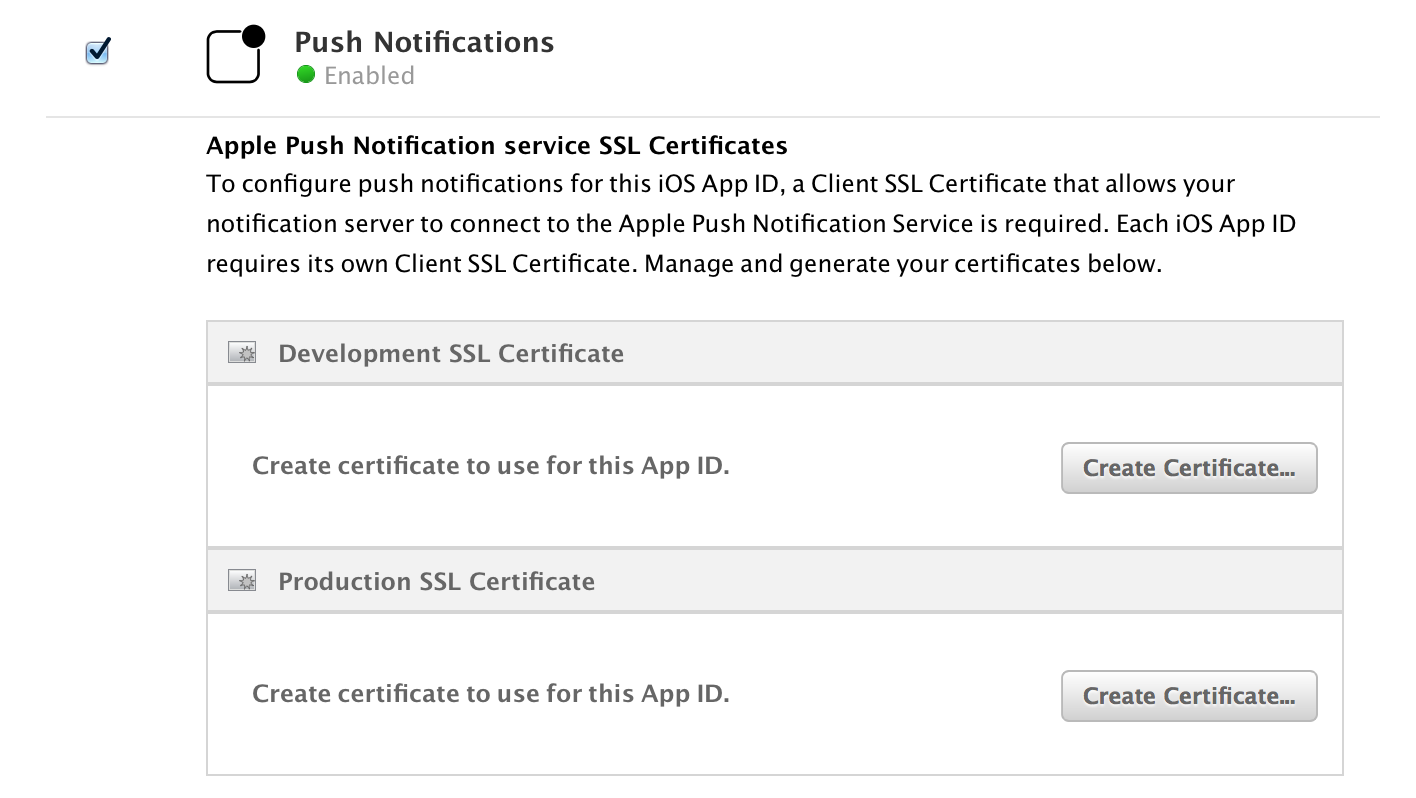
AppIDのPushNotification設定を使えるようにしておきます。
証明書の変換などはPyAPNsの設定がままに進めます。
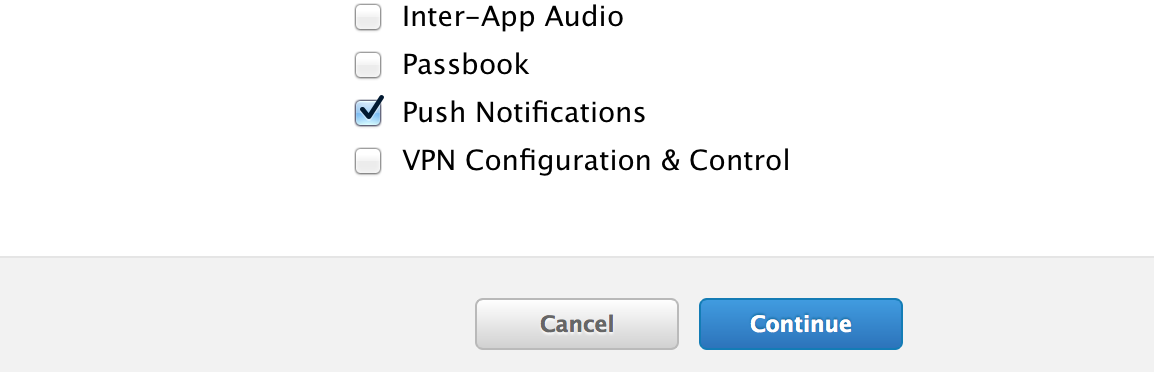
(1)AppIDの設定はチェックボックスをONにします
(2)AppIDを選んでEdit
(3)他のアプリのビルド証明書と同様に作成します。
今回は開発用:Developmentと公開用:Productioinの二つ作っておきます。
(4)p12ファイルからpemファイルへの変換
今回、秘密鍵は共通
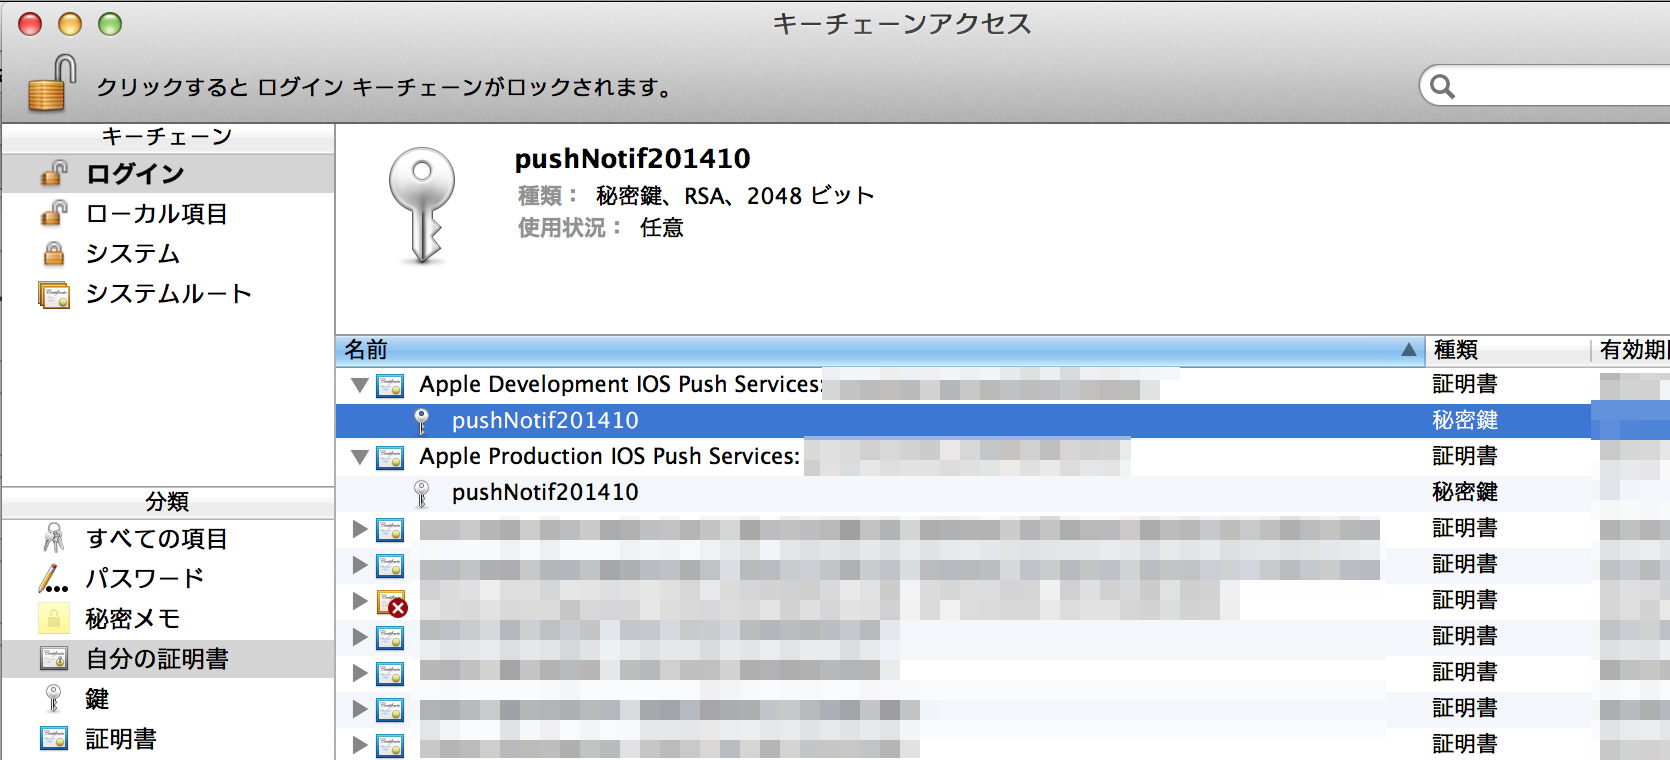
書き出します
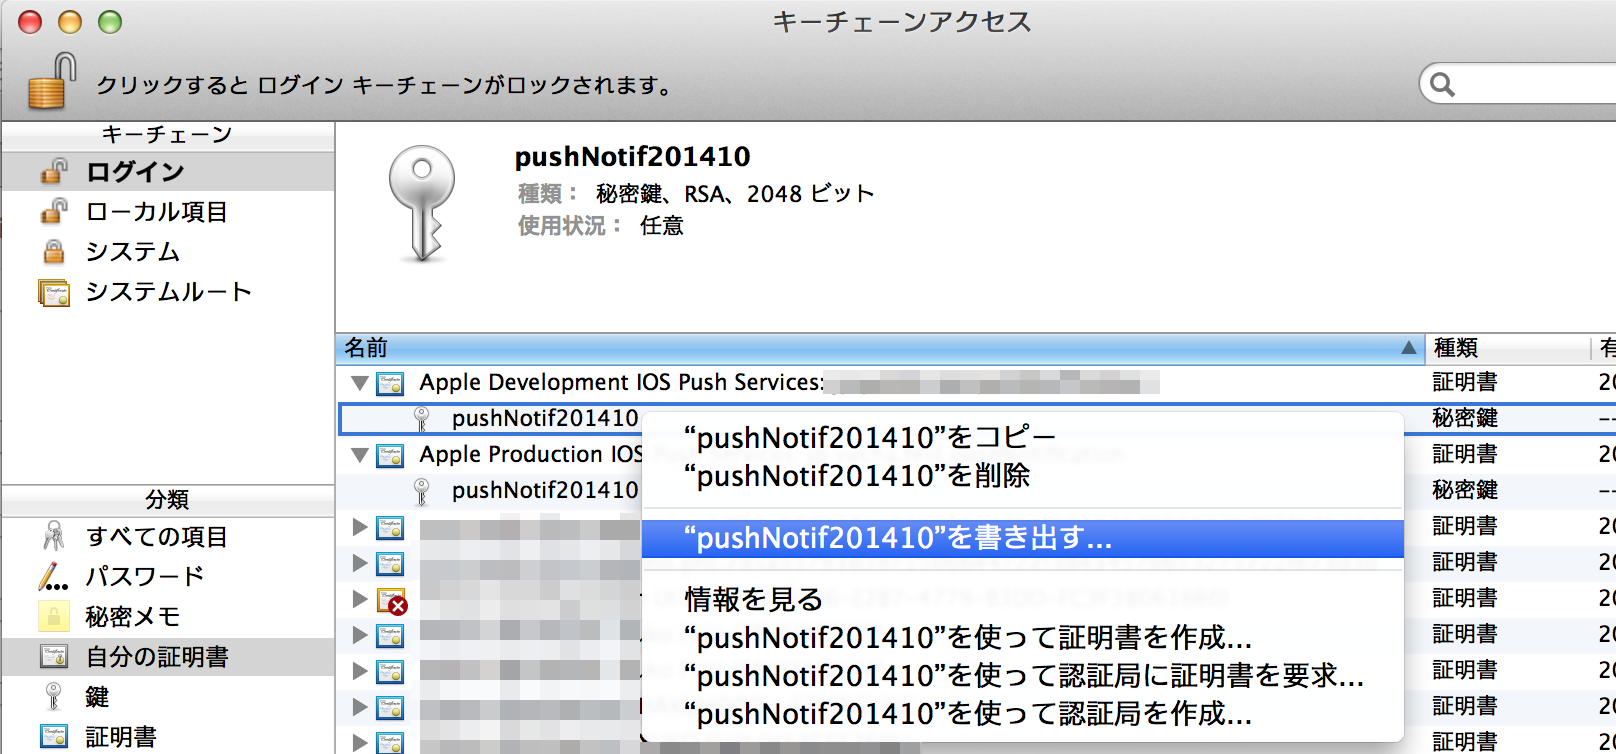
秘密鍵
$ openssl pkcs12 -in pushKey.p12 -out pushkey.pem -nodes -clcerts
開発用
$ openssl pkcs12 -in pushCerDev.p12 -out pushCerDev.pem -nodes -clcerts
adhoc/Store公開用
$ openssl pkcs12 -in pushCer.p12 -out pushCer.pem -nodes -clcerts
キーチェーンアクセスから書き出す際に設定したパスワードを問われます。
次のファイルが生成されます。
秘密鍵:pushkey.pem
SSL証明書(開発用):pushCerDev.pem
SSL証明書(adhoc/store公開用):pushCer.pem
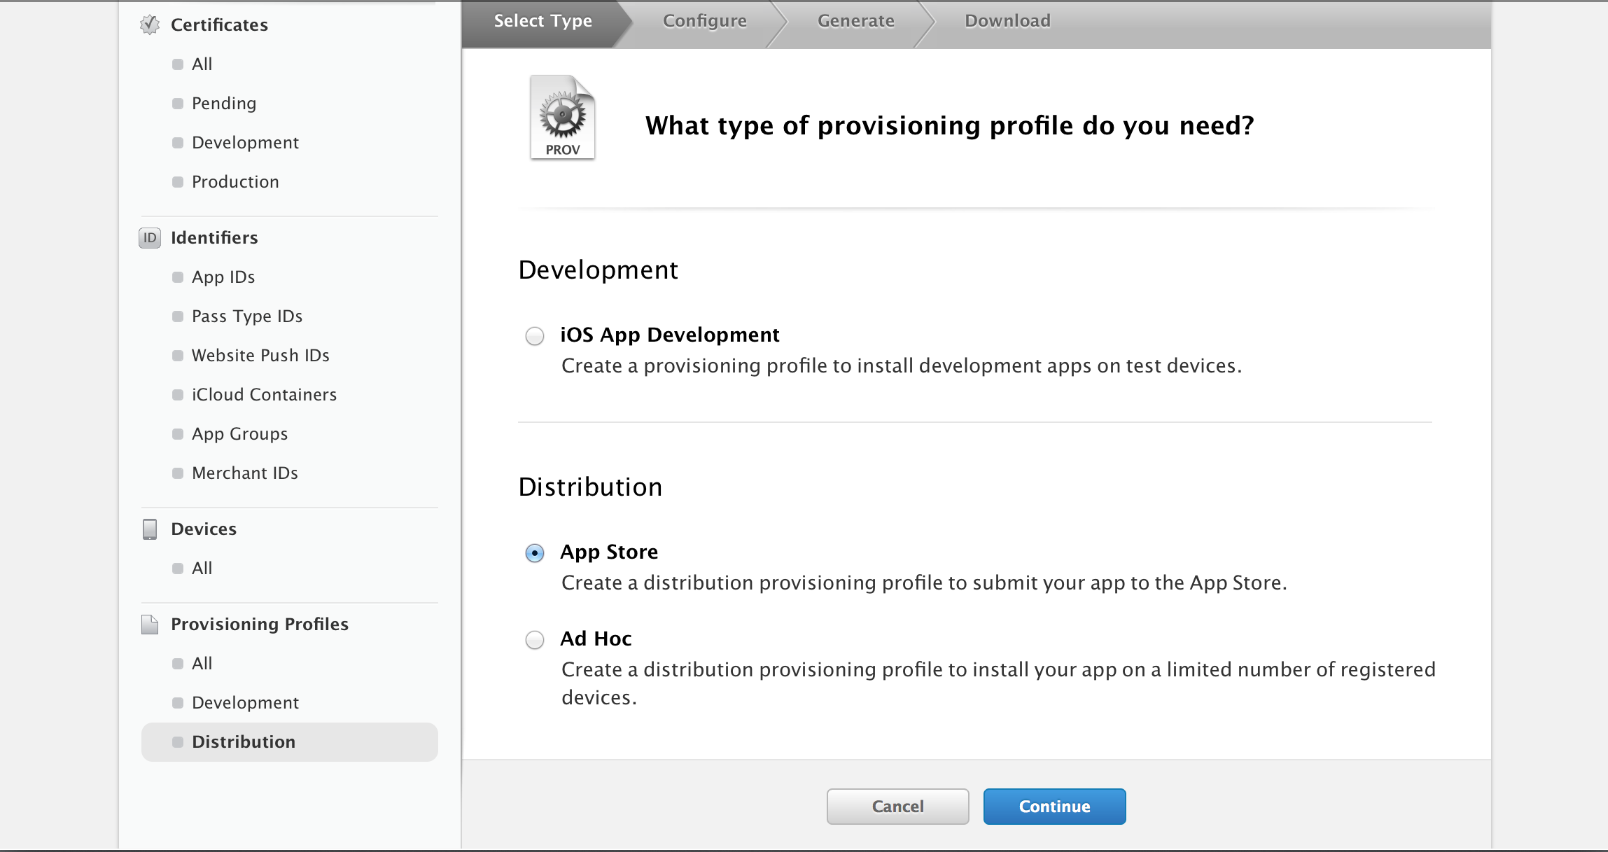
Provisining Profiles
開発用、公開用を作ります。
公開用はAppStore用を選びます。※実際にStore公開はしません
ダウンロードしたprovisioningファイルをダブルクリックなどして
Xcodeから選べるようにしておきます。
実機でのテスト
Xcode
provisioningを設定します。
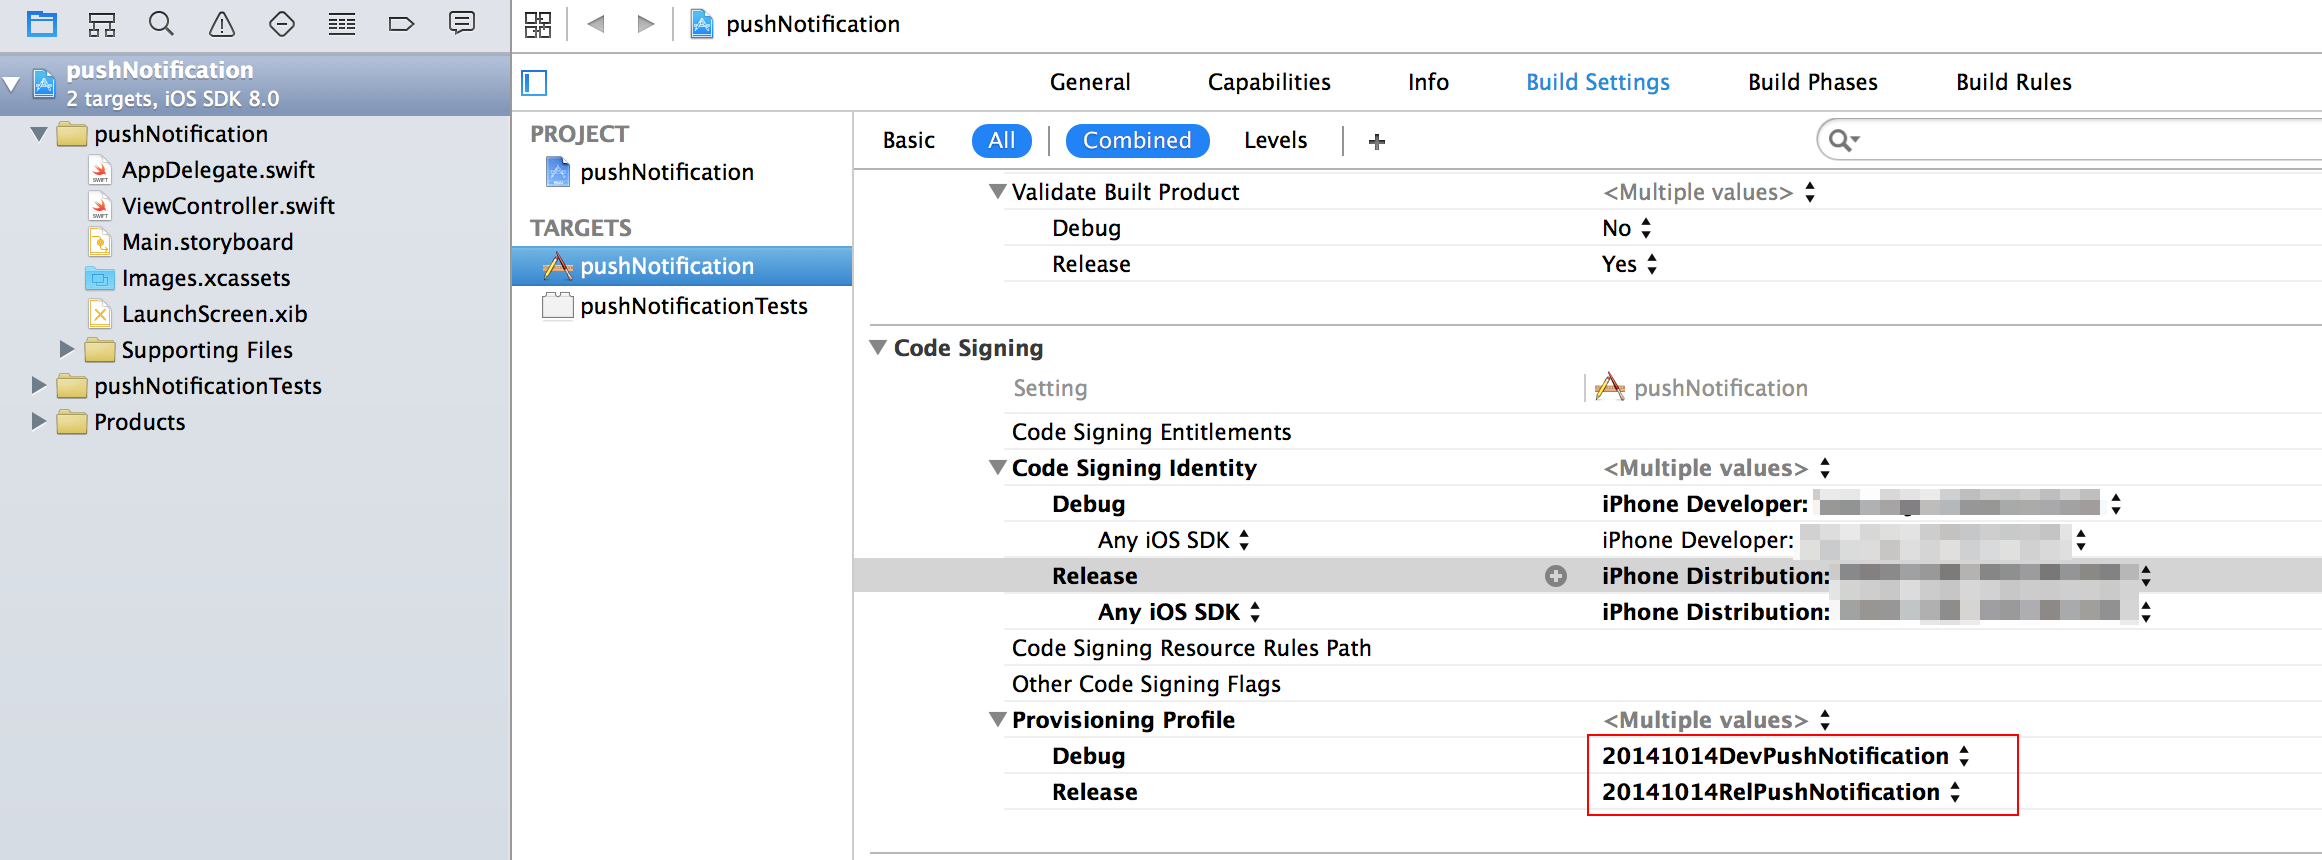
実機を繋いでのBuild時は開発用、archiveしてのipa生成時は公開用になります。
デフォルトのAppDelegateに追記したfuncのみ下記に記載しました。
    func application(application: UIApplication, didFinishLaunchingWithOptions launchOptions: [NSObject: AnyObject]?) -> Bool {
        // Override point for customization after application launch.

        if (application.respondsToSelector(Selector("registerUserNotificationSettings:"))){

//後日
//            let categories:NSSet = NSSet(objects: registerActions())

            let settings:UIUserNotificationSettings = UIUserNotificationSettings(forTypes: .Alert | .Badge | .Sound, categories: nil)
            application.registerUserNotificationSettings(settings)
            application.registerForRemoteNotifications()
        } else {
            application.registerForRemoteNotificationTypes( .Alert | .Badge | .Sound)
        }

        return true
    }

    func application(application: UIApplication, didRegisterForRemoteNotificationsWithDeviceToken deviceToken: NSData){
        println("Got token data! \(deviceToken)")
        // <>と" "(空白)を取る
        let characterSet: NSCharacterSet = NSCharacterSet( charactersInString: "<>" )

        let deviceTokenString: String = ( deviceToken.description as NSString )
            .stringByTrimmingCharactersInSet( characterSet )
            .stringByReplacingOccurrencesOfString( " ", withString: "" ) as String

        println( deviceTokenString )

    }

    func application(application: UIApplication, didFailToRegisterForRemoteNotificationsWithError error: NSError){
        println("Couldn't register: \(error)")
    }
実機への転送
開発版
実機転送時にPush通知の受信を許可するとdeviceTokenを取得できるようになります。

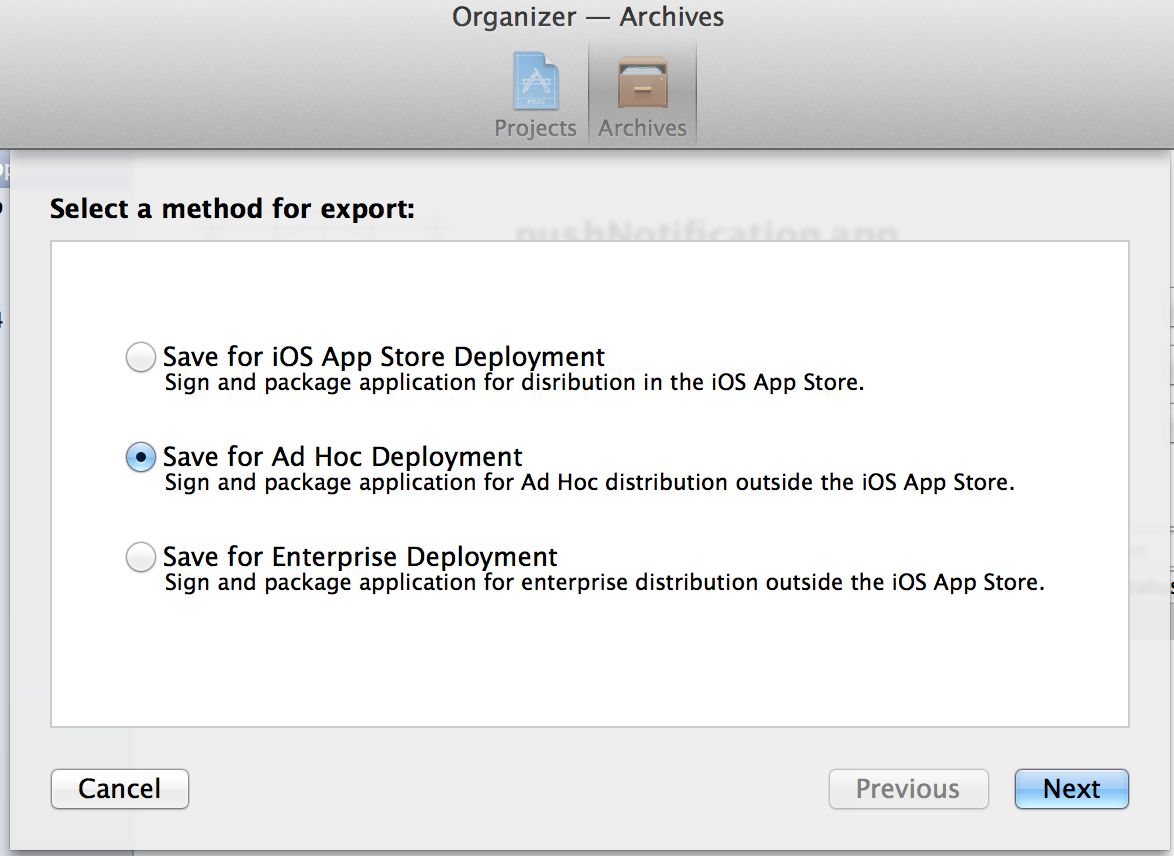
adhoc版
OrganizerのArchiveからExportボタンを押し
adhoc用に出力します。
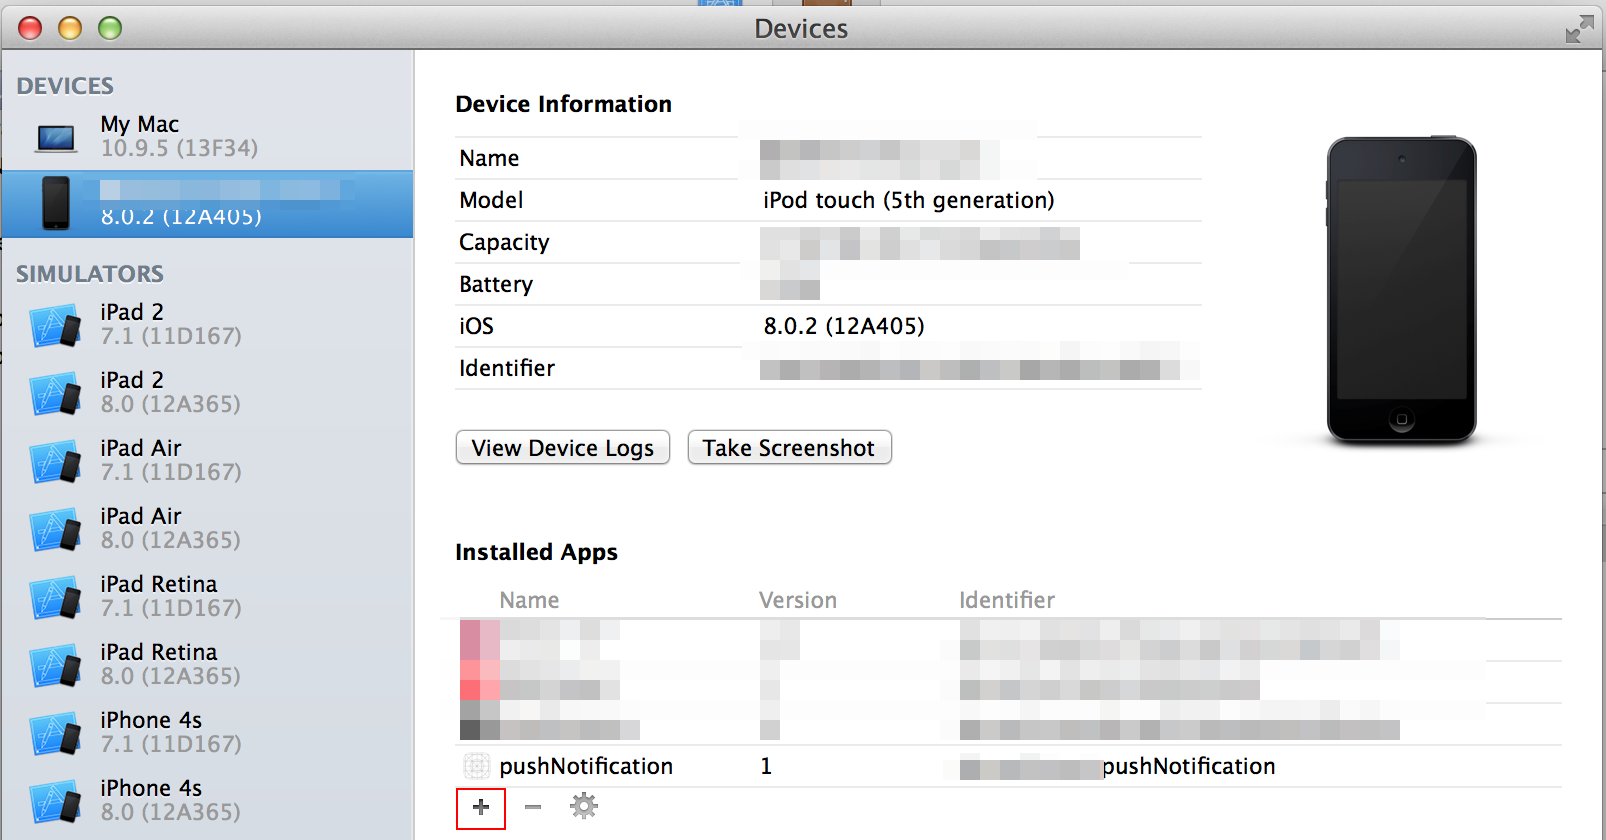
Macがあれば実機転送が楽なので
Window > Devices
から実機に取り込みます。※OTAでの配信も可能です。
**Installed Apps**の下にある+で出力したipaを指定します。
Store公開版
※Store公開しない前提で
iTunes Connectにテスト用のアプリデータを登録してバイナリアップします。
TestFlightを使えば、Storeに出す状態のもので確認ができます。
方法はこちらを参照してください。
http://qiita.com/nofrmm/items/bd8dda556ed88577c330
PyAPNs
githubからダウンロードしたフォルダのapns.pyなどと同じ階層に
先に作ったpemファイルと通知用の下記ファイルを置きます。
次のコードは開発版のPush通知例です。
他の設定方法については、こちらのReadmeにあります。
# coding: utf-8

import time
from apns import APNs, Frame, Payload

apns = APNs(use_sandbox=True, cert_file='pushCerDev.pem', key_file='pushkey.pem')

# for release
# apns = APNs(use_sandbox=False, cert_file='pushCer.pem', key_file='pushkey.pem')

# Send a notification
# consoleに表示された加工済みのtokenを貼付ける
token_hex = ''

content = "おはようだよ"
content = content.decode('utf-8')

payload = Payload(alert=content, sound="default", badge=444)
apns.gateway_server.send_notification(token_hex, payload)
Terminalから叩きます
$ python push_apns_dev.py
さいごに
swiftがiOS7をサポートするため、iOS7をTargetOSにした場合は書き分けが必要なこと
本番公開しているアプリの証明書で今回のようなadhoc/release用の通知用証明書を使用してしまうと、そちらにメッセージが飛んでしまうことに注意が必要です。
そして、Webサーバは必ずしも要りません。Macとネット環境があれば完結します。
別に開発用のアプリをたてるなど、iTunesConnect周りのことも知っておく必要ありです。
iOS8までで実装可能になった機能の詳細については後日