研究室でPanasonicのAMG8833(Grid-EYE)を使う機会があったので,これをRaspberry Piに接続してデータを取得するまでの流れをまとめておく.
今回使用したモジュール
今回は,Switch Scienceさんから販売されている「Conta™ サーモグラフィー AMG8833搭載」というモジュールを用いた.
既にピンヘッダがはんだ付けされているため,購入したらすぐにRaspberry Piとジャンバワイヤ等で接続してデータを取得することができる.
配線
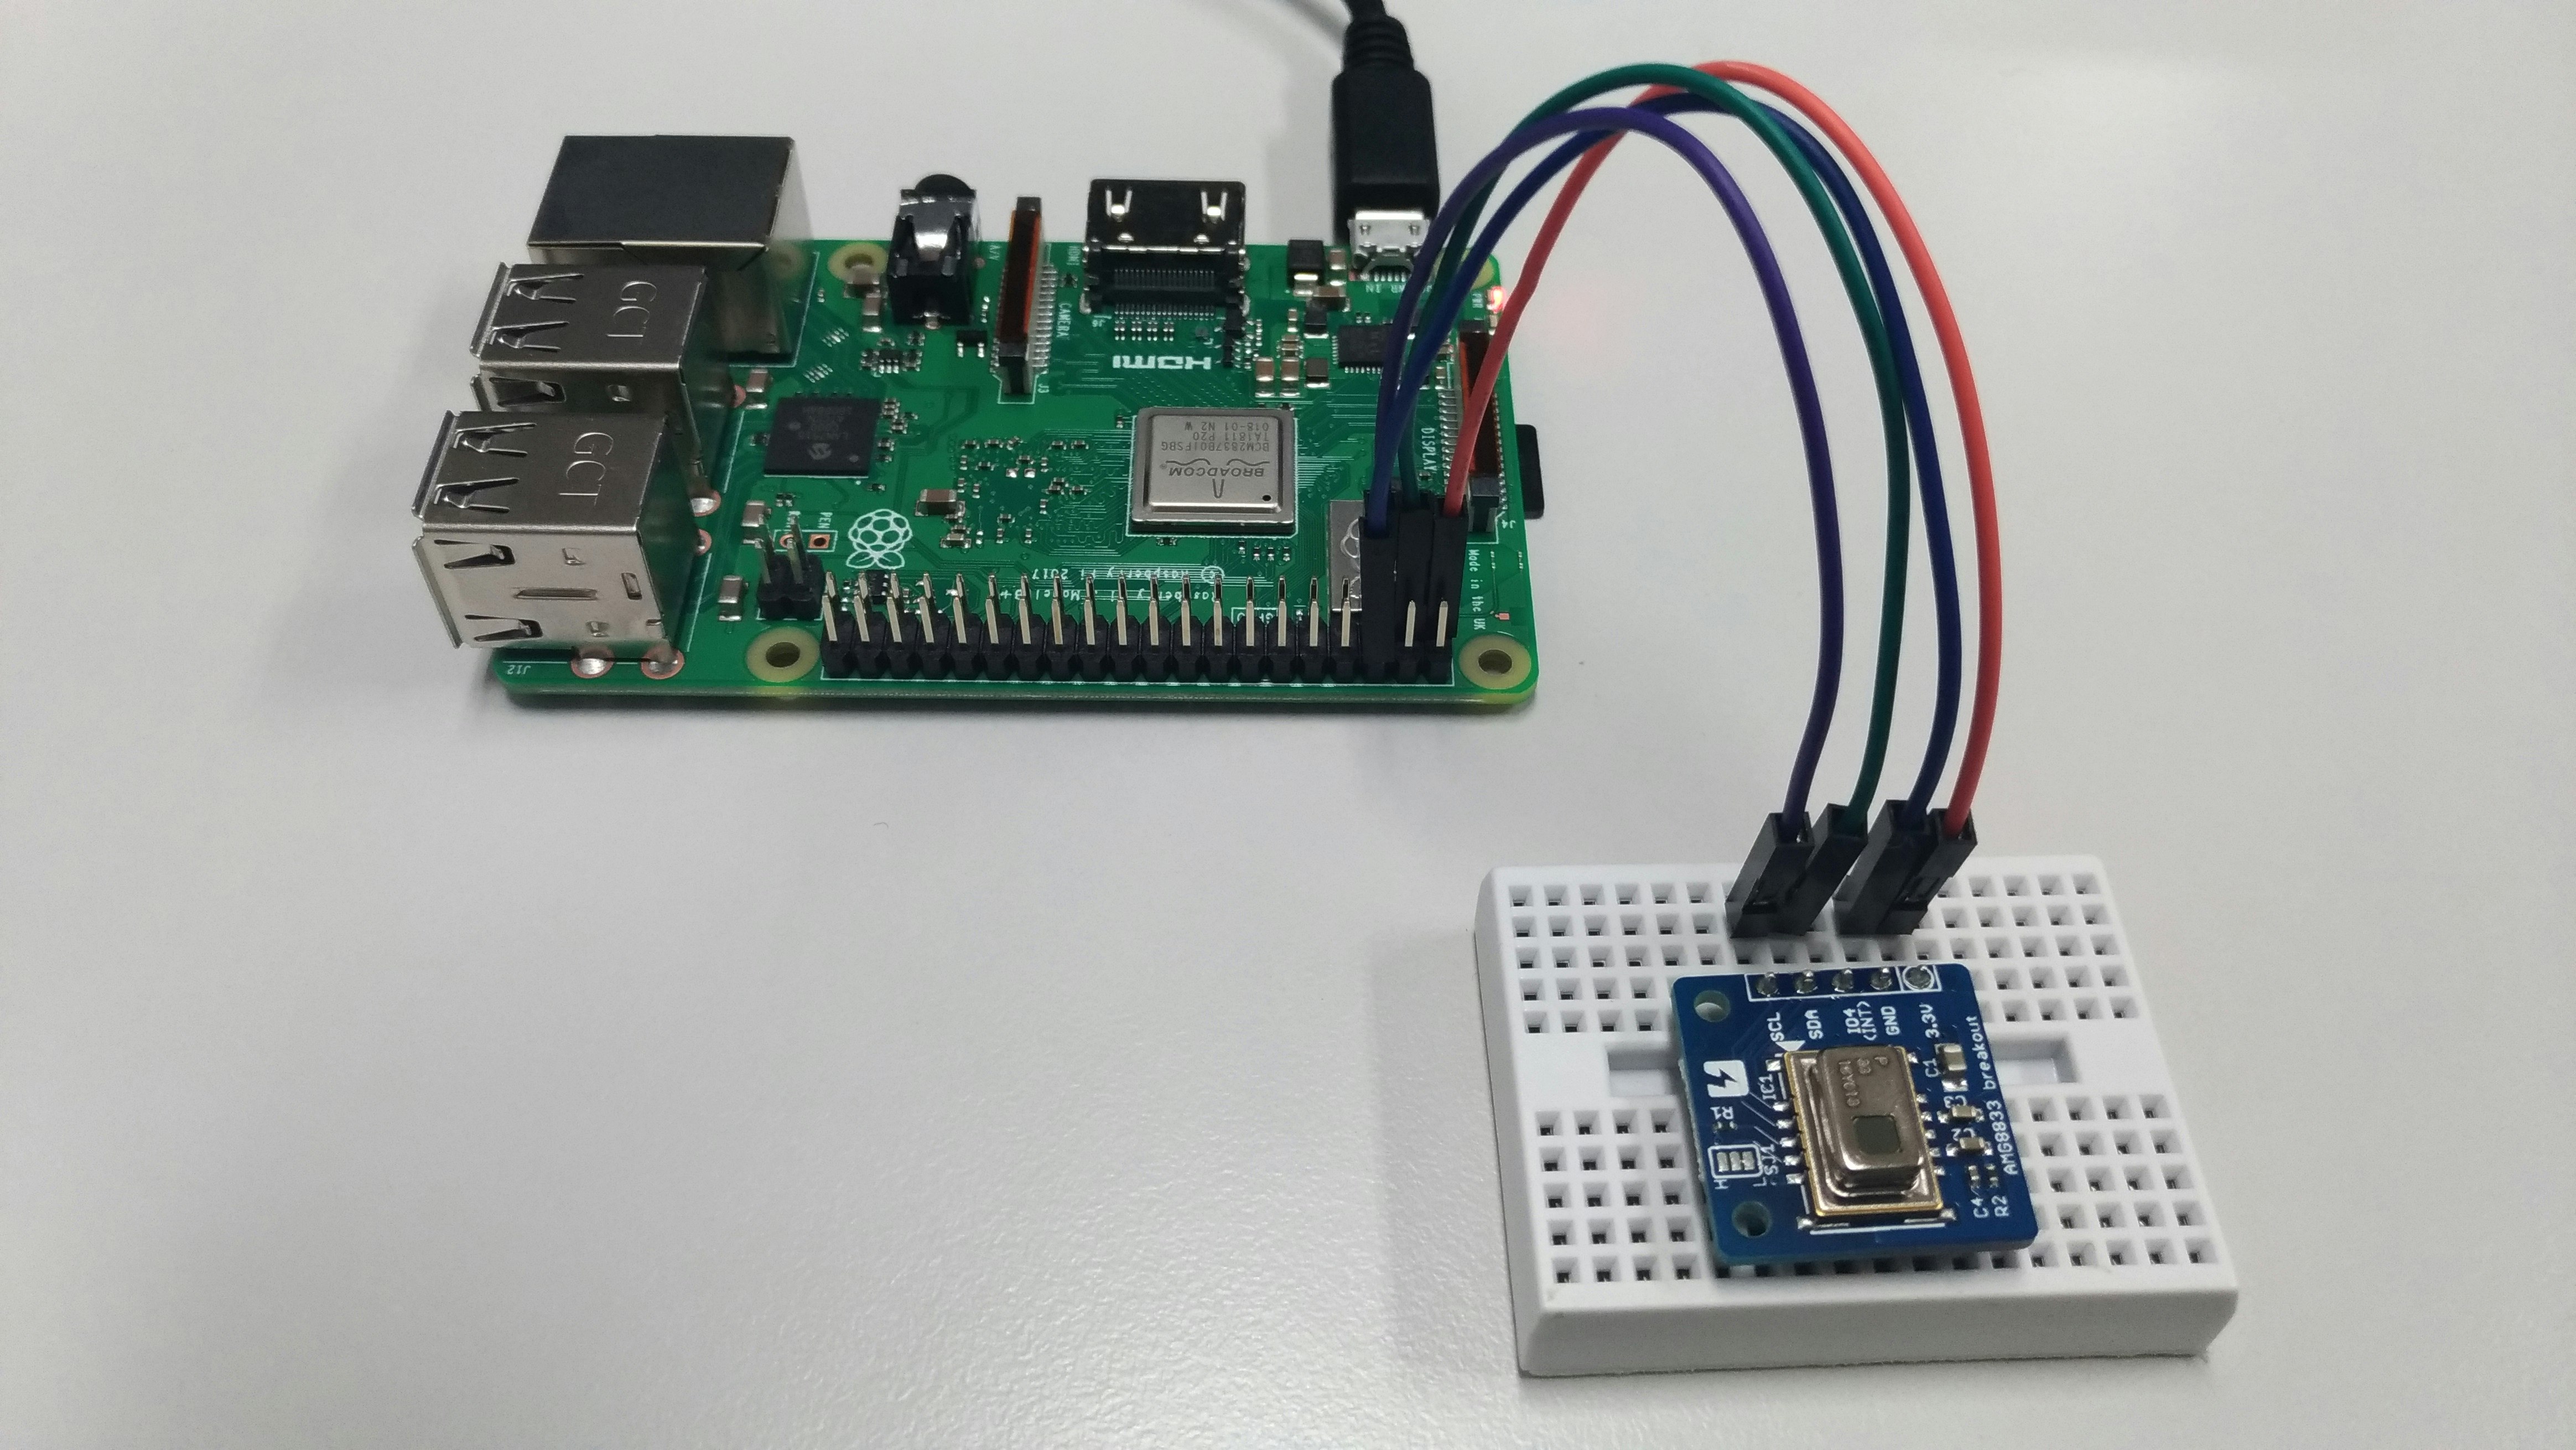
データはI2Cで取得する.配線はいたって簡単.モジュール側の3.3V, GND, SCL, SDAとRaspberry Pi側の3.3V, GND, SCL, SDAを結んであげれば良い.
Raspberry Piのピン配置がわからない方は,こちらを参考に.
一応,実際に配線した後の画像も載せておく.
下準備 - I2Cの有効化
まずは,raspi-configを起動して,I2Cを有効化しておく.
sudo raspi-config
上のコマンドを実行したら,あとは,3 Interface Options⇒P5 I2C⇒はいという順番で選択していけばOK.
接続の確認
以下のコマンドを実行して,センサが正しく接続されているかを確認しておく.
sudo i2cdetect -y 1
正しく接続されていれば,以下のようになるはず.このモジュールは,スレーブアドレスを68h,69hどちらかを選ぶことができるのだが,出荷時は68になっている.
root@raspberrypi:~/Adafruit_Python_GPIO# sudo i2cdetect -y 1
     0  1  2  3  4  5  6  7  8  9  a  b  c  d  e  f
00:          -- -- -- -- -- -- -- -- -- -- -- -- --
10: -- -- -- -- -- -- -- -- -- -- -- -- -- -- -- --
20: -- -- -- -- -- -- -- -- -- -- -- -- -- -- -- --
30: -- -- -- -- -- -- -- -- -- -- -- -- -- -- -- --
40: -- -- -- -- -- -- -- -- -- -- -- -- -- -- -- --
50: -- -- -- -- -- -- -- -- -- -- -- -- -- -- -- --
60: -- -- -- -- -- -- -- -- 68 -- -- -- -- -- -- --
70: -- -- -- -- -- -- -- --
ライブラリのインストール
Raspberry Pi Thermal Camera | Adafruit AMG8833 8x8 Thermal Camera Sensor | Adafruit Learning Systemを参考に,ライブラリをインストールしていく.
以下に実行するコマンドをまとめる.**上記のリンク先とAdafruit_AMG88xxはpip経由ではなく,あとで自分でインストールするという点が異なるので注意すること.**これは,pip経由でAdafruit_AMG88xxをインストールすると,センサのスレーブアドレスが69に設定されているため,このライブラリ経由でセンサのデータを読み取ろうとするとIOError: [Errno 121] Remote I/O errorとエラーを吐かれてしまうから.
sudo apt-get update
sudo apt-get install -y build-essential python-pip python-dev python-smbus git
git clone https://github.com/adafruit/Adafruit_Python_GPIO.git
cd Adafruit_Python_GPIO
sudo python setup.py install
sudo apt-get install -y python-scipy python-pygame
sudo pip install colour
cd ~/
git clone https://github.com/adafruit/Adafruit_AMG88xx_python.git
cd Adafruit_AMG88xx_python/Adafruit_AMG88xx/
ここまで実行できたら,次はAdafruit_AMG88xx_python/にあるAdafruit_AMG88xx.py(ライブラリ本体)を編集する.
# AMG88xx default address
# AMG88xx_I2CADDR = 0x69 # default
AMG88xx_I2CADDR = 0x68 # new!
編集が完了したら,続けて次のコマンドを実行する.
cd .. # go back to Adafruit_AMG88xx_python/
python setup.py install
これで準備完了.
サンプルプログラムを実行
上記が完了したら,各グリッドの値を読み取るサンプルプログラムを実行してみる.
cd ../examples/
python pixels_test.py
センサが正しく接続され,ライブラリも正しくインストールできていれば,以下のような出力が得られる.(見やすくなるように改行を入れているが,実際は1次元配列が横にずらーっと表示される!
[25.75, 27.25, 27.75, 29.25, 28.25, 28.75, 28.25,  28.5,
 26.75, 28.25, 31.25, 30.75, 28.75, 28.25, 27.75,  28.5,
  29.5,  29.5, 38.75,  32.5, 30.75, 28.75, 27.75, 28.25,
  28.5,  29.5, 36.25, 32.75, 29.25,  28.5, 28.25,  28.0,
 28.75,  30.0,  36.5, 32.25,  28.5,  28.5,  28.5, 27.75,
 28.75, 29.75, 35.25,  32.0, 28.75,  28.5, 27.75,  28.0,
  28.5, 28.75, 29.75,  29.5, 28.75,  28.5,  28.0,  27.5,
  28.0,  29.5, 28.75,  28.5,  28.0, 28.25, 28.25, 26.75]
・
・
・
終わりに
Adafruitさんのおかげで,とても簡単にAMG8833(Grid-EYE)からデータを取得することができた.感謝.