日頃お世話になっているtmux。
インストールしたままの状態でもそれなりに使いやすい状態なのですが、
個人的に最初に導入すると便利なTips x3を紹介させていただきます。
Tips1つにつき1分で実現できる..はず!
Mac/CentOS/Debian/Ubuntuでのインストール方法は記事の末尾に記載。
今回紹介するTips用のconfとスクリプトはこちら
https://github.com/nntsugu/99.etc/tree/master/dot_files/tmux
0.Tips紹介の前に
もいちど書きますが、Mac/CentOS/Debian/Ubuntuでのインストール方法は記事の末尾に記載しています。
以前書いたtmux紹介スライドはこちら
http://www.slideshare.net/nntsugu/tmux-13463284
全てのコマンドはtmuxを起動してからのTipsです。
$ tmux
でtmuxが起動できます。
文中の "prefix" と書かれている箇所は、
tmuxのコマンドを入力する際のおまじないです。
- デフォルトだと Ctrl + b
- 私の.tmux.confだと Ctrl + z
prefix + c
は
Ctrl + b (or Ctrl +z)
を押してから
c
を押すことを指します。
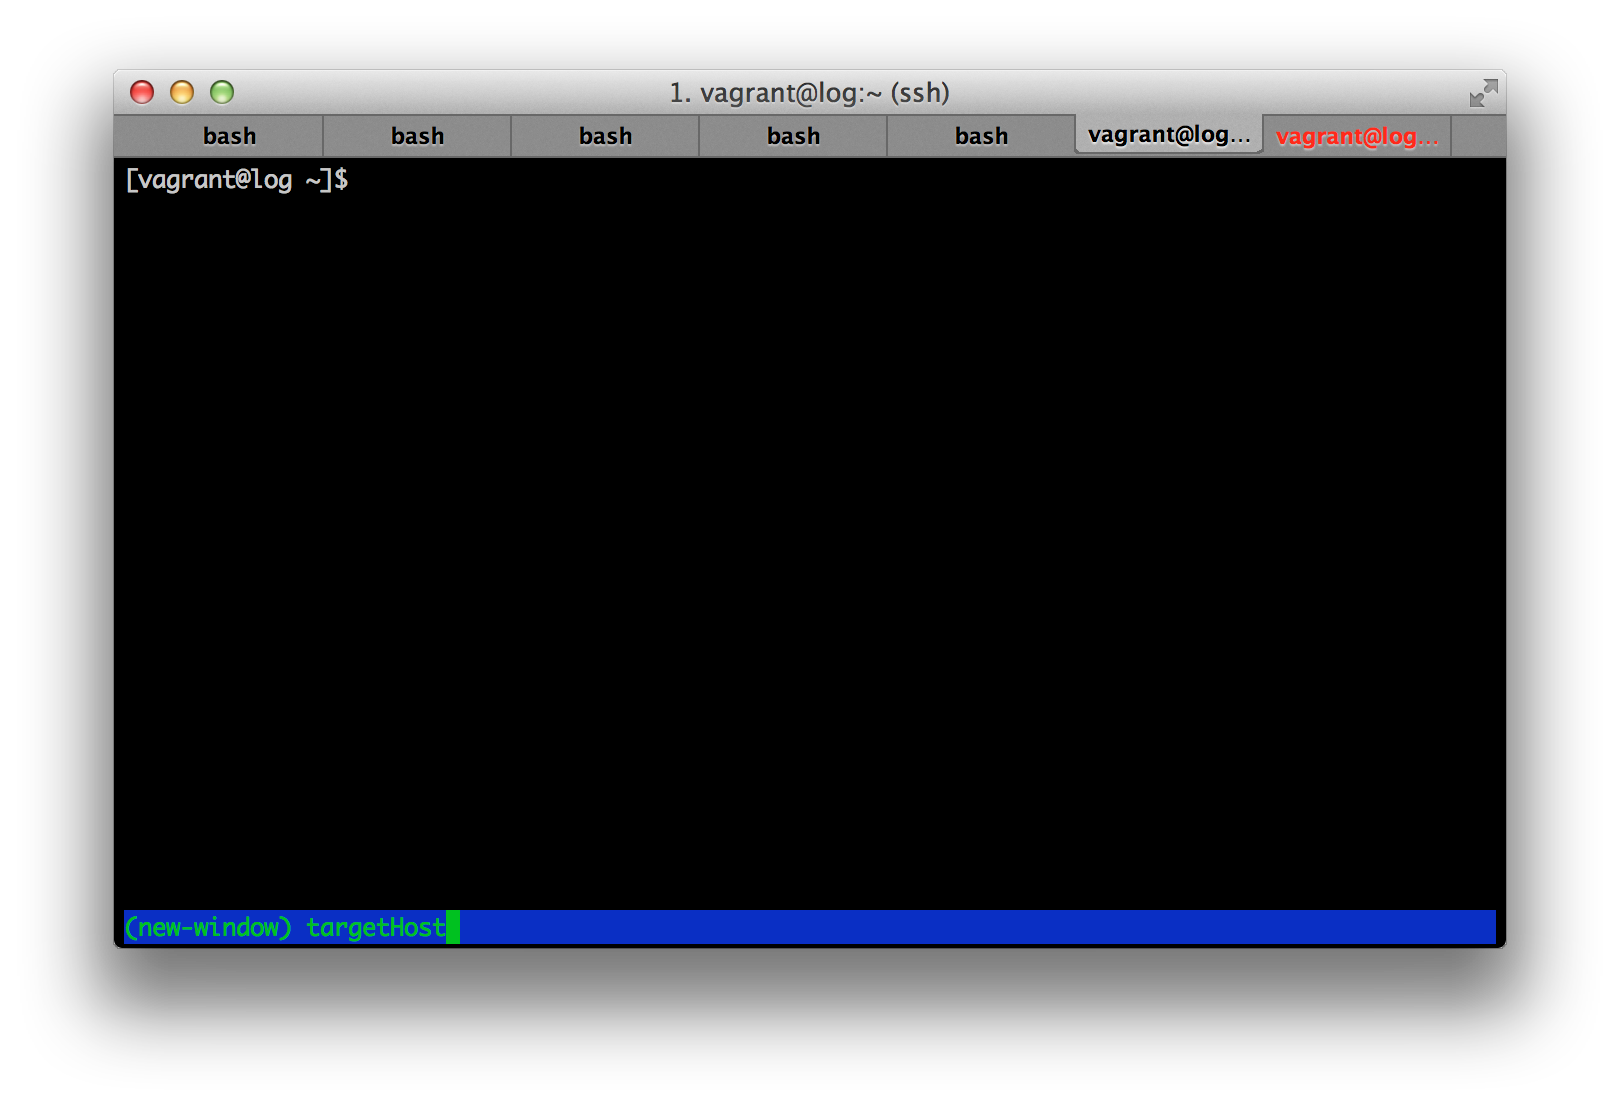
1.new-window + sshをお手軽に
新しいwindowを作り、sshをする場合
$ prefix + c
$ ssh {target host}
と2手間かかるところを1手間にします。
# new-window + ssh
unbind-key s
bind-key s command-prompt "new-window -n %1 'ssh -t %1'"
.tmux.confに上記を追記し
$ prefix + s
すると表示されるバーにssh対象ホストを入力すればOK
もしくは、下記のようにコマンドをscriptにしちゃいます。
# !/usr/bin/env bash
tmux new-window -n $@ "exec ssh $@"
上記をssshというファイル名で保存してpathを通し、ssshコマンドとして使用しています。
参考:https://github.com/nntsugu/99.etc/blob/master/dot_files/tmux/bin/sssh
# sssh を ~/bin/sssh に保存し、PATHを通す
$ export PATH=$PATH:~/bin
# ec2.ubuntu という名前でwindowを作りつつ、ec2.ubuntuにssh接続する
$ sssh ec2.ubuntu
# 複数のホストにまとめて new-window + ssh (bashの場合)
$ for h in targethost1 targethost2 targethost3 ; do sssh ${h} ;done
# ホストリストをcatして接続する事も出来ます。
$ for h in `cat hostlist` ; do sssh ${h} ;done
# hostlistの中身
targethost1
targethost2
targethost3
2.windowの移動をカーソル(⬅➡)で
デフォルトのwindow移動は
# 次のwindow
$ prefix + n
# 前のwindow
$ prefix + p
これをカーソルの左右(⬅➡)で出来るようにします
# cursor
bind -n Right next-window
bind -n Left previous-window
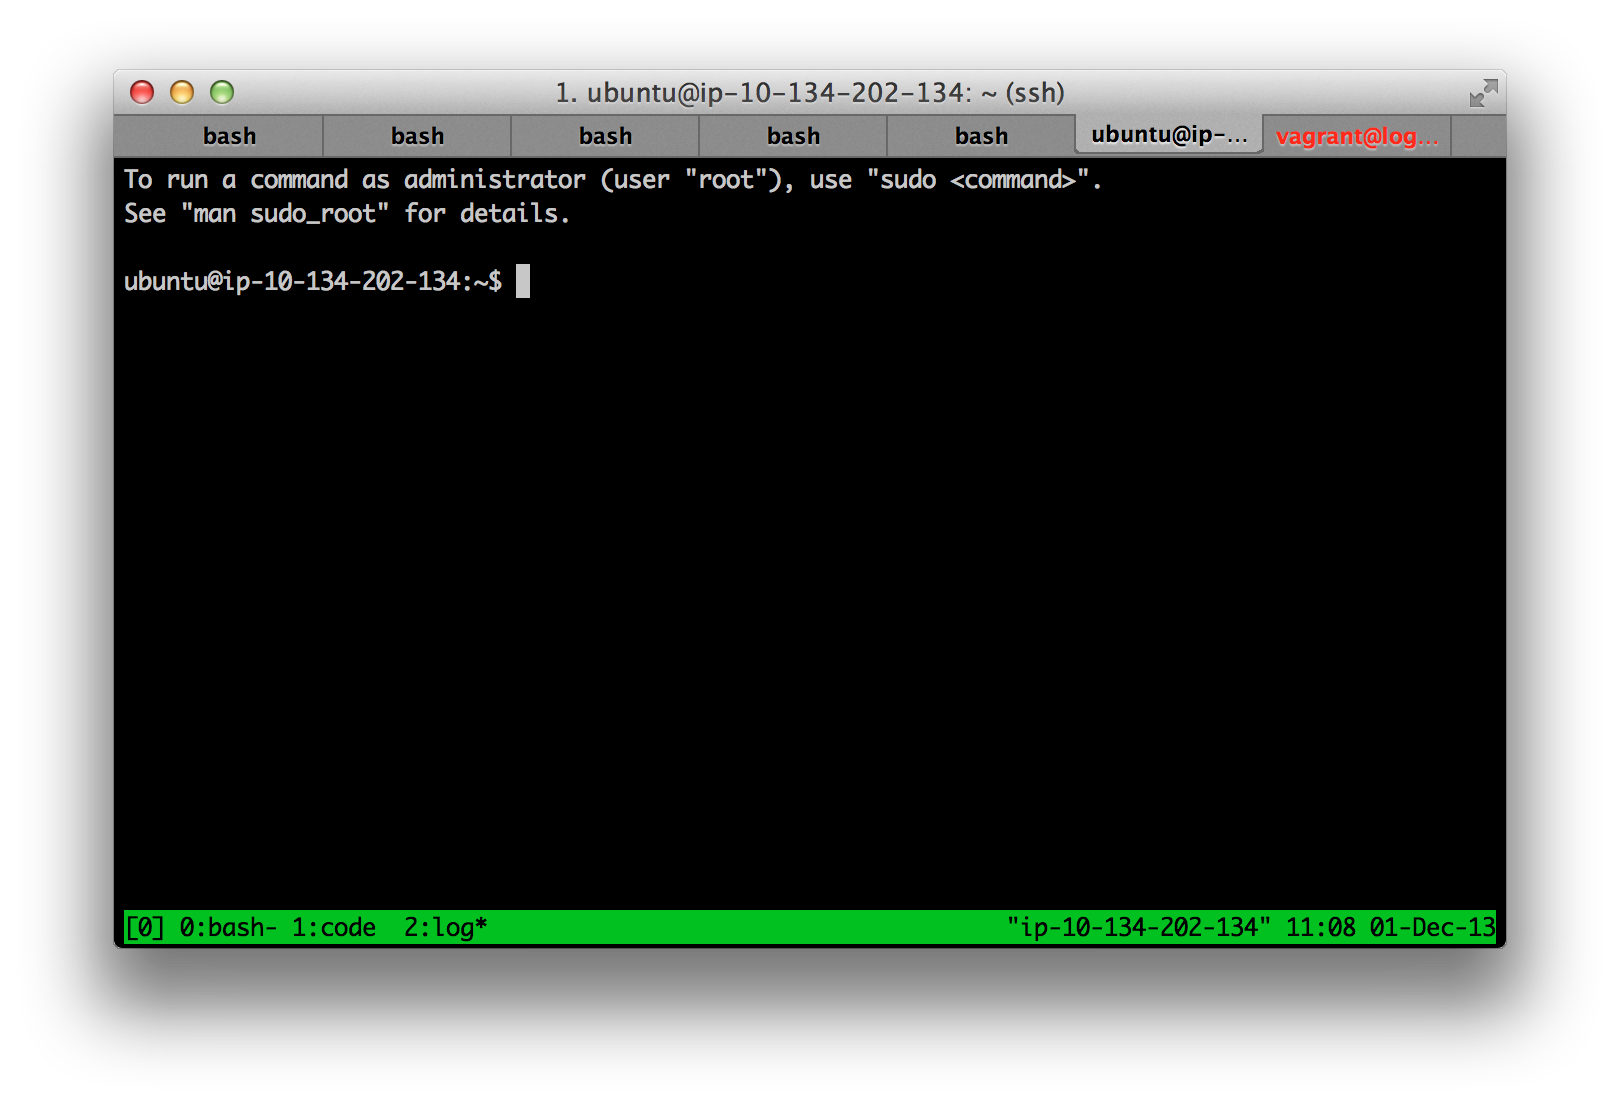
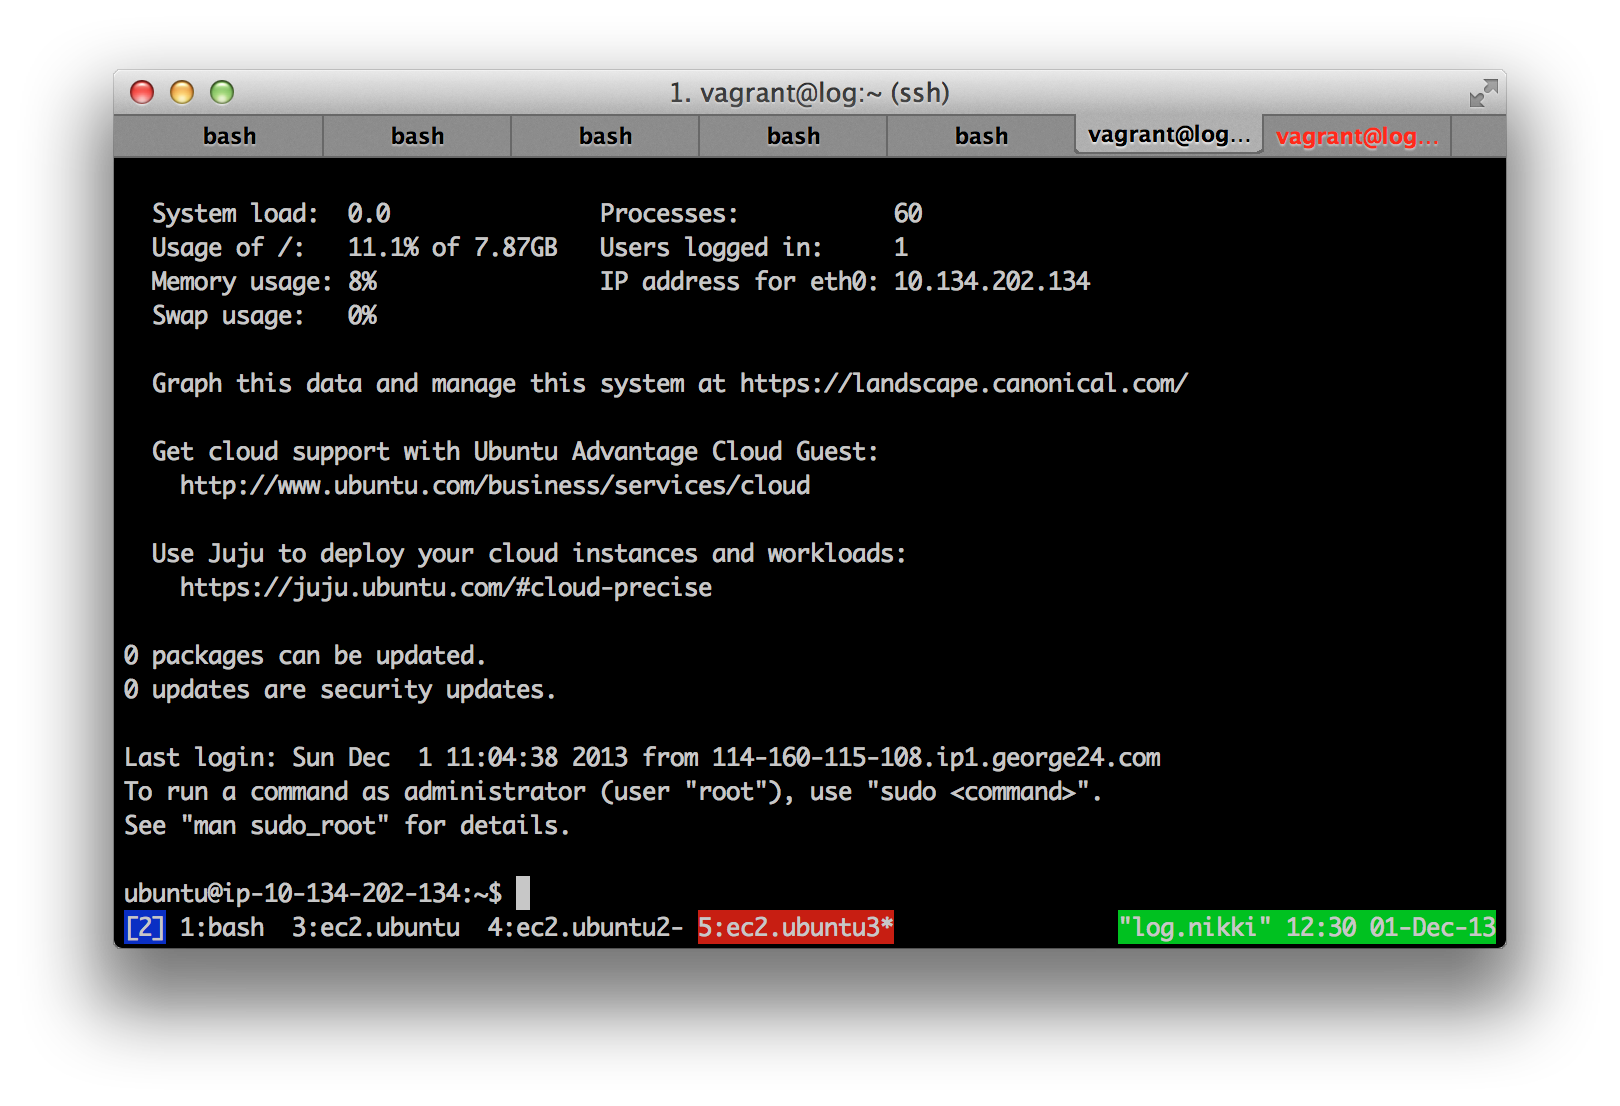
3.status-barの色を見やすく変更
デフォルトだと緑背景に黒字のwindow名。
今いるwindowがわかりにくいので変更してしまいます。
before
after
今いるwindowが赤背景になっています。
インストール
Mac
とても簡単。
$ brew install tmux
これだけでOK
CentOS
yumのrpmforgeリポジトリを登録し、
wget http://pkgs.repoforge.org/rpmforge-release/rpmforge-release-0.5.3-1.el6.rf.x86_64.rpm
rpm -ivh rpmforge-release-0.5.3-1.el6.rf.x86_64.rpm
vim /etc/yum.repos.d/rpmforge.repo
# enabled=0にする
yum install するだけ
yum install --enablerepo=rpmforge tmux
参考: http://qiita.com/tt_yamaguchi/items/682940d558e4a5022898
Debian/Ubuntu
最近のバージョンであればデフォルトでインストールされていますが、バージョンが1.6と古いです。
1.8をインストールする方法を紹介します。
正しい情報をiwaim@githubさんから教えていただきました。ありがとうございます!
iwaim@githubさんのコメント (http://qiita.com/nntsugu@github/items/107cbd6cd6db2aa46172#comment-ce843c266b73f11cd606) より引用。
Ubuntuの方はPPAリポジトリで良いと思います。ppa:pi-rho/devはUbuntuのいくつかのバージョンを想定したパッケージが用意されているっぽいですし。
つまり、
Ubuntu: ppa:pi-rho/dev
Debian: Debian Backports
でいいのかなー、と。
Ubuntuの場合
PPA リポジトリを登録し、apt-get でインストールするだけでOK。
$ sudo add-apt-repository ppa:pi-rho/dev
$ sudo apt-get update
$ sudo apt-get install tmux
Debianの場合
iwaim@githubさんのコメント (http://qiita.com/nntsugu@github/items/107cbd6cd6db2aa46172#comment-d7056d556aae79608038) より引用。
DebianはDebian Backportsが王道ですね。
http://packages.debian.org/ja/wheezy-backports/tmux
http://qiita.com/wozozo/items/d281a1101544dcc2d37d


