初めに
AIエージェントの開発に興味はあるものの、難しそうで手を出せずにいました。
そんな中、Googleが出してる**Agent Development Kit(ADK)**を使えば、そのAIエージェントが意外と簡単に作れることを知りました。
この記事では、ADKの公式ドキュメントにあるQuickStartを参考に、簡単なAIエージェント開発に入門してみます。
ADKとは
ADKとはAgent Development Kitの略で、AIエージェントを作成するためのフレームワークです。
このフレームワークはGoogleから提供されており、現在はPythonとJavaの2言語で利用することができます。
LLMはGoogleが提供しているモデルをオンラインで利用することが可能です。
Vertex AI、もしくはGoogle AI Studioのモデルを利用することができます。
構築してみる
今回は、公式ドキュメントにあるQuickStartを参考に作成してみます。
PCはWindowsです。
言語はPython、LLMはVertex AIのものを利用します。
Vertex AIを利用するために以下の準備が必要です。
- GCPのプロジェクトを作成
- gcloud CLIのセットアップ
- gcloud auth loginコマンド実行
- Vertex AIの有効化
詳しくはドキュメントをご覧ください。
1. 環境の作成(venv)
まずは、venvを使って仮想環境を立ち上げていきます。
(venvは使ったことなかったですが、python用のdockerみたいなイメージなんですかね?便利)
$ python -m venv .venv
その後、venvを有効化しましょう。
$ .venv\Scripts\Activate
2. プロジェクトの作成
pipでgoogle-adkをインストールします。
$ pip install google-adk
3. Agentの作成
AIエージェントを実装していきましょう。
3ファイル実装します。
__init__.pyagent.py.env
構成は以下のような感じです。
__init__.pyを置き、multi_tool_agentという一つのパッケージを作成しているイメージです。
parent_folder/
    multi_tool_agent/
        __init__.py
        agent.py
        .env
agent.py
multi_tool_agentの実態になります。
・AIエージェントが利用できるツールを関数として定義
・AIエージェント自体をAgentオブジェクトとして定義する
ツールの定義
ツールとは、AIエージェントが利用できる拡張機能のようなイメージです。
QuickStartでは、以下の2つのツールが用意されています。
- get_weather:天気を取得する
- get_current_time:現在時刻を取得する
各ツールは関数で定義し、エージェントから呼び出しができるようにしておきます。
def get_weather(city: str) -> dict:
    """Retrieves the current weather report for a specified city.

    Args:
        city (str): The name of the city for which to retrieve the weather report.

    Returns:
        dict: status and result or error msg.
    """
    if city.lower() == "new york":
        return {
            "status": "success",
            "report": (
                "The weather in New York is sunny with a temperature of 25 degrees"
                " Celsius (77 degrees Fahrenheit)."
            ),
        }
    else:
        return {
            "status": "error",
            "error_message": f"Weather information for '{city}' is not available.",
        }
def get_current_time(city: str) -> dict:
    """Returns the current time in a specified city.

    Args:
        city (str): The name of the city for which to retrieve the current time.

    Returns:
        dict: status and result or error msg.
    """

    if city.lower() == "new york":
        tz_identifier = "America/New_York"
    else:
        return {
            "status": "error",
            "error_message": (
                f"Sorry, I don't have timezone information for {city}."
            ),
        }

    tz = ZoneInfo(tz_identifier)
    now = datetime.datetime.now(tz)
    report = (
        f'The current time in {city} is {now.strftime("%Y-%m-%d %H:%M:%S %Z%z")}'
    )
    return {"status": "success", "report": report}
AIエージェント
AIエージェントはgoogle.adk.agentsのAgentというオブジェクトで定義します。
インスタンス化する時に、エージェントの名称、説明、モデル、使用するツールを定義します。
from google.adk.agents import Agent

root_agent = Agent(
    name="weather_time_agent",
    model="gemini-2.5-flash-preview-05-20",
    description=(
        "Agent to answer questions about the time and weather in a city."
    ),
    instruction=(
        "You are a helpful agent who can answer user questions about the time and weather in a city."
    ),
    tools=[get_weather, get_current_time],
)
モデルIDはVertex AIのModelGardenに記載されている値から引用しました。
実際のAgents.pyの全体はこちらです。
Agents.pyの全体
import datetime
from zoneinfo import ZoneInfo
from google.adk.agents import Agent

def get_weather(city: str) -> dict:
    """Retrieves the current weather report for a specified city.

    Args:
        city (str): The name of the city for which to retrieve the weather report.

    Returns:
        dict: status and result or error msg.
    """
    if city.lower() == "new york":
        return {
            "status": "success",
            "report": (
                "The weather in New York is sunny with a temperature of 25 degrees"
                " Celsius (77 degrees Fahrenheit)."
            ),
        }
    else:
        return {
            "status": "error",
            "error_message": f"Weather information for '{city}' is not available.",
        }


def get_current_time(city: str) -> dict:
    """Returns the current time in a specified city.

    Args:
        city (str): The name of the city for which to retrieve the current time.

    Returns:
        dict: status and result or error msg.
    """

    if city.lower() == "new york":
        tz_identifier = "America/New_York"
    else:
        return {
            "status": "error",
            "error_message": (
                f"Sorry, I don't have timezone information for {city}."
            ),
        }

    tz = ZoneInfo(tz_identifier)
    now = datetime.datetime.now(tz)
    report = (
        f'The current time in {city} is {now.strftime("%Y-%m-%d %H:%M:%S %Z%z")}'
    )
    return {"status": "success", "report": report}


root_agent = Agent(
    name="weather_time_agent",
    model="gemini-2.5-flash-preview-05-20",
    description=(
        "Agent to answer questions about the time and weather in a city."
    ),
    instruction=(
        "You are a helpful agent who can answer user questions about the time and weather in a city."
    ),
    tools=[get_weather, get_current_time],
)
__init__.py
__init__.pyを使い、作成するエージェントをモジュール化します。
from . import agent
.env
.envには設定値を書きます。
今回はVertexAIを利用するためGOOGLE_GENAI_USE_VERTEXAI=TRUEにしています。
GOOGLE_GENAI_USE_VERTEXAI=TRUE
GOOGLE_CLOUD_PROJECT=YOUR_PROJECT_ID
GOOGLE_CLOUD_LOCATION=LOCATION
LOCATIONを東京にしたところ、モデルが見つけられないというエラーがでてしまった。asia-northeast1にしたらうまくいった。
4. AIエージェントを立ち上げる
プロジェクトのディレクトリでadk webコマンドを実行すると、ローカルホストにAIエージェントが立ち上がります。
$ adk web
INFO:     Started server process [24864]
INFO:     Waiting for application startup.

+-----------------------------------------------------------------------------+
| ADK Web Server started                                                      |
|                                                                             |
| For local testing, access at http://localhost:8000.                         |
+-----------------------------------------------------------------------------+

INFO:     Application startup complete.
INFO:     Uvicorn running on http://127.0.0.1:8000 (Press CTRL+C to quit)
記載されているURLにアクセスすると、AIエージェントのUIが立ち上がりました。
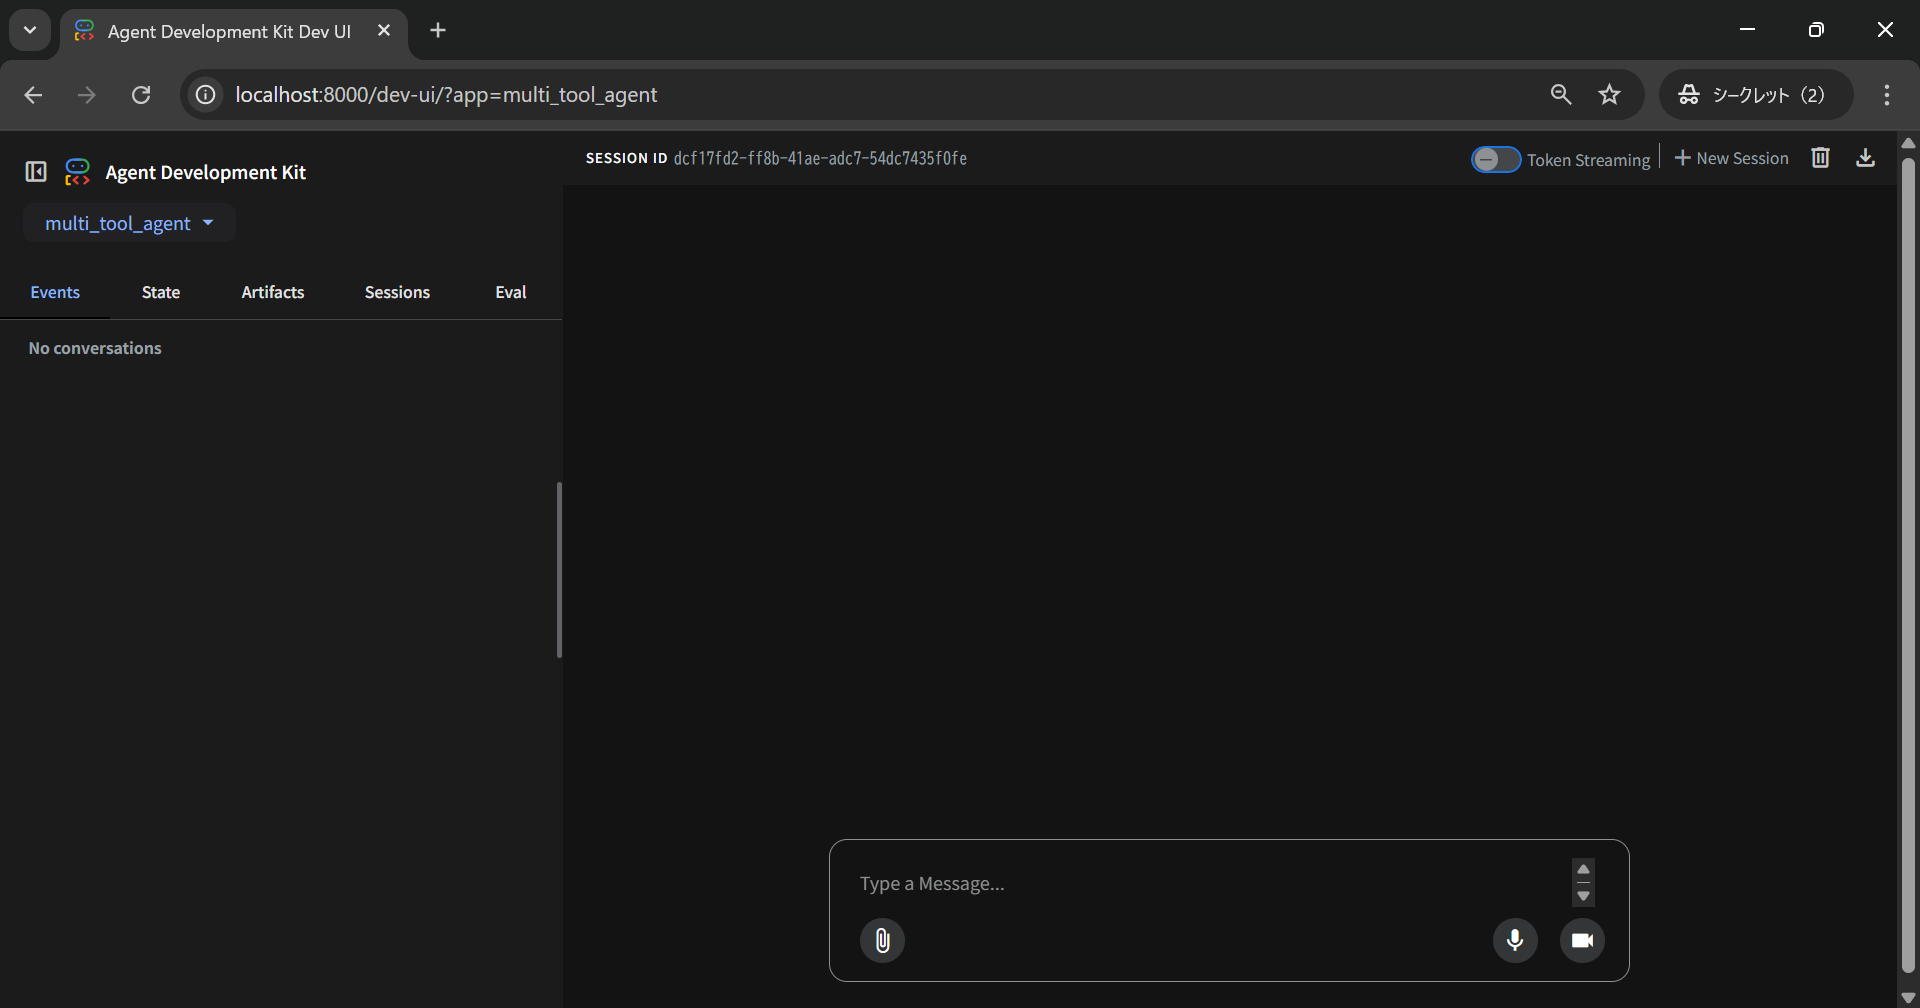
左上のSelect an agentで作成したmulti_tool_agentを選択するとAIエージェントとの会話用UIが出てきます。
ニューヨークの天気を聞いてみましたが、ちゃんと答えてくれました!

終わりに
ADKを使うと比較的簡単にAIエージェントを作成できました。
pythonは初めてでしたが、動作確認まで1時間ほどでサクッと作れてかなり良かったです。
今回はローカルでしたが、ADKはGoogleのエージェントエンジンを使うことでデプロイもできるようなので、次はそれを試してみようと思います。
ここまでご覧いただきありがとうございました!