初めに
前回はこちらの記事でファイルのアップロードについてをまとめました。
今回はFlowを用いてファイルダウンロードの実装方法についてまとめます。
事前知識
この記事はFlowにおける基本的なDB操作ができることを前提に記載しています。
以下の記事を読んでから読むことをおすすめします。
【PHP】マイナーフレームワーク「Flow」を試してみる~API作成編~
【PHP】マイナーフレームワーク「Flow」を試してみる~DB接続&データ登録編~
また、この記事は以下の記事の続きです。
【PHP】マイナーフレームワーク「Flow」を試してみる~ファイルアップロード編~
ダウンロード試してみた
さっそくダウンロードを試してみましょう。
前回の記事でアップロードしたファイルをダウンロードするAPIを作成します。
プロジェクト構成は以下です。
Project/
  └ Packages/
      ├ Application/
      |    └ Neos.Welcome/
      |         └ Classes/
      |              ├ Controller/
      |              |    └ ImageController.php(★)
      |              |
      |              ├ Domain/
      |              |    ├ Model
      |              |    |    └ Image.php(前回から変更なし)
      |              |    |
      |              |    └ Repository/
      |              |         └ ImageRepository.php(★)
      |              |
      |              └ View/
      |                   └ DownloadView.php(★)
      |
      ├ Framework/
      └ Libraries/
1. Viewクラスの作成
初めにViewクラスを作成します。
今回作成するAPIはブラウザ(Google Chrome)経由で叩かれる想定としました。
ブラウザがファイルのダウンロードを行うためには、APIのレスポンスのヘッダーに特定の値を設定する必要があります。
詳しくは以下の記事をご覧ください。
Flowの標準で用意されているViewクラスでは、ダウンロードの判定になりません。
そのため、ダウンロード専用のViewクラスを作成する必要があります。
<?php
namespace Neos\Welcome\View;

use Neos\Flow\Annotations as Flow;
use Neos\Flow\Mvc\View\AbstractView;


/**
 * A JSON view
 *
 * @api
 */
class DownloadView extends AbstractView
{

    /**
     * @var string
     */
    protected $fileName;

    public function render()
    {
        $contentType = $this->controllerContext->getResponse()->getContentType();
        $this->controllerContext->getResponse()->setContentType($contentType);
        $this->controllerContext->getResponse()->setHttpHeader('Content-disposition', 'attachment; filename=' . $this->fileName);
        // $this->controllerContext->getResponse()->setHttpHeader('Access-Control-Allow-Origin', '*');
    }

    public function setFileName($fileName)
    {
        $this->fileName = $fileName;
    }

}
$fileNameはダウンロードするファイルの名前です。
拡張子がないとダウンロードができないため、Viewクラスを利用する側で設定を行います(今回の場合、Controllerクラスで設定します)。
CORS対策でAccess-Control-Allow-Originが必要な場合があります。今回は同一オリジンからのダウンロードのためコメントアウトしています。
2. Repositoryクラスの修正
ImageRepositoryクラスにデータ取得用のメソッドを作成しました。
アップロードの際に一緒に登録したfileKeyのカラムを用いて対象のファイルを取得します。
<?php
namespace Neos\Welcome\Domain\Repository;

use Neos\Flow\Annotations as Flow;
use Neos\Flow\Persistence\Repository;

/**
 * @Flow\Scope("singleton")
 */
class ImageRepository extends Repository
{
    /**
     * Find an image by its key
     *
     * @param string $imageKey
     * @return \Neos\Welcome\Domain\Model\Image|null
     */
    public function findByFileKey(string $fileKey): ?\Neos\Welcome\Domain\Model\Image
    {
        $query = $this->createQuery();
        $query->matching($query->equals('fileKey', $fileKey));
        return $query->execute()->getFirst();
    }
}
3. Controllerクラスの作成
ImageCOntrollerにファイル取得用のメソッドを作成しました。
Viewは先ほど作成したDownloadViewを指定しています。
<?php
namespace Neos\Welcome\Controller;


use Neos\Flow\Annotations as Flow;
use Neos\Flow\Mvc\Controller\ActionController;
use Neos\Welcome\Domain\Model\Image;
use \Neos\Flow\ResourceManagement\PersistentResource;

class ImageController extends ActionController
{

    /**
     * @Flow\Inject
     * @var \Neos\Flow\ResourceManagement\ResourceManager
     */
    protected $resourceManager;

    /**
     * @Flow\Inject
     * @var \Neos\Welcome\Domain\Repository\ImageRepository
     */
    protected $imageRepository;

    /**
     * @Flow\Inject
     * @var \Neos\Welcome\View\DownloadView
     */
    protected $view;

    /**
     * Gets an image
     *
     * @param string $id
     * @return void
     */
    public function getImageAction(string $fileKey) {
        $image = $this->imageRepository->findByFileKey($fileKey);
        $file = $this->resourceManager->getStreamByResource($image->getOriginalResource());
        $this->view->setFileName($image->getOriginalResource()->getFilename());

        $this->response->setContent($file);
    }
}
4. 動作確認
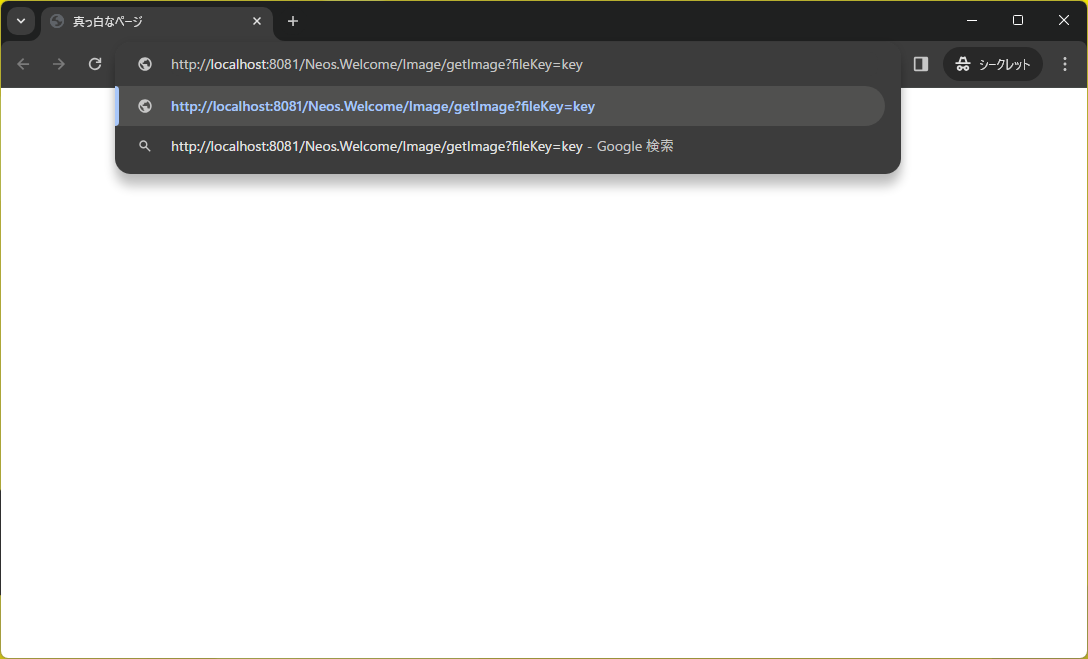
動作確認してみます。
ブラウザに以下のアドレスを入力してAPIを呼び出します。
http://localhost:8081/Neos.Welcome/Image/getImage?fileKey=key
終わりに
今回はファイルダウンロードの方法についてまとめました。
思いのほか簡単に実装でき、Flowの便利さを感じました。
次回は静的ファイルについてまとめる予定です。
ここまで読んでいただきありがとうございました!
参考

