初めに
Flowでフロントエンドを実装する場合、テンプレートエンジンを用いて動的なHTMLファイルを作成することができます。今回は、Flowのテンプレートエンジンである「Fluid」の基本的な使い方をまとめていきます。
Flowのテンプレートエンジン"Fluid"
動的ページを作成する場合、Controllerで取得した値を画面に表示したいということがあるかと思います。
Flowでは、Fluidというテンプレートエンジンを利用することで、ControllerからHTMLに値を渡すことができます。
イメージ
こちらは、あるブログ投稿サービスを例に、投稿した内容が表示されるようなHTMLファイルの例です。
(Flowの公式ドキュメントから拝借しました)
{namespace f=Neos\FluidAdaptor\ViewHelpers}
<html>
<head><title>Blog</title></head>
<body>
<h1>Blog Postings</h1>
<f:for each="{postings}" as="posting">
  <h2>{posting.title}</h2>
  <div class="author">{posting.author.name} {posting.author.email}</div>
  <p>
    <f:link.action action="details" arguments="{id : posting.id}">
      {posting.teaser}
    </f:link.action>
  </p>
</f:for>
</body>
</html>
特徴は以下です。
-
{namespace f=Neos\FluidAdaptor\ViewHelpers}という記述 -
<f:for >などのfから始まるタグ -
{posting.author.name}などの中括弧で囲まれた記述
これらについて、説明していきます。
テンプレートエンジンでできる2つのこと
Fluidでできることは大きく分けて2つです。
- ControllerとHTML間の値の受け渡し
- タグを使ってHTMLを加工
それぞれ詳しく見ていきましょう
1. ControllerとHTML間の値の受け渡し
ActionControllerクラスを継承したControllerクラスは、$viewという変数を持っています。
この変数のassignメソッドを用いることで、HTMLに値を渡すことが可能です。
   public function indexAction()
   {
       $this->view->assign('title', "タイトル");
       $this->view->assign('content', "コンテンツ");
   }
受け取った値は、HTML内で中括弧で囲うことで利用可能です。
<h1>{title}</h1>
<p>{content}</p>
こうすることで、Controllerの値をHTMLに渡すことができます。
2. タグを使ってHTMLを加工
FluidはHTMLファイルを加工するためのタグが定義されいます。
以下は最初に見せた例の抜粋です。
f:link.actionはリンクを作成するタグになります。
{namespace f=Neos\FluidAdaptor\ViewHelpers}

<f:link.action action="details" arguments="{id : posting.id}">
    {posting.teaser}
</f:link.action>
タグの実態
先ほどのf:link.actionタグの実装はどこに定義されているのでしょうか?
答えは、Neos\FluidAdaptor\ViewHelpers配下にあるLinkディレクトリのActionViewHelperクラスです。
Fluidで使うことのできるタグはNeos\FluidAdaptor\ViewHelpersの配下にViewHelperクラスとして定義されています。この実装を見れば、そのタグがどういう処理なのかを見ることができます。
また、{namespace f=Neos\FluidAdaptor\ViewHelpers}という記述は、Neos\FluidAdaptor\ViewHelpers配下のViewHelperを使う場合はfという文字を用いるという意味であり、これによりf:link.actionという記述でタグを使うことができるというわけです。
Neos\FluidAdaptor\ViewHelpers配下に定義されているViewHelperクラスは、Fluidを拡張したFlowでのみ使用可能なものになります。
純粋なFluidのタグはTYPO3Fluid\Fluid\ViewHelpersに定義されています。
また、現在のFlowでは{namespace f=Neos\FluidAdaptor\ViewHelpers}の記述がなくてもこの二つのViewHelperは使用可能です。独自のViewHelperを使用したい場合のみ記述が必要になります。
試してみた
それでは、実際にレンダリングをしてみましょう。
プロジェクト構成は以下です。
Project
  └ Packages/
      └ Application/
           ├ Neos.Welcome/
           |    └ Classes/
           |         └ Controller/
           |              └ TemplateController.php(★)
           |
           └ Resources/
                └ Private/
                     └ Templates
                          └ Template/
                               └ index.html(★)
下準備
まずは、ControllerとHTMLファイルを用意しましょう。
Flowの場合、Controller名と同じ名前のディレクトリに、メソッド名と同じ名前のHTMLファイルを用意するだけでレスポンスを紐づけてくれます。
<?php
namespace Neos\Welcome\Controller;

use Neos\Flow\Annotations as Flow;
use Neos\Flow\Mvc\Controller\ActionController;

class TemplateController extends ActionController
{
    /**
     * @return void
     */
    public function indexAction()
    {
    }
}
<!DOCTYPE html>
<html lang="ja">
<head>
    <meta charset="UTF-8">
    <meta name="viewport" content="width=device-width, initial-scale=1.0">
    <title>単純なHTMLファイル</title>
</head>
<body>
    <h1>こんにちは、世界!</h1>
    <p>これは単純なHTMLファイルの例です。</p>
</body>
</html>
Controllerから変数を渡す
ということで、Controllerから変数を渡してみましょう。
indexメソッド内で$viewのassignメソッドを使います。
    /**
     * @return void
     */
    public function indexAction()
    {
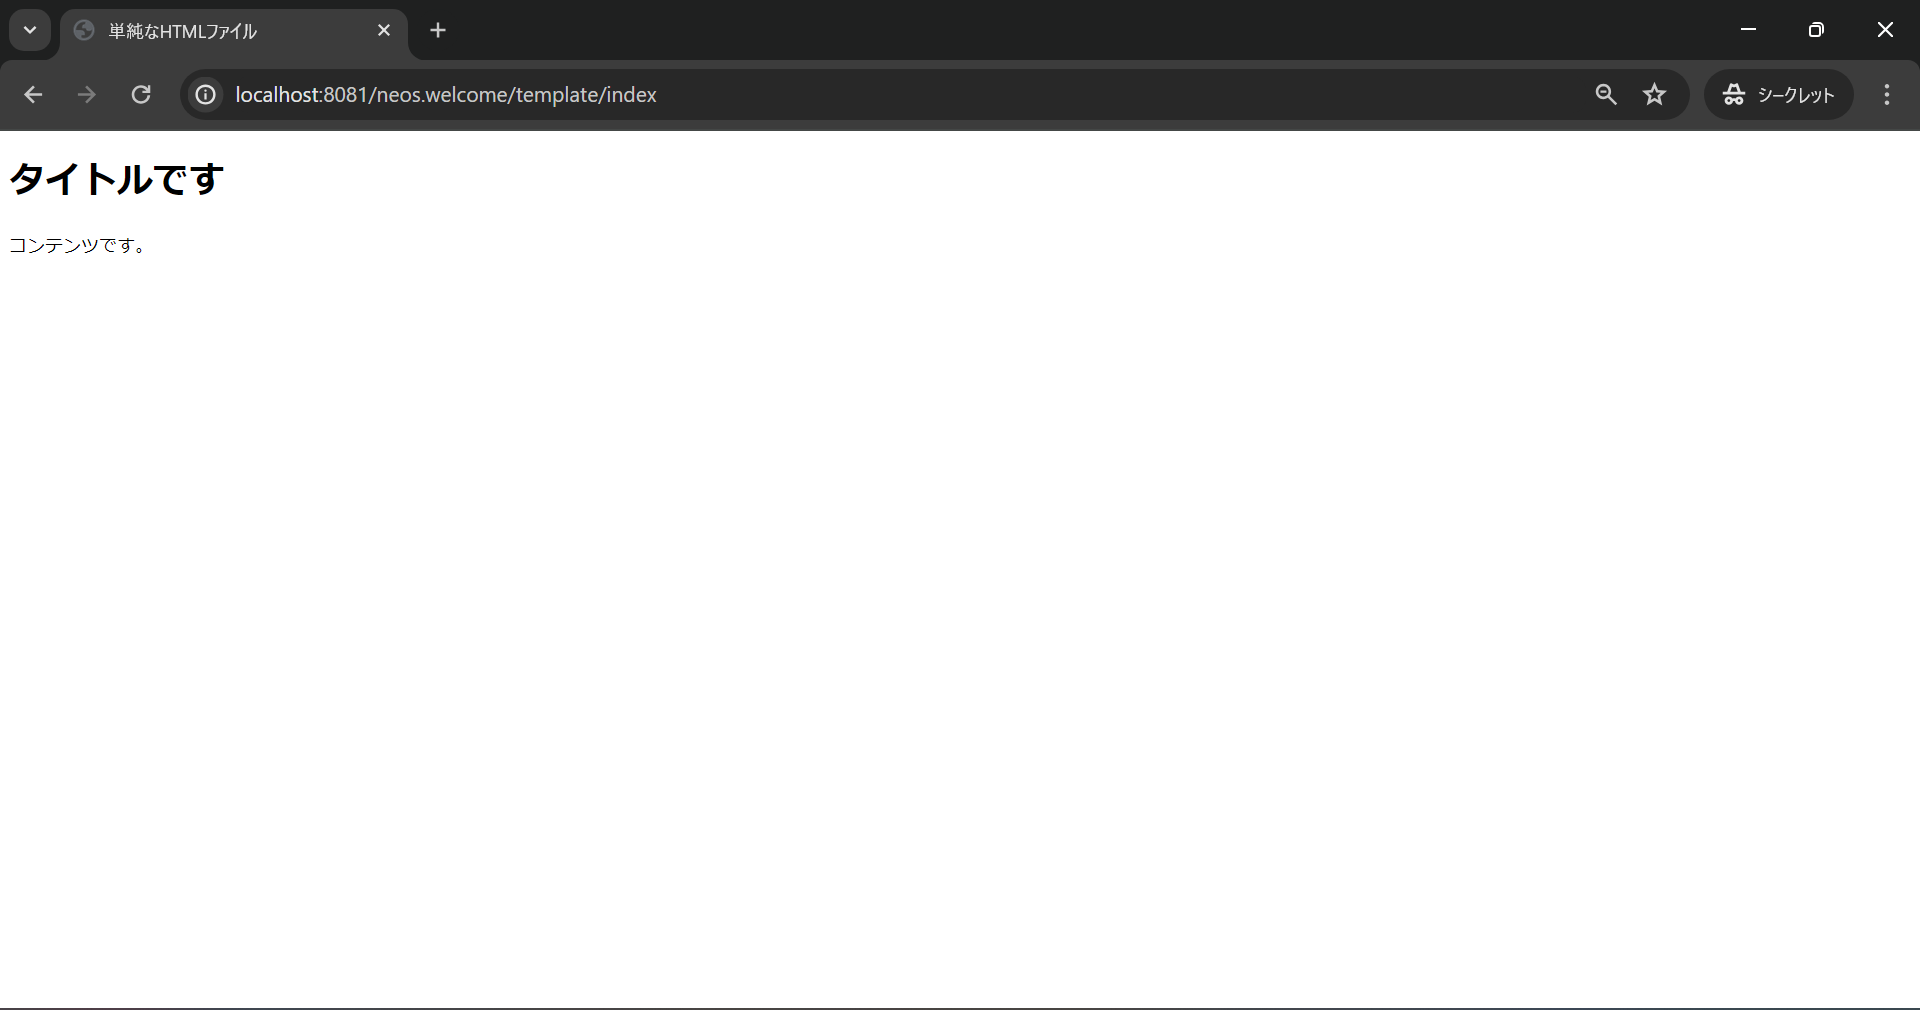
        $this->view->assign('title', 'タイトルです');
        $this->view->assign('content', 'コンテンツです。');
    }
その後、HTML内で中括弧を用いて参照します。
<!DOCTYPE html>
<html lang="ja">
<head>
    <meta charset="UTF-8">
    <meta name="viewport" content="width=device-width, initial-scale=1.0">
    <title>単純なHTMLファイル</title>
</head>
<body>
    <h1>{title}</h1>
    <p>{content}</p>
</body>
</html>
タグを使ってみる
HTML内で定義した変数を利用します。
今回はforとifを使ってみましょう。
ContentEntityというクラスを作成し、その配列をHTMLに渡してみました。
<?php
namespace Neos\Welcome\Domain\Entity;

use Neos\Flow\Annotations as Flow;

/**
 * @Flow\Scope("prototype")
 */
class ContentEntity {

    /**
     * @var boolean
     */
    protected $isPublished;

    /**
     * @var string
     */
    protected $title;

    /**
     * @var string
     */
    protected $detail;

    public function __construct($isPublished, $title, $detail) {
        $this->isPublished = $isPublished;
        $this->title = $title;
        $this->detail = $detail;
    }

    public function getIsPublished() {
        return $this->isPublished;
    }

    public function getTitle() {
        return $this->title;
    }

    public function getDetail() {
        return $this->detail;
    }
}
<?php
namespace Neos\Welcome\Controller;

use Neos\Flow\Annotations as Flow;
use Neos\Flow\Mvc\Controller\ActionController;
use Neos\Welcome\Domain\Entity\ContentEntity;

class TemplateController extends ActionController
{
    /**
     * @return void
     */
    public function indexAction()
    {
        $this->view->assign('title', 'タイトルです');


        $contents = [
            new ContentEntity(true, 'タイトル1', '詳細1'),
            new ContentEntity(false, 'タイトル2', '詳細2'),
            new ContentEntity(true, 'タイトル3', '詳細3'),
        ];

        $this->view->assign('contents', $contents);
    }
}
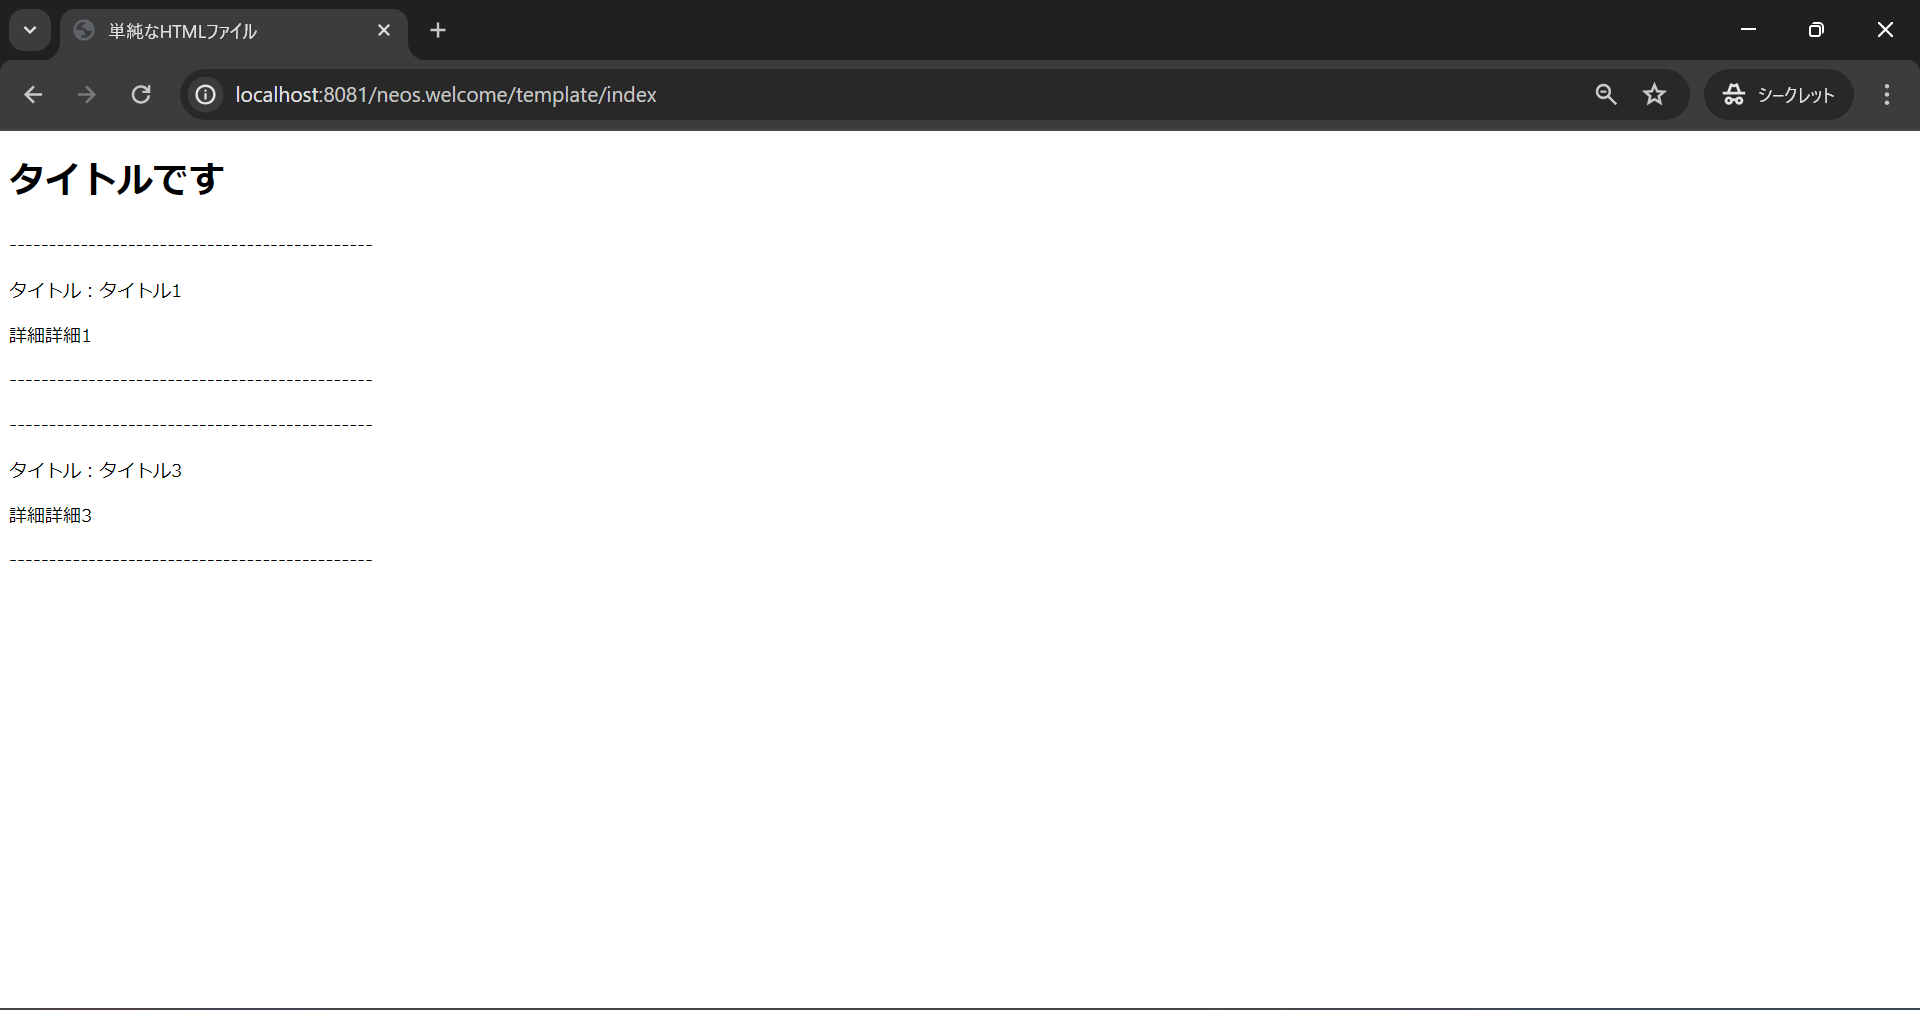
HTML内で、ContentEntityの配列をforタグで定義し、公開中かどうかで出しわけるような作りにしています。
<!DOCTYPE html>
<html lang="ja">
<head>
    <meta charset="UTF-8">
    <meta name="viewport" content="width=device-width, initial-scale=1.0">
    <title>単純なHTMLファイル</title>
</head>
<body>
    <h1>{title}</h1>
    <f:for each="{contents}" as="content">
        <f:if condition="{content.isPublished}">
            <p>----------------------------------------------</p>
            <p>タイトル:{content.title}</p>
            <p>詳細{content.detail}</p>
            <p>----------------------------------------------</p>
        </f:if>
    </f:for>
</body>
</html>
HTML内でcontentの要素を取得する際、対応する要素のgetterが呼び出されています。
公式ドキュメントには「対応するgetterがない場合、完全一致するメソッドが呼び出される」とありましたが、動作確認ではうまくいきませんでした。
終わりに
今回はFlowのテンプレートエンジンであるFluidについてまとめました。
テンプレートエンジンの実装を確認しやすいことや、独自のテンプレートエンジンが作りやすいのは利点ですね。
また何か知ったらまとめていきます。
ここまでご覧いただきありがとうございました!


