PythonのTkinterを使うことが多くなってきましたが,(私好みの)ほしい情報がまとまっているサイトがあまりなかったので,まとめていこうと思います.
なお、Tkinterの勉強会をしたときにPython3系で作った資料が出てきたので、
ご興味のある方はどうぞ。
https://nnahito.gitbooks.io/tkinter/content/
*はじめに
私は手続き型人間です.
オブジェクト指向は一切使いません.
得意言語はBASICとperlという,絶滅危惧種です.
なので,オブジェクト指向最高!MVC最高!!と言われている方には,馴染まない,馴染めない書き方をしていると思いますので,ご了承ください.
*そもそもTkinterとはなんぞや?
Pythonで**GUIを組むことのできる**ツールキットのことです.
これによって,PythonスクリプトをGUI形式で実行することができます.
# !/usr/bin/env python
# -*- coding: utf8 -*-
import sys
import Tkinter

root = Tkinter.Tk()
root.mainloop()
*基礎
Pythonの基礎文法は,探せば山ほどあるので個々人でお好きな解説サイトを見つけてください.
ここではあくまで,私がTkinterでつまずいた部分をピックアップしていきます.
まず,基本形式は以下のとおりです.
# !/usr/bin/env python
# -*- coding: utf8 -*-
import sys
import Tkinter


root = Tkinter.Tk()
root.title(u"Software Title")
root.geometry("400x300")

root.mainloop()
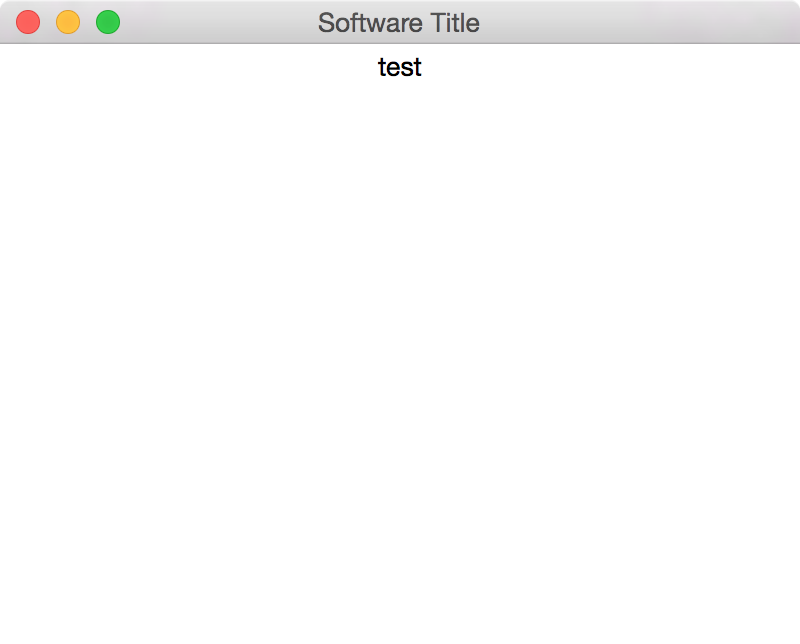
これを実行すると,400px * 300pxのウインドウが表示されます.
root.title(u"ウインドウ名")
これは,ウインドウのタイトルバーの表記を決定するものです
root.geometry("横x縦")
これは,ウインドウサイズを決定するものです.
横の長さx縦の長さという具合に,数値を小文字のエックス(x)で記述します.
なお,ソフトウェアの実行内容の処理は,
root = Tkinter.Tk()
と
root.mainloop()
の間に記載します.
Tkinterで表現できること
詳細はこちらのページに詳しくまとめられていますが,
- ラベル
- 1行入力ボックス
- ボタン
- チェックボックス
- ラジオボタン
- リストボックス
- メニュー
- スクロールバー
- キャンバス
などが有ります.
私が必要になったのは,
- ボタン
- 1行入力ボックス
- チェックボックス
- ラベル
だったので,特にここにスポットを当てて,紹介していきたいと思います.
ラベル(Label)
ラベルは,以下の物を使います.
Label(text=u'ラベル名')
「ラベル名」の部分を変更すると,ラベルの中身が変わります.
以下,サンプル.
# !/usr/bin/env python
# -*- coding: utf8 -*-
import sys
import Tkinter


root = Tkinter.Tk()
root.title(u"Software Title")
root.geometry("400x300")

# ラベル
Static1 = Tkinter.Label(text=u'test')
Static1.pack()

root.mainloop()
Static1 = Tkinter.Label(text=u'test')
のStatic1は,そのラベルのハンドルが格納されています.(つまり,変数にハンドルを入れています)
さらにStatic1.pack()で,そのハンドルをウインドウのウィジェットに格納します.
砕いて言うと,自動的に位置を揃えてウインドウ上に配置してくれます.
任意の場所に配置したい場合は,
Static1.place(x=x座標, y=y座標)
のように,place(x=x座標, y=y座標)を使ってください.
また,ラベルなどのウィジェットでは,ある程度共通のオプションが存在します.
先ほどのページ(お気楽Python/Tkinter様)のページの中ほど上に表形式でまとめられていますが,
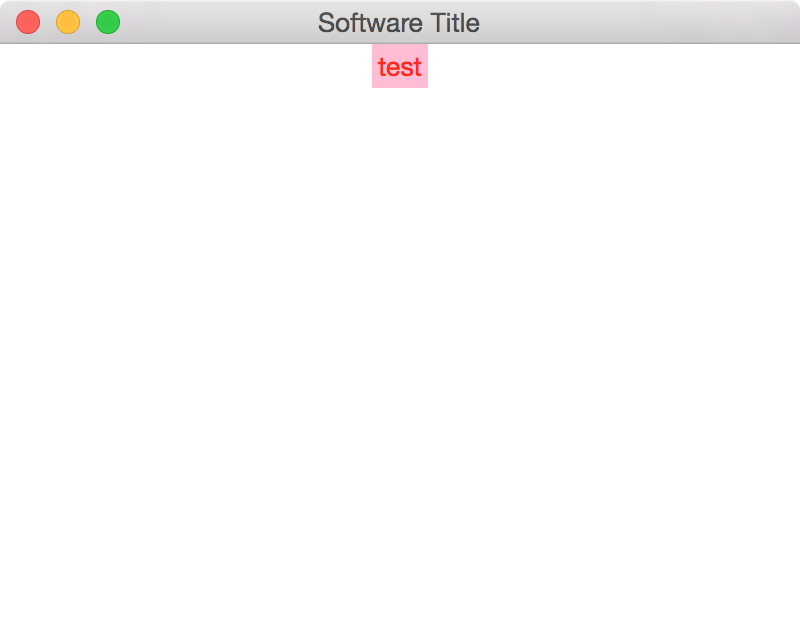
例えば,ラベルの背景色や文字の色を変更することも可能です.
# !/usr/bin/env python
# -*- coding: utf8 -*-
import sys
import Tkinter


root = Tkinter.Tk()
root.title(u"Software Title")
root.geometry("400x300")

# ラベル
Static1 = Tkinter.Label(text=u'test', foreground='#ff0000', background='#ffaacc')
Static1.pack()

root.mainloop()
オプションは,
Static1 = Tkinter.Label(text=u'test', foreground='#ff0000', background='#ffaacc')
のように,付け足していくことが可能です.
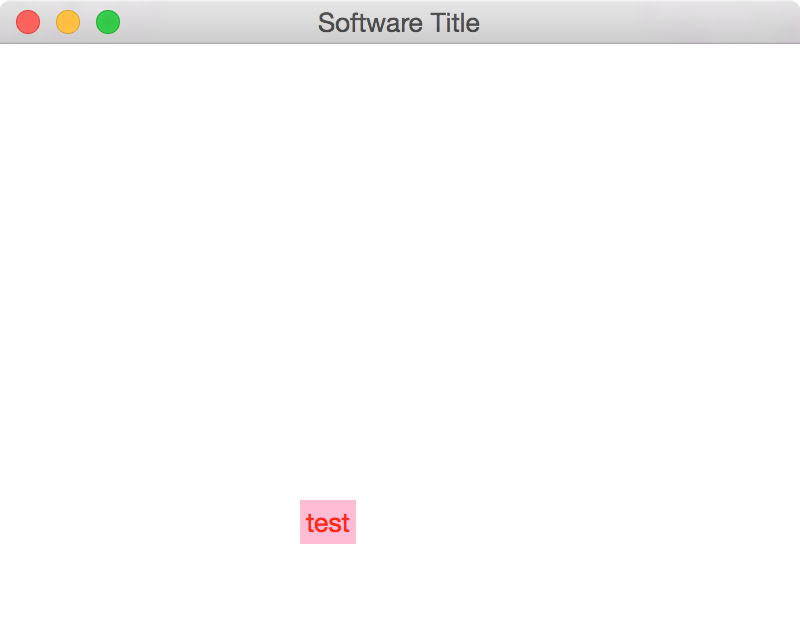
更に例えば,placeを使うとこんな感じになります.
# !/usr/bin/env python
# -*- coding: utf8 -*-
import sys
import Tkinter


root = Tkinter.Tk()
root.title(u"Software Title")
root.geometry("400x300")

# ラベル
Static1 = Tkinter.Label(text=u'test', foreground='#ff0000', background='#ffaacc')
Static1.place(x=150, y=228)

root.mainloop()
ラベルが任意の位置に移動しているのがわかります.
このように使って行きます.
*Entry(1行入力ボックス)
改行のできない,一行入力ボックス「Entry」を作成します.
コードはEditBox = Tkinter.Entry()のように書きます.
# !/usr/bin/env python
# -*- coding: utf8 -*-
import sys
import Tkinter


root = Tkinter.Tk()
root.title(u"Software Title")
root.geometry("400x300")

# エントリー
EditBox = Tkinter.Entry()
EditBox.pack()

root.mainloop()
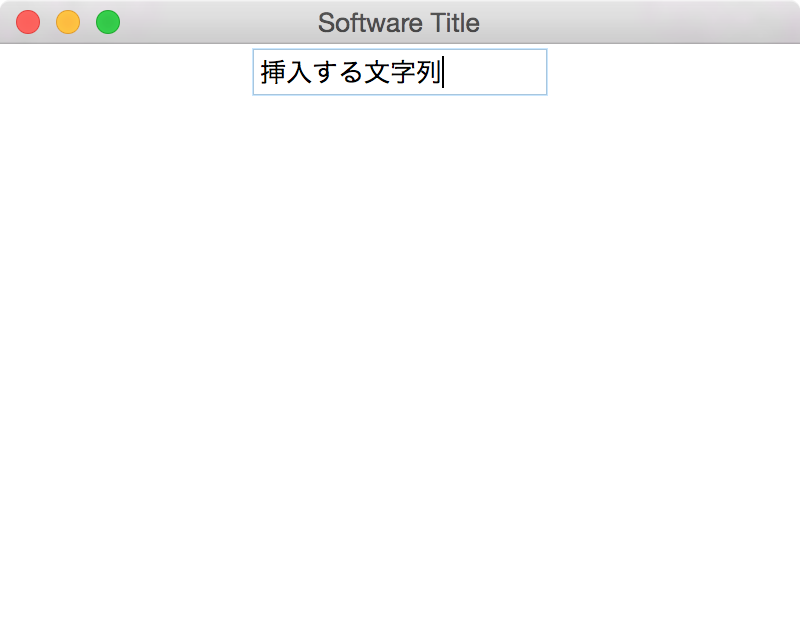
最初から文字を入力しておく方法
Entryで最初から文字を入力しておくには,
insert(Tkinter.END,"追加する文字列")を使います.
これは,最終行に「追加する文字列」を挿入するものとなります.
任意の場所に文字列の挿入などもできますが,ここでは説明を省きます.
詳しくはこちらのサイト様を御覧ください
# !/usr/bin/env python
# -*- coding: utf8 -*-
import sys
import Tkinter


root = Tkinter.Tk()
root.title(u"Software Title")
root.geometry("400x300")

# エントリー
EditBox = Tkinter.Entry()
EditBox.insert(Tkinter.END,"挿入する文字列")
EditBox.pack()

root.mainloop()
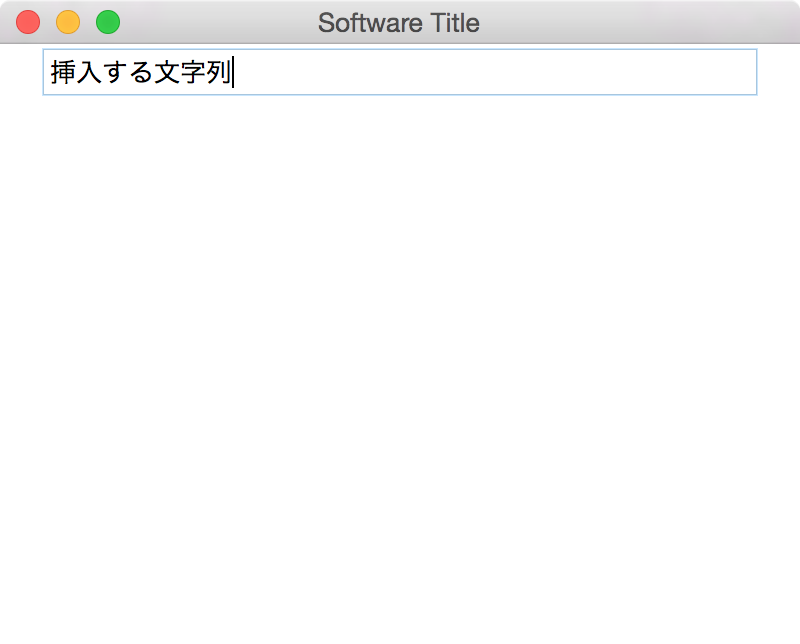
Entryの大きさ
Entryのサイズ指定もできます.
Tkinter.Entry(width=大きさ)で決定できます.
# !/usr/bin/env python
# -*- coding: utf8 -*-
import sys
import Tkinter


root = Tkinter.Tk()
root.title(u"Software Title")
root.geometry("400x300")

# エントリー
EditBox = Tkinter.Entry(width=50)
EditBox.insert(Tkinter.END,"挿入する文字列")
EditBox.pack()

root.mainloop()
Entryの中身を取得する
Entryの中身を取得するには,.get()を使います.
# !/usr/bin/env python
# -*- coding: utf8 -*-
import sys
import Tkinter


root = Tkinter.Tk()
root.title(u"Software Title")
root.geometry("400x300")

# エントリー
EditBox = Tkinter.Entry(width=50)
EditBox.insert(Tkinter.END,"挿入する文字列")
EditBox.pack()

# ここで,valueにEntryの中身が入る
value = EditBox.get()

root.mainloop()
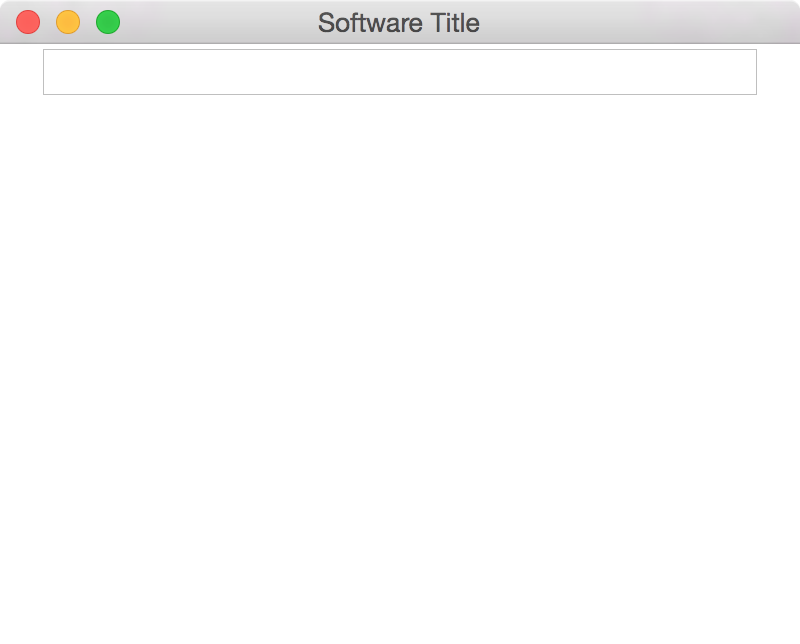
Entryの中身を削除する
EditBox.delete(0, Tkinter.END)のように指定できます.
(.delete(0, Tkinter.END))
任意の箇所から削除もできますが,ここでは省略します.
詳しくはこちらのサイト様を御覧ください
# !/usr/bin/env python
# -*- coding: utf8 -*-
import sys
import Tkinter


root = Tkinter.Tk()
root.title(u"Software Title")
root.geometry("400x300")

# エントリー
EditBox = Tkinter.Entry(width=50)
EditBox.insert(Tkinter.END,"挿入する文字列")
EditBox.pack()

# エントリーの中身を削除
EditBox.delete(0, Tkinter.END)

root.mainloop()
Entryに文字を追加してそのまま消しているので,そもそもに何も書かれていなかったことになっています.
次の「ボタン」の項目でもう少しわかりやすい例を出そうと思います.
*Button(ボタン)
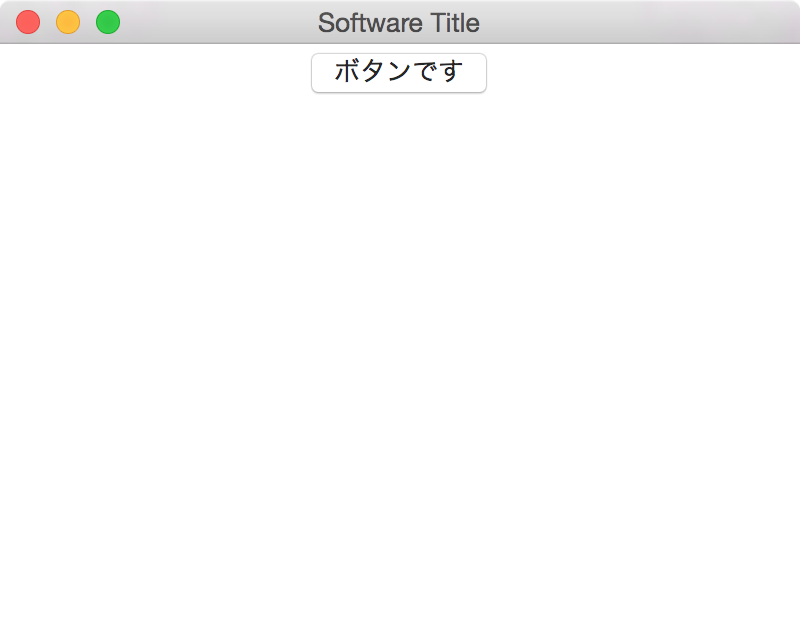
ボタンは「Button」で作成できます.
# !/usr/bin/env python
# -*- coding: utf8 -*-
import sys
import Tkinter


root = Tkinter.Tk()
root.title(u"Software Title")
root.geometry("400x300")

# ボタン
Button = Tkinter.Button(text=u'ボタンです')
Button.pack()

root.mainloop()
.Button(text=u'ボタンに表示する文字')
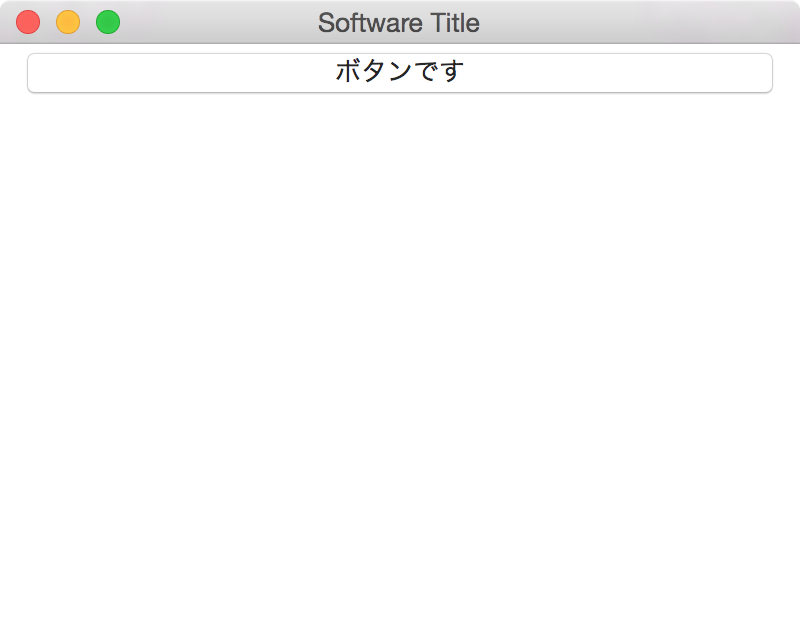
ボタンの幅を指定する
width=幅で指定できます.
# !/usr/bin/env python
# -*- coding: utf8 -*-
import sys
import Tkinter


root = Tkinter.Tk()
root.title(u"Software Title")
root.geometry("400x300")

# ボタン
Button = Tkinter.Button(text=u'ボタンです', width=50)
Button.pack()

root.mainloop()
ボタンを押すと,何らかの処理を
ボタンは基本,関数(def:)にアクションを組んでいきます.
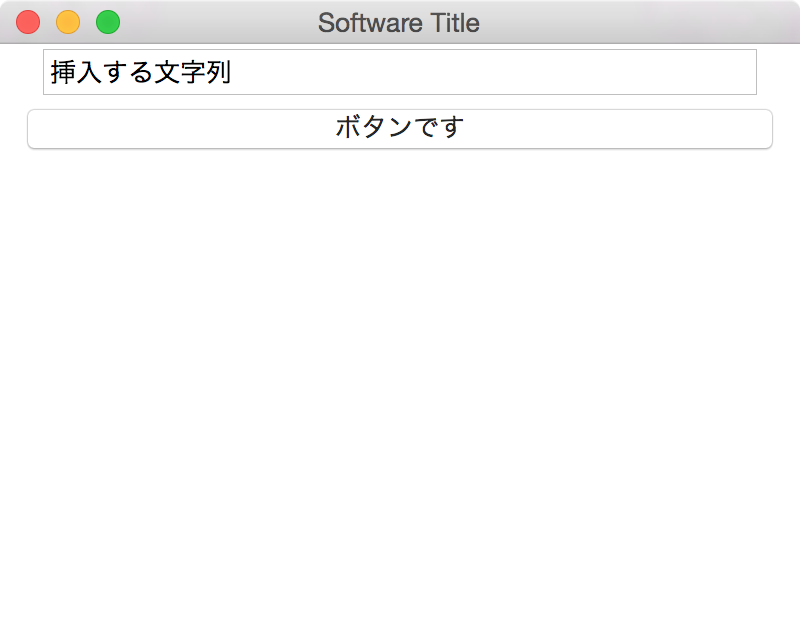
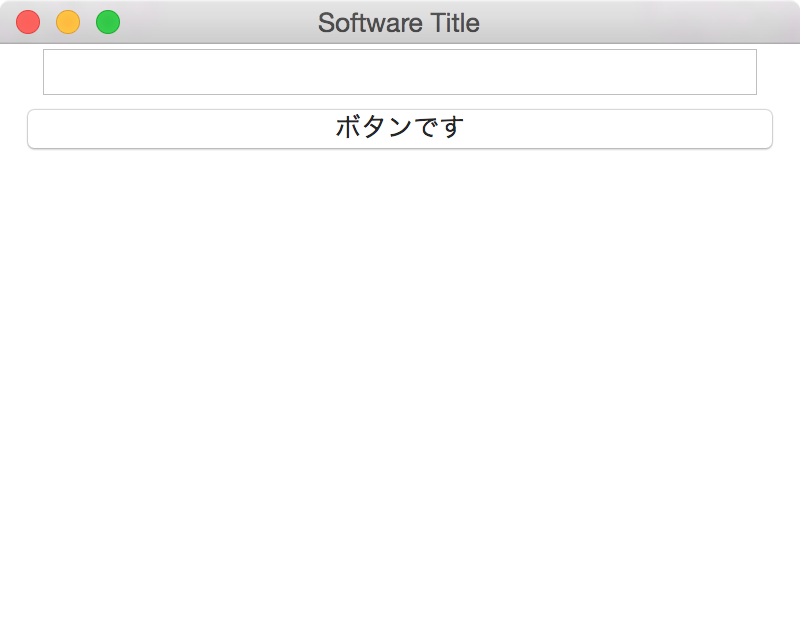
先ほどのEntryの中身を,ボタンを押すと削除すると言ったものを作ってみましょう.
# !/usr/bin/env python
# -*- coding: utf8 -*-
import sys
import Tkinter


root = Tkinter.Tk()
root.title(u"Software Title")
root.geometry("400x300")

#
# ボタンが押されるとここが呼び出される
#
def DeleteEntryValue(event):
  #エントリーの中身を削除
  EditBox.delete(0, Tkinter.END)


# エントリー
EditBox = Tkinter.Entry(width=50)
EditBox.insert(Tkinter.END,"挿入する文字列")
EditBox.pack()

# ボタン
Button = Tkinter.Button(text=u'ボタンです', width=50)
Button.bind("<Button-1>",DeleteEntryValue)
# 左クリック(<Button-1>)されると,DeleteEntryValue関数を呼び出すようにバインド
Button.pack()

root.mainloop()
.bind("<Button-1>",DeleteEntryValue) は,
.bind("クリック処理の番号",呼び出す関数またはアクション)
のように構成されています.
これで,ボタンがクリックされた時に,指定した関数を呼び出します.
"<Button-1>"はクリック
"<Button-2>"はホイールクリック
"<Button-3>"は右クリック
です.
クリック以外にもイベントは有りますが,そこはここでは触れません.
詳しくはこちらのサイト様を参考にしてください
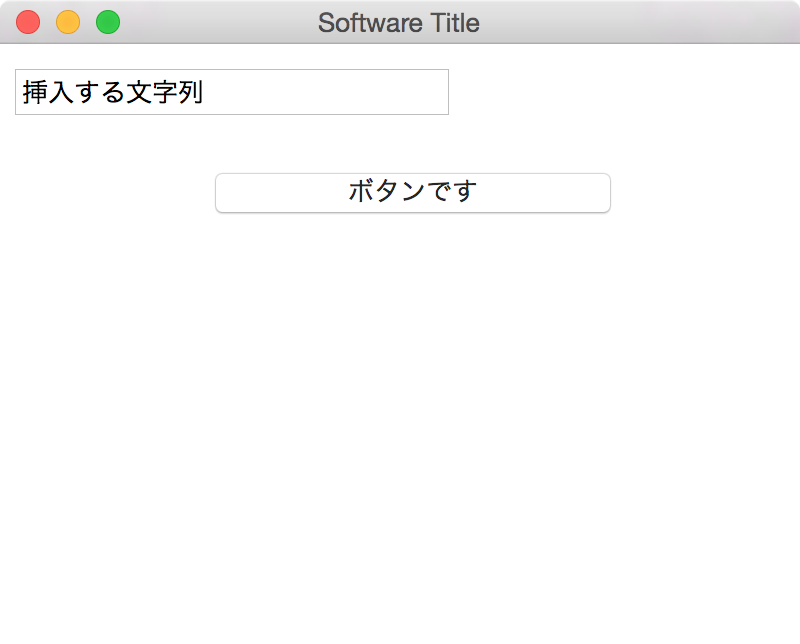
↓ボタンを押すと文字が消える
もちろんplaceも
EntryやButtonも..pack()ではなく,.place(x=hoge, y=hoge)で指定できます.
# !/usr/bin/env python
# -*- coding: utf8 -*-
import sys
import Tkinter


root = Tkinter.Tk()
root.title(u"Software Title")
root.geometry("400x300")

#
# ボタンが押されるとここが呼び出される
#
def DeleteEntryValue(event):
  #エントリーの中身を削除
  EditBox.delete(0, Tkinter.END)


# エントリー
EditBox = Tkinter.Entry(width=30)
EditBox.insert(Tkinter.END,"挿入する文字列")
EditBox.place(x=5, y=10)


# ボタン
Button = Tkinter.Button(text=u'ボタンです', width=25)
Button.bind("<Button-1>",DeleteEntryValue)
Button.place(x=105, y=60)

root.mainloop()
*CheckBox(チェックボックス)
こいつがかなり面倒でした.
なので,1つずつ小分けにして見て行きたいと思います.
なお,Tkinterでは,CheckBoxではなくCheckbuttonというらしいですね.
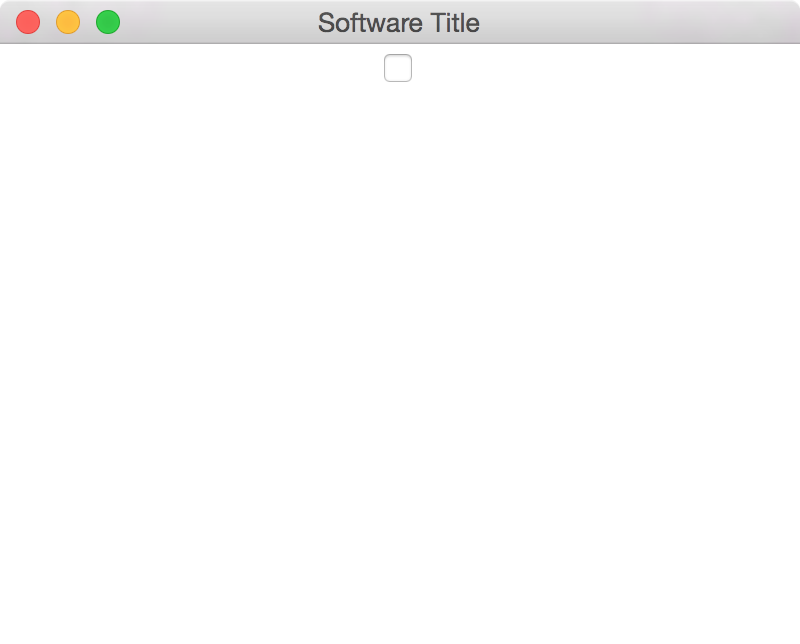
CheckBoxを作成する
.Checkbutton()を使います.
# !/usr/bin/env python
# -*- coding: utf8 -*-
import sys
import Tkinter


root = Tkinter.Tk()
root.title(u"Software Title")
root.geometry("400x300")

CheckBox = Tkinter.Checkbutton()
CheckBox.pack()

root.mainloop()
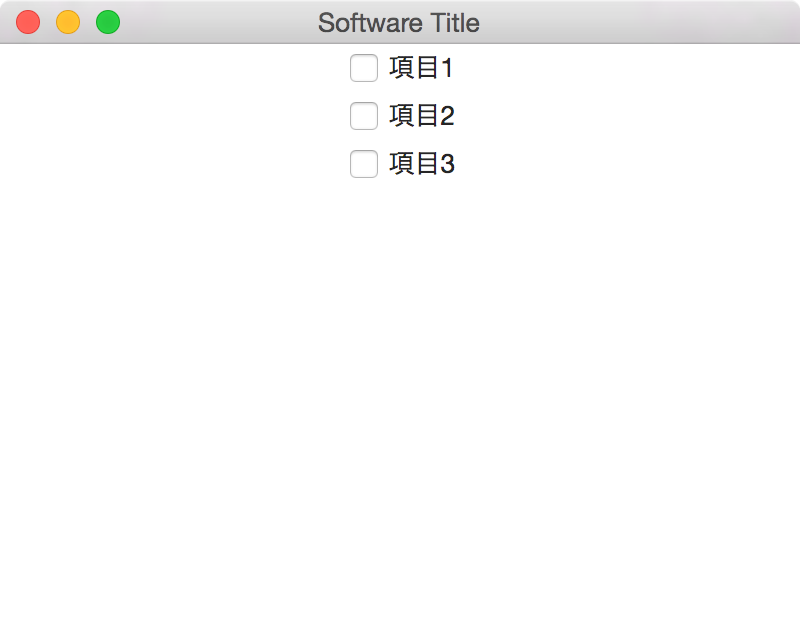
CheckBoxに項目名を付ける
CheckBox = Tkinter.Checkbutton(text=u"項目名")のようにします.
# !/usr/bin/env python
# -*- coding: utf8 -*-
import sys
import Tkinter


root = Tkinter.Tk()
root.title(u"Software Title")
root.geometry("400x300")

CheckBox1 = Tkinter.Checkbutton(text=u"項目1")
CheckBox1.pack()

CheckBox2 = Tkinter.Checkbutton(text=u"項目2")
CheckBox2.pack()

CheckBox3 = Tkinter.Checkbutton(text=u"項目3")
CheckBox3.pack()

root.mainloop()
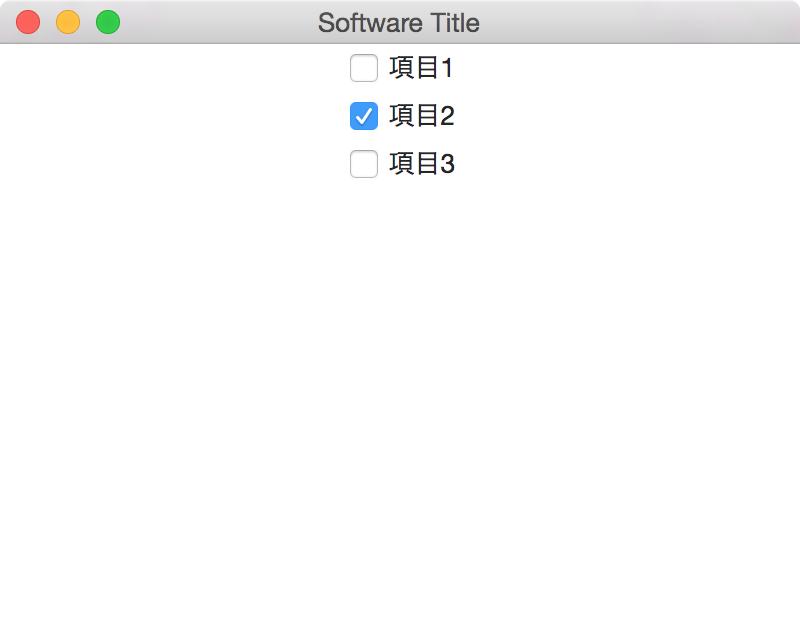
最初からChecked,Uncheckedの値をもたせる
ここからが鬼門です.
デフォルトで「チェックされているか」,「チェックされていないか」の値をそれぞれのチェックボックスに持たせるには,必ずBooleanVar()を使わなければいけません.
BooleanVar()は,「True」か「False」の二択しか格納できない,特殊な型です.
# !/usr/bin/env python
# -*- coding: utf8 -*-
import sys
import Tkinter


root = Tkinter.Tk()
root.title(u"Software Title")
root.geometry("400x300")

#
# チェックボックスの各項目の初期値
#
Val1 = Tkinter.BooleanVar()
Val2 = Tkinter.BooleanVar()
Val3 = Tkinter.BooleanVar()

Val1.set(False)
Val2.set(True)
Val3.set(False)

CheckBox1 = Tkinter.Checkbutton(text=u"項目1", variable=Val1)
CheckBox1.pack()

CheckBox2 = Tkinter.Checkbutton(text=u"項目2", variable=Val2)
CheckBox2.pack()

CheckBox3 = Tkinter.Checkbutton(text=u"項目3", variable=Val3)
CheckBox3.pack()

root.mainloop()
variableに,TrueかFalseが入った,BooleanVarの値を格納することで,
チェックの有無を指定できます.
ここで注意しないといけないのが,variable=Trueとやってしまうと,バグります.
必ずBooleanVar型のデータを入れないといけません.
CheckBoxがチェックされているかどうかを取得する
.get()を使います.
上の例で,Val1はCheckBox1のチェックの有無を表すようになっていますので,
if Val1.get() == True:
   チェックされている時の処理
else:
   チェックされていない時の処理
のようにして取得できます.
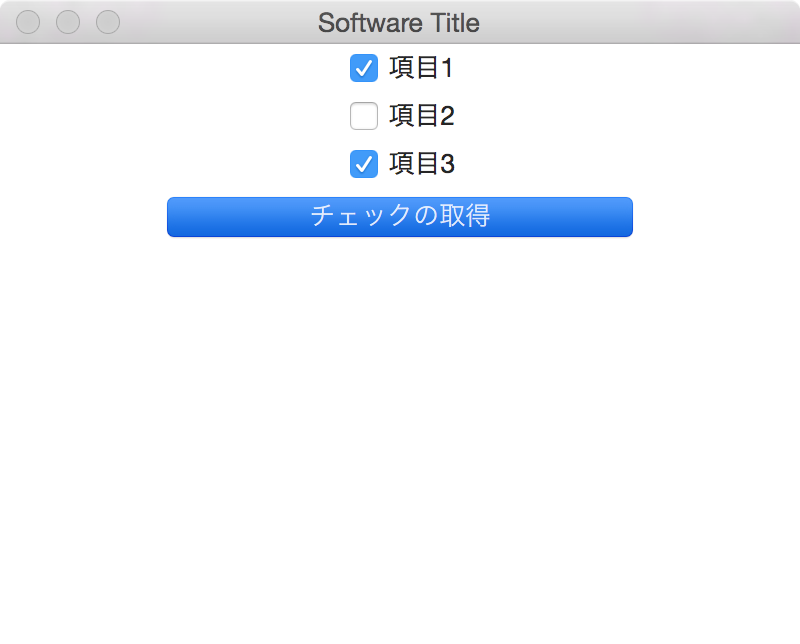
サンプル
# !/usr/bin/env python
# -*- coding: utf8 -*-
import sys
import Tkinter
import tkMessageBox


root = Tkinter.Tk()
root.title(u"Software Title")
root.geometry("400x300")


#
# チェックボックスのチェック状況を取得する
#
def check(event):
  global Val1
  global Val2
  global Val3

  text = ""

  if Val1.get() == True:
    text += "項目1はチェックされています\n"
  else:
    text += "項目1はチェックされていません\n"

  if Val2.get() == True:
    text += "項目2はチェックされています\n"
  else:
    text += "項目2はチェックされていません\n"

  if Val3.get() == True:
    text += "項目3はチェックされています\n"
  else:
    text += "項目3はチェックされていません\n"

  tkMessageBox.showinfo('info',text)


#
# チェックボックスの各項目の初期値
#
Val1 = Tkinter.BooleanVar()
Val2 = Tkinter.BooleanVar()
Val3 = Tkinter.BooleanVar()

Val1.set(False)
Val2.set(True)
Val3.set(False)

CheckBox1 = Tkinter.Checkbutton(text=u"項目1", variable=Val1)
CheckBox1.pack()

CheckBox2 = Tkinter.Checkbutton(text=u"項目2", variable=Val2)
CheckBox2.pack()

CheckBox3 = Tkinter.Checkbutton(text=u"項目3", variable=Val3)
CheckBox3.pack()


button1 = Tkinter.Button(root, text=u'チェックの取得',width=30)
button1.bind("<Button-1>",check)
button1.pack()

root.mainloop()
↓この状況でボタンを押すと
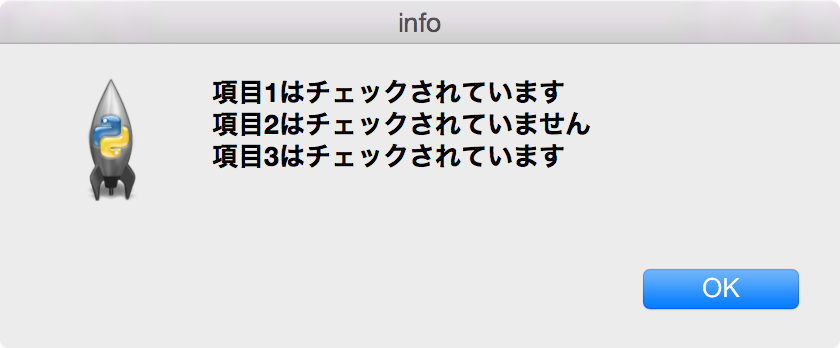
チェックの状況が取得されます.
なお,このダイアログメッセージは,「tkMessageBox」と言うものを使っています.
import tkMessageBox
を追加し,
tkMessageBox.showinfo('タイトル名', '内容')
で表示できます.
それでは今回はここまで.
