macOS High SierraでDocker for Macを使ってローカルにRedmineをインストールします。
Redmineのメール送信にはGmailを使うため、そのやり方も記載しています。
Docker for Macのインストール手順は省略します。
Gmailでメール送信をするための事前準備
Gmailを使わない人は読み飛ばして下さい。
まず、アプリ用のパスワードを作成する必要があります。
Googleの下記サイトからアプリ用のパスワードを作って下さい。
https://security.google.com/settings/security/apppasswords
docker-compose.ymlの設定
docker-compose.ymlにRedmineとMariaDBを定義します。
DBの永続化やプラグインやテーマの管理を容易にするため、volumesを設定しています。
また、Gmailを使うためSMTP_USER、SMTP_PASSもここに設定しておく必要があります。
SMTP_USERはGmailのメールアドレス、SMTP_PASSは先程作成したアプリ用パスワードを設定します。
Redmineは最新版で問題ないかと思ったため、特にRedmineのバージョンは指定していません。
2018/10/27現在で3.4.5がインストールされるようです。
version: '3.1'

services:
    redmine:
        container_name: redmine
        image: redmine
        restart: always
        ports:
            - 3000:3000
        volumes:
            - ./data/plugins:/usr/src/redmine/plugins
            - ./data/themes:/usr/src/redmine/public/themes
        environment:
            REDMINE_DB_MYSQL: redmine-db
            REDMINE_DB_PASSWORD: redmine
            SMTP_USER: xxxxx@gmail.com
            SMTP_PASS: xxxxxxxxxxxxxxxx

    redmine-db:
        image: mariadb
        container_name: redmine-db
        restart: always
        environment:
            MYSQL_ROOT_PASSWORD: redmine
            MYSQL_DATABASE: redmine
        volumes:
            - ./data/db:/var/lib/mysql
        command: mysqld --character-set-server=utf8 --collation-server=utf8_unicode_ci
Redmineを起動
docker-composeコマンドでRedmineを起動します。
$ docker-compose up -d
ブラウザでhttp://localhost:3000にアクセスします。
正常にRedmineが起動していればRedmineのトップページが表示されるはずです。
ログインをクリックし、admin/adminでログインします。
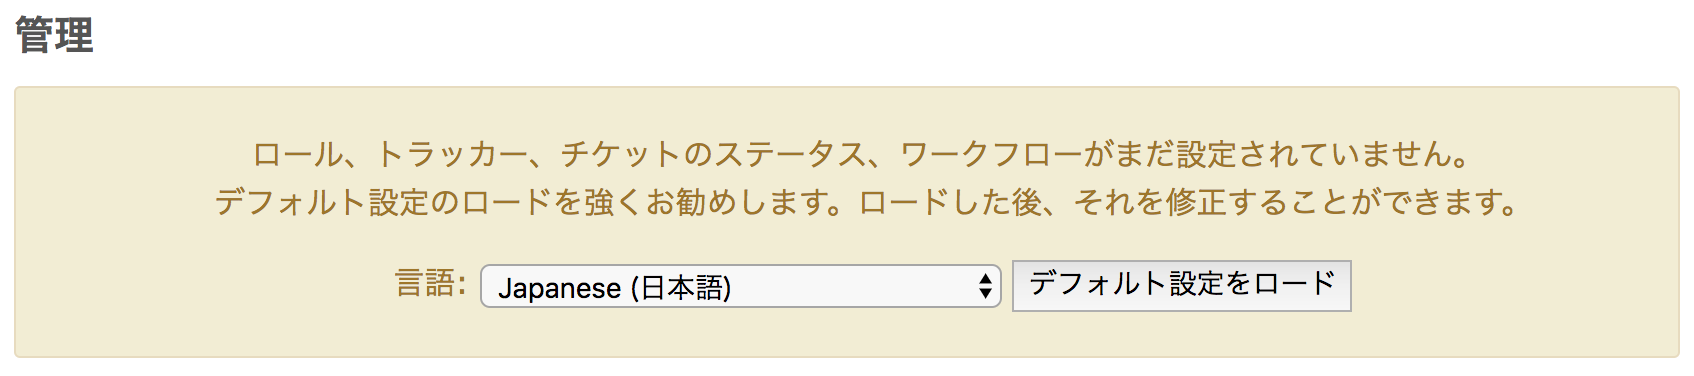
ログイン後に管理を開くとデフォルト設定のロードをするかの確認が出るのでロードします。
メール通知の設定
メール送信のためにRedmine内のconfiguration.ymlを編集する必要があるのですが、
Redmineのコンテナにはエディタが入ってないため、
Mac側で設定ファイルを編集してコンテナに戻すという方法にしました。
ターミナルでDockerのRedmineコンテナにbashでログインして、
Mac側からアクセスできるvolumesで設定した場所に設定ファイルをコピーします。
# Macの操作
$ docker exec -it redmine bash

# Redmineの操作
# cp ./config/configuration.yml.example ./plugins/configuration.yml
Macのdata/plugins配下にconfiguration.ymlがあるのでGmailの設定箇所を編集します。
基本的にコメントを外して、user_nameとpasswordを設定するだけです。
user_nameとpasswordはdocker-compose.ymlのSMTP_USER、SMTP_PASSと同じ値が入ります。
email_deliveryは上の方ですでに定義されているのでコメントは外さないで下さい。
  # ==== SMTP server at using TLS (GMail)
  # This might require some additional configuration. See the guides at:
  # http://www.redmine.org/projects/redmine/wiki/EmailConfiguration
  #
  #  email_delivery:
      delivery_method: :smtp
      smtp_settings:
        enable_starttls_auto: true
        address: "smtp.gmail.com"
        port: 587
        domain: "smtp.gmail.com"
        authentication: :plain
        user_name: "xxxxx@gmail.com"
        password: "xxxxxxxxxxxxxxxx"
  #
  # ==== Sendmail command
configuration.ymlをRedmineコンテナに配置します。
その後、Dockerを再起動します。
# Macの操作
$ docker exec -it redmine bash

# Redmineの操作
# mv ./plugins/configuration.yml ./config/configuration.yml
# exit

# Macの操作
$ docker-compose restart
- Redmineにログインし、「管理」=>「設定」=>「メール通知」を開きます。
- 送信元メールアドレスをGmailのアドレスに設定します。
- ページ下のテストメールを送信でメールが送信できることを確認します。
最初はdocker-compose.ymlにもGmailの設定が必要ということに気づかず、
メールが送信できるようになるまで結構時間かかりました。