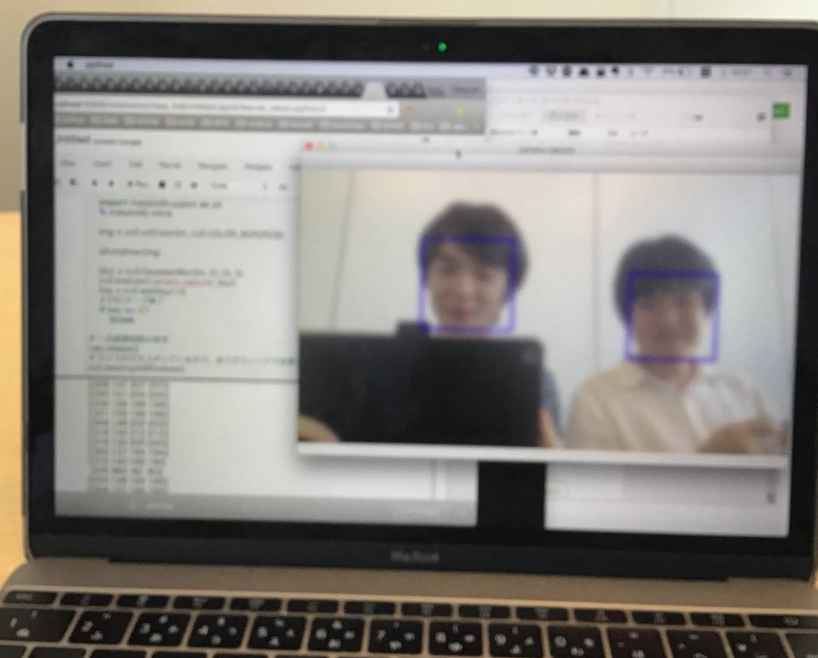
Anacondaをインストール
https://www.anaconda.com/download/#macos
今回は、Python 3.7 version を使用しています。
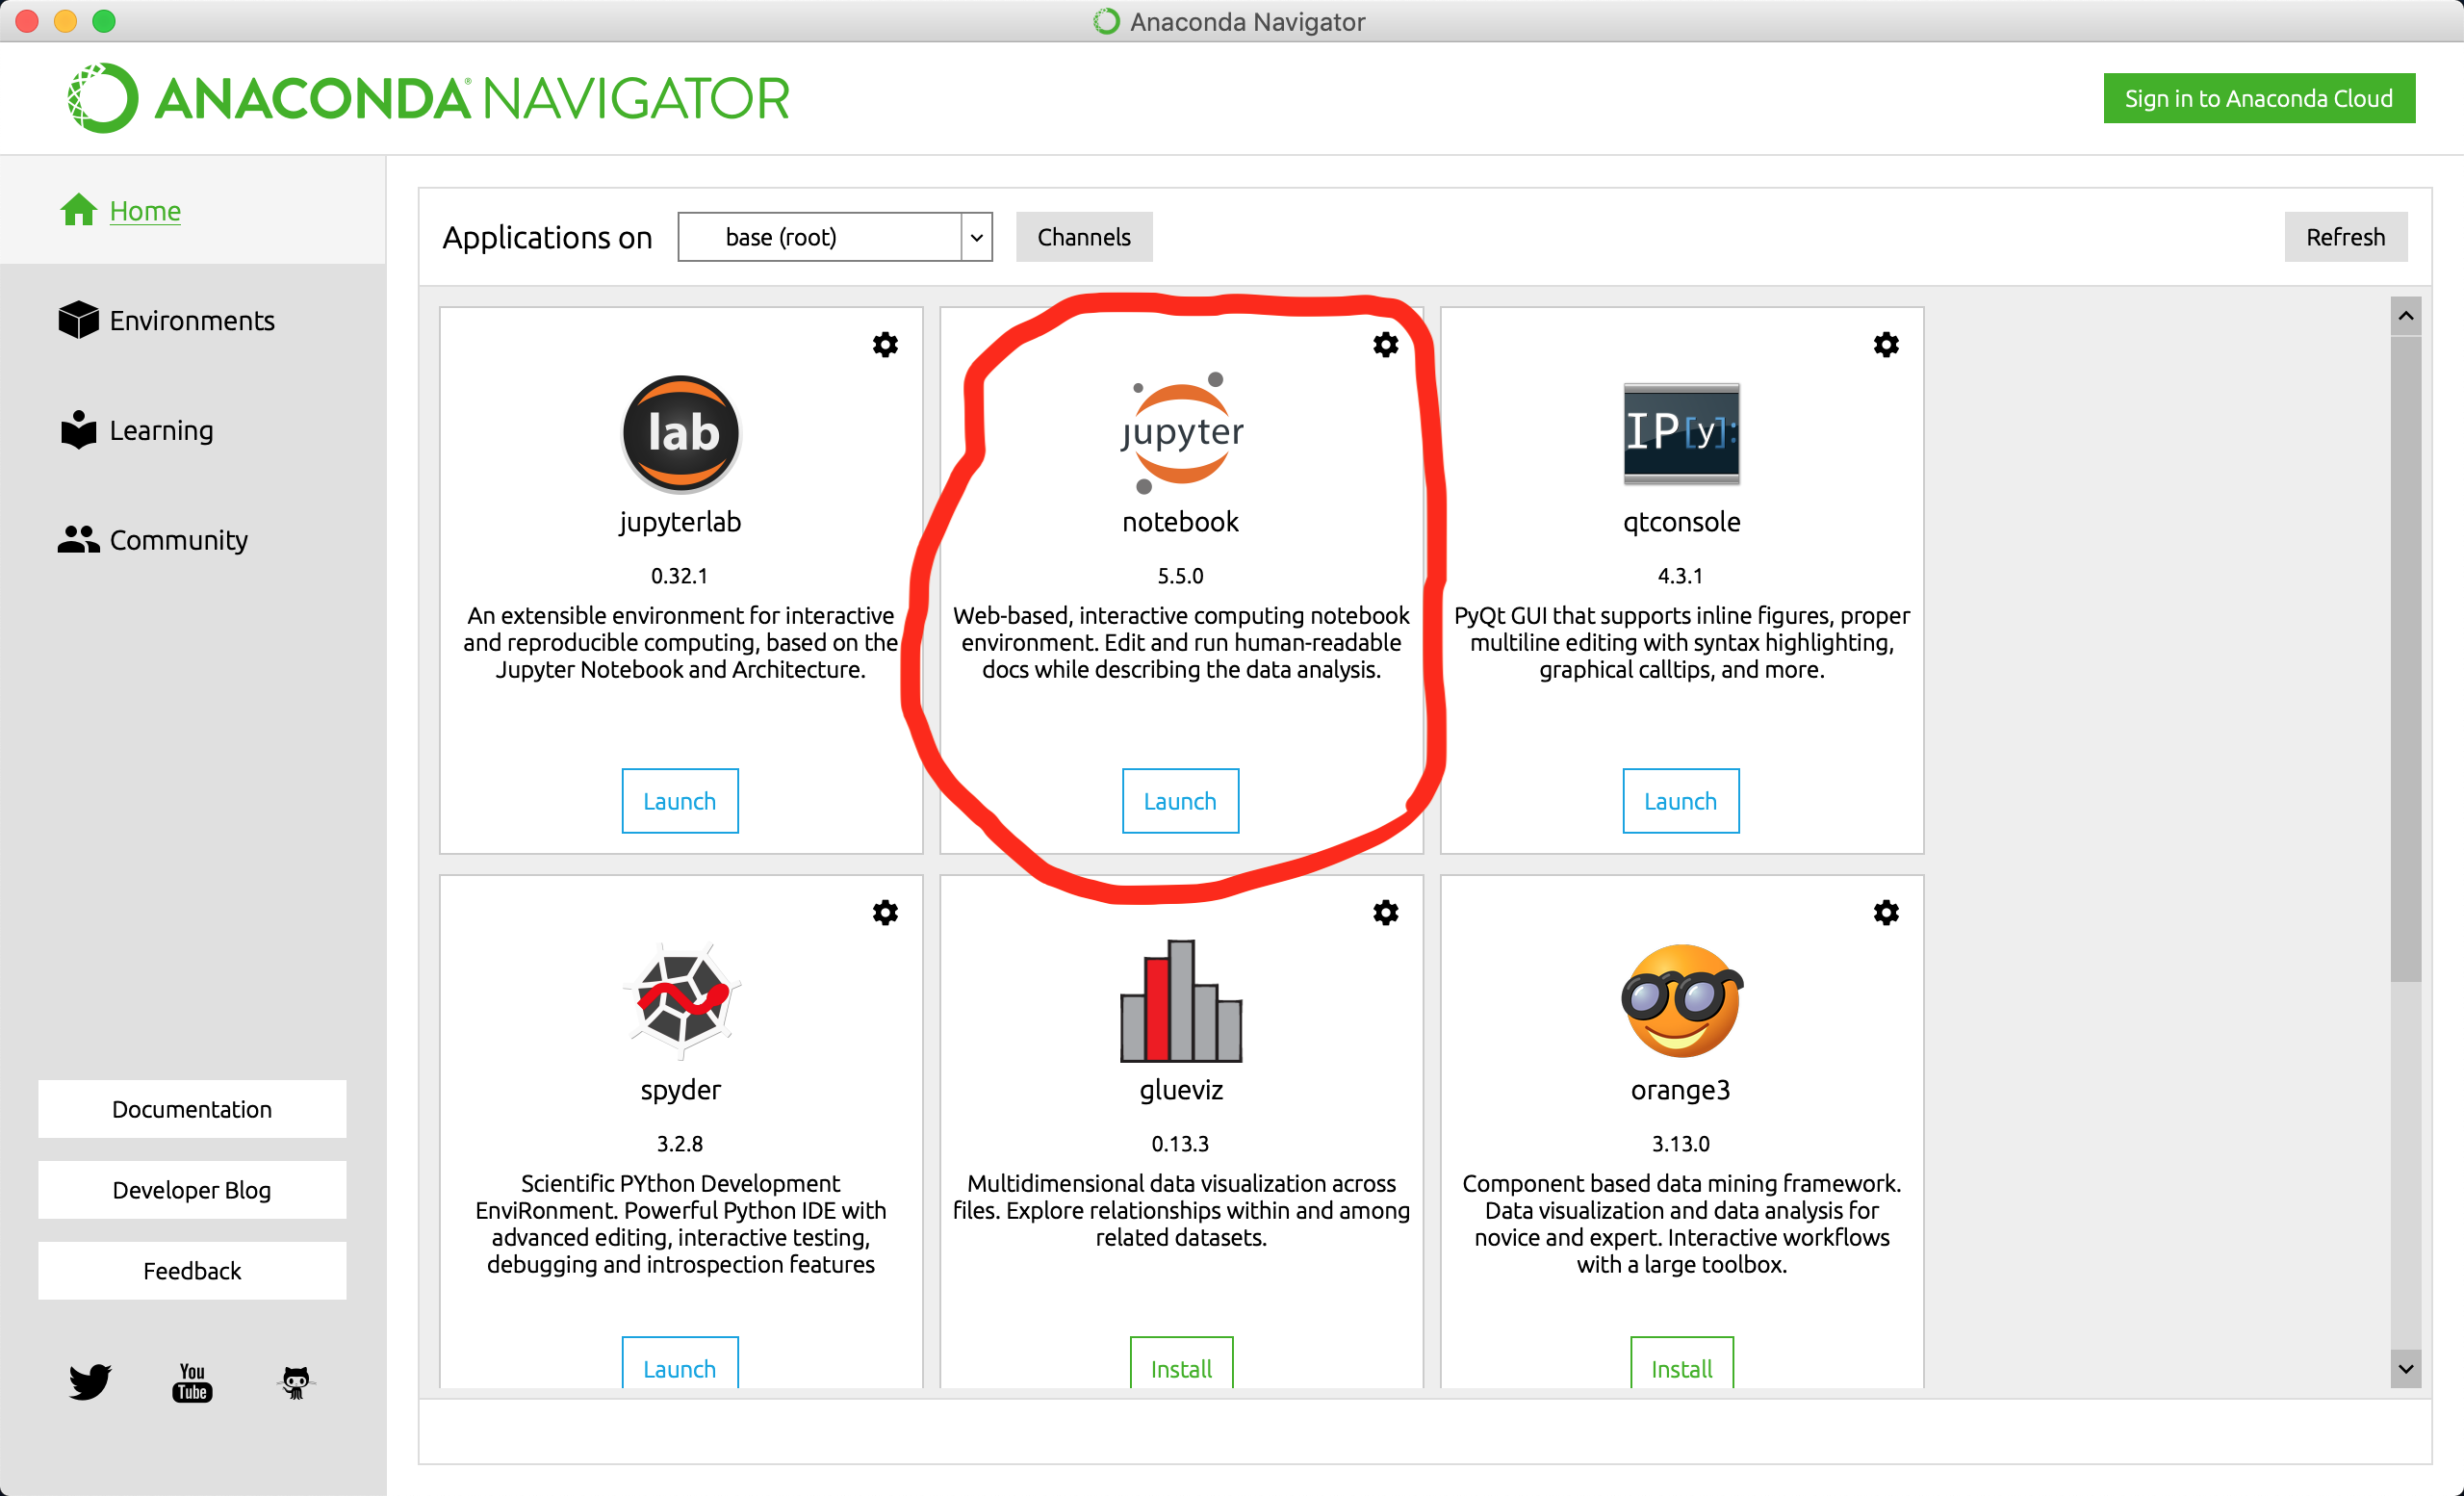
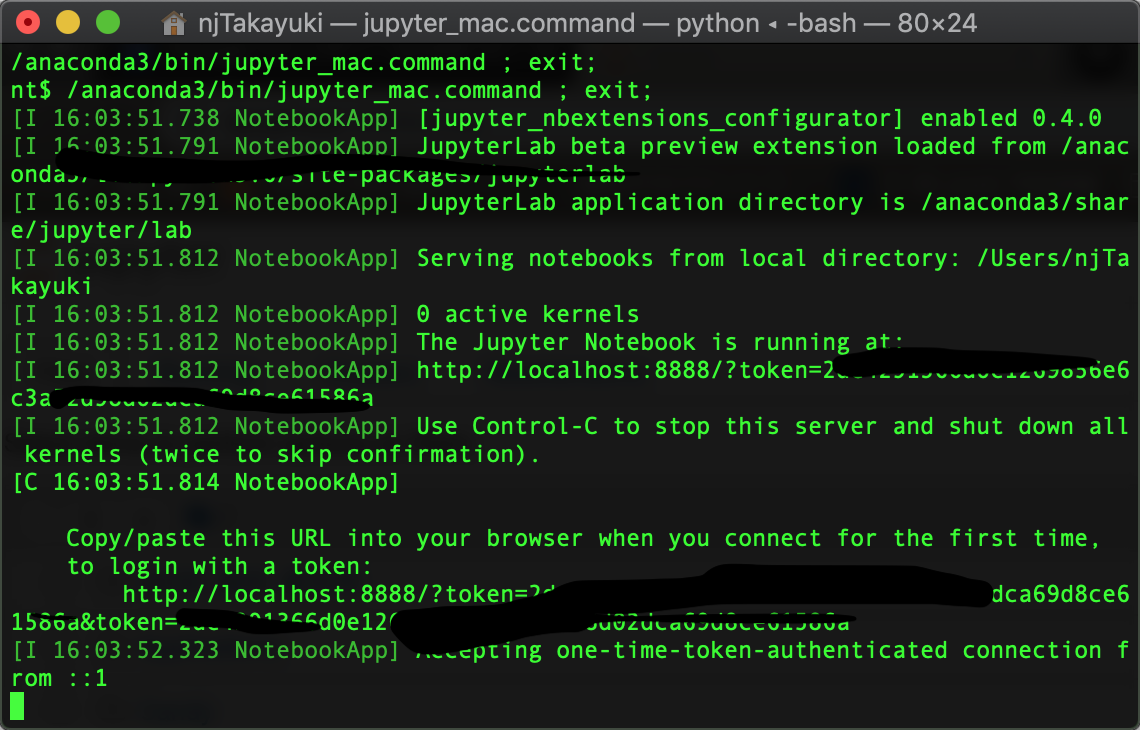
ダウンロードして開くと、下の画面が出てくると思うので、Jupyterを選択しましょう。そうすると、ターミナルが起動してブラウザでPythonのコードが書けるようになると思います。
pythonのファイルを新規作成
画面右上のNewというボタンから、Pythonのファイルを作りましょう。
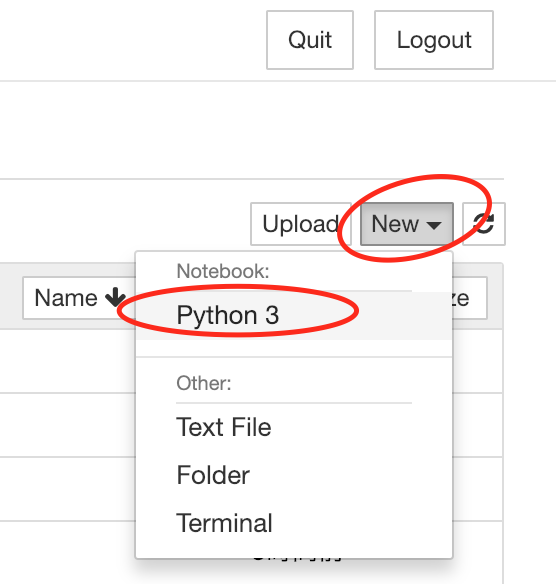
すると、下の画面が開くと思います。この状態で、新規にファイルが作られています。

名前を、faceRecognitionとしておきましょう。

いよいよ実装!顔認識!
まずは、opencvをインストールしましょう。
IN [ ]:の中にpythonのコードを書いて、実行しましょう。(Shiftを押しながらEnter)
!pip install opencv-python
周りの枠が緑ではなく、青の状態でキーボードのbを押すと、新しくコードが打てる四角が出てきます。

そしたら、wgetコマンドでgitに上がっているxmlファイルを取ってきましょう。(有難や)
!wget https://raw.githubusercontent.com/opencv/opencv/master/data/haarcascades/haarcascade_frontalface_alt.xml
!wgetコマンドが使えない!って人は、
ターミナルでコマンドをインストールしましょう。
$ brew install wget
brewコマンドが使えない!って人は、(macの人は)
コマンドライン・デベロッパーツールをインストール
ターミナルでコマンドをインストールしましょう。
$ xcode-select --install
xcode-select: note: install requested for command line developer tools
$ /usr/bin/ruby -e "$(curl -fsSL https://raw.githubusercontent.com/Homebrew/install/master/install)"
!wgetでダウンロードできたら、xmlファイルが同じディレクトリの階層にあると思います。
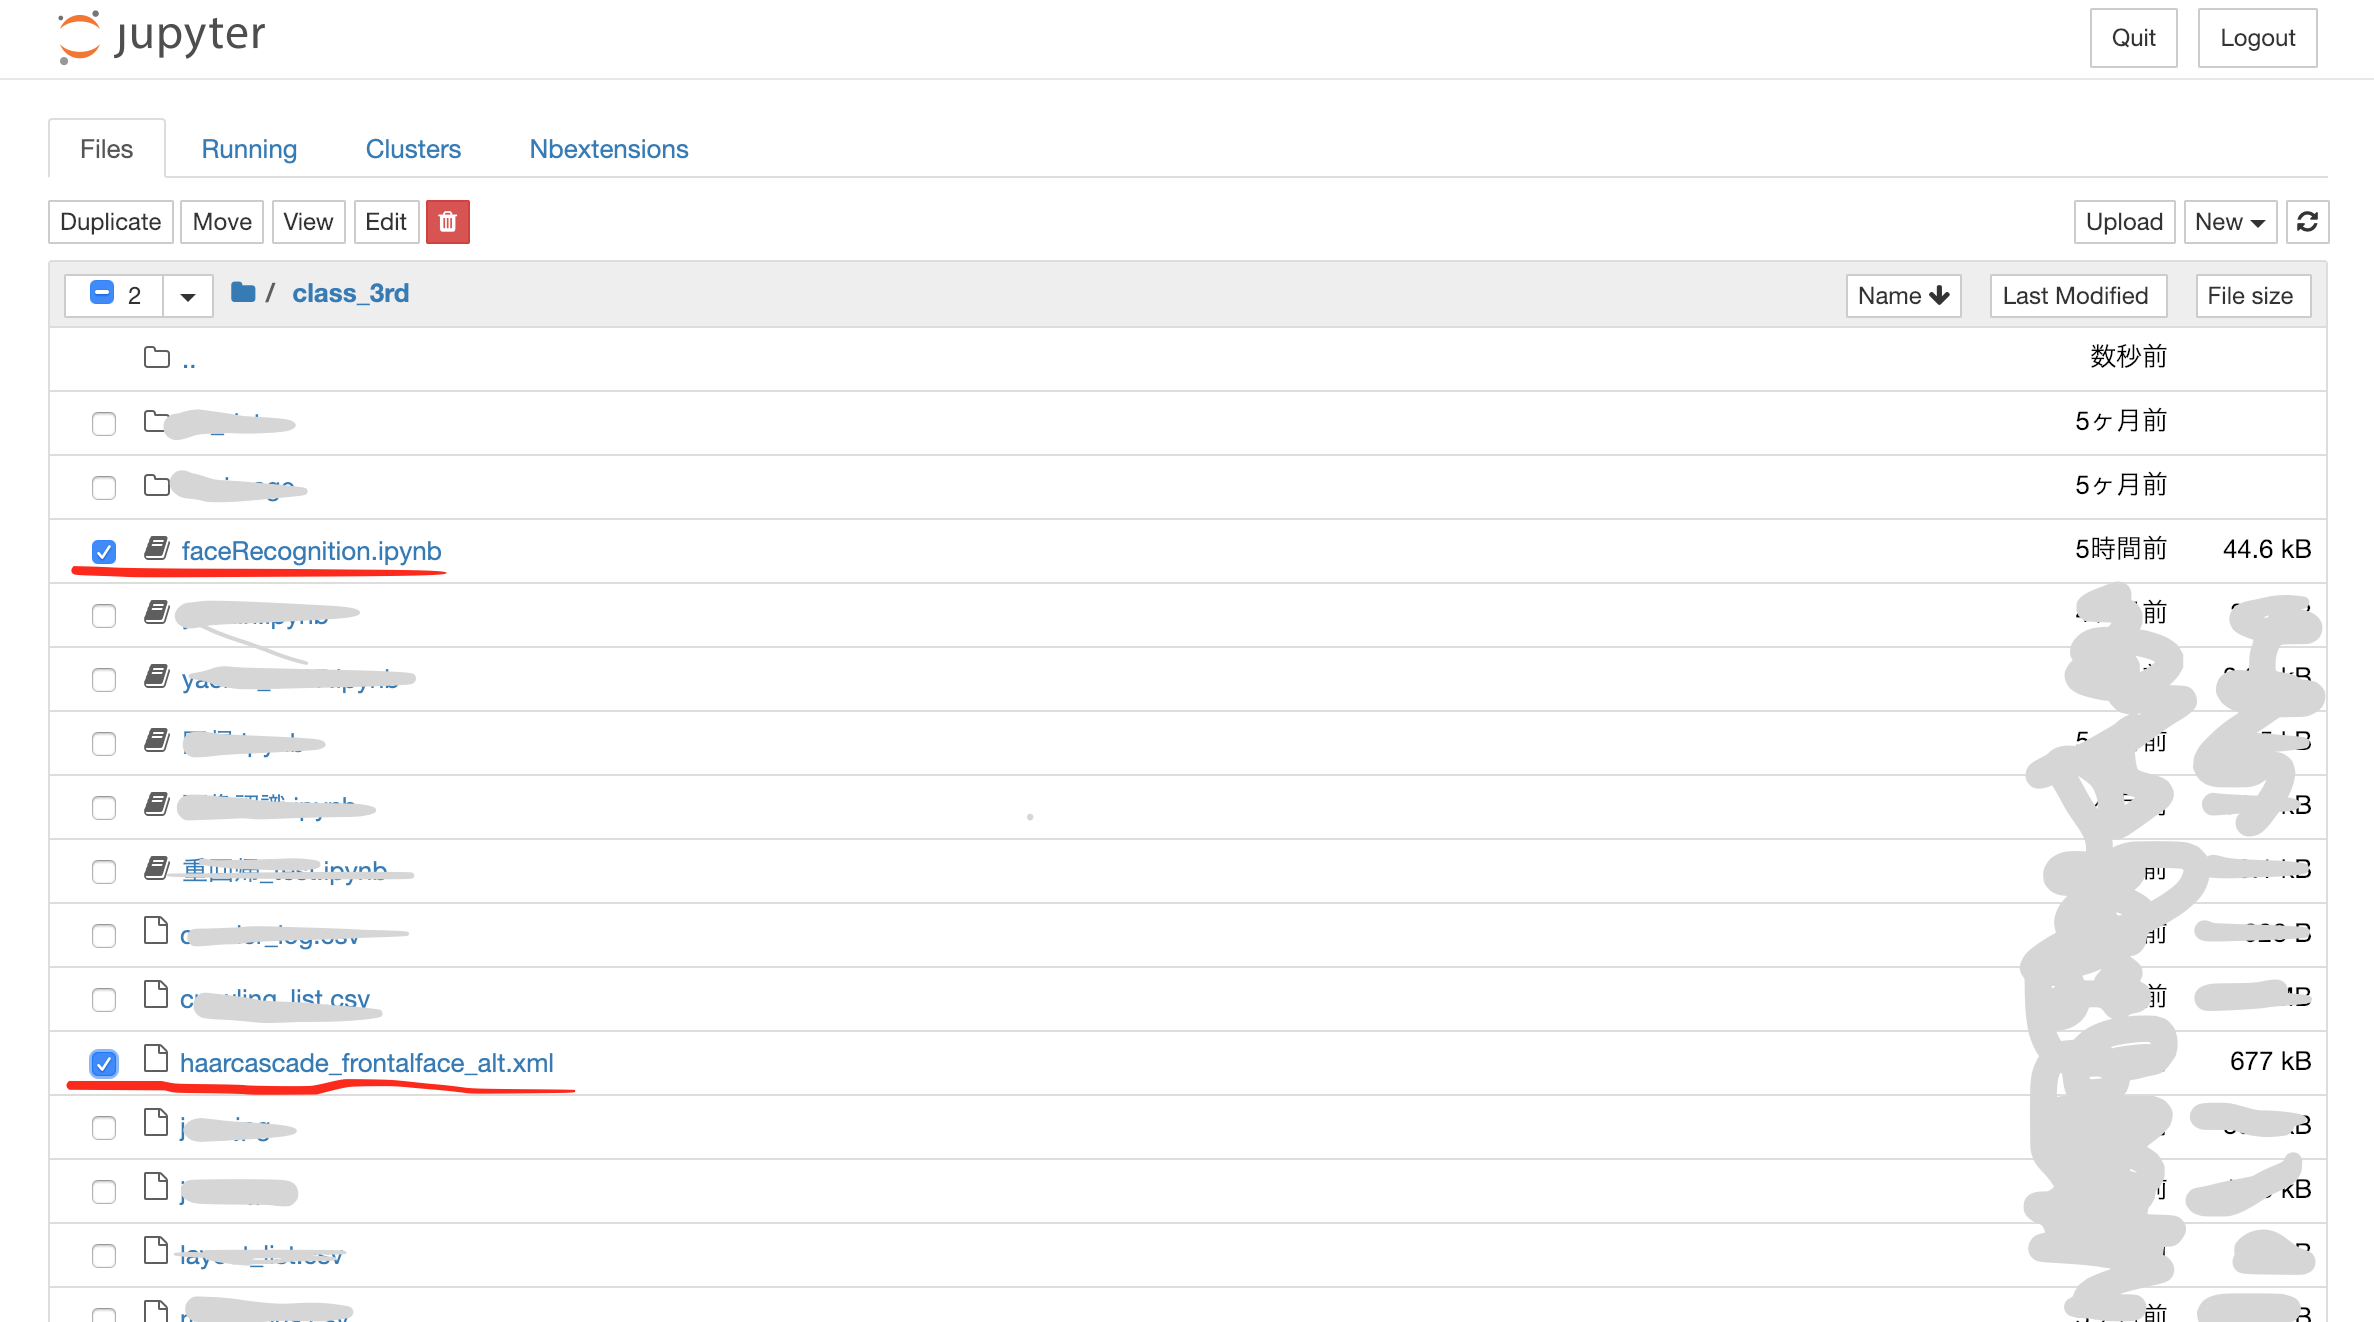
新しく、また緑から青の四角の状態に戻してキーボードのbを押して新しい四角を出して、変数に入れて確認してみましょう。
cascade_path = "haarcascade_frontalface_alt.xml"
無事に動いていたら、エラーなどが出てこないので動いていると思います。
では、最後に新しくコードを書ける四角をまた出して、コードを書いていきます。
import cv2
cap = cv2.VideoCapture(0)

while True:
    ret, im = cap.read()

    # ここからのコードを変えながら、微調整するとオリジナルになると思います。
    img_gray = cv2.cvtColor(im, cv2.COLOR_RGB2GRAY)
    cascade = cv2.CascadeClassifier(cascade_path)
    faces = cascade.detectMultiScale(img_gray, scaleFactor=1.1, minNeighbors=2, minSize=(80, 80)) # minNeighborsは人数
    print(faces)

    if len(faces) > 0:
        for (x, y, w, h) in faces:
            cv2.rectangle(im, (x,y), (x+w, y+h), (255, 0, 0), 2)

    import matplotlib.pyplot as plt
    % matplotlib inline

    img = cv2.cvtColor(im, cv2.COLOR_BGR2RGB)

    plt.imshow(img)

    blur = cv2.GaussianBlur(im, (0, 0), 1)
    cv2.imshow('camera capture', blur)
    key = cv2.waitKey(10)
    # カメラはESCキーで終了できるように。
    if key == 27:
        break

# 一旦画像削除の命令
cap.release()
# カメラが立ち上がっているので、全てのウィンドウを閉じる
cv2.destroyAllWindows()
