Angularの開発環境を構築した時に色々と手順があったので忘れないための備忘録です
angular-cliのインストール
プロジェクトフォルダーに入り、angular-cliをインストールします。
yarn install -D @angular/cli
するとこのようなフォルダ構成になります。
/e2e
/src
angular.json
package-lock.json
package.json
tsconfig.json
tslint.json
yarn.lock
srcフォルダにプロジェクトごとに必要なファイルを構築していきます。
package.jsonを見ると、以下のような記述があります。
"scripts": {
    "ng": "ng",
    "build": "ng build",
    "test": "ng test",
    "lint": "ng lint",
    "e2e": "ng e2e"
},
scriptsにあるng buildというコマンドを入力するとdistフォルダが構築されます。ですので一度プロジェクトルートで以下のコマンドを入力して実行してみてください。
ng build
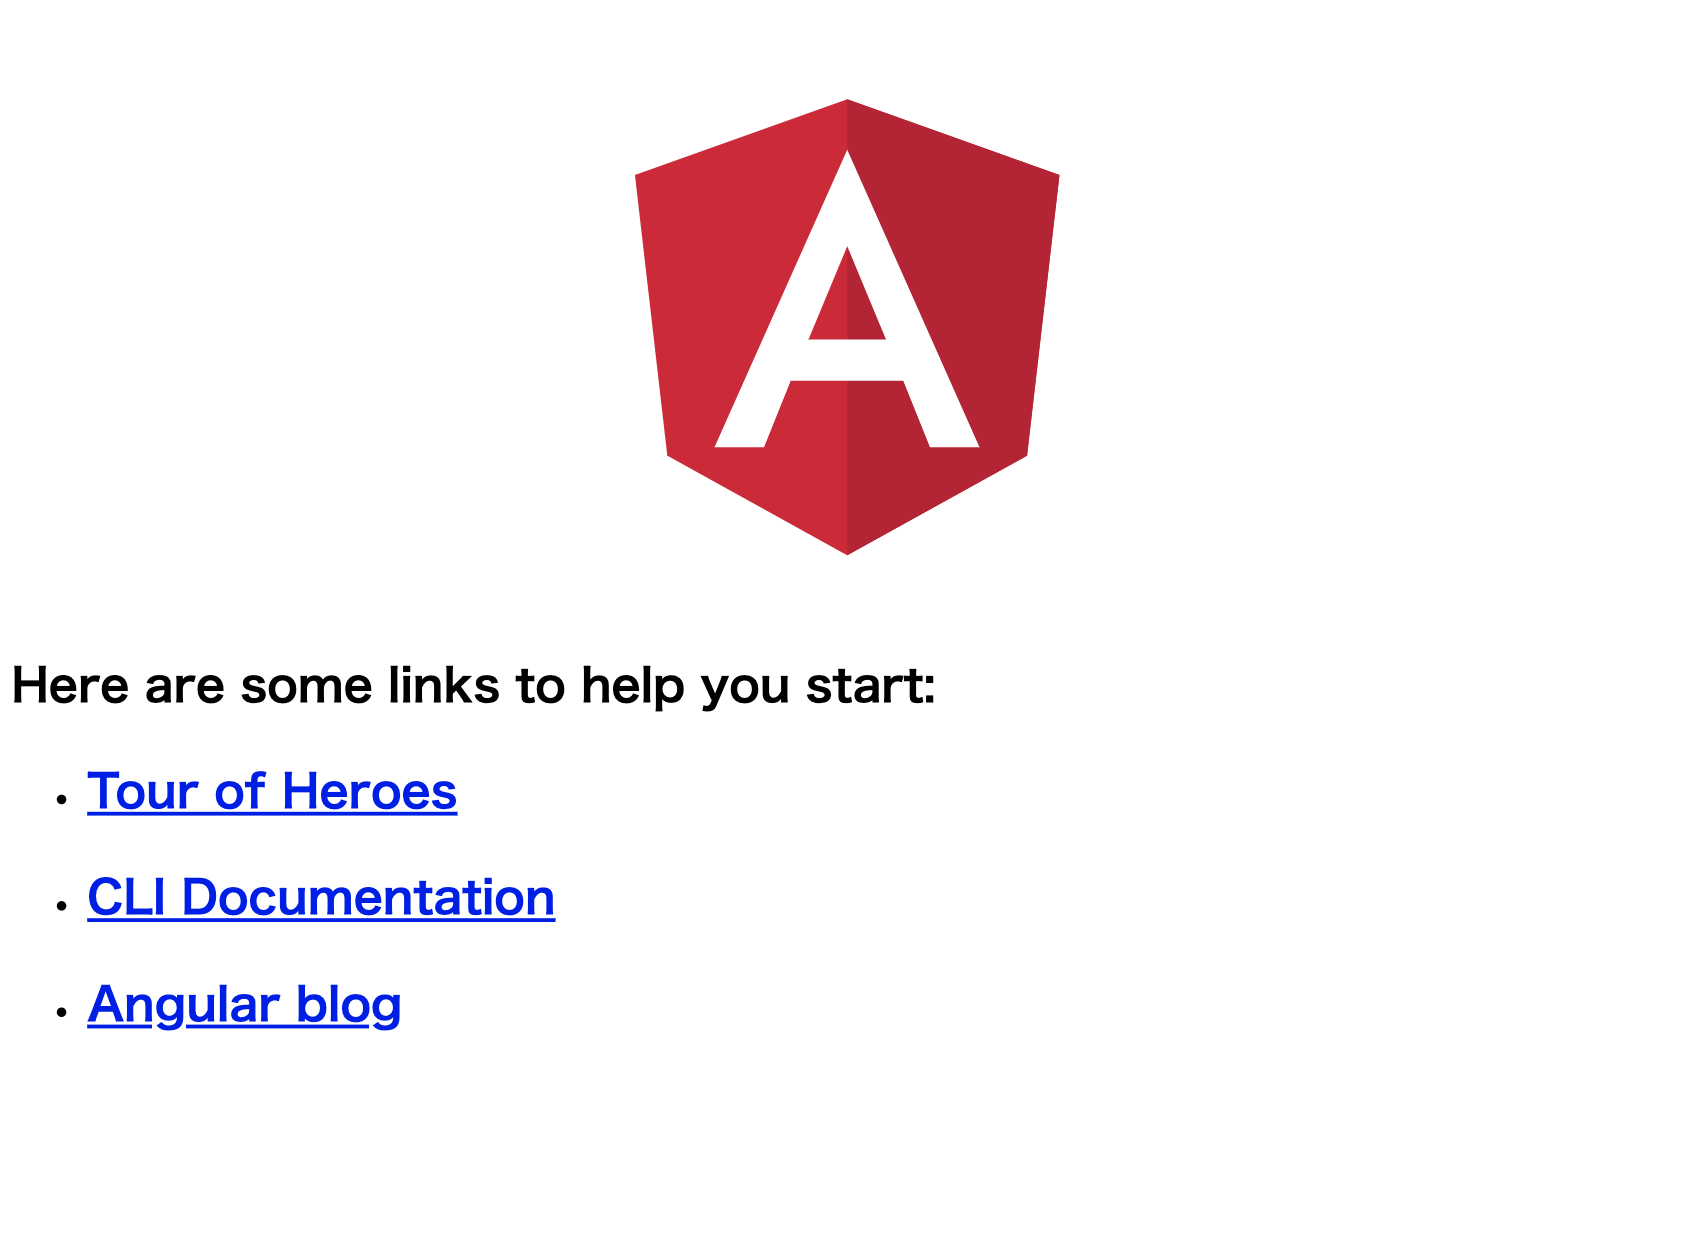
するとdistフォルダが構築されています。ご自身の開発環境でブラウザ確認すると下記のような表示になっていると思います。

この画面が表示されていればAngularのインストールは成功です!
次に開発環境の構築をしていきます。
カスタムwebpackのインストール
Angularはwebpackで動いていますが、通常あるはずのwebpack.config.jsファイルはルートにありません。そこでルートディレクトリにあるangular.jsonを見てみましょう。
ここではangularの設定が記載されています。angular.jsonに以下の記述があります。
"architect": {
  "build": {
    "builder": "@angular-devkit/build-angular:browser",
    "options": {
      "outputPath": "dist",
      "index": "src/index.html",
      "main": "src/main.ts",
      "tsConfig": "src/tsconfig.json",
      "assets": [
        "src/images",
        "src/favicon.ico"
      ],
その中に下記の記述があります。
"builder": "@angular-devkit/build-angular:browser",
この@angular-devkit/build-angular:browser というmoduleを使用してangularをbuildしてるのです。この部分をwebpackをカスタムできるmoduleに変更して、projectにあった開発環境を構築していきましょう。そのために@angular-builders/custom-webpackをインストールする必要があるため、下記のコマンドを打ちます。ちなみにこのmoduleがwebpackをカスタマイズするためのものです。
yarn add -D @angular-builders/custom-webpack
インストールできたら、webpack設定ファイルを作成するため、extra-webpack.config.jsというファイルをルートディレクトリに作成しましょう。そしてカスタムwebpackを使用してangularを構築できるよう、先ほどみたangular.jsonファイルを下記のように変更します。
"build": {
  "builder": "@angular-builders/custom-webpack:browser",
  "options": {
    "customWebpackConfig": {
      "path": "./extra-webpack.config.js"
    },
    "outputPath": "dist",
    "index": "src/index.html",
    "main": "src/main.ts",
    "tsConfig": "src/tsconfig.json",
    "assets": [
      "src/images",
      "src/favicon.ico"
    ],
"builder": "@angular-builders/custom-webpack:browser",と変更し、options に "customWebpackConfig": { "path": "./extra-webpack.config.js" }, という項目を追記しています。これでangularをbuildする際に extra-webpack.config.js を使用して構築する仕様にできました。webpackを動作させるために下記のコマンドをうちインストールしましょう。
yarn add -D webpack webpack-cli webpack-dev-server
webpackカスタマイズしていく準備が整いました。ここから extra-webpack.config.js をご自身のプロジェクトに合わせて編集していきます。今回は 開発用と本番用のmode切り替え の設定だけ紹介します。
開発用と本番用のmode切り替え設定
まず、package.json の scripts を下記のように編集します。
"scripts": {
  "ng": "ng",
  "dev": "NODE_ENV=development webpack -d --colors --config extra-webpack.config.js",
  "build": "NODE_ENV=production webpack -p --colors --config extra-webpack.config.js",
  "test": "ng test",
  "lint": "ng lint",
  "e2e": "ng e2e",
},
yarn dev をターミナルで打つと development mode でdistフォルダにコンパイルします。yarn build をターミナルで打つと production mode でdistフォルダにコンパイルします。
これでコマンドによる mode の切り替えができました。次に extra-webpack.config.js を編集していきます。
extra-webpack.config.js編集
まず共通部分を config に書いていきます。
const config = {
  entry: {
    // enrtypointに使用するjsファイルを記載してください
    // 例) index: path.resolve(__dirname, './src/index.ts')
  },
  output: {
    // entryに記述したファイルをバンドルする先を記載します。
    // 例) path: path.resolve(__dirname, 'dist')
    path: path.resolve(__dirname, 'dist'),
    filename: 'index.js'
  },
  plugins: [
    // webpackで使用するpluginを記載します。
  ],
  resolve: {
    extensions: ['.js', '.ts']
  },
  module: {
    rules: [
      // htmlやcssで使用するloaderをここに記載します。
      {
        test: /[\/\\]@angular[\/\\]core[\/\\].+\.js$/,
        parser: { system: true },
      },
    ]
  },
}
angularをbuildした際、いくつか警告が出てきます。それを非表示にするために
module: {
  rules: [
    {
      test: /[\/\\]@angular[\/\\]core[\/\\].+\.js$/,
      parser: { system: true },
    },
  ]
},
この記載が必要です。共通部分の config の下に mode 切り替え時の設定を記載していきます。その前に下記のコマンドをうち module をインストールしてください。
yarn add -D @ngtools/webpack clean-webpack-plugin
@ngtools/webpack はangularファイルをコンパイするためのpluginです。 clean-webpack-plugin はコンパイルする際に dist フォルダの中身を一旦消去してからコンパイルします。まず、@ngtools/webpack を共通で使用するため、config 部分に下記を記載してください。
plugins: [
  new AngularCompilerPlugin({
    tsConfigPath: path.join(__dirname, 'tsconfig.json'),
    entryModule: path.join(__dirname, 'src/app/app.module#AppModule'),
    sourceMap: true
  })
],
では config の下に下記の切り替え設定を記載してください。
if (process.env.NODE_ENV === 'development'){
  // development mode の設定です
  config.mode = 'development'
  config.devtool = 'inline-source-map';
  config.output.pathinfo = true;
  config.plugins.push(new webpack.LoaderOptionsPlugin({
    debug: true
  }))
}

if(process.env.NODE_ENV === 'production'){
  // production mode の設定です
  config.mode = 'production'
  config.plugins.push(new webpack.DefinePlugin({
    'process.env.NODE_ENV': JSON.stringify('production')
  }))
  config.plugins.push(new CleanWebpackPlugin())
  config.plugins.push(new webpack.LoaderOptionsPlugin({
    minimize: false
  }))
}
config.mode により、宣言している共通部分の config 設定に mode の設定を記載します。これにより、条件分岐で、 mode の違いによりそれぞれの設定を走らせます。
development mode で config.devtool = 'inline-source-map' を設定することにより、sourceMapを出力し、デバッグしやすいようにします。
最後に下記の一文を追加することにより、webpackの最低限の設定が完了します。
module.exports = config;
これで yarn dev もしくは yarn build を入力すると上手くwebpackが走るかと思います。