bochsをビルド(GUIはSDL2)、試しに動かす。
環境 : macOS Monterey 12.2.1
あんまり、bochsの情報が載っていない気がしたので、書いてみることにしました。以下のコマンドでbochsを使おうとしましたが、デフォルトのGUIシステムが上手く動かなかったです。
brew install bochs
そこで、SDL2でビルドし直すことにしました。
bochsのバージョンは、2.6.11です。
bochs-2.6.11.tar.gzをダウンロードしてきます。
解凍して、ターミナル上で
cd bochs-2.6.11
./configure --with-sdl2 --enable-debugger
make
とするだけです。--with-sdl2を渡すと、GUIライブラリにSDL2を使ってくれます。ない人は、SDL2を用意しておきましょう。--enable-debuggerはbochs内でOSのデバッグが行えるような仕組みを用意してくれます。
試しに、動かしてみることにします。
bochsは、qemuとは違って、テキストベースの設定ファイル.bochsrcを用意して、それを渡さないといけないみたいです。
floppya: 1_44=floppya.img, status=inserted
boot: floppy
romimage: file=./bios/BIOS-bochs-latest
vgaromimage: file=./bios/VGABIOS-lgpl-latest
意味が分からないと思うのですが、4.3. The configuration fileを参照すれば、分かります、
BIOS-bochs-latestやVGABIOS-lgpl-latestは、bochs-2.6.11/biosディレクトリにあります。
floppya.imgははりぼてOSを入れたディスクイメージです。
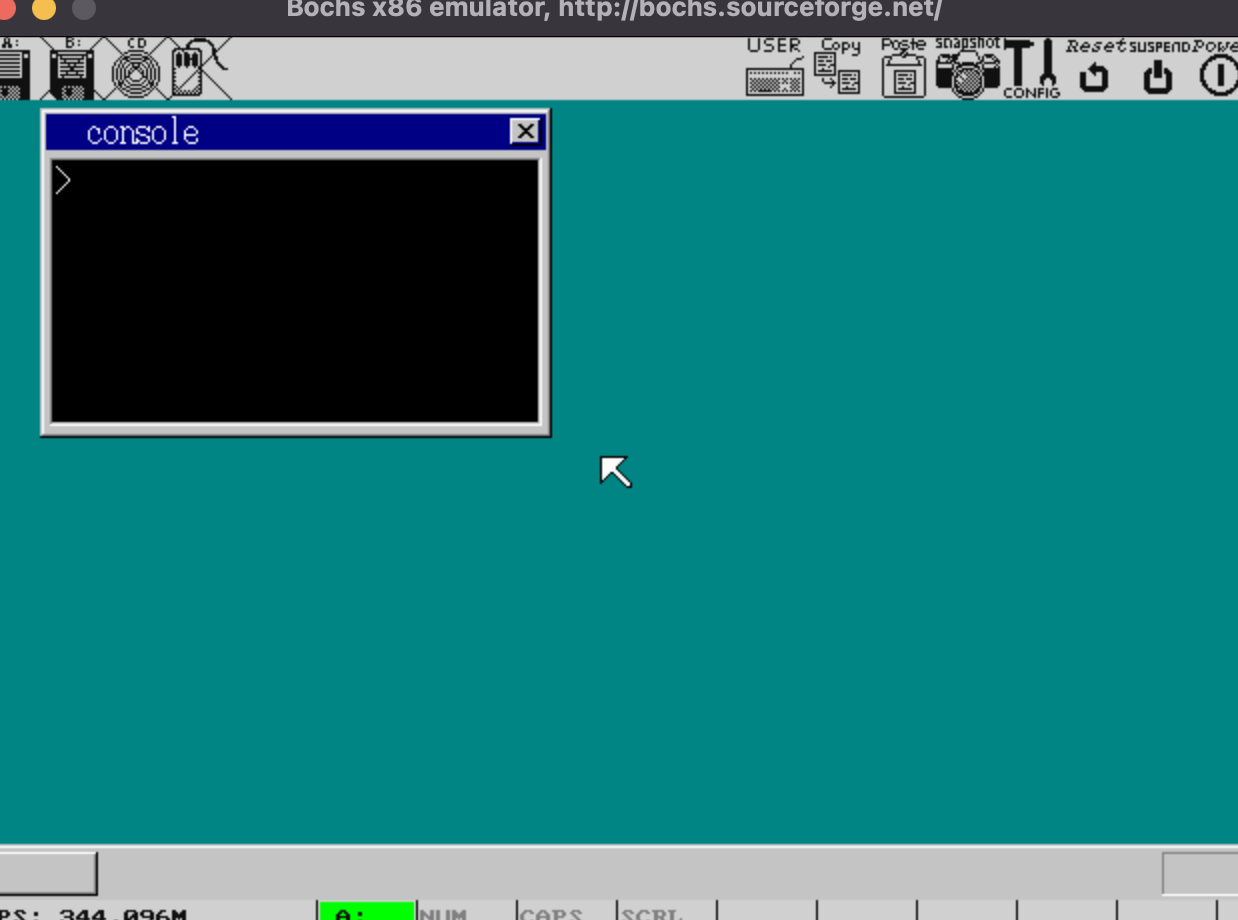
試しにはりぼてOSを動かしてみることにしました。
ターミナル上で、
./bochs -q -f ./.bochsrc
と打ち込んでみてください。
上の画像のようにプロンプトが表示されると思います。
<bochs:1> c
cを打ち込むと、

