Unreal Engine 4でEquirectangularの360度写真を表示したかったのでやり方を調べてみました。公式ドキュメントのStereoPanoramicCaptureのページにそれっぽいのがありましたが、微妙にアレンジしました。
テクスチャーのインポート
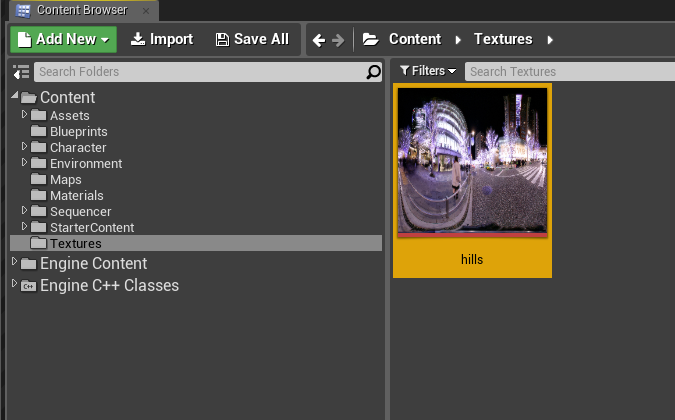
まず、Equirectangularの360度写真をコンテンツブラウザにインポートします。
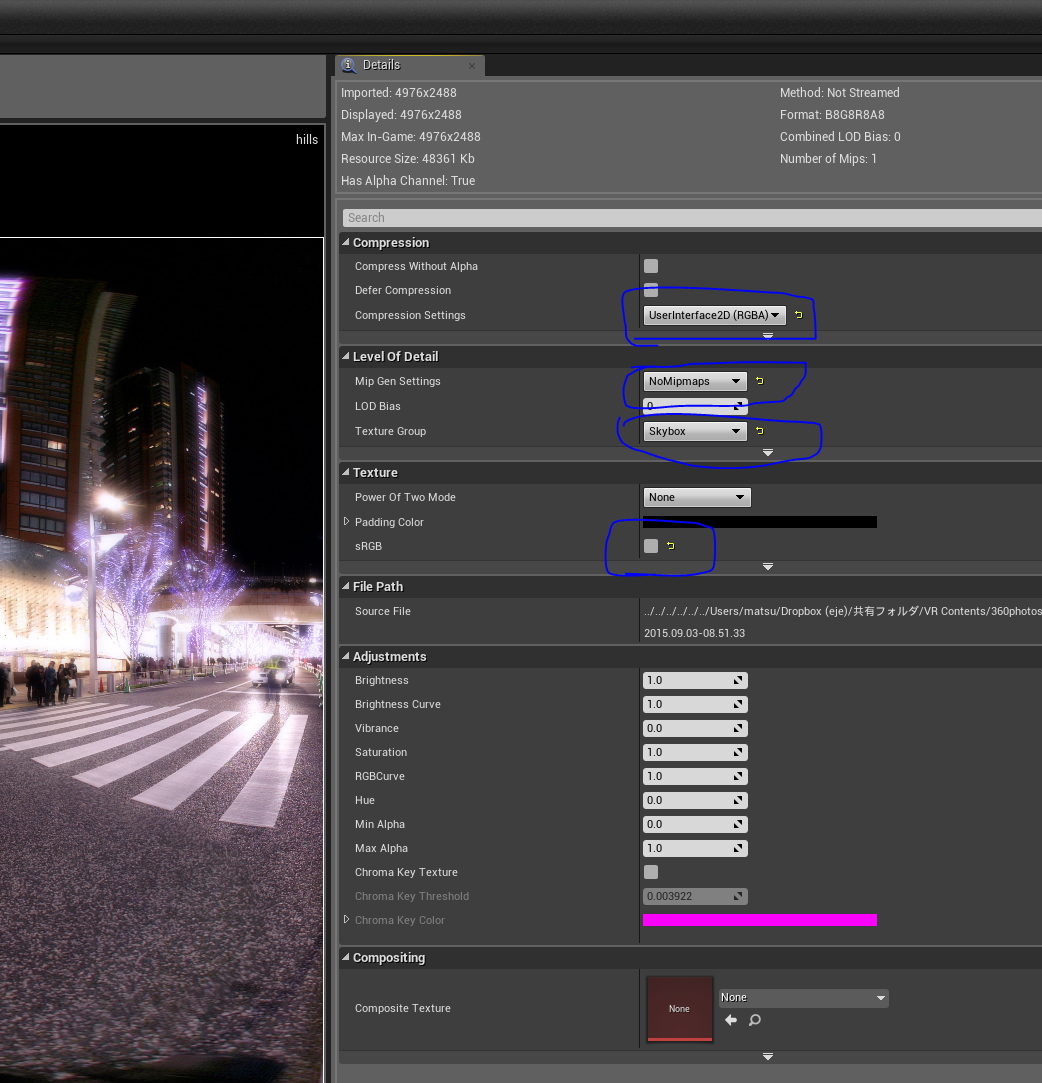
このテクスチャーをダブルクリックで開き、以下の箇所を編集します。
- Compression Settingsを UserInterface2D (RGBA) にする。
- Mip Gen Settingsを NoMipmaps にする。
- Texture GroupをSkyboxにする。
- sRGBのチェックを外す。
マテリアルの作成
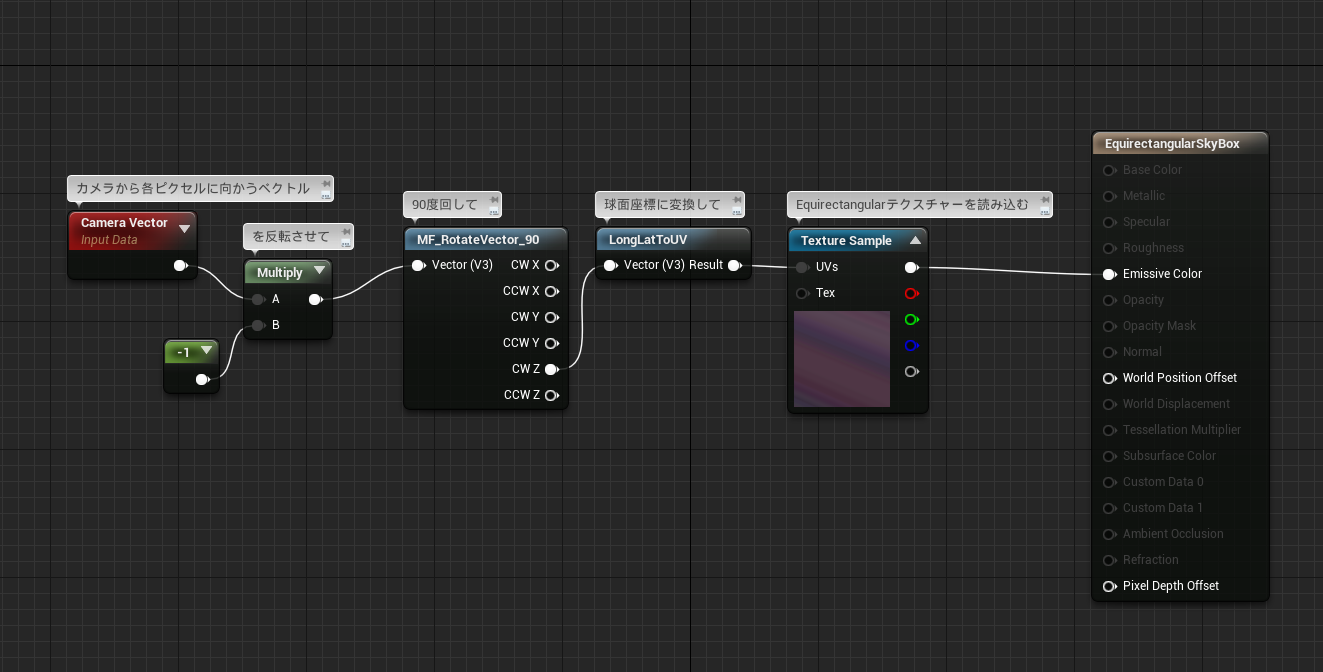
次に、マテリアルを作ります。テクスチャーを右クリックしてマテリアルを作成すると早いです。マテリアルを作ったら、下記のように編集します。
やっていることは単純で、↑のコメントに書いたとおりです。Shading ModelはUnlitにしておきましょう。
スカイボックス(球)の作成
このマテリアルを巨大な球に貼り付けてレベルに配置すれば良いです。巨大な球を用意する方法はいろいろ考えられますが、今回はBlueprintを使う方法を試してみました。
- まずコンテンツブラウザで右クリックして新規Blueprintクラスを作成します。親クラスはActorとします。
- ダブルクリックしてBlueprintエディターを開きます。
- Add Component→Static Meshを選択します。
- Static Meshを選択した状態で詳細タブからStatic Meshを選ぶところに
SM_SkySphereを指定する(右下のView OptionsのShow Engine Contentにチェックを入れる)。 - MaterialsのElement 0に先程作成したマテリアルを指定する。
- Collision PresetsをNoCollisionにする。
ここまでできたらコンパイルして保存します。
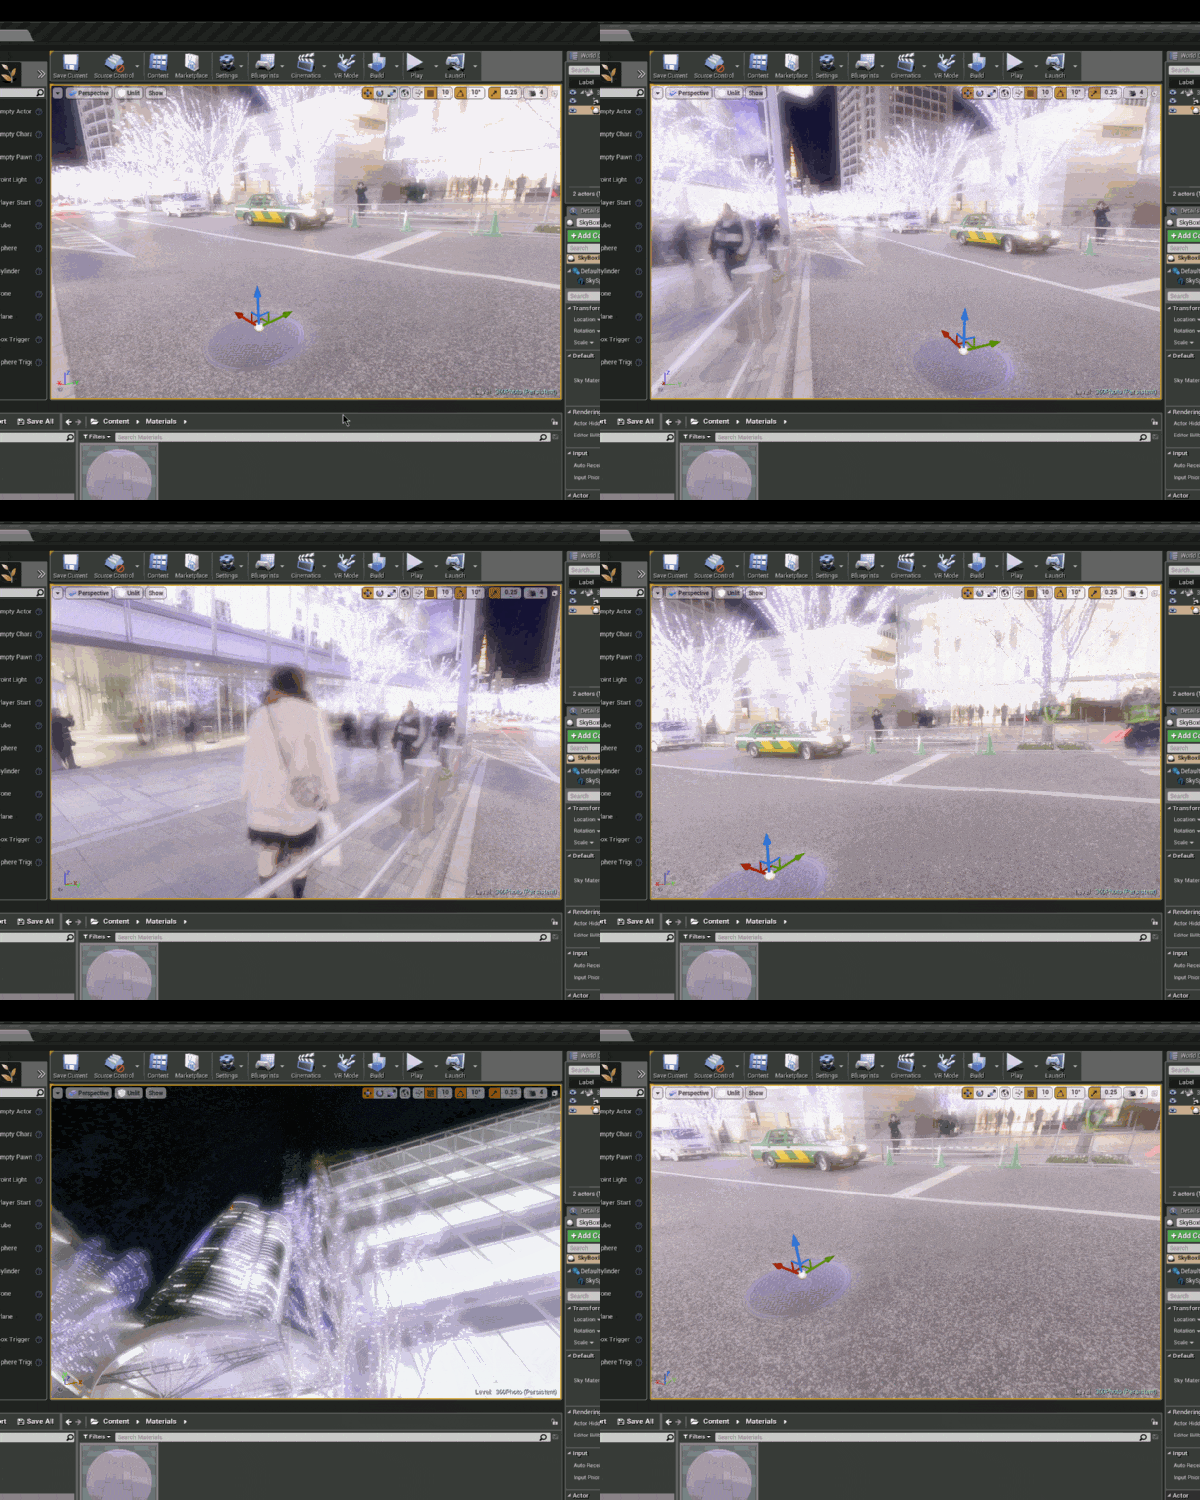
このBlueprintクラスをレベルの中にドラッグアンドドロップして、360度写真が表示されれば完成です!!


