Elmの導入
前回(その1)で、servantを導入しアプリケーションルートへのGET要求に対してHTML(top.html)を返すところまで作りました。
今回はElmを導入してtop.htmlをelmで生成するところまでやってみたいと思います。
導入にあたってはこちらを参考にしました。
[user@remote ~]$ sudo yum install nodejs npm
でnode.jsとnpmをインストールして、npmを使ってインストールしました。
[user@remote ~]$ sudo npm install -g elm
[user@remote ~]$ elm --version
0.19.1
プロジェクトの作成
さっそくプロジェクトを作成してみます。前回作ったwepapp/frontend/に移動し、elm initと打ち込みます。
[user@remote ~/webapp/frontend]$ elm init
Hello! Elm projects always start with an elm.json file. I can create them!

Now you may be wondering, what will be in this file? How do I add Elm files to
my project? How do I see it in the browser? How will my code grow? Do I need
more directories? What about tests? Etc.

Check out <https://elm-lang.org/0.19.1/init> for all the answers!

Knowing all that, would you like me to create an elm.json file now? [Y/n]: Y
Okay, I created it. Now read that link!

[user@remote ~/webapp/frontend]$ tree
.
├── elm.json
├── src
└── top.html

1 directory, 2 files
[user@remote ~/webapp/frontend]$
srcディレクトリとelm.jsonが出来上がりました。
早速elmを書いてtop.htmlを生成したいと思います。/webapp/frontend/src/Main.elmを以下のように作成します。
すぐ書き換えるので内容は気にしないでください。
module Main exposing (..)

import Html exposing (..)


main : Html msg
main =
    h1 [] [ text "hello, elm" ]
これをコンパイルします
[user@remote ~/webapp/frontend/src]$ elm make Main.elm --output ../top.html
Starting downloads...

  ● elm/time 1.0.0
  ● elm/browser 1.0.2
  ● elm/json 1.1.3
  ● elm/core 1.0.4
  ● elm/html 1.0.0
  ● elm/url 1.0.0
  ● elm/virtual-dom 1.0.2

Dependencies ready!
Success! Compiled 1 module.

    Main ---> ../top.html

[user@remote ~/webapp/frontend/src]$
これでtop.htmlが作成されました。
--outputは出力ファイルを指定するオプションです。
省略するとデフォルトの./index.htmlで作成されます。
表示
さっそく前回作ったサーバを起動しブラウザから見てみましょう。
[user@remote ~/webapp/backend]$ stack exec backend-exe
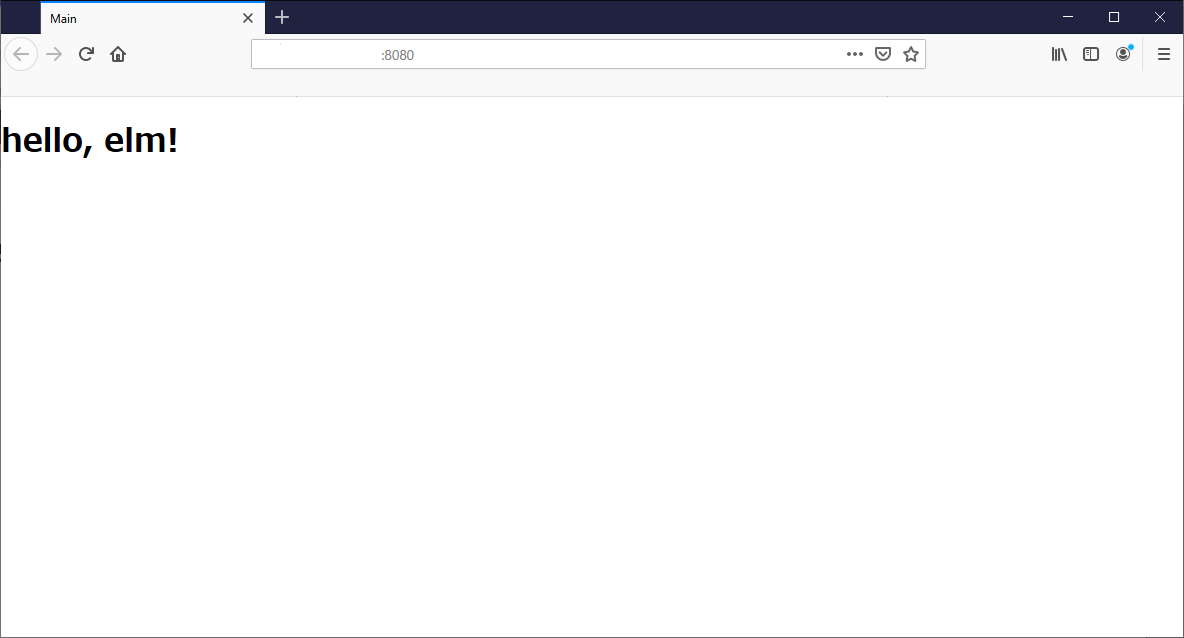
無事表示することができました。
次回はこのトップページを動きのあるページに変えてみたいと思います。
elm-formatについて
私はvim使いなので、elm-formatをvimのプラグインに追加しました。
elmファイルを保存するときに自動的にフォーマット整形・文法チェックを行ってくれますのでとってもオススメです。
elm-format
npmでインストールできます。
[user@remote ~]$ sudo npm install -g elm-format
vim-plug
vim-plugを用いてelm-formatを追加しましたので、まずvim-plugを導入します。
すでに導入済みならこのステップは不要です。
[user@remote ~]$ curl -fLo ~/.vim/autoload/plug.vim --create-dirs https://raw.githubusercontent.com/junegunn/vim-plug/master/plug.vim
  % Total    % Received % Xferd  Average Speed   Time    Time     Time  Current
                                 Dload  Upload   Total   Spent    Left  Speed
100 76585  100 76585    0     0  75593      0  0:00:01  0:00:01 --:--:-- 75676
[user@remote ~]$
vimのプラグインに追加
続いて~/.vimrcに以下を加えます。
call plug#begin()
Plug 'elmcast/elm-vim'
call plug#end()
そうしましたら、vimを起動してコマンドモードから:PlugInstallと打てば完了です。
elm-format以外にelm-testなども用意してくださってます。詳細はこちらをご確認ください。