はじめに
自分で開発しているアプリに以下の3rd-party製の認証をつけてリリース申請をしたところ、Appleから以下のような返事が来た。

つまり、他のアカウントとの連携認証システム入れるならAppleアカウントとの連携認証も入れなさい、とのこと。
現状は以下のサービスのアカウントとの連携認証を実装しているので、これにAppleアカウントとの連携認証機能も追加していく。
- MailAddress/Password
- Google account
- Twitter account
ちなみに上記のサービスのアカウントとの連携認証に関しては、以下の記事に記述している。
実装
Flutter packageでapple sign inで調べたら何個かヒットした。
その中で一番likeが多く、READMEも丁寧に書かれていてやりやすそうな以下のパッケージを選択。
基本的にREADMEを読めば問題はないが、英語読むのめんどい時のためにメモ。
大まかな流れは以下。
- apple developer programでアプリのbundleIdを登録(既にしている場合はスキップ)
- bundleIdに、
sign in with appleを許可する - FirebaseAuthenticationで、appleでのサインインを設定
- xcodeへの導入
- コードを修正
1. アプリのBundleIdを登録
page: Apple Developer: Certificates, Identifiers & Profiles
すでにあったら大丈夫。
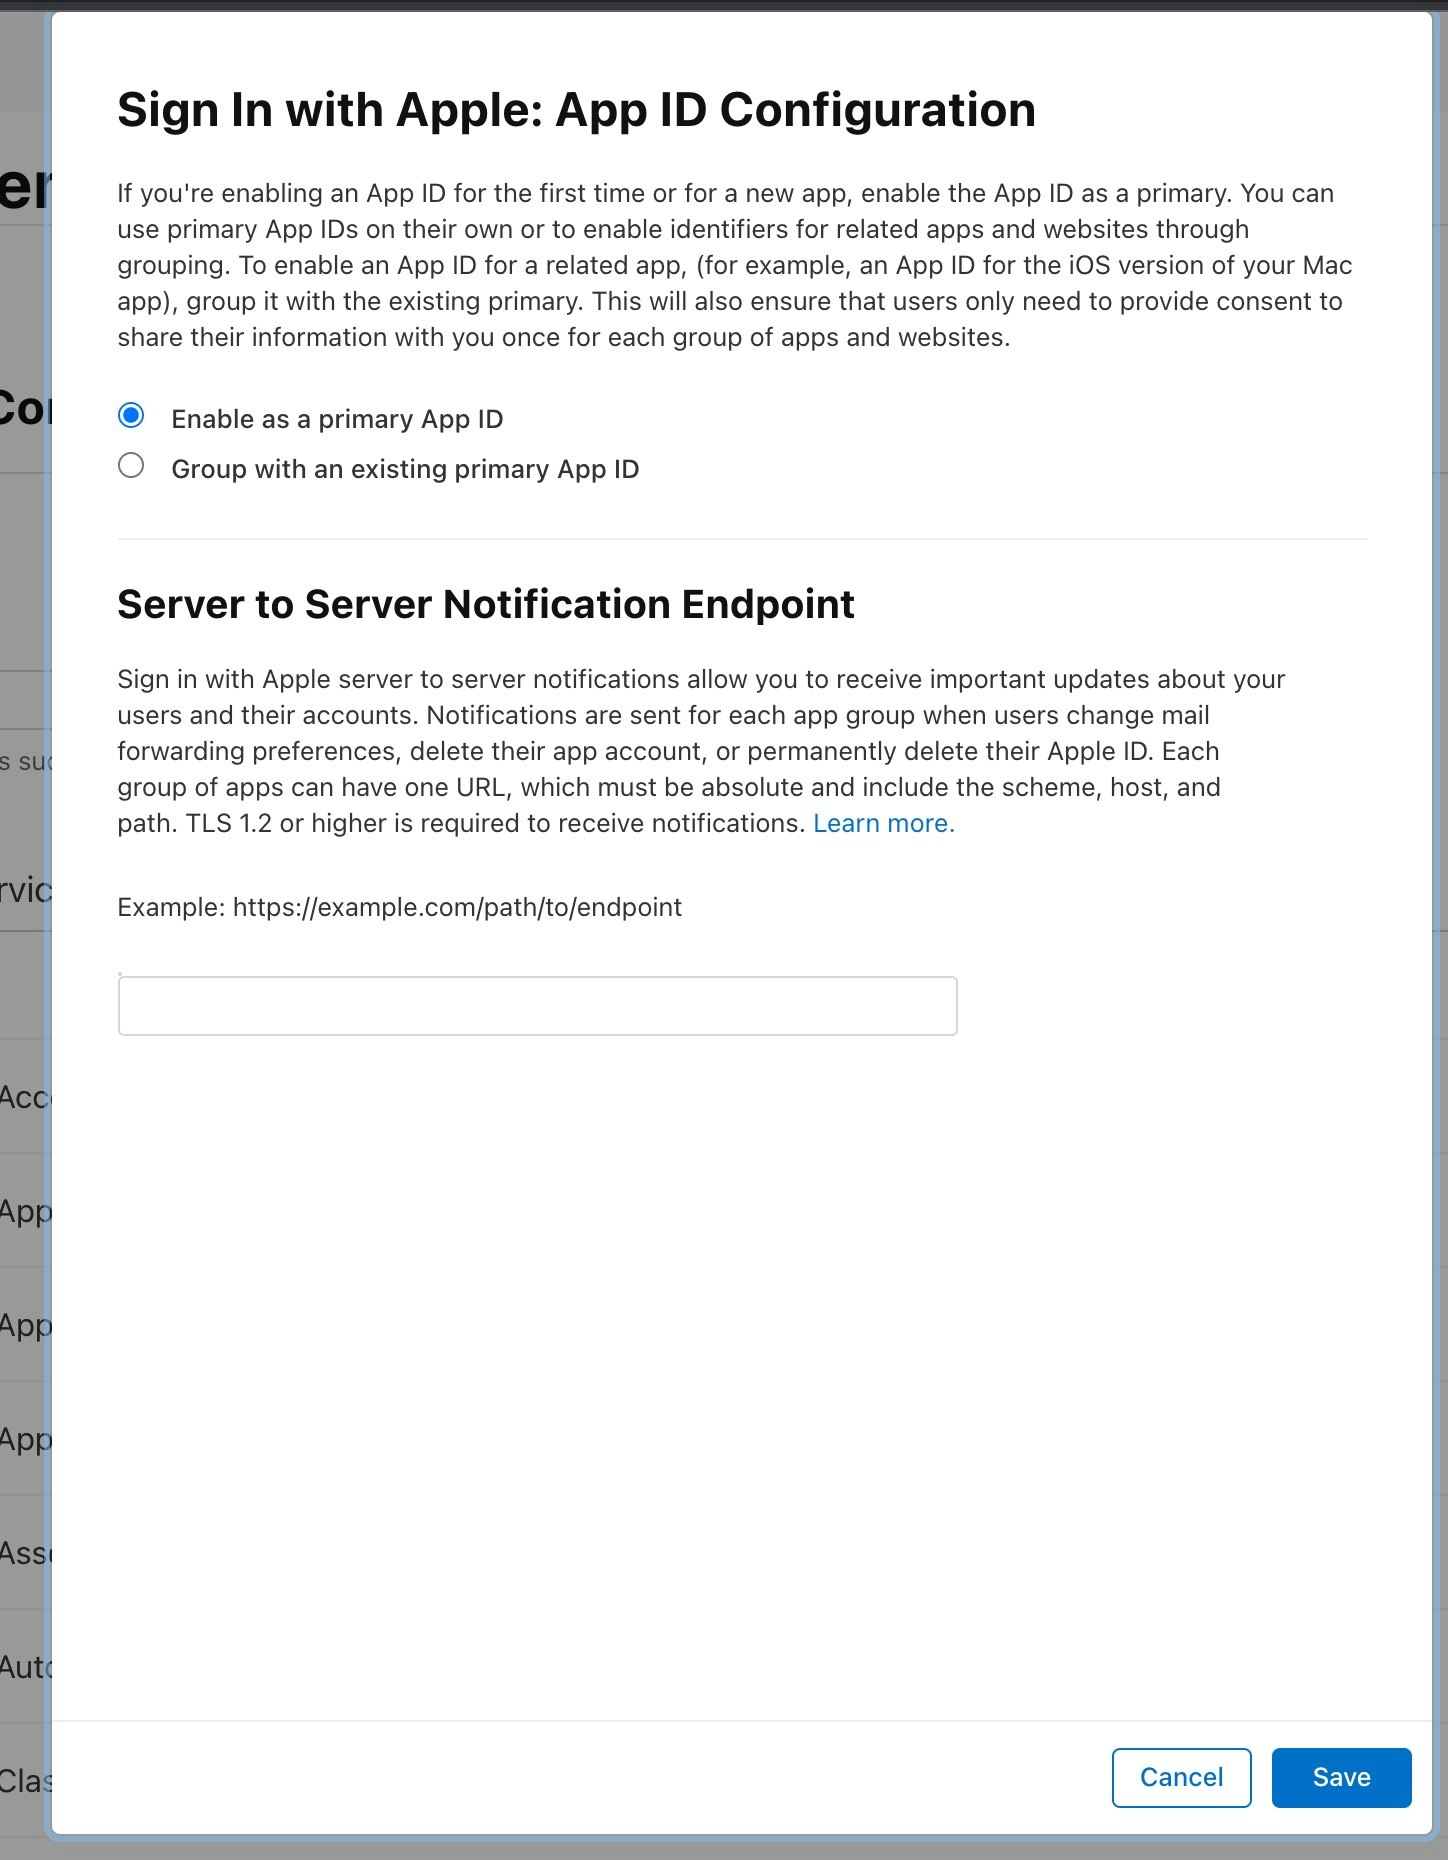
2. sign in with appleを許可
1.のページから、該当アプリのBundleIdを選択し、クリック。
そこで、Sign in with Appleを有効化する。
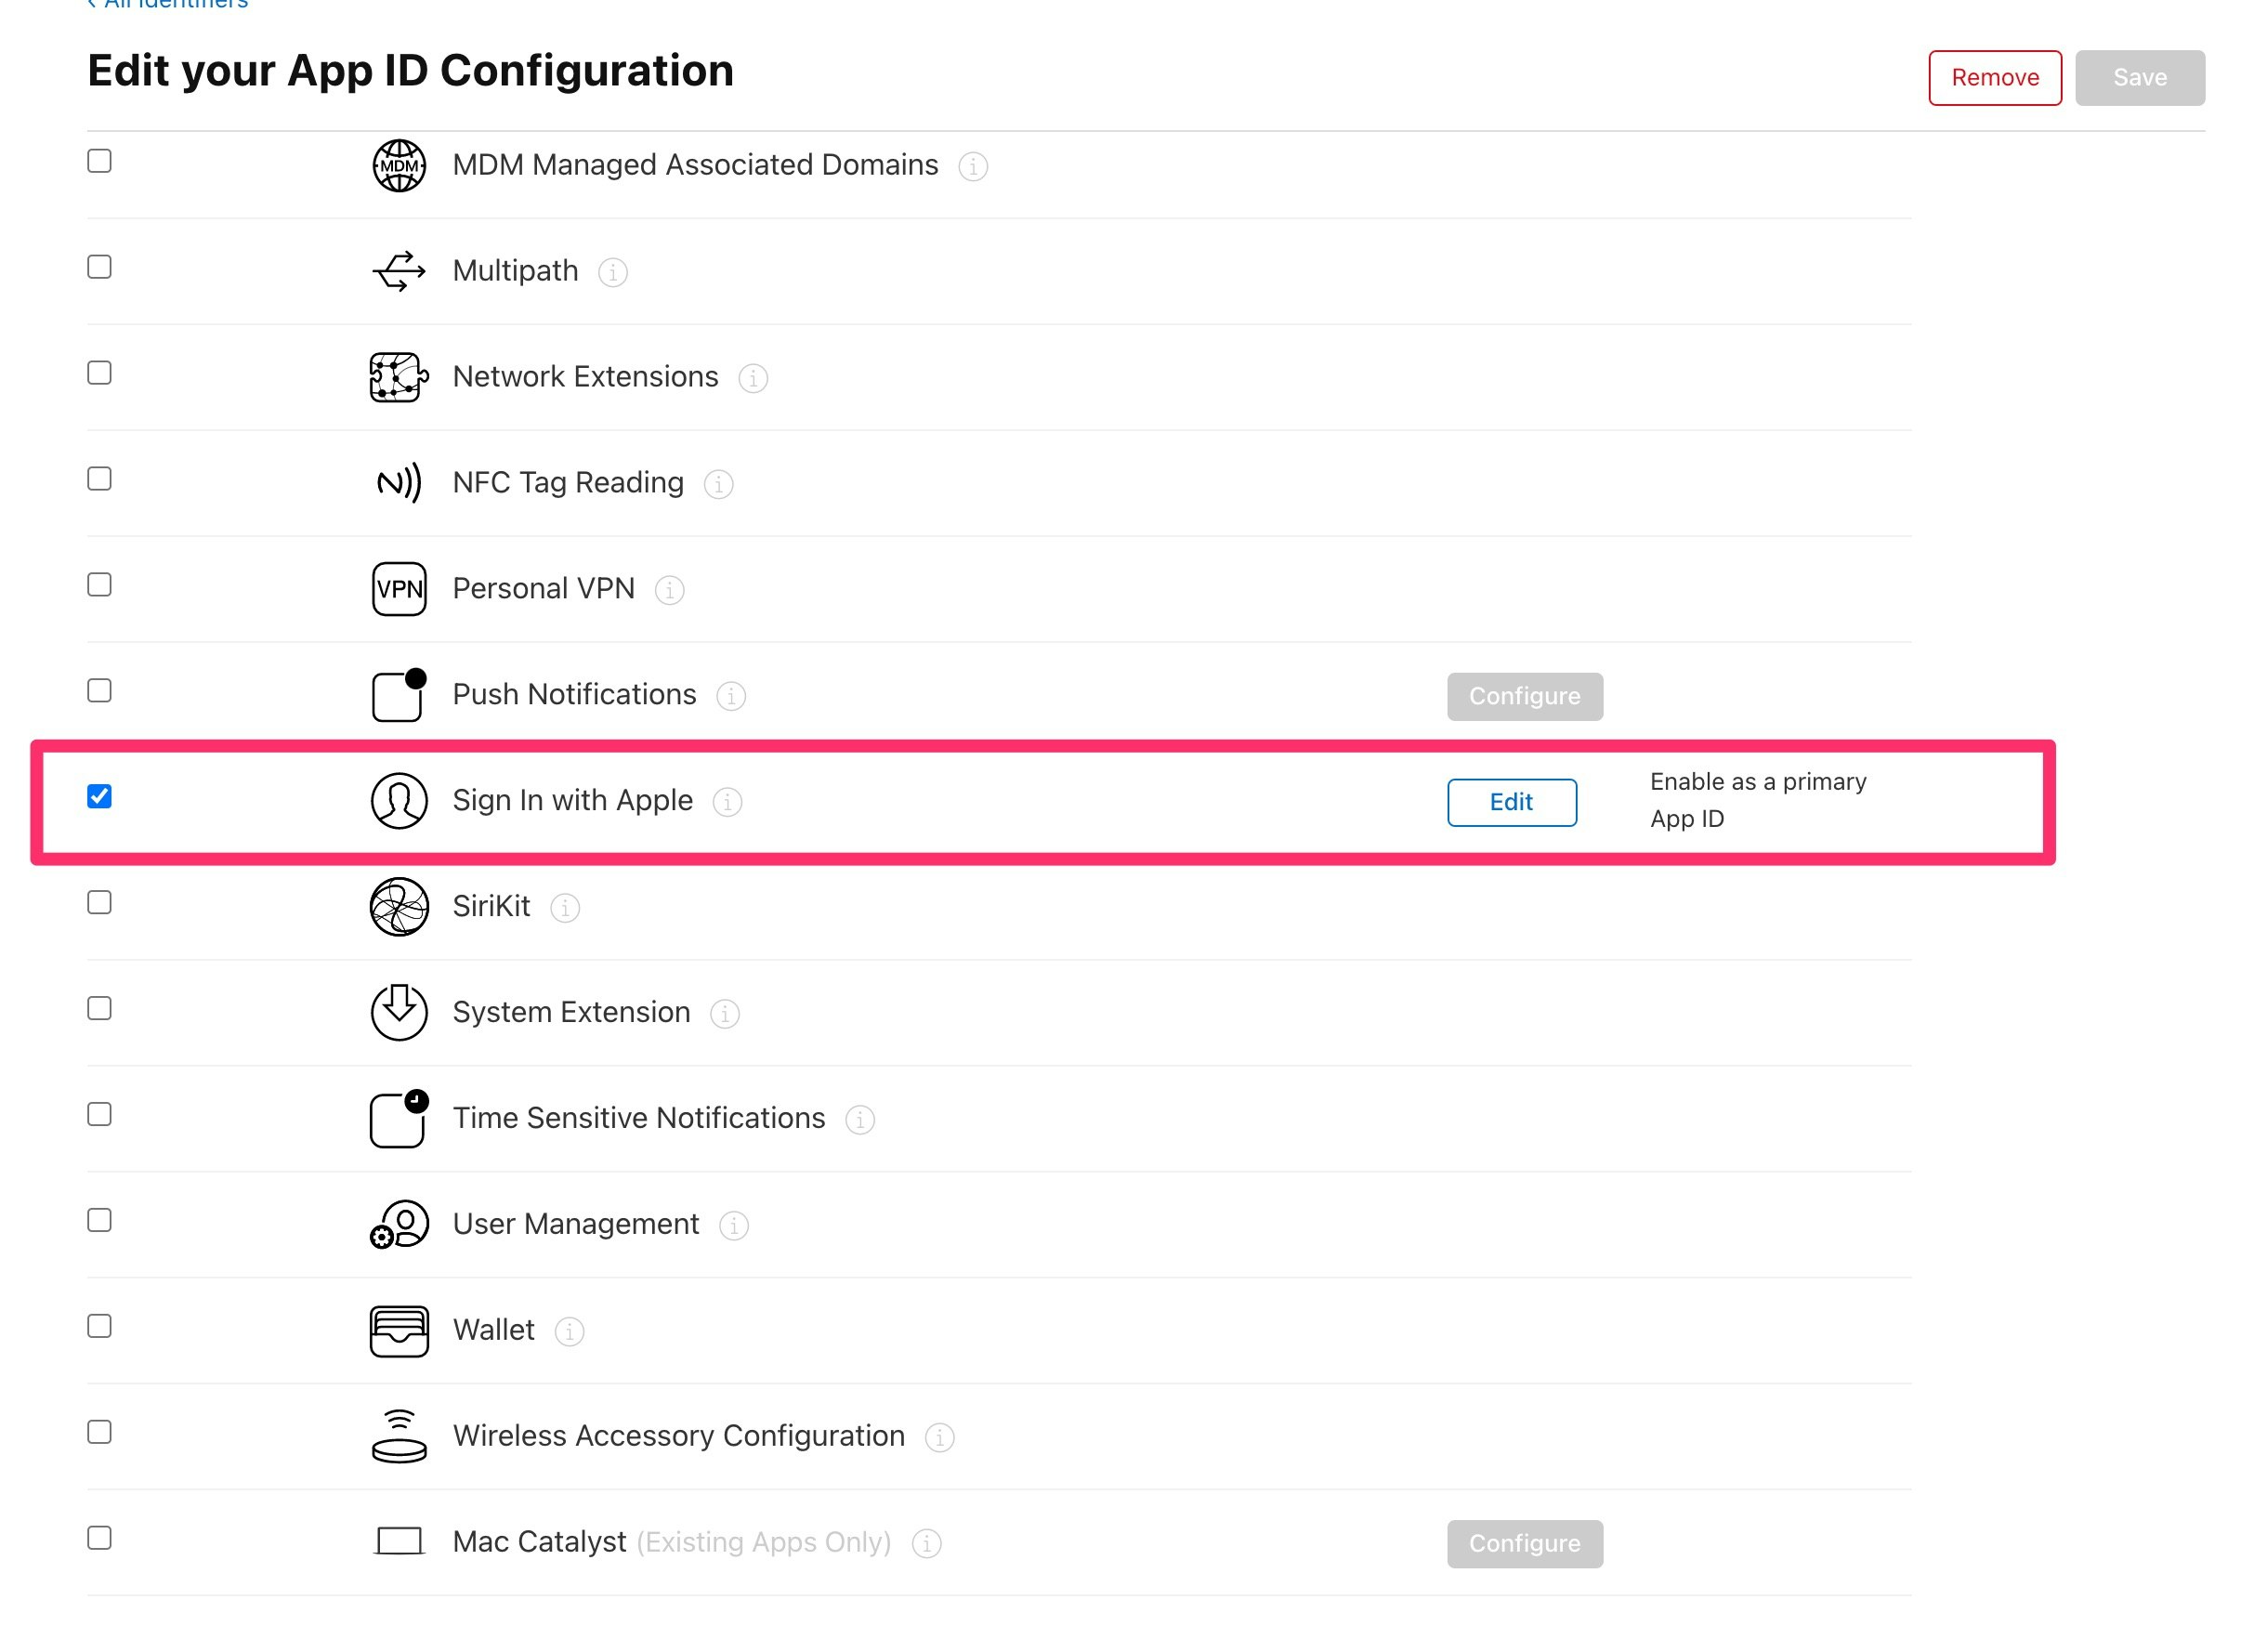
ユーザ情報の変更通知等を受け取らなくていい場合は、下の部分は気にしないで良い。
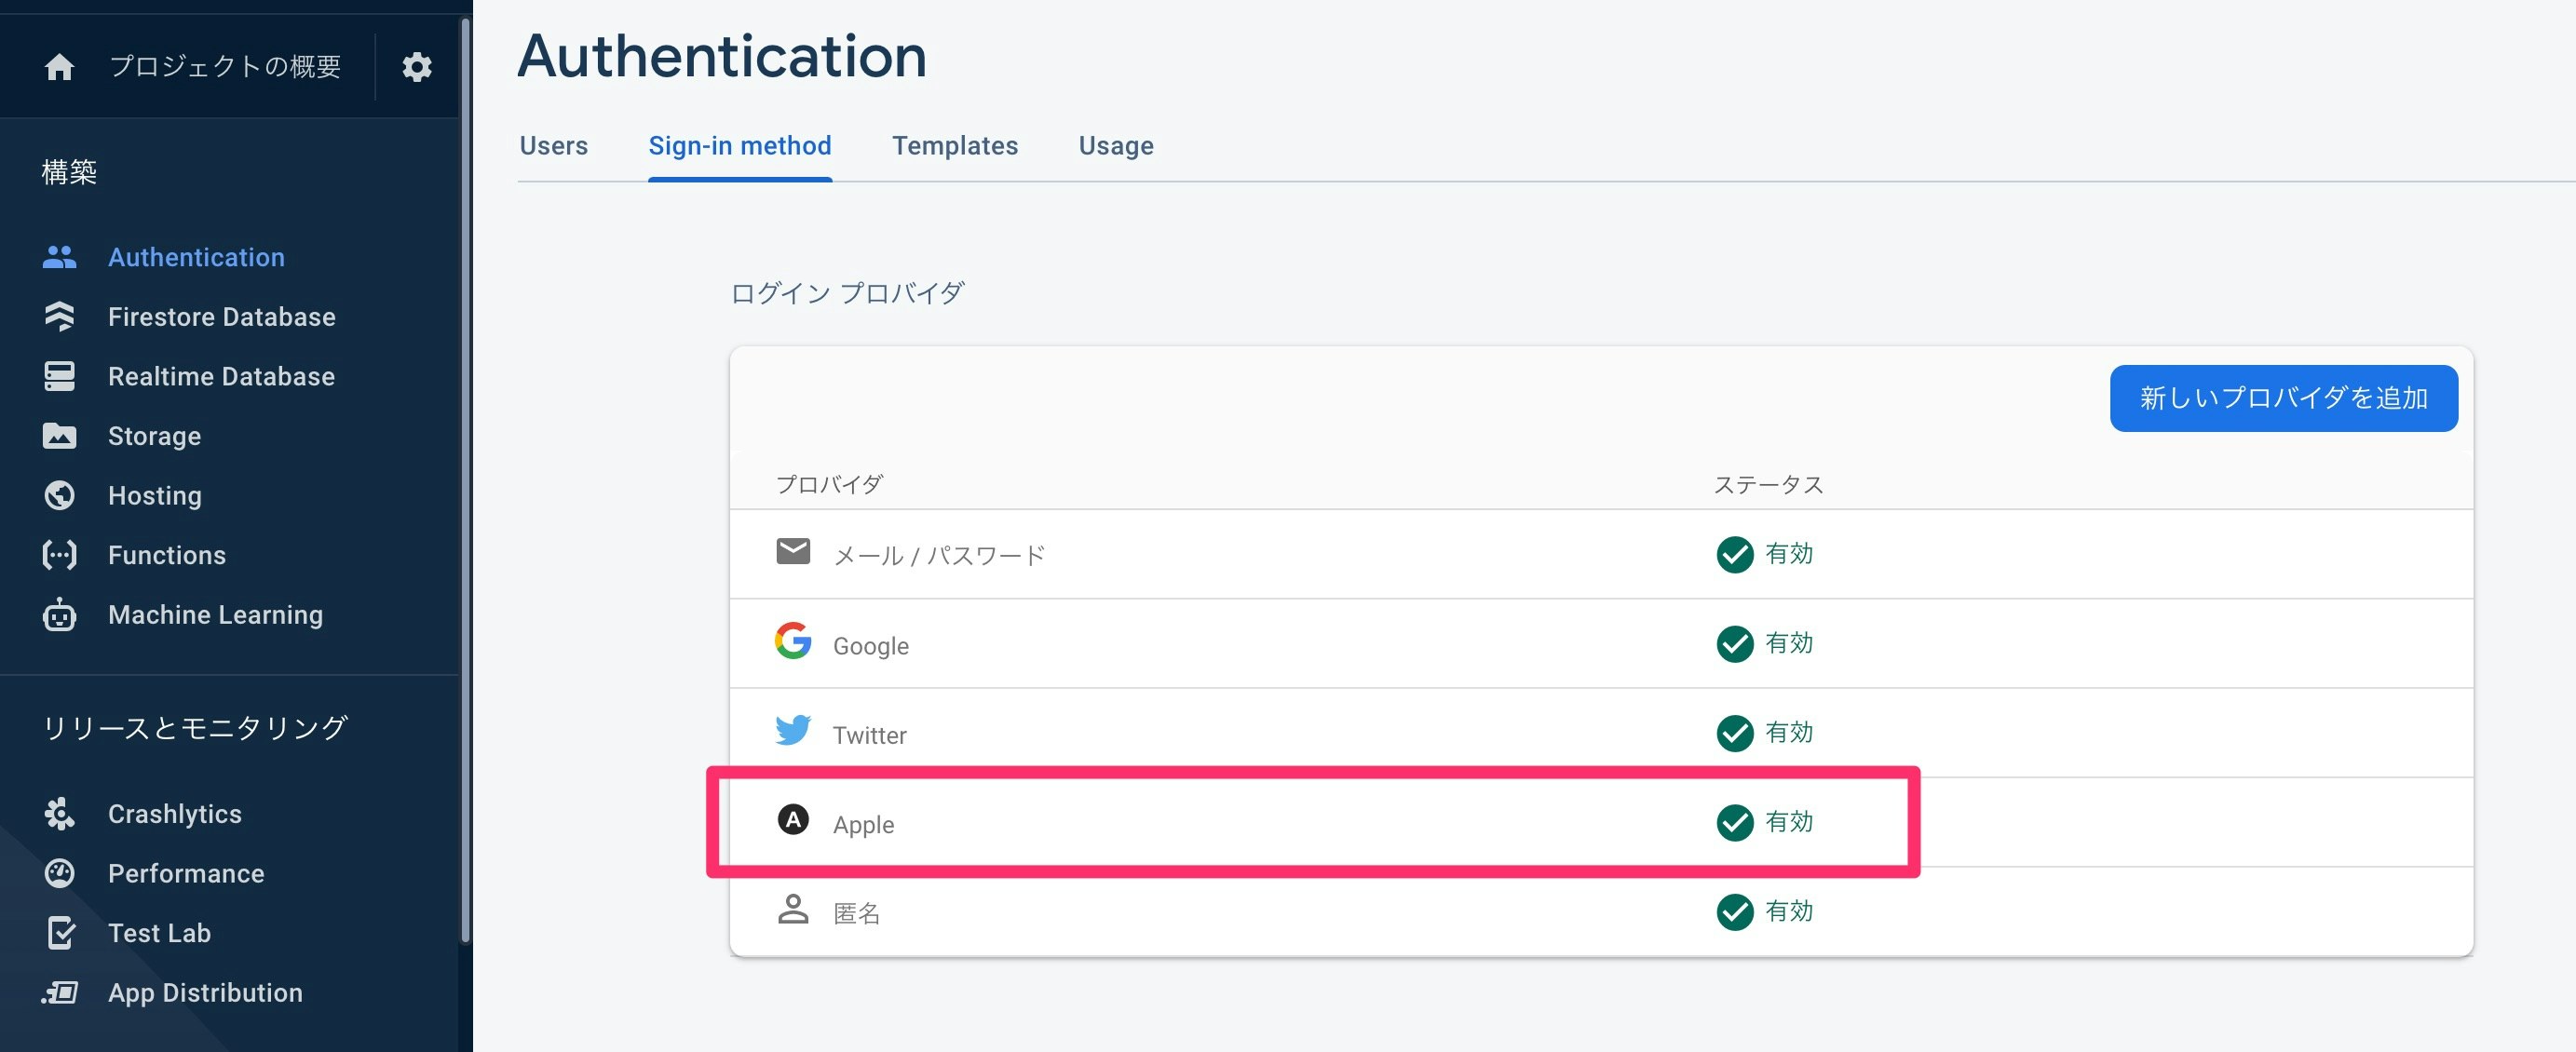
3. Firebase Authenticationの設定
iPhoneアプリからしか使わない場合は、下は無視して良い。
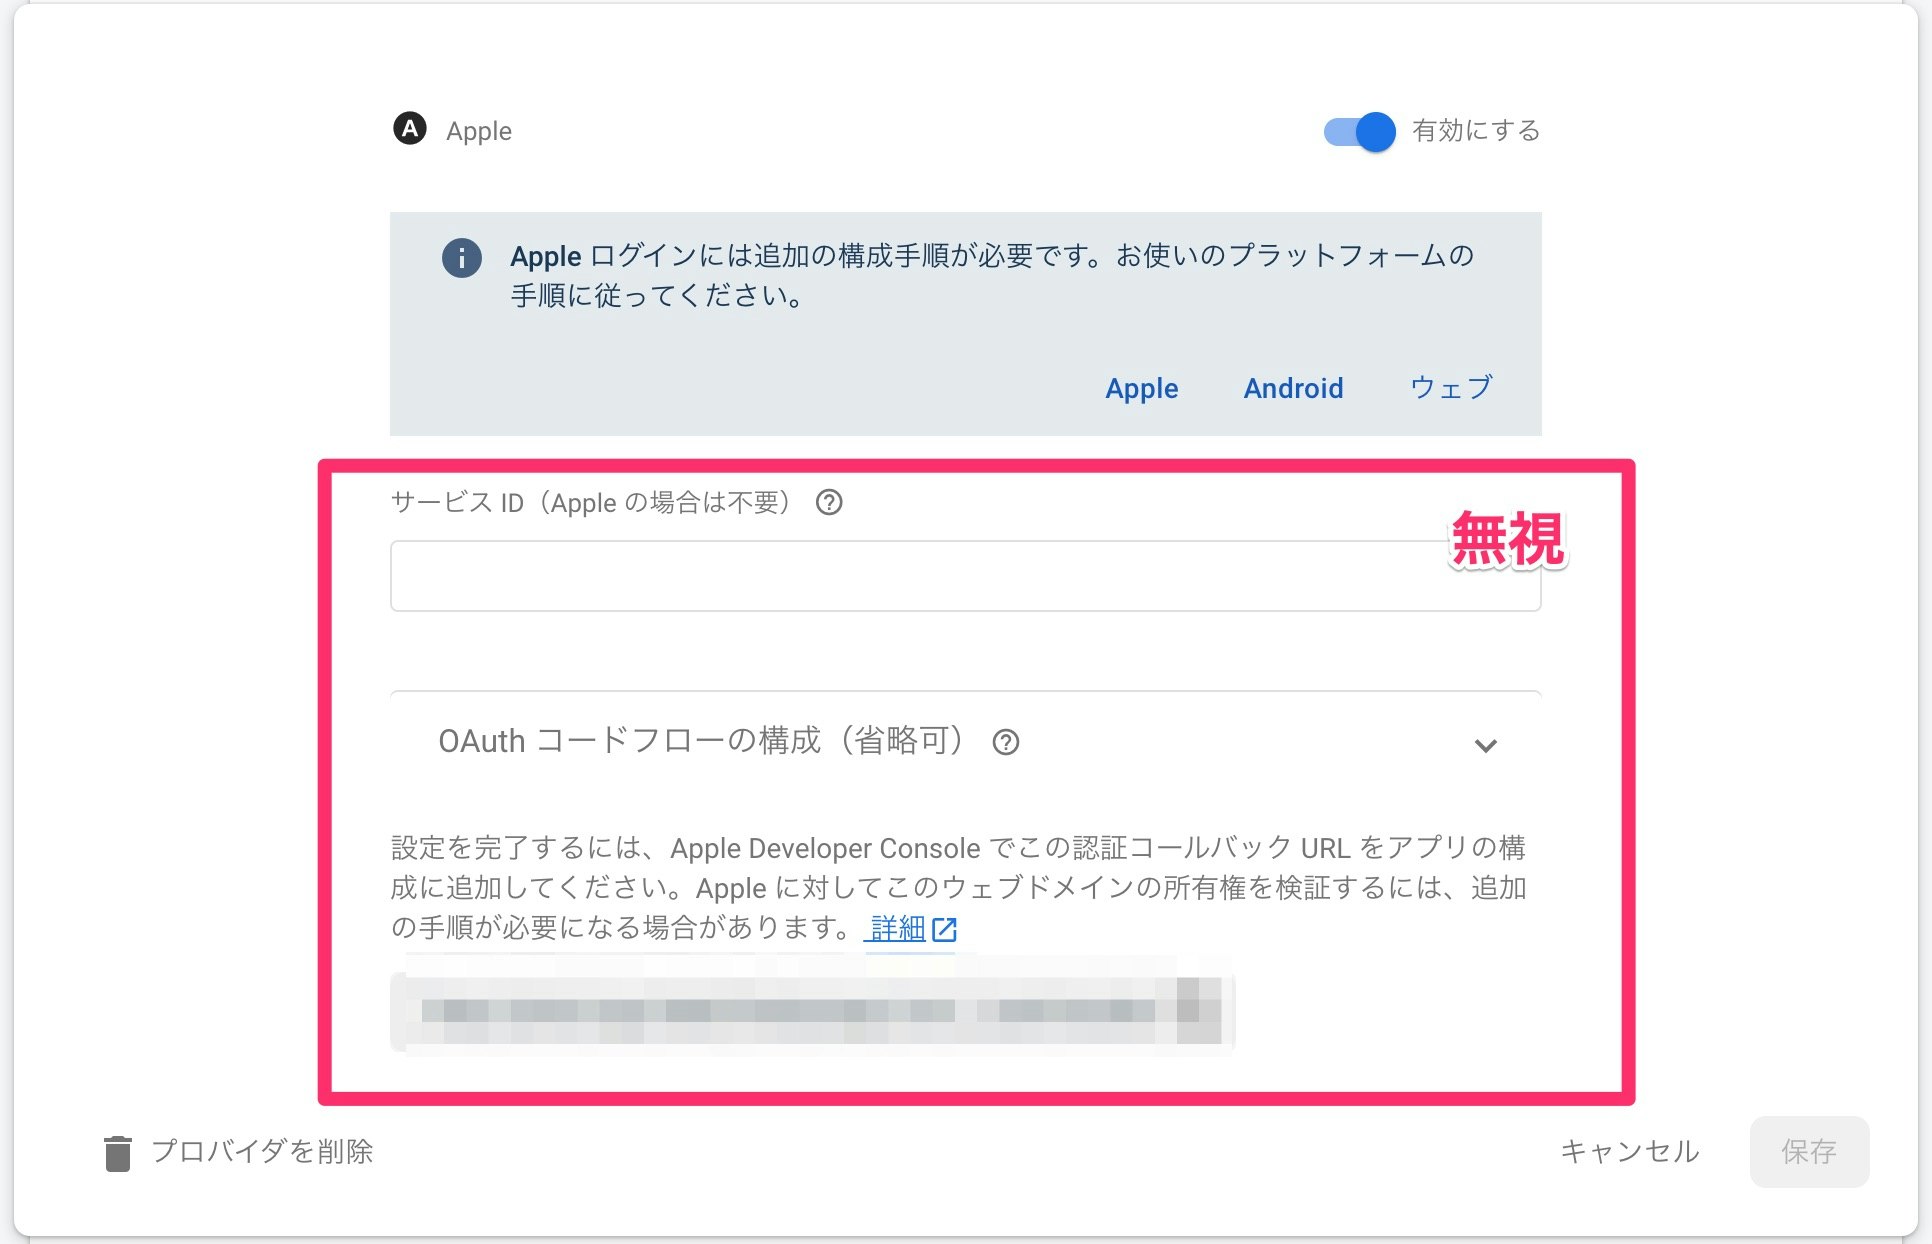
追加されているか確認
4. xcodeへの導入
該当アプリのrunner.xcodeprjファイルをxcodeで開き、Capabilityをクリックし、Sign in With Appleを検索しクリック。
そうすると、画像のようにSign in With Appleがアプリに追加される。

5. コードの修正
以下のブランチが、今回の変更を行っているブランチ。
以下のPRを見ると、差分がわかりやすいかもしれない。
パッケージの導入
dependencies:
  flutter:
    sdk: flutter

  # 以下追加
  sign_in_with_apple: ^3.3.0
パッケージの利用
import 'package:sign_in_with_apple/sign_in_with_apple.dart';

// ログインメソッド
Future<void> _onSignInWithApple(User? user) async {
    try{

      // AuthorizationCredentialAppleIDのインスタンスを取得
      final appleCredential = await SignInWithApple.getAppleIDCredential(
        scopes: [
          AppleIDAuthorizationScopes.email,
          AppleIDAuthorizationScopes.fullName,
        ],
      );

      // OAthCredentialのインスタンスを作成
      OAuthProvider oauthProvider = OAuthProvider('apple.com');
      final credential = oauthProvider.credential(
        idToken: appleCredential.identityToken,
        accessToken: appleCredential.authorizationCode,
      );

      if (user !=null && user.isAnonymous) {
        await user.linkWithCredential(credential);
        Navigator.of(context).pop();
      } else {
        await FirebaseAuth.instance.signInWithCredential(credential);

        if (Navigator.of(context).canPop()) {
          Navigator.of(context).pop();
        } else {
          Navigator.of(context).pushReplacement(
            MaterialPageRoute(
              builder: (_) => PhotoListScreen(),
            ),
          );
        }
      }
    } catch(e) {
      await showDialog(
          context: context,
          builder: (context) {
            return AlertDialog(
              title: Text('エラー'),
              content: Text(e.toString()),
            );
          }
      );
    }
  }

// コンポーネント
if (Platform.isIOS) SignInButton(
  Buttons.Apple,
  onPressed: () {
    _onSignInWithApple(user);
  },
)
UIパッケージの利用
Buttonの見た目には、flutter_signin_buttonというパッケージを用いている。
Credentialの扱い
sign_in_with_appleを用いて取得したAuthorizationCredentialAppleIDは、そのままfirebaseに渡すことはできない。
Firebaseに渡す用に、AuthorizationCredentialAppleIDから情報を抜き出してOAthCredentialのインスタンスを作成しなければならない。
      // AuthorizationCredentialAppleIDのインスタンスを取得
      final appleCredential = await SignInWithApple.getAppleIDCredential(
        scopes: [
          AppleIDAuthorizationScopes.email,
          AppleIDAuthorizationScopes.fullName,
        ],
      );

      // OAthCredentialのインスタンスを作成
      OAuthProvider oauthProvider = OAuthProvider('apple.com');
      final credential = oauthProvider.credential(
        idToken: appleCredential.identityToken,
        accessToken: appleCredential.authorizationCode,
      );
ちなみにAuthorizationCredentialAppleIDに含まれる情報は以下。
@immutable
class AuthorizationCredentialAppleID {
  /// Creates an instance which contains the result of a successful Sign in with Apple flow.
  const AuthorizationCredentialAppleID({
    @required this.userIdentifier,
    @required this.givenName,
    @required this.familyName,
    required this.authorizationCode,
    @required this.email,
    @required this.identityToken,
    @required this.state,
  });
  ...
どの変数が何を意味しているかは、以下の記事をみるとなんとなくわかる。
完全にはわからないが、動いたからよしとしている。
既知の問題
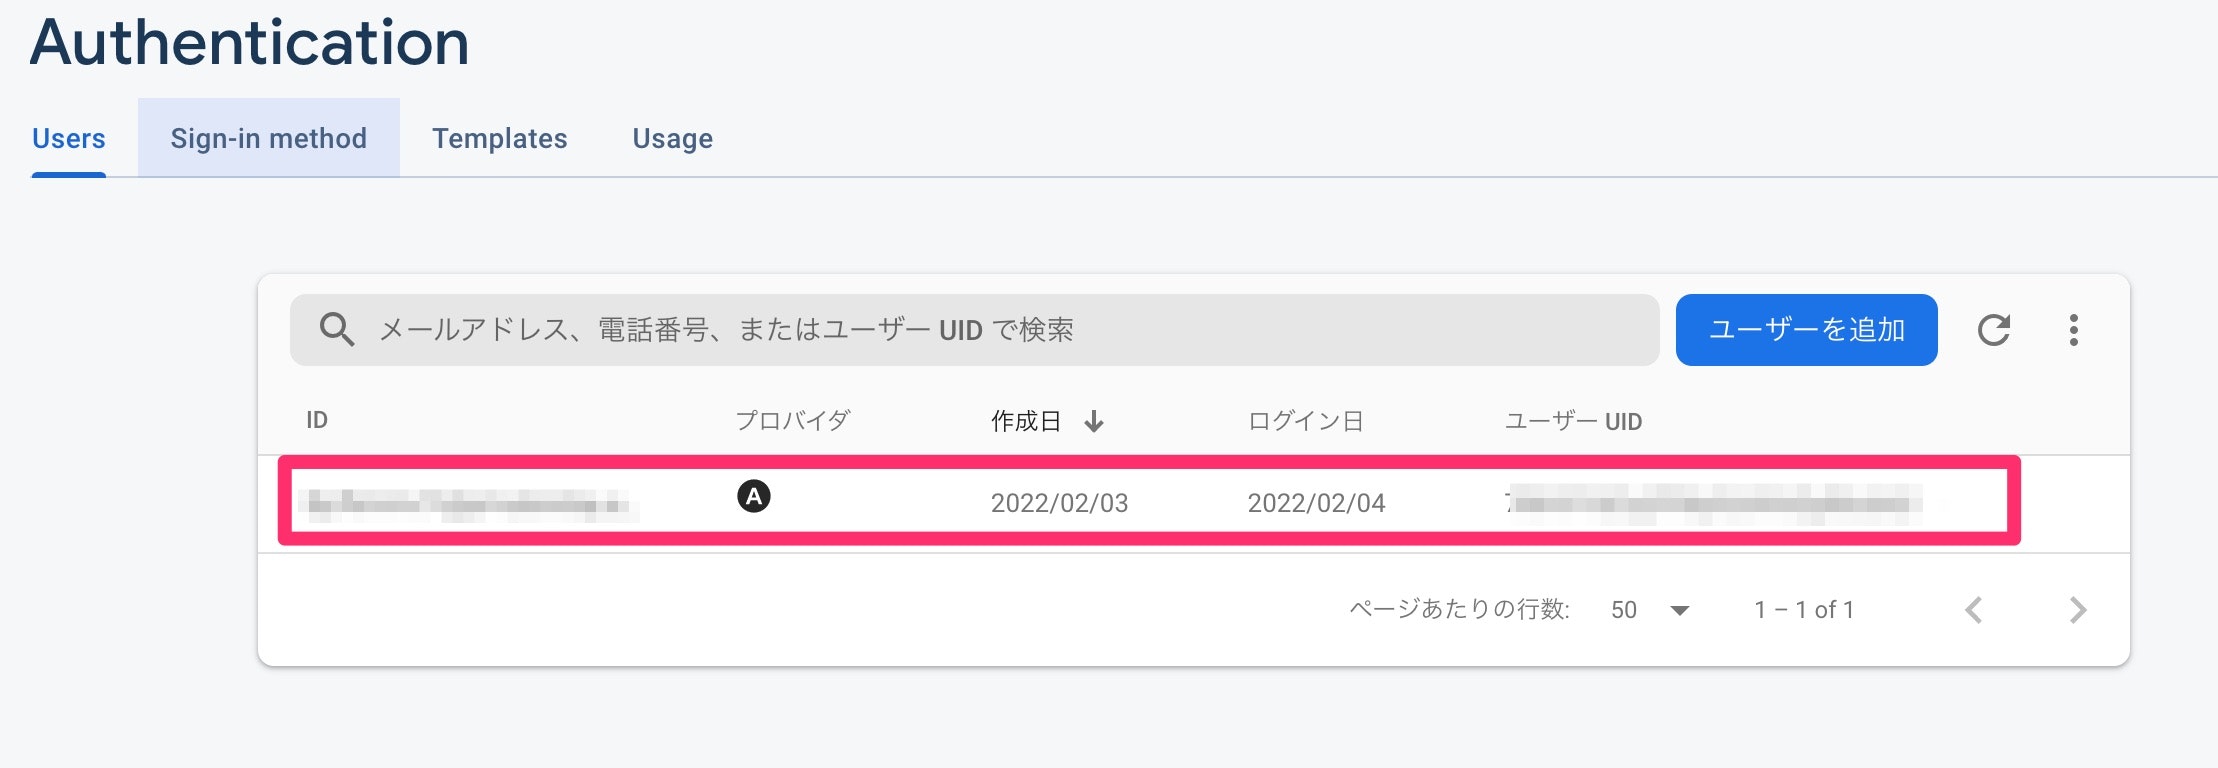
ちなみに、simulatorでいくら試してもこのコードは動かない(2022/2/3時点)。
githubディレクトリ飛んでissueでも作って文句言ってやろうかと思ったら、すでにあった。
どうやらsimulatorの問題らしく、実機でテストをするときちんと動くことが確認できた。
まとめ
今回は、appleから直々に怒られたので、appleアカウント連携認証を実装してみた。
全然難しくない変更ではあるが、simulatorの問題でめちゃくちゃ引っかかってしまった。
xcode周りは挙動が怪しいので、コードを疑いつつソフトウェアそのものにも疑いを持つようにしよう。