やりたいこと
アプリ内の画像投稿機能を作成するに当たり、投稿画像をその場でカメラ撮影により用意したい。
以下の記事を参考にして進めていく。
【はじめてのiPhoneアプリ開発】カメラを使おう
[iPhone] UIImagePickerController による Camera撮影
環境
xcode 11.3
swift 5.1.3
CocoaPods 1.8.4
実装
info.plistへの追記
info.plist
<key>NSPhotoLibraryUsageDescription</key>
<string>写真投稿機能のためのフォトライブラリアクセス</string>
<key>NSCameraUsageDescription</key>
<string>写真投稿機能のためのカメラアクセス</string>
以下のように表示される。

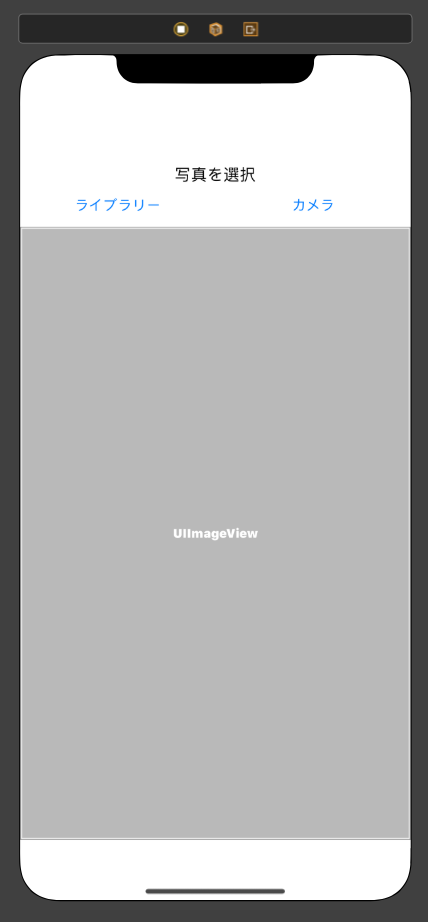
storyboardへの設置
- 画像を選ぶボタンの設置
- 選択された画像を表示する用のimageView
コードの記述
ViewController.swift
import UIKit

class ViewController: UIViewController {
    var postImage:UIImage?
    @IBOutlet weak var imageView: UIImageView!

    // imageを選ぶボタン
    // ライブラリー選択ボタン
    @IBOutlet weak var libraryBtn: UIButton!
    @IBAction func toLibrary(_ sender: Any) {
        addImagePickerView()
    }
    // カメラ撮影ボタン
    @IBOutlet weak var cameraBtn: UIButton!
    @IBAction func toCamera(_ sender: Any) {
        addCameraView()
    }

    override func viewDidLoad() {
        super.viewDidLoad()
    }
}

// imagePickerViewの設定用
extension ViewController: UIImagePickerControllerDelegate, UINavigationControllerDelegate{

    // カメラの利用
    func addCameraView() {

        // シミュレーターでやるとカメラが使えないから、クラッシュしないようにアラート表示させる方へ分岐
        if !UIImagePickerController.isSourceTypeAvailable(.camera){

            let alertController = UIAlertController.init(title: nil, message: "Device has no camera.", preferredStyle: .alert)

            let okAction = UIAlertAction.init(title: "Alright", style: .default, handler: {(alert: UIAlertAction!) in
            })

            alertController.addAction(okAction)
            self.present(alertController, animated: true, completion: nil)

        }
        else{
            //imagePickerViewを表示する
            let pickerController = UIImagePickerController()
            pickerController.sourceType = .camera
            pickerController.delegate = self
            self.present(pickerController, animated: true, completion: nil)
        }
    }

    // ライブラリーの利用
    func addImagePickerView() {
        //imagePickerViewを表示する
        let pickerController = UIImagePickerController()
        pickerController.sourceType = .photoLibrary
        pickerController.delegate = self
        self.present(pickerController, animated: true, completion: nil)
    }

    // 以下の二つは、sourceTypeがcameraでもphotoLibraryでも共通
    // pickerの選択がキャンセルされた時の処理
    func imagePickerControllerDidCancel(_ picker: UIImagePickerController) {
         dismiss(animated: true, completion: nil)
    }
    // 画像が選択(撮影)された時の処理
    func imagePickerController(_ picker: UIImagePickerController, didFinishPickingMediaWithInfo info: [UIImagePickerController.InfoKey : Any]) {
        print("The image was selected")
        print(info[UIImagePickerController.InfoKey.originalImage] as! UIImage)

        guard let selectedImage = info[UIImagePickerController.InfoKey.originalImage] as! UIImage? else {return}

        // imageを格納
        imageView.image = selectedImage

        self.dismiss(animated: true, completion: nil)
    }
}
最後に
ちゃんとアップルの公式ページをみてもっと勉強したい。