BlueTeamを勉強したいんじゃ!シリーズ
前回はまとめ記事を書いたので、今回はSecurityOnionとWindows10を使用したLABをの記事を書きます。どれくらい需要があるか分からないけど、シリーズとして色々と書いていきます。
LAB概要
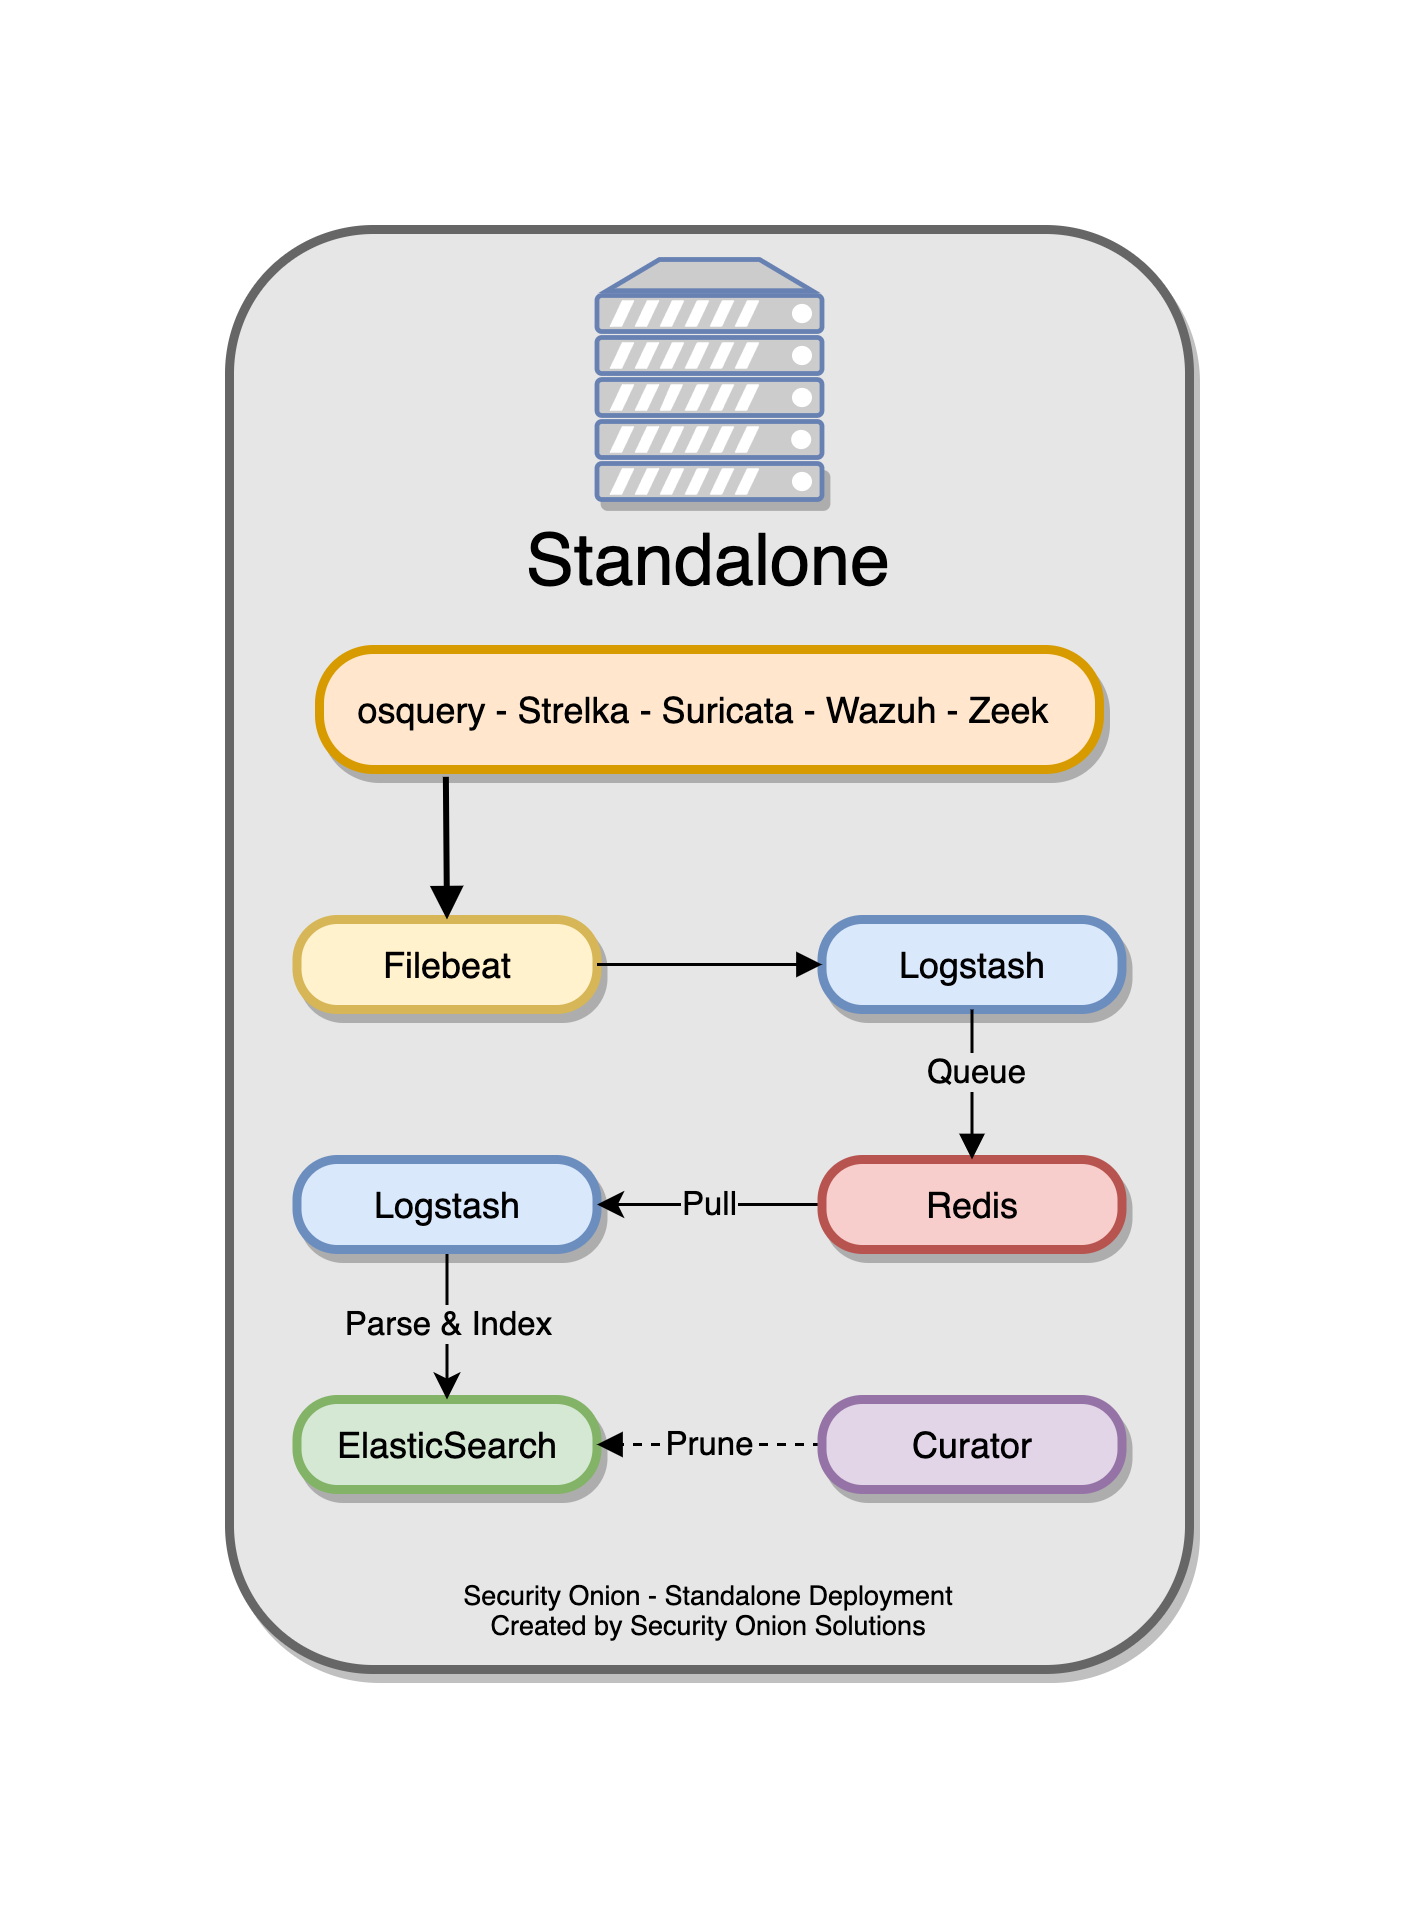
セキュリティオニオンとは
ツール概要
- ELK Stack:可視化&ログ解析
- Suricata:NIDS
- Wazuh(OSSEC):HIDS
- Sysmon:ログ強化
- Zeek(Bro):NIDS
- OSquery:エンドポイント調査
SecurityOnionのセットアップ
-
ISOのダウンロード
- 下記のURLからISOをダウンロードする。
- https://github.com/Security-Onion-Solutions/securityonion/blob/master/VERIFY_ISO.md
-
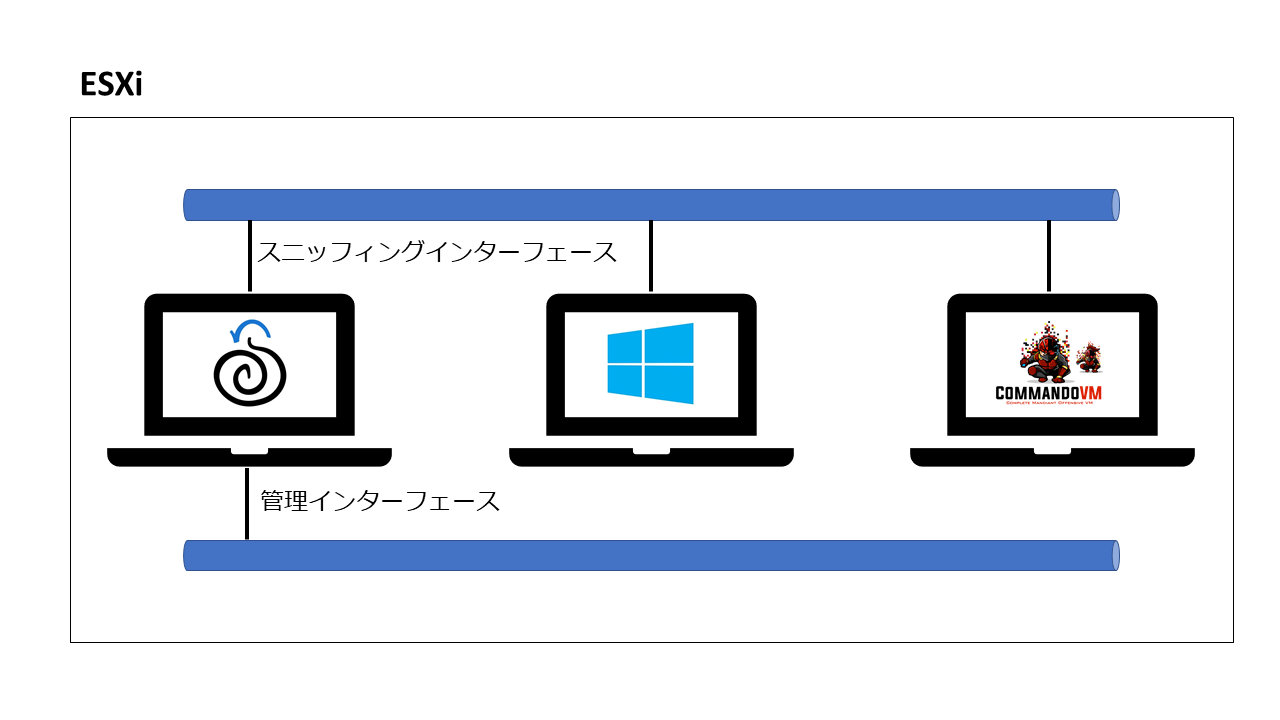
VMの設定
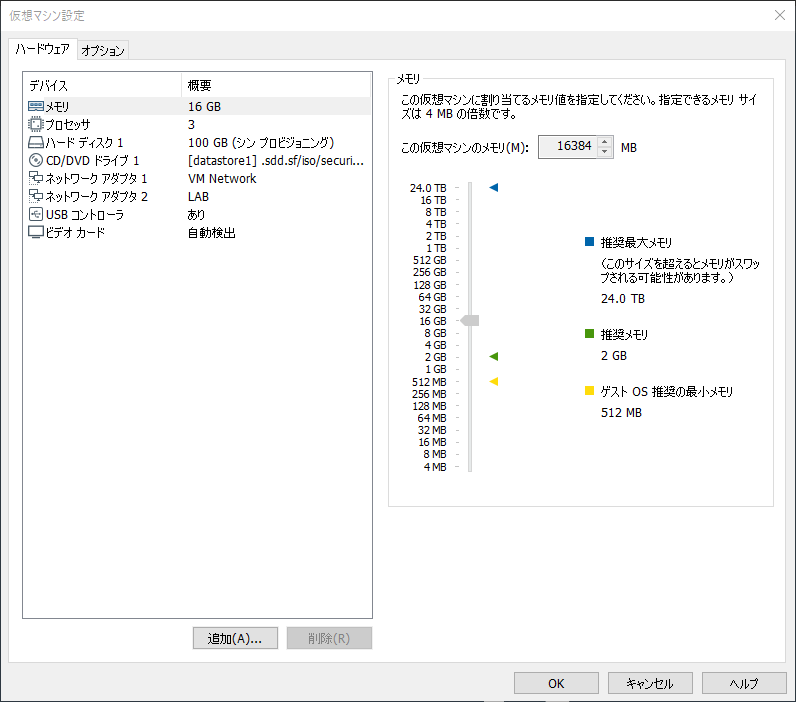
- 最小構成はドキュメントで確認してください。
- ゲストOSのバージョン:CentOS7(64ビット)
- CPU:3core
- メモリ:16GB
- HDD:100GB
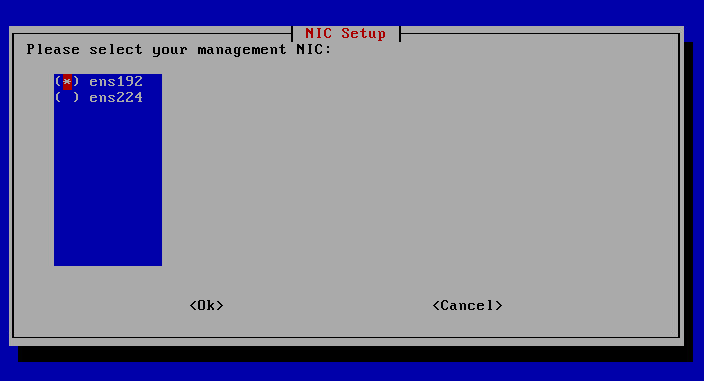
- NIC:2つ(1つは管理用インターフェース、もう1つはスニッフィングインターフェイス)
- スニッフィングインターフェイスの仮想スイッチとポートグループをPromiscuous modeに設定する。
- 例
-
初期設定(ユーザ作成)
- 「Do you wish to continme?」と聞かれるので「yes」を入力する。
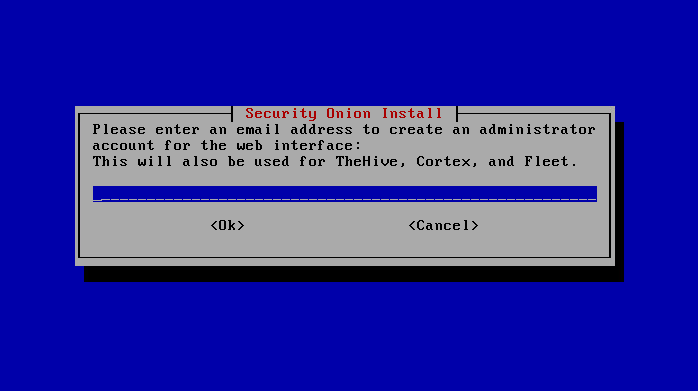
- ユーザ名を入力する。
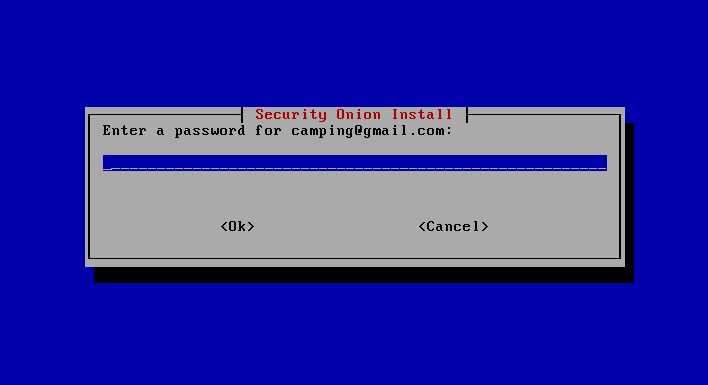
- パスワードを入力する。
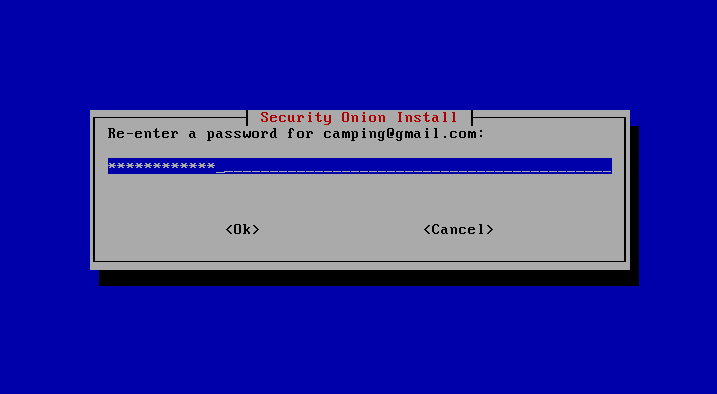
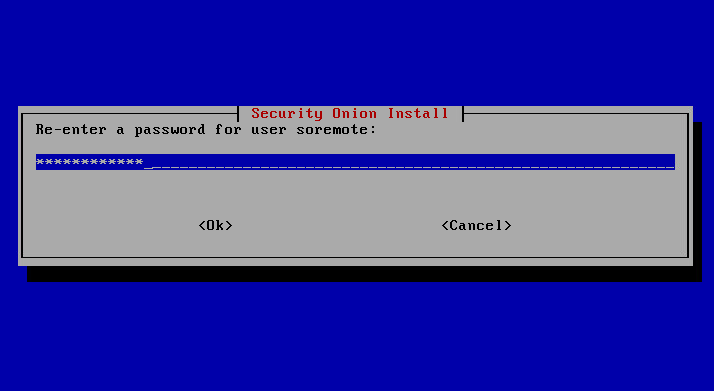
- 再度パスワードを入力する。
- 「Initial Intall complete」と表示されたらEnterキーを押す。
-
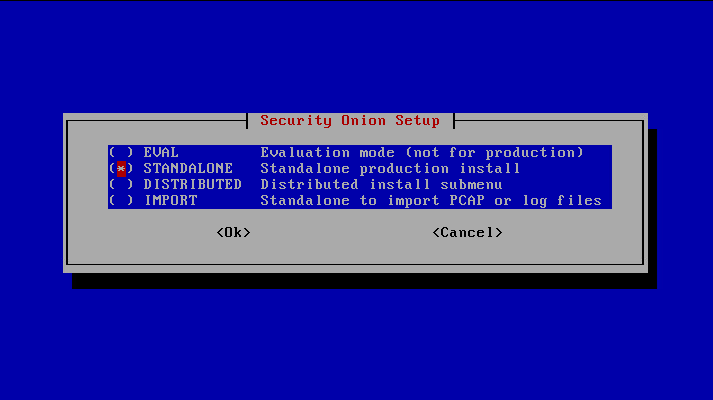
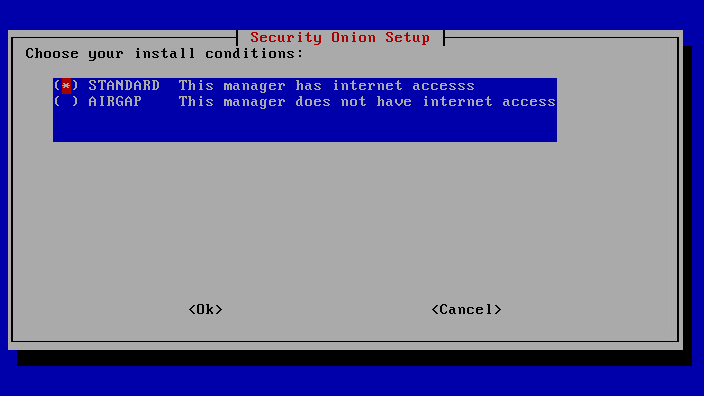
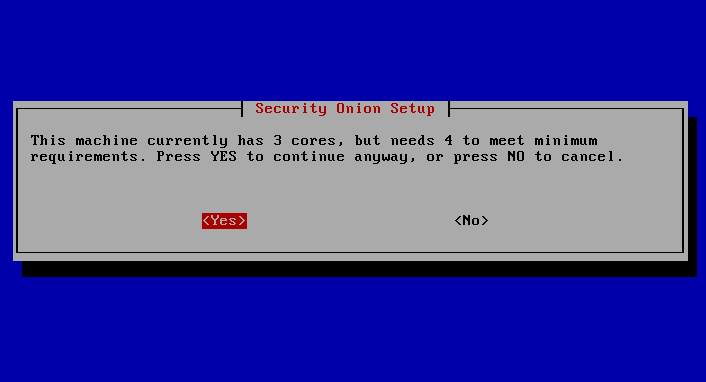
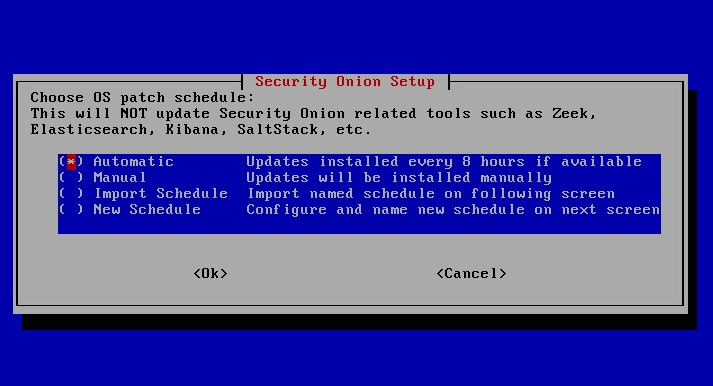
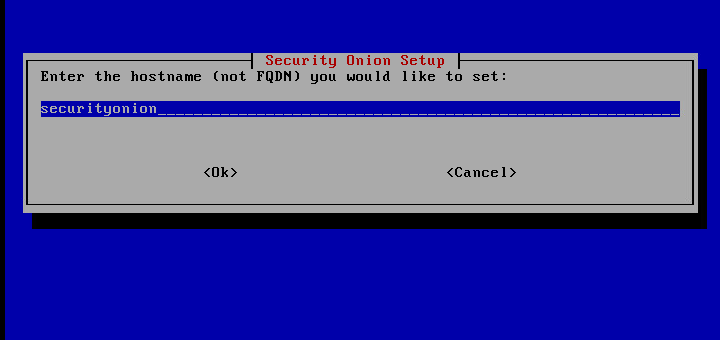
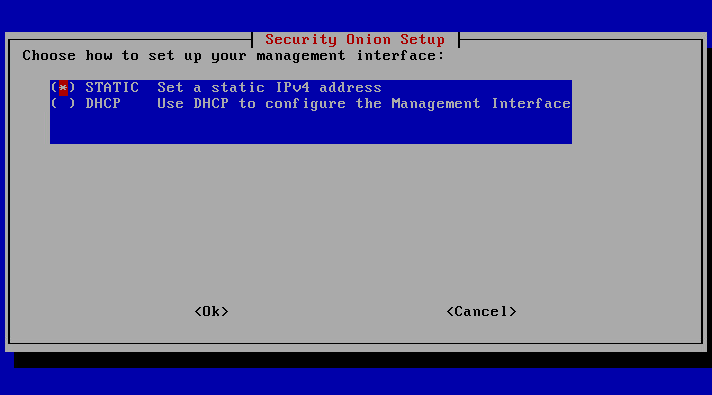
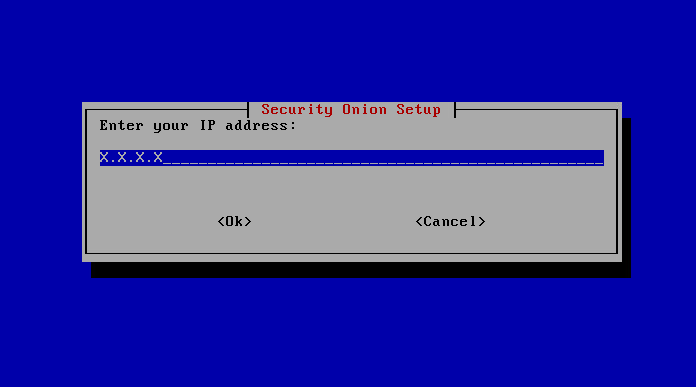
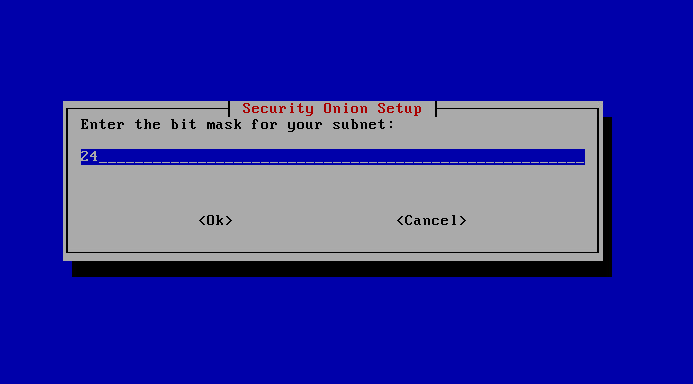
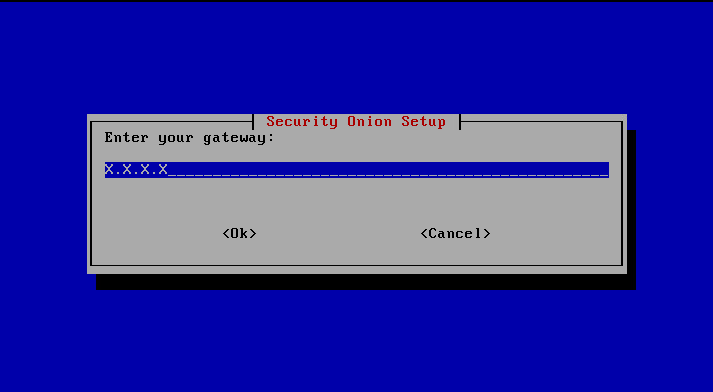
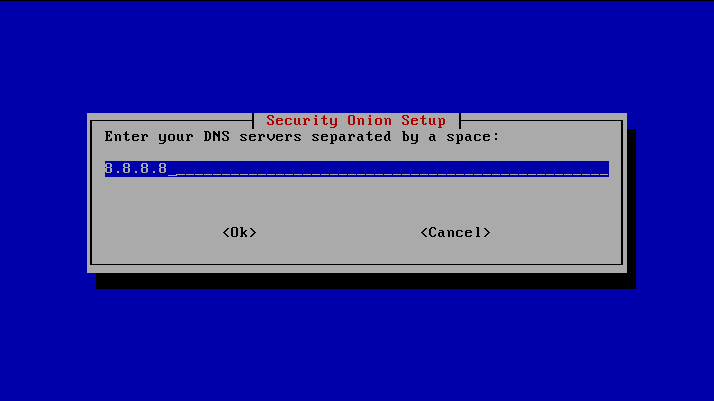
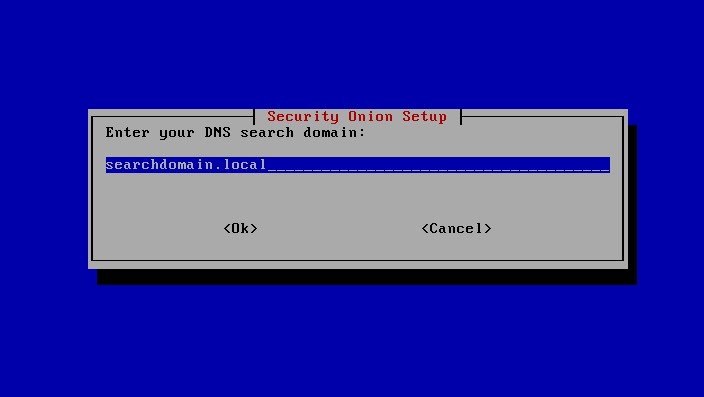
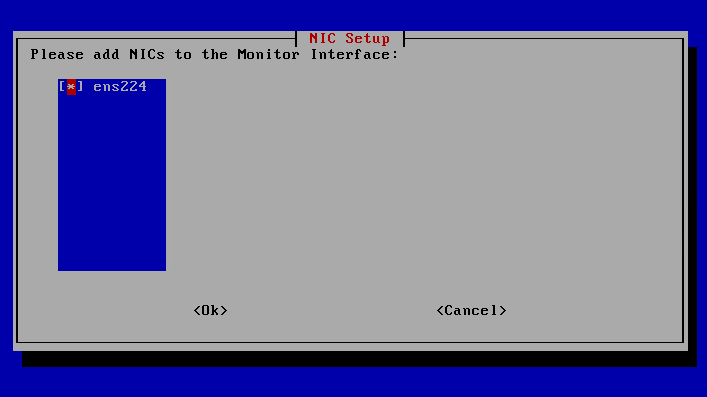
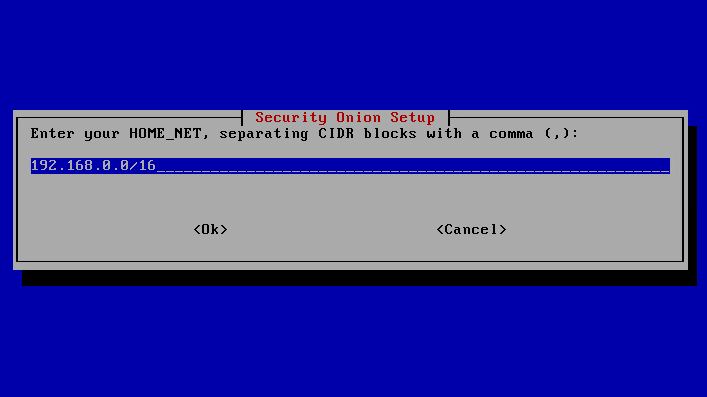
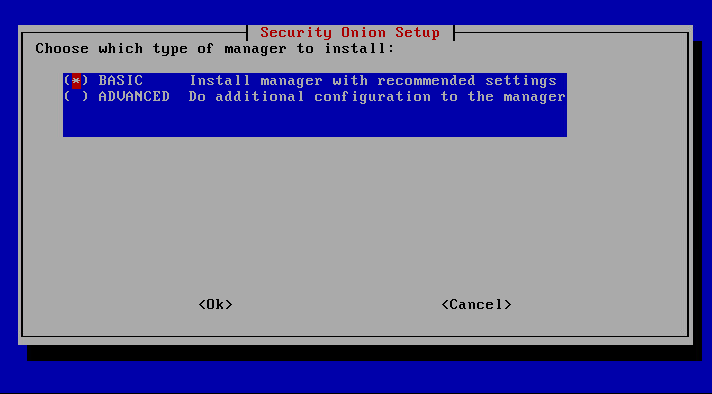
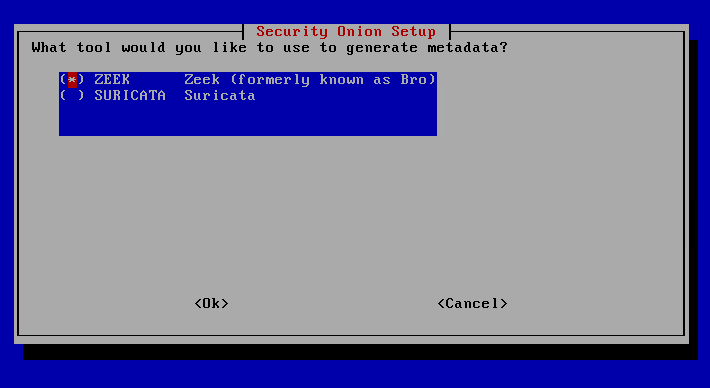
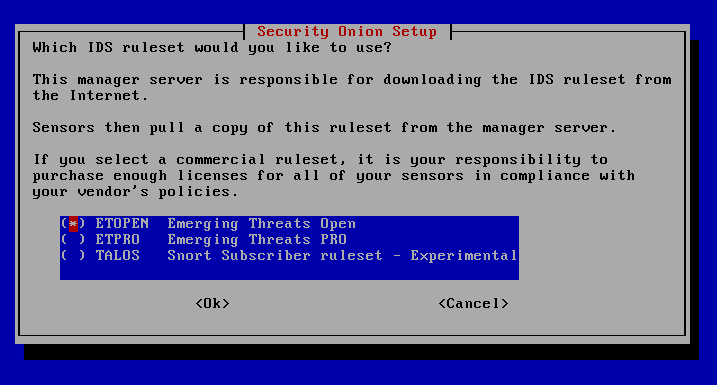
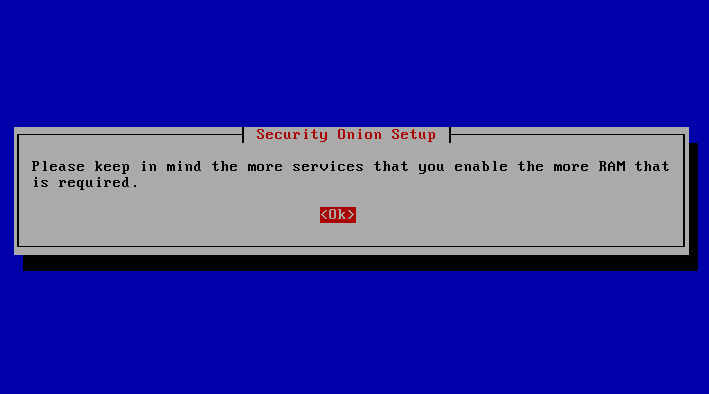
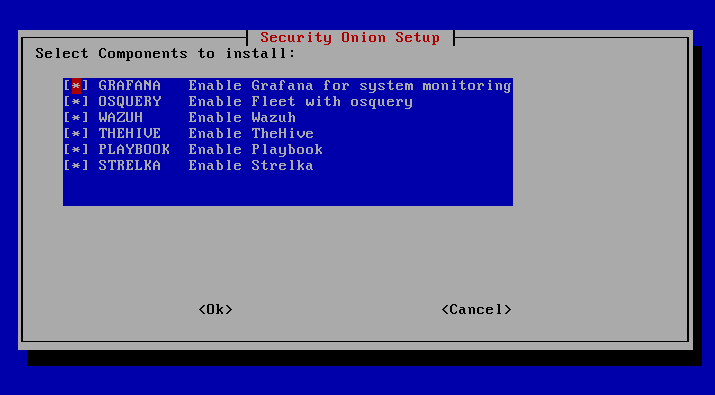
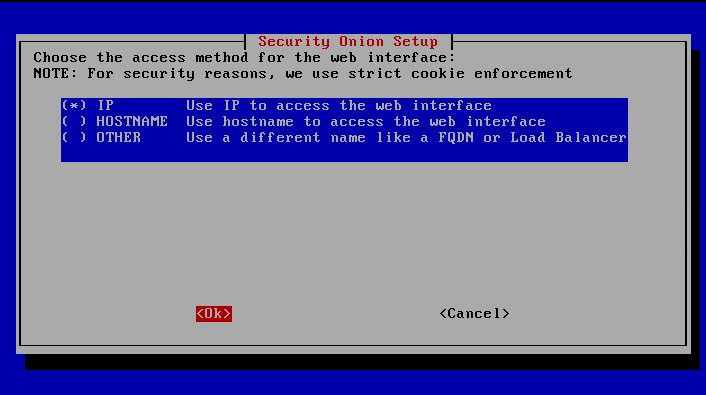
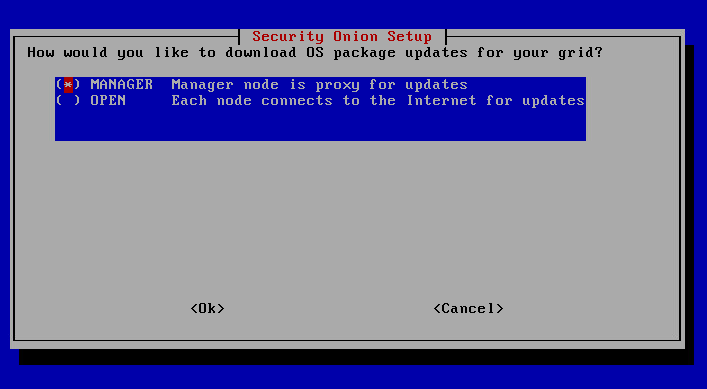
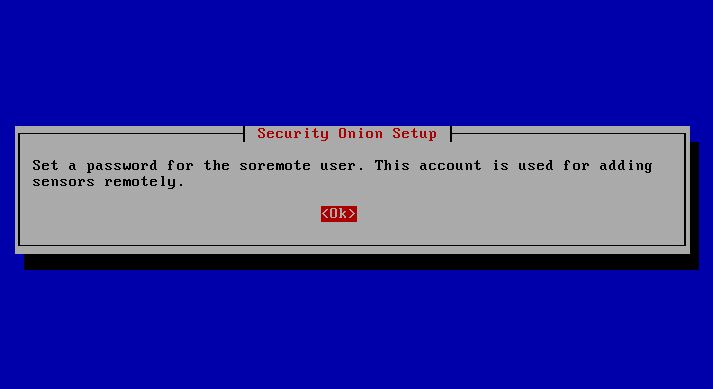
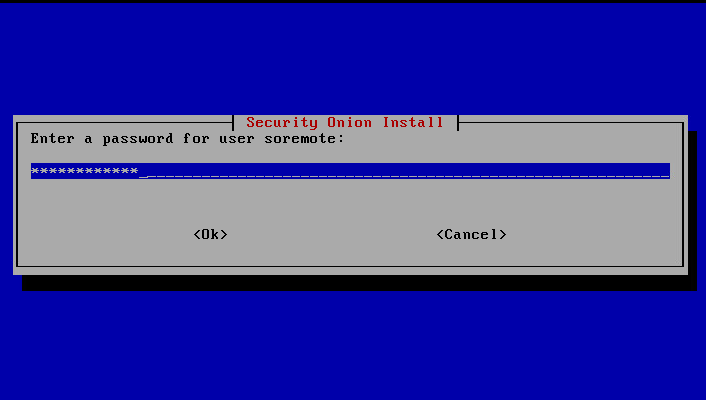
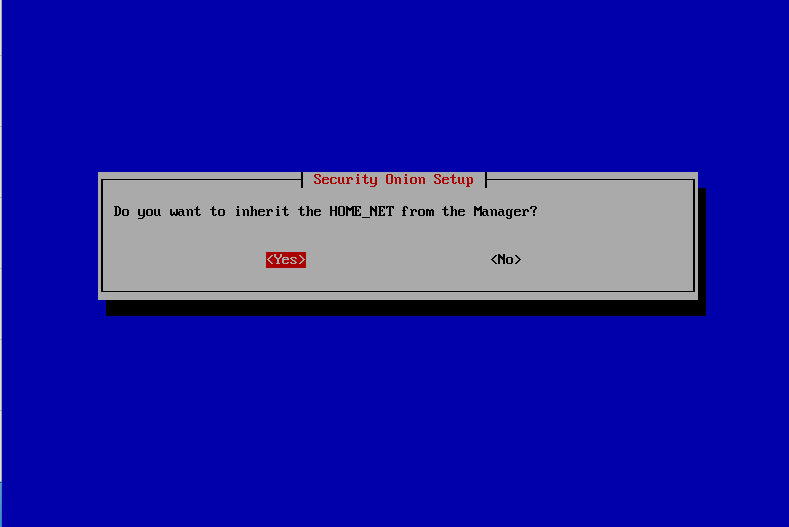
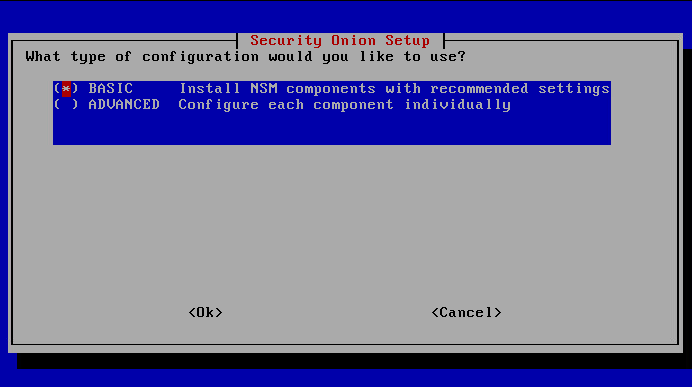
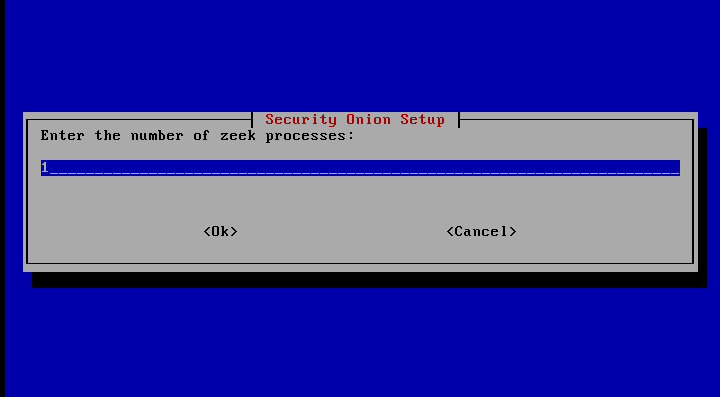
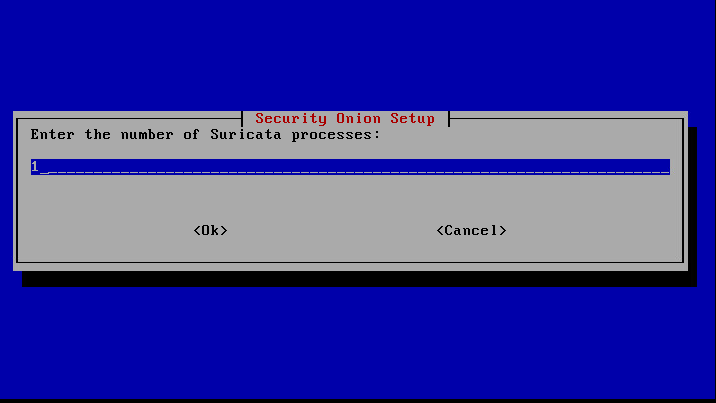
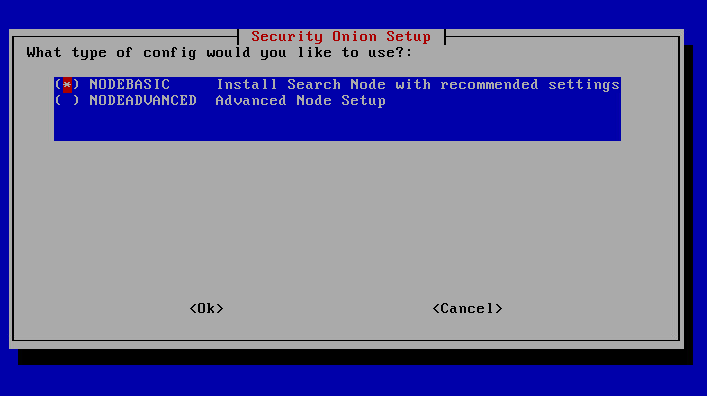
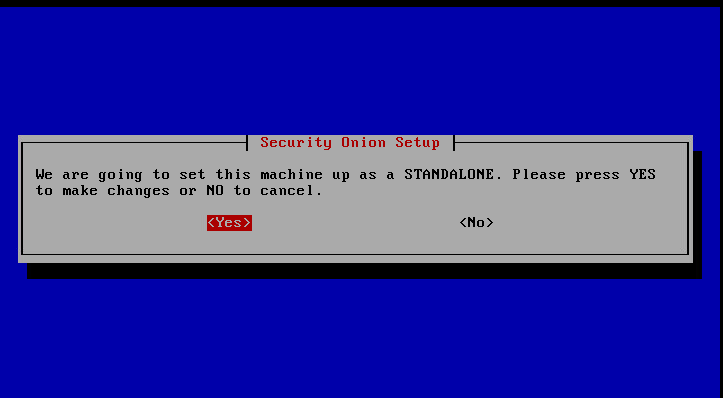
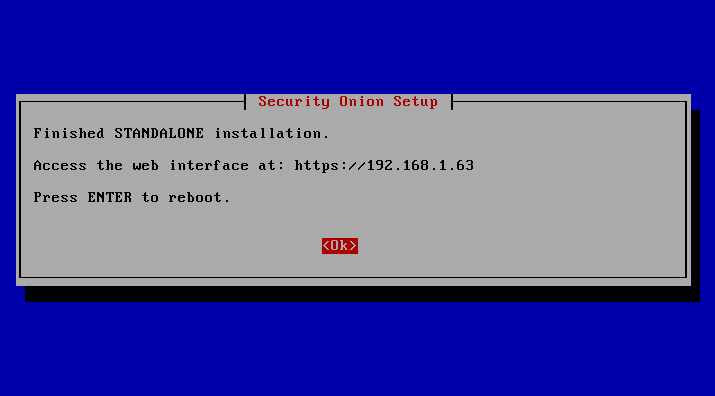
詳細設定(Security Onion Setup)
-
デスクトップ環境のセットアップ
- 以下のコマンドを実行
sudo so-analyst-install
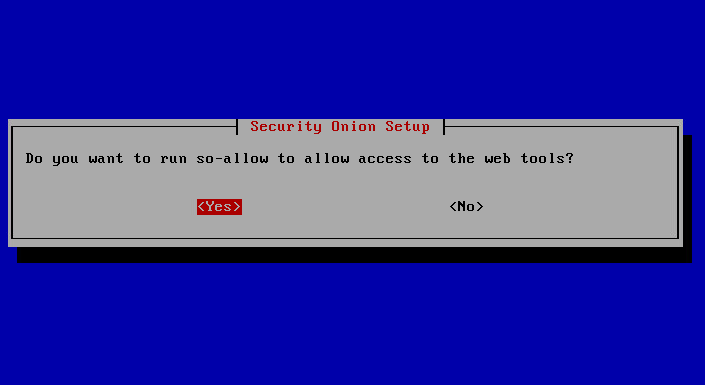
4. Firewallの設定
- 下記のコマンドを実行
sudo so-allow
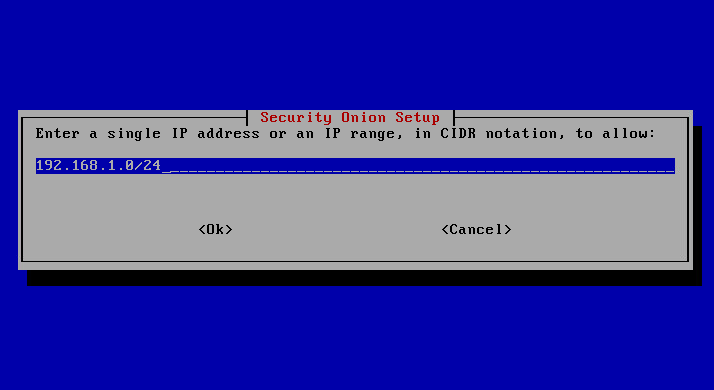
2. OSquery,WazuhをインストールするWindows10のIPを入力する
This program allows you to add a firewall rule to allow connections from a new IP address.

Choose the role for the IP or Range you would like to add

[a] - Analyst - ports 80/tcp and 443/tcp
[b] - Logstash Beat - port 5044/tcp
[o] - Osquery endpoint - port 8090/tcp
[s] - Syslog device - 514/tcp/udp
[w] - Wazuh agent - port 1514/tcp/udp
[p] - Wazuh API - port 55000/tcp
[r] - Wazuh registration service - 1515/tcp
Please enter your selection (a - analyst, b - beats, o - osquery, w - wazuh):
Windows10(やれら)
- ISOかOVAをダウンロードする
- VMを作成する
- MS Officeをインストールする。
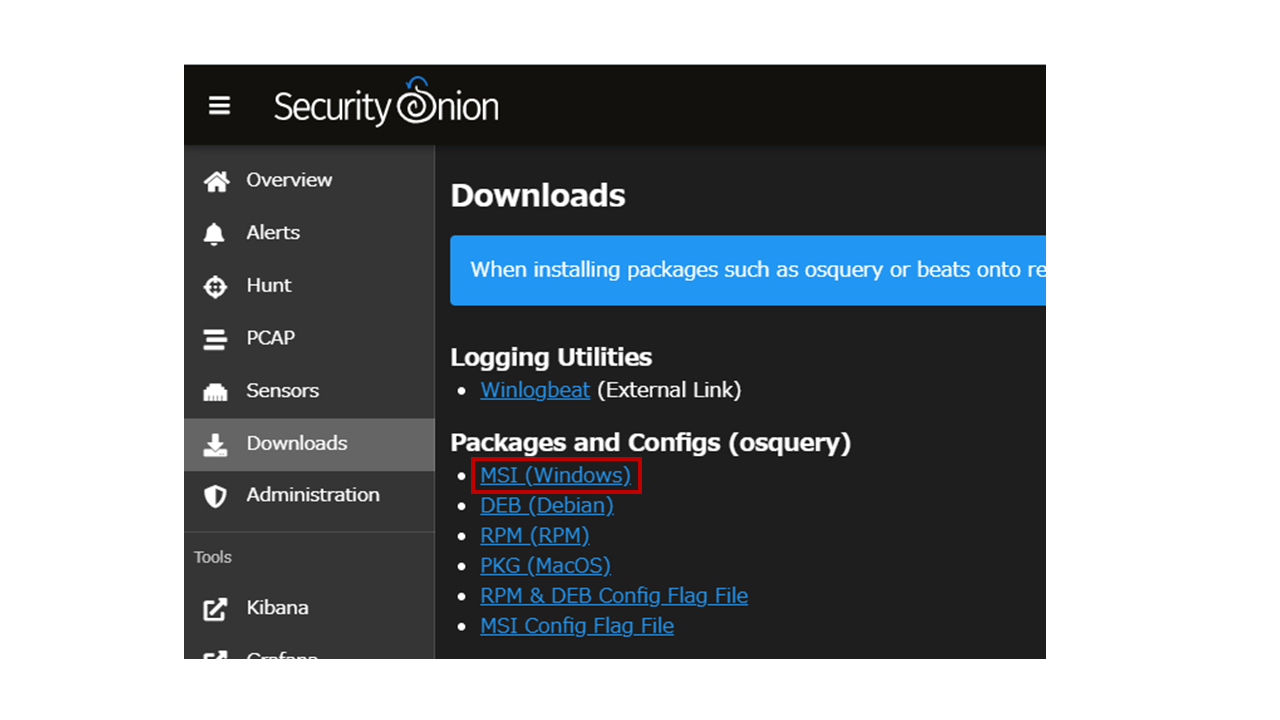
- OSqueryのインストール
- Wazuhの準備(securityonion)
-
ホストのIPとagent名(任意)を登録する。
[seconion@securityonion ~]$ sudo docker exec -it so-wazuh /var/ossec/bin/manage_agents -a -n
[sudo] password for seconion:
- Wazuh v3.13.1 Agent manager. *
- The following options are available: *
(A)dd an agent (A).
(E)xtract key for an agent (E).
(L)ist already added agents (L).
(R)emove an agent (R).
(Q)uit.
Choose your action: A,E,L,R or Q:
- Adding a new agent (use '\q' to return to the main menu).
Please provide the following:- A name for the new agent: * The IP Address of the new agent: * An ID for the new agent[002]: Agent information:
ID:002
Name:windows10
IP Address:192.168.1.86
- A name for the new agent: * The IP Address of the new agent: * An ID for the new agent[002]: Agent information:
Confirm adding it?(y/n): Agent added with ID 002.
manage_agents: Exiting.
- 次の以下のagent IDを確認する。
[seconion@securityonion ~]$ sudo docker exec -it so-wazuh /var/ossec/bin/manage_agents -l
Available agents:
ID: 001, Name: securityonion, IP: 192.168.1.63
ID: 002, Name: windows10, IP: 192.168.1.86
- Authentication keyを生成する
[seconion@securityonion ~]$ sudo docker exec -it so-wazuh /var/ossec/bin/manage_agents -e
Agent key information for '002' is:
MDAyIHdpbmRvd3MxMCAxOTIuMTY4LjEuODYgNzMwNzNlOGIzYjZlZTdmMGNiMjM1OWQ1YjY0Y2QwZDE4MTNhNTU3ZjYzODFjNTJhYjRmYjY4ZjIzM2VhOGVmZg==
[seconion@securityonion ~]$
5. Wazuhのインストール(Windows10)
1. [ここ](https://documentation.wazuh.com/3.13/installation-guide/installing-wazuh-agent/windows/wazuh_agent_package_windows.html#wazuh-agent-package-windows)からwazuhのインストーラーをダウンロード&実行
3. ManagerIPにSecurityOnionのIPアドレスをAuthentication key(長い文字)に生成したキーを入力する。
4. 「SAVE」を押す。
5. 「Manage」→ 「Start」を押す。
6. Winlogbeatとsysmonのインストール
- 以下のURLからwinlogbeat(zip)、sysmon、symonコンフィグをダウンロードする。
Winlogbeats
https://www.elastic.co/jp/downloads/beats/winlogbeat
sysmon
https://docs.microsoft.com/en-us/sysinternals/downloads/sysmon
sysmonコンフィグ
https://gist.github.com/Cyb3rWard0g/136481552d8845e52962534d1a4b8664#file-startlogging-xml
- sysmonのインストール
Sysmon64.exe accepteula -i my_sysmon_config.xml
- Winlogbeatのディレクトリ展開
C:\Program Files に展開し、ディレクトリ名をwinlogbeat-からWinlogbeatに変更します。
- Powershellで以下のコマンドを実行
cd "C:\Program Files\winlogbeat"
Set-ExecutionPolicy Unrestricted
.\install-service-winlogbeat.ps1
Set-ExecutionPolicy Restricted
Start-Service -Name winlogbeat -PassThru
exit
## Windows10(攻撃)
1. ISOかOVAをダウンロードする
   - https://www.microsoft.com/ja-jp/evalcenter/evaluate-windows-10-enterprise
   - https://developer.microsoft.com/ja-jp/windows/downloads/virtual-machines/
2. VMを作成する
3. MS Officeをインストールする。
3. CommandoVMをインストールする。
   - https://github.com/fireeye/commando-vm
   - [README](https://github.com/fireeye/commando-vm#standard-install)に従いインストールする。
4. Covenant
   1. [.NET](https://dotnet.microsoft.com/download/dotnet-core/thank-you/sdk-3.1.403-windows-x64-installer)をダウンロードする。
   2. .NETのインストーラーを実行する。
   3. Gitのクライアント(適当なやつ)をインストールする。
   4. 以下のコマンドでリポジトリのコピーとbuildと実行。

      ```
      git clone --recurse-submodules https://github.com/cobbr/Covenant
      cd Covenant/Covenant
      dotnet build
      dotnet run
      ```

## 次回:Covenantの攻撃をハンティング
