はじめに
この記事はVue3向けのUIライブラリであるInklikeをインストールして使ってみるステップバイステップです。
Inklineをメインに据えた記事がQiita内にない1ようなので、筆者の学習を兼ねて記事にしてみます。
記事の内容は公式ページのIntroductionを追ったものプラスアルファを目指しています。
Inklineについて
「はじめに」にて書いていますが、Vue3向けのUIコンポーネントライブラリです。(公式のAboutの表記に従いました)
良質なUI(User Interface)、UX(User Experience)のみならず、DX(Developer Experience)も提供することを目標としているとのことです。
作者はルーマニアのティミショアラに住むAlex Grozav氏で、オープンソースで開発が進められています。
Contributorsの中には日本の方もおられるようです。
環境
Vue3の開発を行うための環境が必要です。
筆者はWindowsを使っているため、NVM for Windowsで準備しました。
PS D:\workspace\inkline-introduction> nvm --version
1.1.10
PS D:\workspace\inkline-introduction> node --version
v18.12.1
PS D:\workspace\inkline-introduction> npm --version
8.19.2
インストール
Viteによるインストールが推奨されています。
とは言っても特別なことが必要なわけではなく、create-vueでVueのプロジェクトを作る→作ったプロジェクトにInklineをインストールする、という手順になります。
Vue3のプロジェクトを作る
通常のVue3のプロジェクトと同じくnpm init vue@latest (作りたいプロジェクト名)でOKです。
ログは掲載しませんが、TypeScriptの有効化と、ESLintとPrettierの追加のみデフォルトから変更しました。
必要なパッケージをインストールできたら、一度実行してページを表示できるか確認しておきます。
create-vueの実行時に表示される通り、npm run devを実行します。

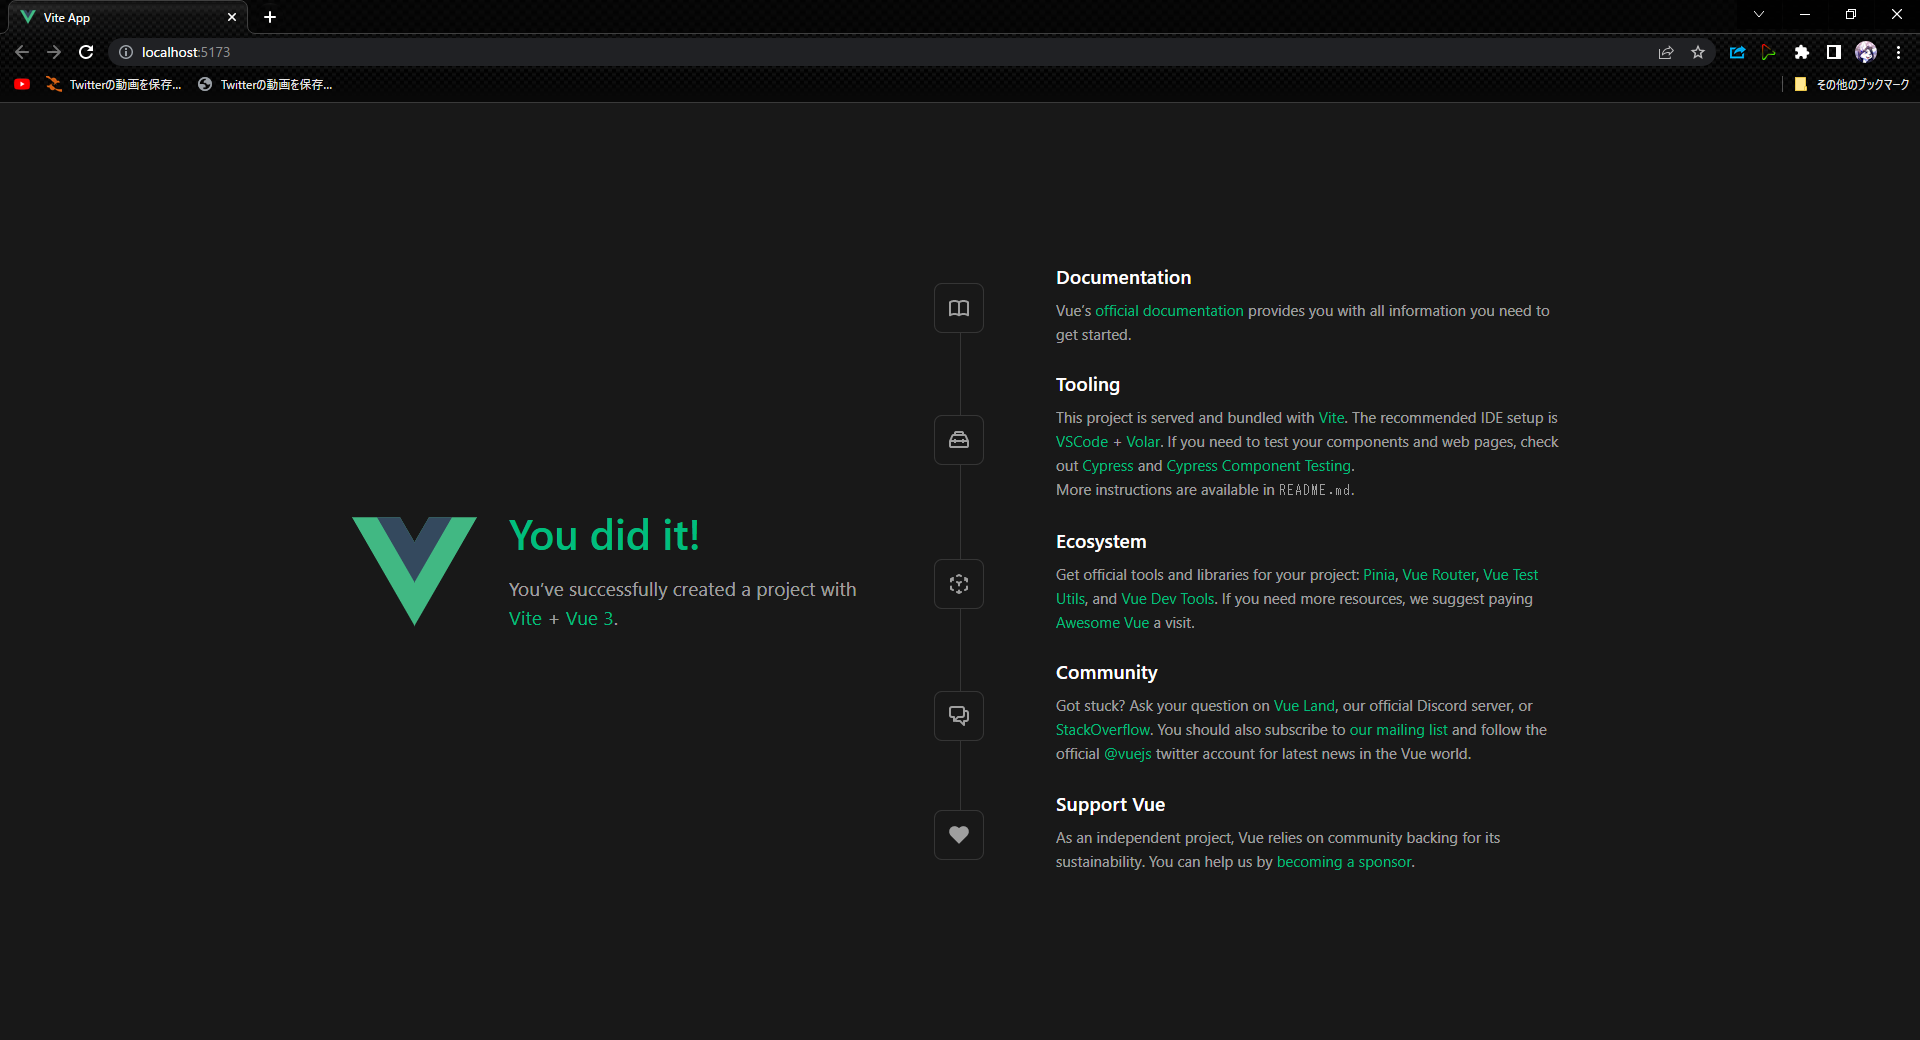
無事にVue3のスタートページが表示されました。
Inklineをインストールする
インストールはnpmを使います。
公式ページではInklineをインストールする際に--saveオプションが付いていますが、筆者環境のnpmでは不要です。
また、ガイドのとおりにscssもインストールします。
PS D:\workspace\inkline-introduction\inkline-introduction> npm install @inkline/inkline
PS D:\workspace\inkline-introduction\inkline-introduction> npm install --save-dev sass
PS D:\workspace\inkline-introduction\inkline-introduction>
Inklineを使うための設定
スタイルの設定
インストールガイドに従ってsrc/main.scssを追加します。
@import "@inkline/inkline/css/variables";
@import "@inkline/inkline/css/mixins";

:root{
    --color--primary--h: 195deg;
    --color--primary--s: 77%;
    --color--primary--l: 39%;
}
プロジェクトの設定
筆者はTypeScriptを使っているのでsrc/main.tsをインストールガイドに従って変更します。
import { createApp } from "vue"
import App from "./App.vue"

import { Inkline, components } from "@inkline/inkline"
import "@inkline/inkline/inkline.scss"

import "./main.scss"

const app = createApp(App)

app.use(Inkline, {
    components
})

app.mount("#app")
実行してみる
公式のインストールガイドは以上で終了です。
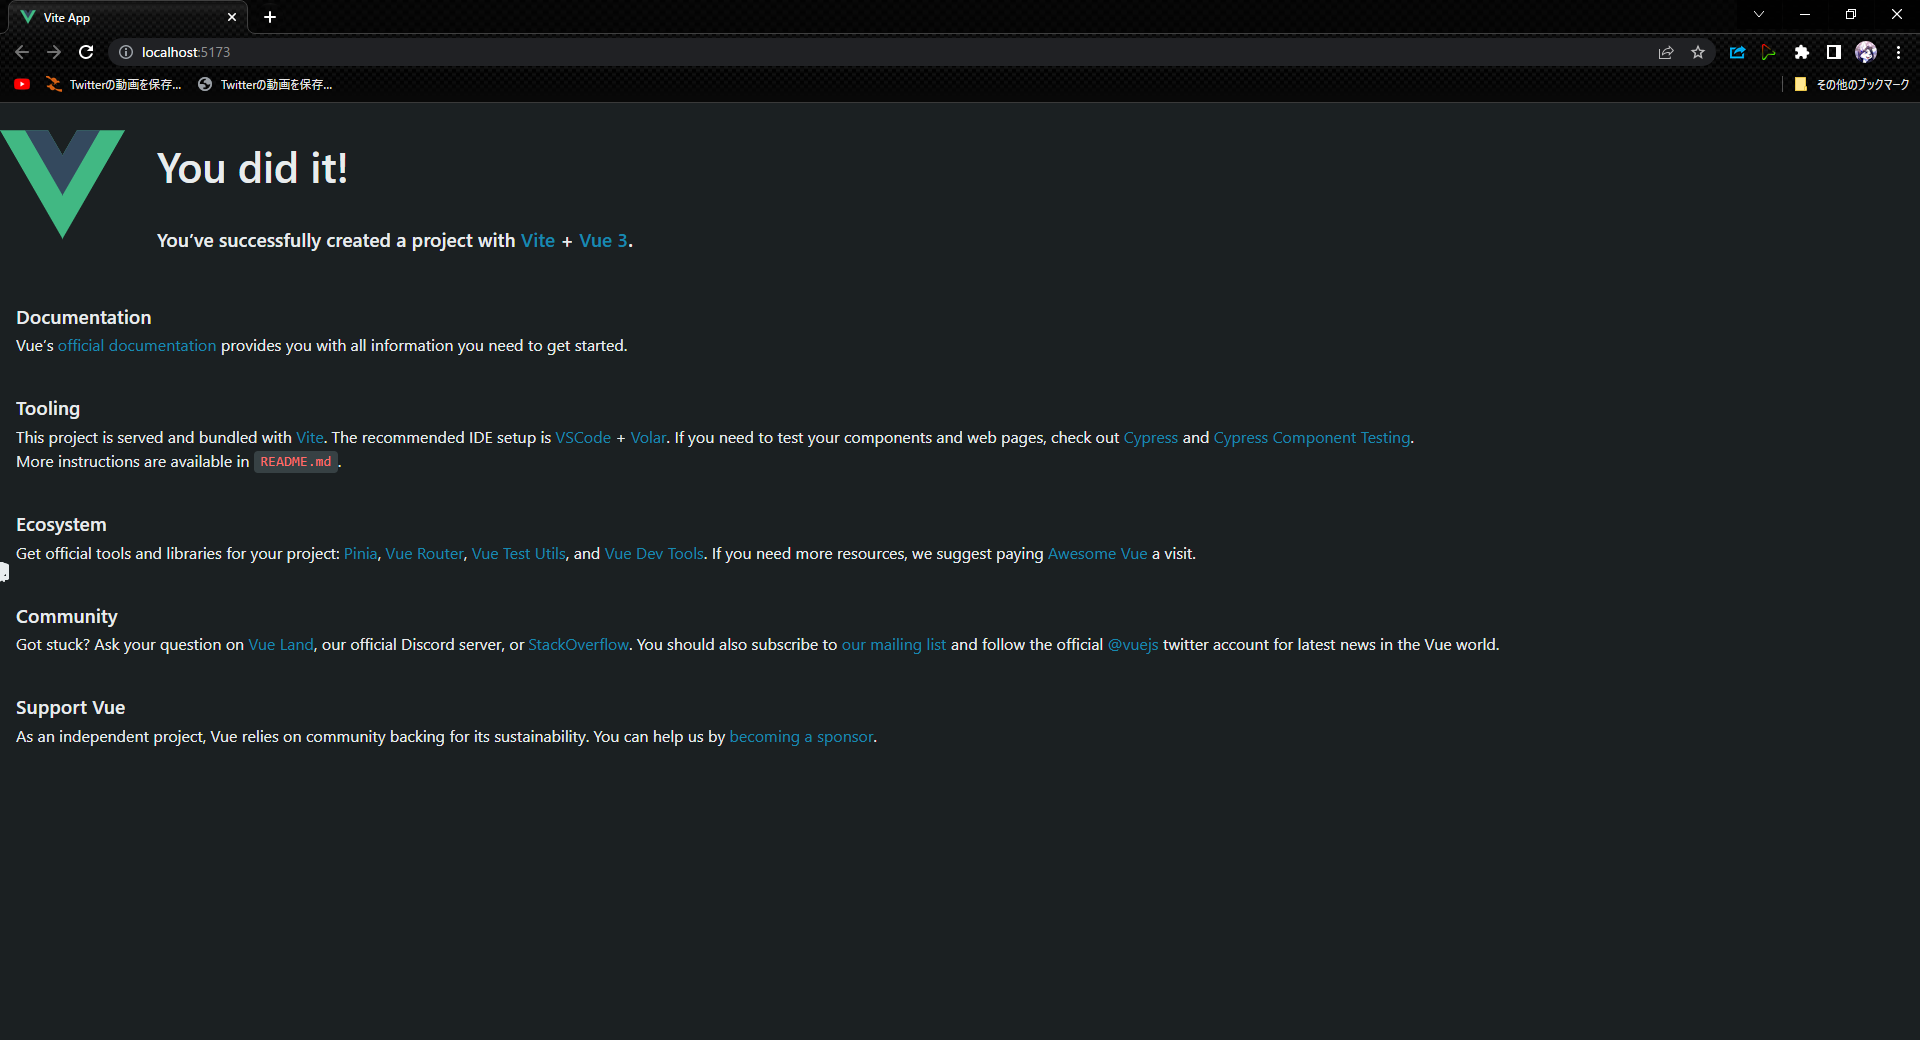
再度npm run devを実行します。

ページの中身がVue3のスタートページそのままなので、Inklineを使っている感がありません。
続けてInklineで画面を作ってみます。
Inklineで画面を作る
レイアウト
ページの構造を組み立てるために以下のレイアウトコンポーネントが用意されています。
-
<i-layout>: レイアウトのラッパー -
<i-layout-header>: ページのヘッダー -
<i-layout-footer>: ページのフッター -
<i-layout-aside>: 左右のセクション -
<i-layout-content>: メインになるコンテンツ
<i-layout>の中に別の<i-layout>を入れることもできます。
今回は公式にある「ヘッダーとフッターが幅いっぱい、左にセクションあり」を作ってみます。
<script setup lang="ts">
</script>

<template>
  <i-layout>
    <i-layout-header>
      Header
    </i-layout-header>
    <i-layout vertical>
      <i-layout-aside>
        Left Aside
      </i-layout-aside>
      <i-layout-content>
        Content
      </i-layout-content>
    </i-layout>
    <i-layout-footer>
      Footer
    </i-layout-footer>
  </i-layout>
</template>

<style>
.layout-aside {
  width: 12rem;
}
</style>
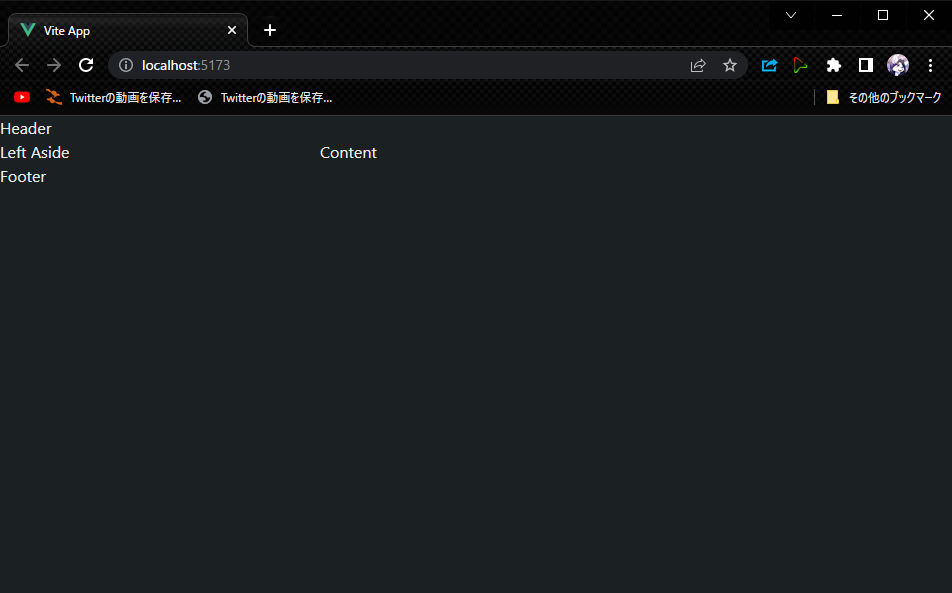
するとページはこうなりました。

どうやら位置関係は合っていそうです。
コンポーネント
レイアウトが決まったので、レイアウトの中にコンポーネントを置いて画面を作っていきます。
利用できるコンポーネントは公式ページに記載されています。
Inklineのコンポーネントは、レイアウトを見てお気づきかもしれませんが「i-xxx」という名前になっています。
作成したvueファイルはヘッダー、コンテンツ、サイドバー、フッターそれぞれに分けて抜粋して掲載します。
ヘッダー
Navbar(<i-navbar>)が向いているようです。
アイテムを入れるなど色々できますが、今回はサイト名などを入れる(たぶん)<i-navbar-brand>だけを使います。
<template>
<!-- 省略 -->
    <i-layout-header>
      <i-navbar>
        <i-navbar-brand>
          Inkline Introduction
        </i-navbar-brand>
      </i-navbar>
    </i-layout-header>
<!-- 省略 -->
</template>

<style>
nav {
  margin: 6px;
}
</style>
コンテンツ
せっかくなのでInklineのコントロールをいくつか並べてみます。
テキストはInklineのコントロールではないですが、配置や折り返しなどのユーティリティが用意されています。
<script setup lang="ts">
import { ref } from 'vue'

const inputValue = ref("")
</script>

<template>
<!-- 省略 -->
      <i-layout-content>
        <i-container fluid>
          <i-row>
            <i-column>
              <h1>Some of Inkline Controls</h1>
            </i-column>
          </i-row>
          <i-row>
            <i-column>
              <h2>Button</h2>
              <i-button>Button</i-button>
              <i-button color="primary">Primary</i-button>
              <i-button color="secondary">Secondary</i-button>
              <i-button color="success">Success</i-button>
              <i-button color="danger">Danger</i-button>
              <i-button color="warning">Warning</i-button>
              <i-button color="info">Info</i-button>
              <i-button color="light">Light</i-button>
              <i-button color="dark">Dark</i-button>
            </i-column>
          </i-row>
          <i-row>
            <i-column>
              <h2>Input</h2>
              <i-input v-model="inputValue" placeholder="Type something.." />
            </i-column>
          </i-row>
          <i-row>
            <i-column>
              <h2>Text</h2>
              <p class="_text-align:left">
                This is a left aligned text.
              </p>
              <p class="_text-align:center">This is a center aligned text.</p>
              <p class="_text-align:right">This is a right aligned text.</p>
            </i-column>
          </i-row>
        </i-container>
      </i-layout-content>
<!-- 省略 -->
</template>
サイドバー
そのものズバリSidebar(<i-sidebar>)というコンポーネントがあります。
<template>
<!-- 省略 -->
      <i-layout-aside>
        <i-sidebar>
          <i-nav vertical>
            <i-nav-item>item1</i-nav-item>
            <i-nav-item>item2</i-nav-item>
            <i-nav-item>item3</i-nav-item>
          </i-nav>
        </i-sidebar>
      </i-layout-aside>
<!-- 省略 -->
</template>
フッター
フッターはボーダーユーティリティを使い、コピーライトを入れてみました。
<template>
<!-- 省略 -->
    <i-layout-footer>
      <div class="_border">(c) 2022 NIKO</div>
    </i-layout-footer>
<!-- 省略 -->
</template>

<style>
._border {
  padding: 6px;
}
</style>
Voila!
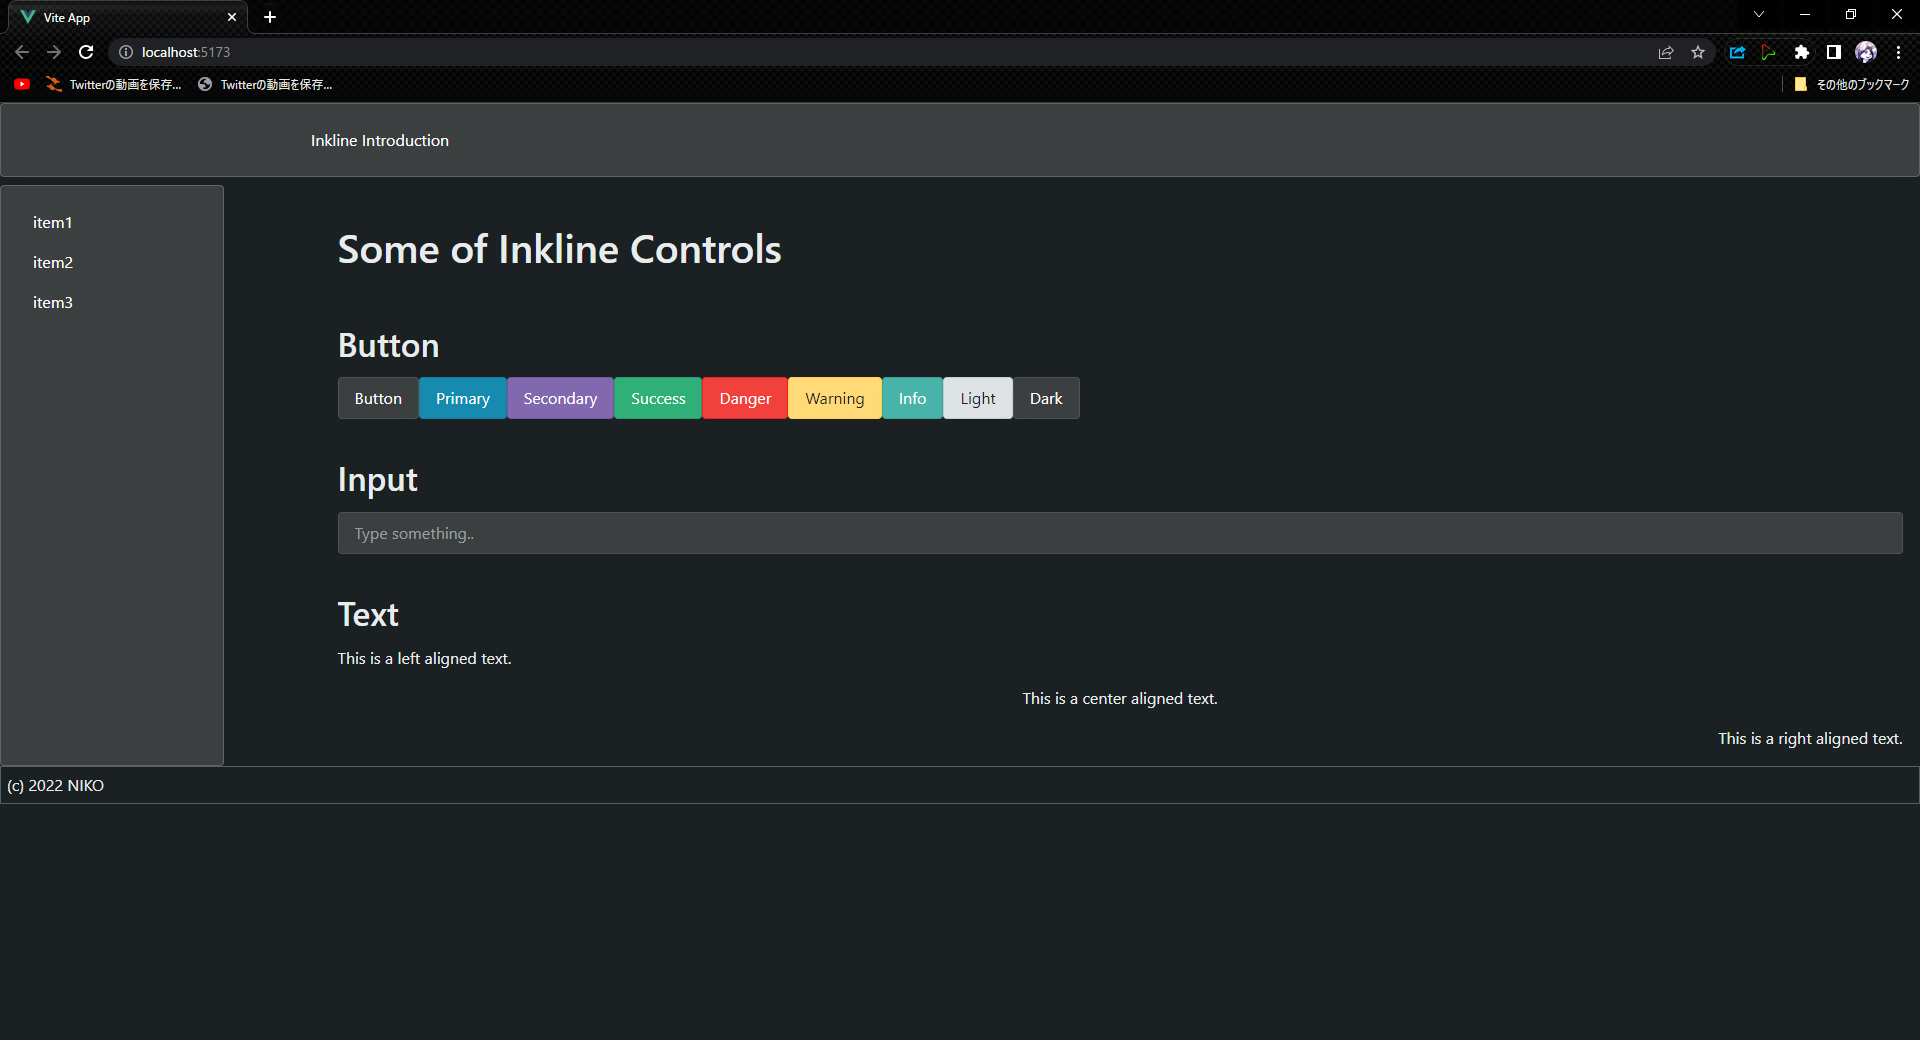
ブラウザでlocalhostを開くと以下のページが表示されます。
ボタンや入力欄の見た目が変わっていること、ヘッダーやサイドバーができていることがお分かりいただけるかと思います。

ソースコード
今回作成したサンプルはGitHubに置いてあります。
最後に
お読みいただきありがとうございました。
Vue3用のUIライブラリを探している、Inklineというライブラリの存在を知ったがよくわからない、などという方の助けになれば幸いです。
参考資料
Vue.js UI UX DX Library - Inkline
nvm-windowsでNode.jsバージョン管理
-
執筆開始時点でVue3のUIフレームワーク/UIライブラリ紹介と比較にて「その他のVue.js3対応UIフレームワーク」として挙げられているのみのようです。 ↩