はじめに
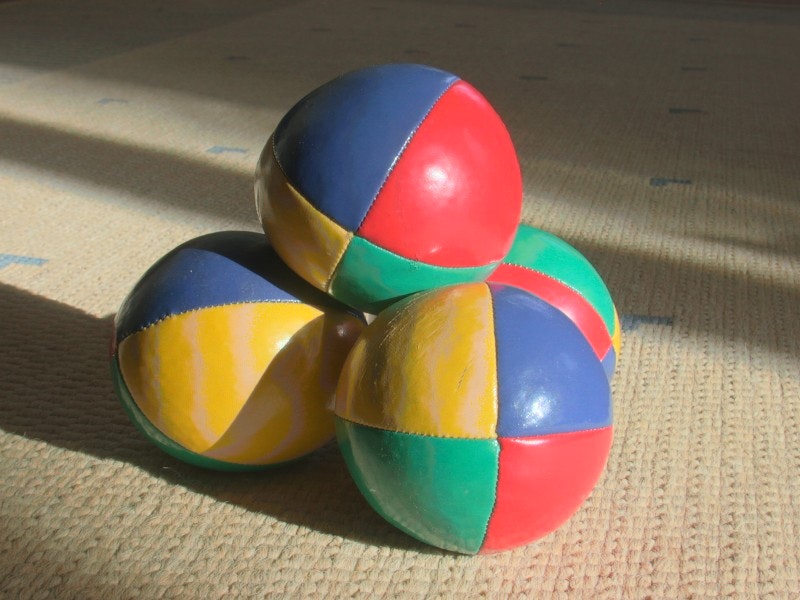
縦書きテキストを画像に埋め込みたいと頼まれたので、
Python 製の画像処理ライブラリ Pillow を使ってサクッと実装してみました。
一応ソースコードは Gist にもアップ済みです ![]()
動作環境
- Python 3.9.5
- Pillow 8.2.0
画像に縦書きテキストを埋め込む
まずは今回利用する Pillow を予めインストールしておきます。
pip install Pillow
その後 main.py を作成して下記を入力します。
テキストを埋め込みたい画像を main.py と同じフォルダに sample.jpeg という名前で配置しておきます。
# Pillow の利用するモジュールのみをインポートする
from PIL import Image, ImageDraw, ImageFont

# 読み込みたいフォント情報を入力する
font_name = "/System/Library/Fonts/ヒラギノ角ゴシック W0.ttc"
font_size = 48
font = ImageFont.truetype(font_name, font_size)

# テキストを埋め込みたい画像 sample.jpeg を読み込む
im = Image.open('sample.jpeg')
d = ImageDraw.Draw(im)

# 画像に埋め込みたいテキスト情報を入力する
# (後述するが、改行コードには未対応)
text = "bifdLcFCKXtFJZmPZhzdefjhhYTtuJPAYsR"

# 文章を改行するまでの文字数を入力する
split_number = 11

# split_number で指定した文字数ごとに分割され配列に格納される
# ref: https://qiita.com/yasunori/items/551a7c20ef9b81474e2a
splits = [text[i: i+split_number] for i in range(0, len(text), split_number)]

# 画像の width を読み込み、画像の右端の座標を取得する
# top_right_margin には余白を設定する (描画領域の端が画像の端と被ってしまうため)
w, _ = im.size
top_right_margin = 13
right_edge = w - top_right_margin

# テキストの入力領域に端が赤い四角形を描画する
d.rectangle((right_edge, top_right_margin, right_edge - font_size * len(splits), font_size * split_number + top_right_margin), fill=(255, 255, 255), outline=(255, 0, 0))

# 分割した文章を上記四角形内に左にずらしながら縦書き入力する
for index, item in enumerate(splits):
  d.text((right_edge - (font_size / 2) - font_size * index, top_right_margin), item, fill="black", anchor="mt", font=font, direction="ttb")

# 縦書きテキストを埋め込んだ画像を test.png として出力する
im.save("test.png")
上記ソースコード内で特筆すべき事項として d.text があります。1
まず anchor オプション で文字を横中央に寄せて、縦を上端に寄せるよう設定しています。
更に direction オプション を利用することで、文字列を縦に入力しています。縦に入力するためのオプションとして ttb を入力しています。
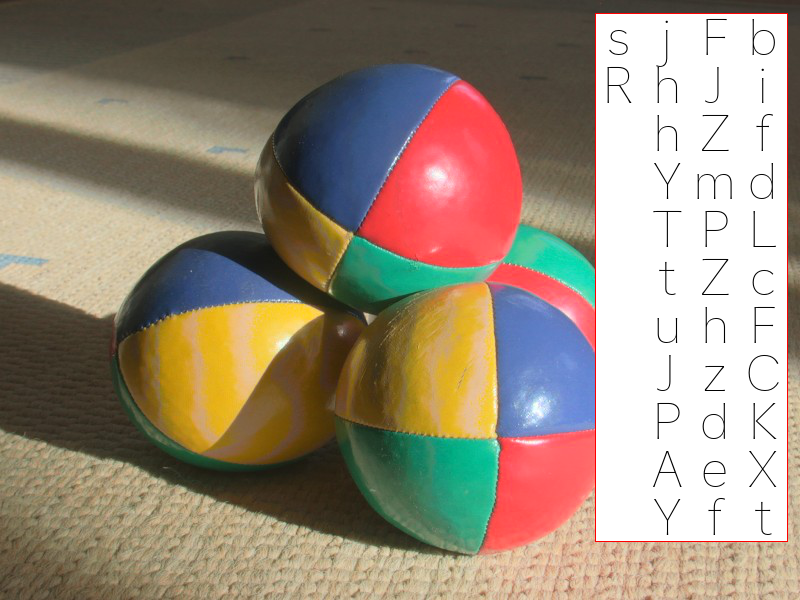
実際に main.py を実行した際に生成される画像は下記のとおりです。
おわりに
今回は Pillow を用いて縦書きテキストの画像埋め込みを実装しましたが、
ブラウザベースで埋め込みをやりたい場合は html2canvas からの png 出力ダウンロードで実装できそうでした。(ただその場合は各種ブラウザ対応とかモバイル対応が大変そう。。 ![]() )
)
参考リンク
- Pillow — Pillow (PIL Fork) 8.2.0 documentation
- Text anchors — Pillow (PIL Fork) 8.2.0 documentation
- ImageDraw Module — Pillow (PIL Fork) 8.2.0 documentation
- Pillowを日本語縦書きに対応させる - Qiita
- Embedding Japanese vertical writing characters into an image using Pillow.
-
当初は
multiline_text関数 を用いて改行にも対応した形でテキスト埋め込みを実装する予定でした。しかし、ValueError: ttb direction is unsupported for multiline textというエラーが発生してしまいmultiline_text関数の利用は断念しました。。 ↩
↩

