(2025/5/27追記)
情報が古くなっているので、新しい記事を書きました。
https://qiita.com/niikura/items/b8de01cc94f4c4ddb5c4
(追記おわり)
Geant4のインストール方法をメモしておく。
http://geant4.web.cern.ch
やりたいことは、手持ちのMac(OSはmacOS Catalina 10.15.5)にほぼデフォルトな状態のGeant4をインストールして、とりあえずexampleのひとつが起動するところまでを書いておく。
インストール方法はこれを読めば良い。
http://geant4-userdoc.web.cern.ch/geant4-userdoc/UsersGuides/InstallationGuide/html/
が、これは完全なマニュアルでかなり長いので、とりあえず動けば良い的な文章を書いてみることにした。
(2020/12/3追記 ubuntu 20.04にもインストールしてみたので、そのときのオプションも追記)
Geant4をインストールする
準備
Homebrewを使うことを前提にする。とりあえずcmakeとqtを入れておく。
brew install cmake qt
(追記) Ubuntu 20.04ではqt5を使う。
sudo apt install cmake qt5-default
(追記終わり)
ちなみに、HomebrewでGeant4自体をインストールできると記事を見かけたが、Geant4はたまに新しいバージョンでは動かなかったりするので、今回は自分でソースから入れることにする。
https://www-he.scphys.kyoto-u.ac.jp/member/shotakaha/dokuwiki/doku.php?id=toolbox:geant4:install:homebrew:start
まずはダウンロード、展開
こちらから、Source filesをダウンロードする。
http://geant4.web.cern.ch/support/download
現時点(2020/06/29)で最新は4.10.06.p02でした。
どこにインストールするのが良いかは人それぞれですが、私は/opt/geant4にインストールすることにしている。
sudo mkdir /opt/geant4
sudo chown niikura:staff /opt/geant4
cd /opt/geant4
mv ~/Download/geant4.10.06.p02.tar.gz .
tar zxvf geant4.10.06.p02.tar.gz
コンパイル
cmakeを使うので、コンパイルするディレクトリを用意する。
mkdir geant4.10.06.p02-build
cd geant4.10.06.p02-build
cmakeのオプションはどんなシミュレーションをやりたいかによって適切に書く必要があるのだが、基本デフォルトで使うことにする。ただし、QTを使うことにする。
cmake -DCMAKE_INSTALL_PREFIX=/opt/geant4/geant4.10.06.p02-install -DGEANT4_INSTALL_DATA=ON -DGEANT4_USE_QT=ON /opt/geant4/geant4.10.06.p02/
おそらくFindQT4関連で下記のようなエラーが出るのではないかと思う。
CMake Error at /usr/local/Cellar/cmake/3.17.3/share/cmake/Modules/FindQt4.cmake:1314 (message):
  Found unsuitable Qt version "" from NOTFOUND, this code requires Qt 4.x
Call Stack (most recent call first):
  cmake/Modules/Geant4InterfaceOptions.cmake:117 (find_package)
  cmake/Modules/G4CMakeMain.cmake:64 (include)
  CMakeLists.txt:50 (include)


-- Configuring incomplete, errors occurred!
See also "/opt/geant4/geant4.10.06.p02-build/CMakeFiles/CMakeOutput.log".
どこで拾ったのか覚えていないのだが、下のコマンドを打てば解決する。.bashrcにでも書いておけば良いと思う。
export PATH=/usr/local/opt/qt/bin:$PATH
export LDFLAGS="-L/usr/local/opt/qt/lib":$LDFLAGS
export CPPFLAGS="-I/usr/local/opt/qt/include":$CPPFLAGS
export PKG_CONFIG_PATH=/usr/local/opt/qt/lib/pkgconfig:$PKG_CONFIG_PATH
あとはコンパイル、インストール。
make -j8
make install
環境設定
私は、今後のバージョンアップをする場合に備えて、こんな感じで/opt/geant4/proに最新のものをシンボリックリンクしておくことにしている。
ln -s /opt/geant4/geant4.10.06.p02-install /opt/geant4/pro
また、geant4がどこにあるか情報をCMAKE_INSTALL_PREFIXで指定する。その中にあるgeant4.shを使うと適当に環境変数などを設定してくれる。.bashrcにでも書いておくと良い。自分はg4workに移動するコマンドとついでにaliasにしている。ここら辺はご自由に。
export CMAKE_INSTALL_PREFIX=/opt/geant4/pro
alias geant4='source $CMAKE_INSTALL_PREFIX/bin/geant4.sh;cd ~/g4work/'
exampleを動かしてみる
とりあえず、~/g4workをGeant4の作業ディレクトリとする。そこにサンプルのプログラムをコピーする。
mkdir g4work
cd g4work
cp -r /opt/geant4/pro/share/Geant4-10.6.2/examples/basic/B1 .
buildするディレクトリは別に作るのがお約束らしい。
mkdir B1-build
cd B1-build
cmake ../B1
あとはコンパイルして実行。
make
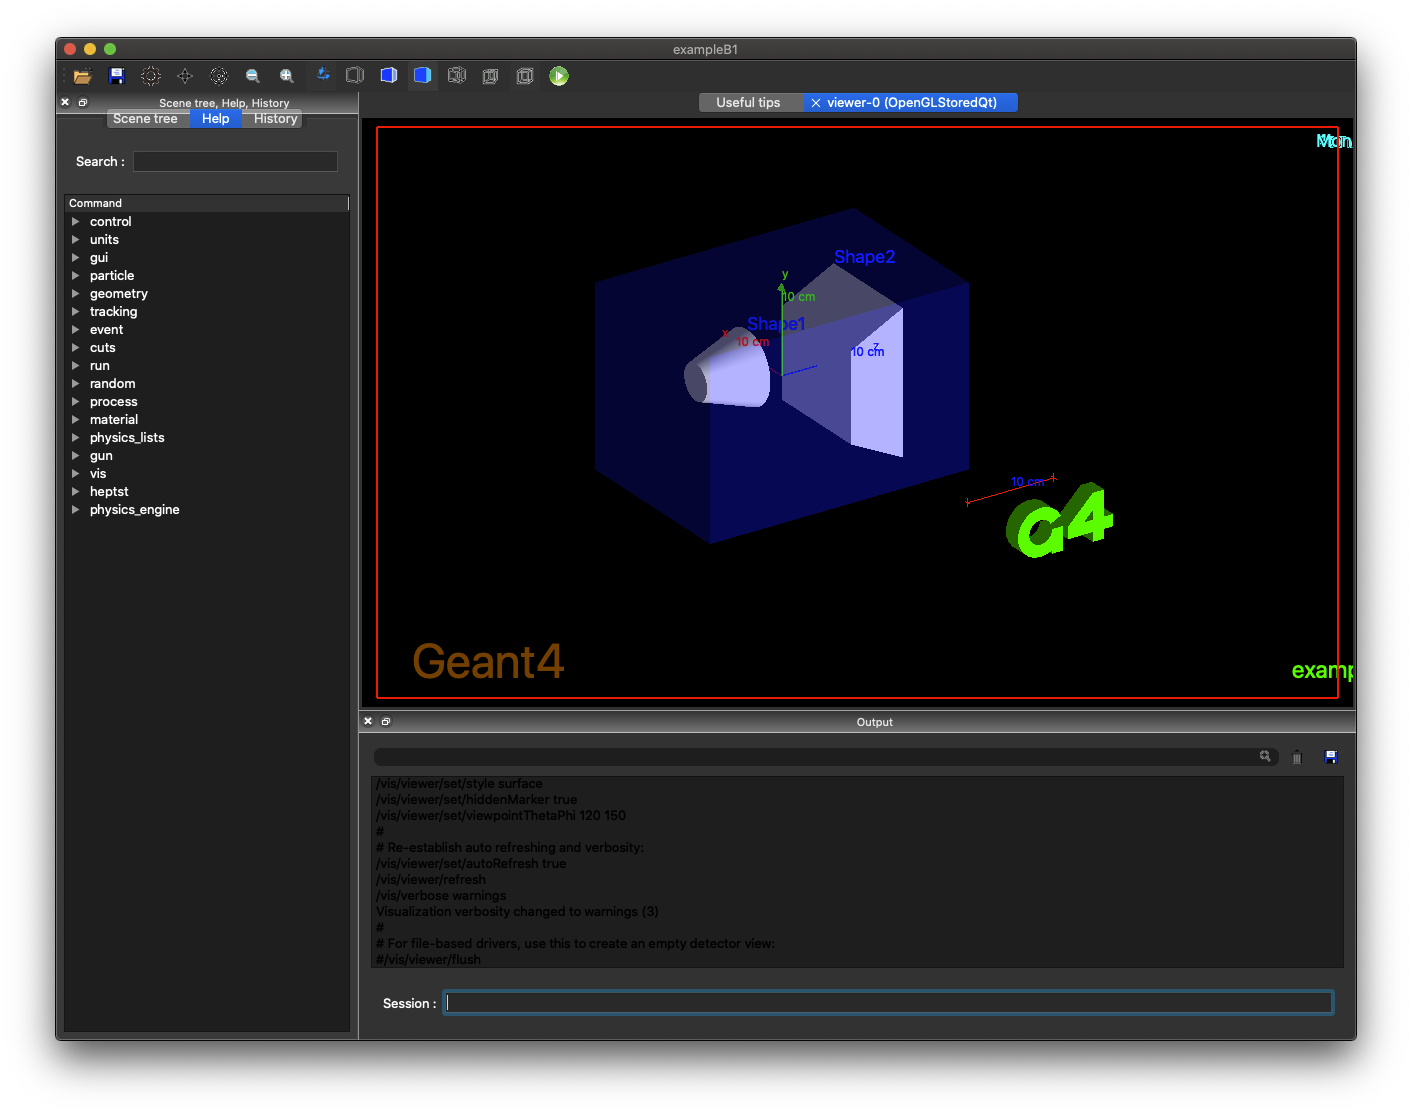
./exampleB1
以下のような画面が出てきたら成功。マウスでグリグリと動かせる。
何か粒子を打ってみたかったら、Sessionに例えばこんな感じで書いてみる。
/gun/particle gamma
/gun/energy 100 MeV
/run/beamOn 10
これは、100 MeVの光子を10出す、というコマンド。粒子やエネルギーを変えて遊んでみるとなんとなく使い方はわかると思う。細かい設定の仕方はここでは解説しない。