td-agent 3 のbetaがリリースされたので、Windowsから試してみました
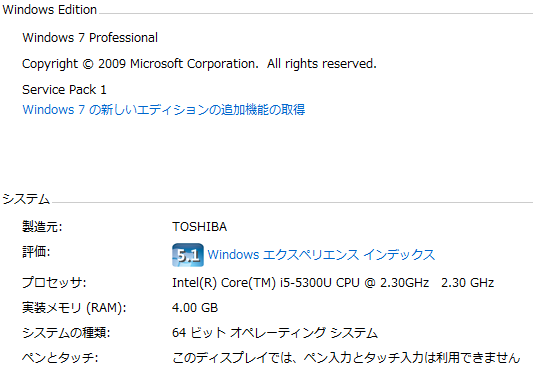
検証環境は以下の通りです。
Treasure Agent 3 has beed released!
Windows版を試す
td-agent 3はWindowsをサポートしているので、早速試してみました!
まずは公式ガイドに沿って導入してみます。
http://docs.fluentd.org/v0.14/articles/install-by-msi
Step1: Install td-agent
リンクからインストーラーをダウンロードします。
https://td-agent-package-browser.herokuapp.com/3/windows
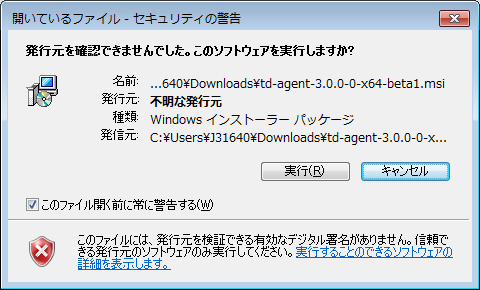
インストーラーを実行します
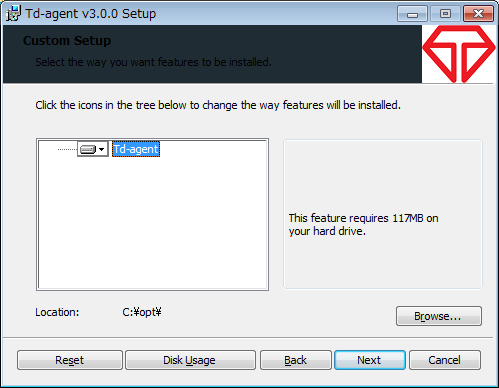
デフォルトだと、C:\opt\にインストールされるようです
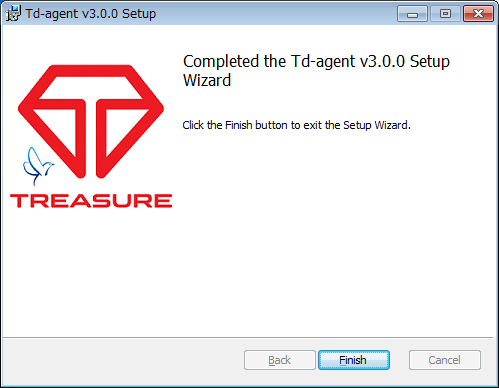
スムーズにインストールされました!
Step2: Run td-agent from Command Prompt
テスト用のコンフィグを準備して、以下の名前で保存します。
c:\opt\td-agent\conf\td-agent.conf
<source>
  @type forward
</source>
<match test.**>
  @type stdout
</match>
[スタートメニュー][すべてのプログラム][Td-agent][Td-agent Command Prompt]を起動します。
> fluentd -c conf\td-agent.conf
Td-agent Command Promptから、メッセージを送ります。
> echo {"message":"hello"} | fluent-cat test.event
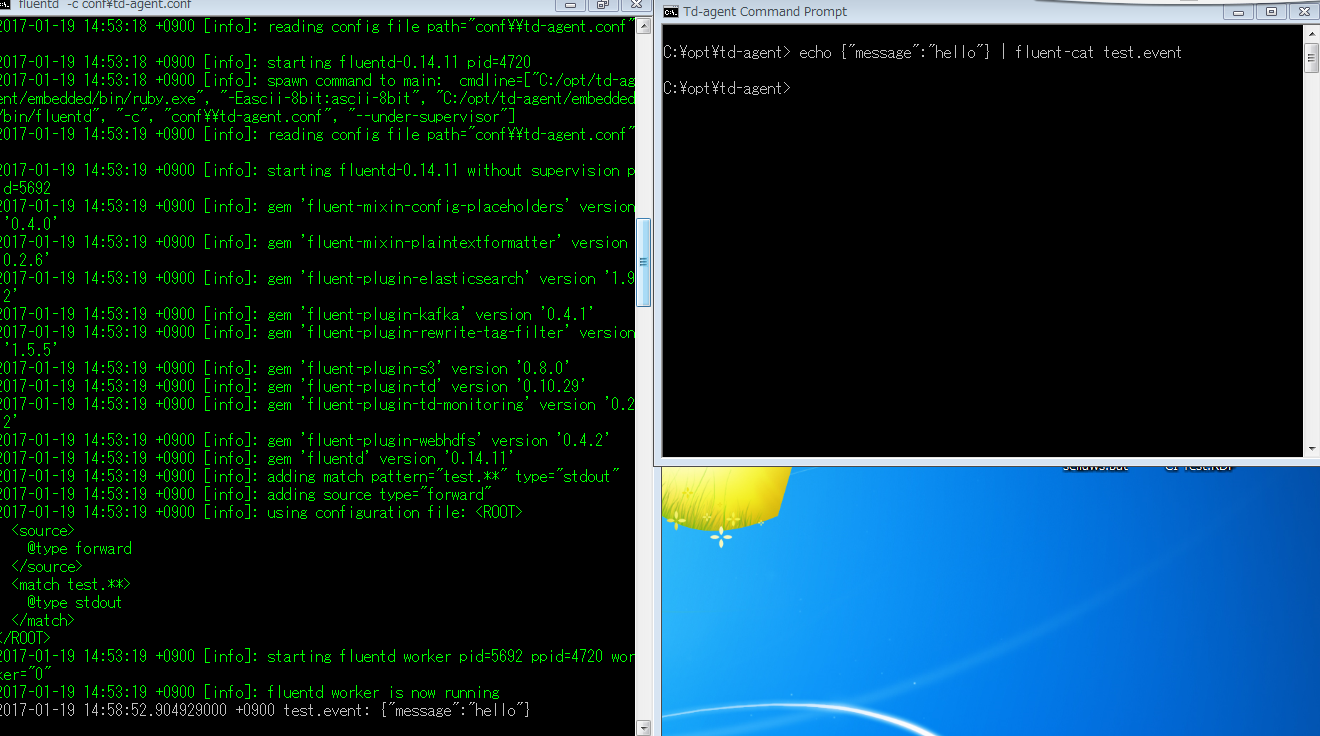
動きました!
Step3: Register td-agent to Windows service
サービスへの登録は以前と同じコマンドでした。
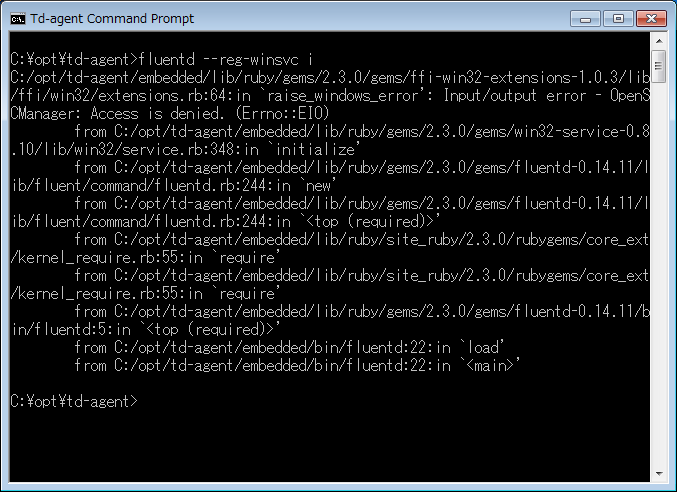
> fluentd --reg-winsvc i
> fluentd --reg-winsvc-fluentdopt '-c C:/opt/td-agent/conf/td-agent.conf -o C:/opt/td-agent/td-agent.log'
※管理者権限でTd-agent Command Promptを起動しないと権限のエラー「Input/Output error - OpenSCManager: Access is denied.」が出ました。
※既にfluentdがサービスに登録されている場合は、「The specified service already exists.」が出ます。
私の環境には以前にインストールしていたため、出力されてしまいました。

この場合は、以下の手順で一度サービスから削除した後に再度登録を行うことで登録できました。
> fluentd --reg-winsvc u
> fluentd --reg-winsvc i
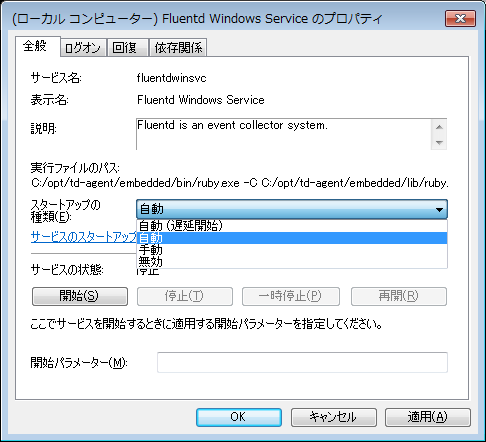
Step4: Run td-agent as Windows service
ここではサービスからFluentd Windows Serviceを選択し、自動起動にしたり、サービスを開始します。
Step5: Install Plugins
あとは好きなプラグインを入れて使いましょう!
まとめ
今までWindowsでfluentdを動かす場合は、rubyやgitをインストールしたり、fluentdをコンパイルしたりといろいろ面倒でしたが、驚くほど簡単に使えるようになり感動しました!
試すだけではなく、しっかり使って何かしらコミュニティにフィードバックできればと思っています。