Magnific Popup でレスポンシブなLightboxギャラリーを作る
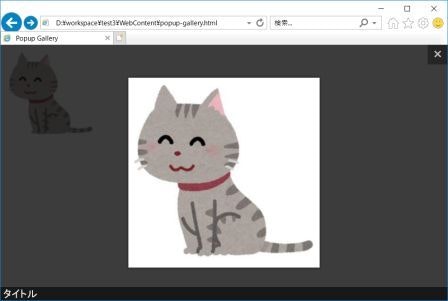
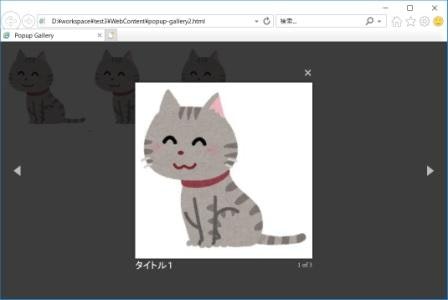
画像クリックすると、背景が黒くなって、画像がアップになって、両側に移動矢印とか、閉じるバツ印とか出るアレを作ってみたいな~と思い、jQueryで実装できる次のResponsive lightboxをお借りすることにしました。
Magnific Popup Responsive jQuery Lightbox Plugin
ミュッと拡大・縮小するZoomエフェクトも使える。のですが、自分のサイトに置いたら動きが汚かったので、ノーエフェクトのポップアップだけ使うことにしました。
必要なもの
- jQuery 1.7.2以降 (1.9.1が使われていたので当方でも採用) ※Zepto.js 1.0以降でもOK
- jquery.magnific-popup.js (downloadファイルの
dist/配下にある minもある) - magnific-popup.css (同上)
準備
頭のところに次を記述
<head>
  <link rel="stylesheet" href="css/magnific-popup.css">
  <script src="js/jquery-1.9.1.js"></script>
  <script src="js/jquery.magnific-popup.min.js"></script>
</head>
※cssフォルダ配下にmagnific-popup.css、jsフォルダ配下にjquery-1.9.1.jsとjquery.magnific-popup.min.jsを置いています
jQueryは次のようにオンラインでとってくることもできます。
<script src="//ajax.googleapis.com/ajax/libs/jquery/1.9.1/jquery.min.js"></script>
スクリプトを記述する
基本的な使い方(1枚だけポップアップ)
スクリプトを以下のように記述
<script>
	$(document).ready(function() {
		/* 1枚イラストPopup用 */
		// 文書の準備ができたらPopup画面を用意する
		$('.illust-popup').magnificPopup({
			type : 'image',
			closeOnContentClick : true, // 画像クリックで閉じる
			mainClass : 'mfp-img-mobile',
			image : {
				verticalFit : true
			// 拡大後サイズをブラウザ縦幅に合わせる
			}
		});
	});
</script>
拡大表示させたい画像は以下のように記述
<body>
  <a title="タイトル" href="image.jpg" class="illust-popup">
    <img src="thumbnail.jpg" />
  </a>
</body>
HTML全体の例
<!DOCTYPE html>
<html>
<head>
<meta charset="UTF-8">
<title>Popup Gallery</title>
<link rel="stylesheet" href="css/magnific-popup.css">
<script src="js/jquery-1.9.1.js"></script>
<script src="js/jquery.magnific-popup.min.js"></script>
<script>
	$(document).ready(function() {
		/* 1枚イラストPopup用 */
		// 文書の準備ができたらPopup画面を用意する
		$('.illust-popup').magnificPopup({
			type : 'image',
			closeOnContentClick : true, // 画像クリックで閉じる
			mainClass : 'mfp-img-mobile',
			image : {
				verticalFit : true
			// 拡大後サイズをブラウザ縦幅に合わせる
			}
		});
	});
</script>
</head>
<body>
	<a title="タイトル" href="image.jpg" class="illust-popup">
	  <img src="thumbnail.jpg" />
	</a>
</body>
</html>
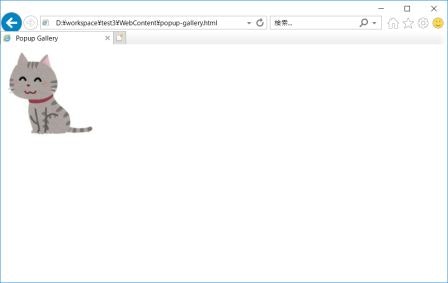
表示例
基本的な使い方(ギャラリー表示ポップアップ)
スクリプトを以下のように記述
<script>
	$(document).ready(function() {
		/* ギャラリーPopup用 */
		// 文書の準備ができたらPopup画面を用意する
		$('.gallery-popup').magnificPopup({
			delegate : 'a',
			type : 'image',
			mainClass : 'mfp-img-mobile',
			gallery : {
				enabled : true, // ギャラリー表示を有効化
				navigateByImgClick : true, // 画像クリックで次画像へ遷移
				preload : [ 0, 1 ] // いっこ前(0)と後(1)を事前読み込み
			},
			image : {
				verticalFit : true // ブラウザ縦幅に合わせる
			}
		});
	});
</script>
拡大表示させたい画像リストを以下のように記述
<body>
	<div class="gallery-popup">
		<a title="タイトル1" href="image1.jpg">
		  <img src="thumbnail1.jpg" />
		</a>
		<a title="タイトル2" href="image2.jpg">
		  <img src="thumbnail2.jpg" />
		</a>
		<a title="タイトル3" href="image3.jpg">
		  <img src="thumbnail3.jpg" />
		</a>
	</div>
</body>
HTML全体の例
<!DOCTYPE html>
<html>
<head>
<meta charset="UTF-8">
<title>Popup Gallery</title>
<link rel="stylesheet" href="css/magnific-popup.css">
<script src="js/jquery-1.9.1.js"></script>
<script src="js/jquery.magnific-popup.min.js"></script>
<script>
	$(document).ready(function() {
		/* ギャラリーPopup用 */
		// 文書の準備ができたらPopup画面を用意する
		$('.gallery-popup').magnificPopup({
			delegate : 'a',
			type : 'image',
			mainClass : 'mfp-img-mobile',
			gallery : {
				enabled : true, // ギャラリー表示を有効化
				navigateByImgClick : true, // 画像クリックで次画像へ遷移
				preload : [ 0, 1 ] // いっこ前(0)と後(1)を事前読み込み
			},
			image : {
				verticalFit : true // ブラウザ縦幅に合わせる
			}
		});
	});
</script>
</head>
<body>
	<div class="gallery-popup">
		<a title="タイトル1" href="image1.jpg">
		  <img src="thumbnail1.jpg" />
		</a>
		<a title="タイトル2" href="image2.jpg">
		  <img src="thumbnail2.jpg" />
		</a>
		<a title="タイトル3" href="image3.jpg">
		  <img src="thumbnail3.jpg" />
		</a>
	</div>
</body>
</html>
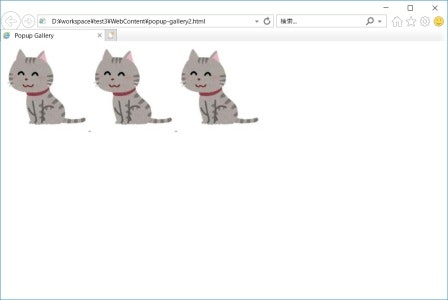
表示例
クリック前
応用的な使い方(ギャラリー表示ポップアップを複数用意する)
上記ギャラリーを複数グループ用意したい場合、div要素を分けてもgallery-popupクラスのものに入っている要素すべてが一覧に追加されてしまいます。
例:画像a,b,cと画像d,e,fで別グループにしたつもりが、Lightbox表示だとaからfまで一連のリストになってしまう
2番目のクラス名を設定し、このグループを分けるには、以下のように記述します。
$(document).ready(function() {
	/* ギャラリー表示Popup用 */
	var imageList = $('.gallery-popup');
	var size = imageList.length;
	if (size > 0) {
		var className = '';
		var prevClassNames = [];
		for (var i = 0; i < size; i++) {
			// 2番目のクラス名を取り出し
			className = imageList[i].className.split(" ")[1];
			if (className == '') {
				// 2番目のクラス名が無ければ何もしない
				continue;
			} else if (!prevClassNames.includes(className)) {
				// 既出のクラス名でなければPopup Galleryを初期化する
				prevClassNames.push(className);
				$("." + className).magnificPopup({
					delegate : 'a',
					type : 'image',
					mainClass : 'mfp-img-mobile',
					gallery : {
						enabled : true, // ギャラリー表示を有効化
						navigateByImgClick : true, // 画像クリックで次の画像へ
						preload : [ 0, 1 ] // まえ(0)とあと(1)の画像を事前読み込み
					},
					image : {
						verticalFit : true
					}
				});
			}
		}
	}
});
IE11はArray.includesをサポートしていないので、以下も記述します。
IE11で配列のincludesメソッドを使えるようにする方法
拡大表示させたい画像リストは以下のように記述
<div class="gallery-popup group1">
  <a title="a" href="image1.jpg">
    <img src="thumbnail1.jpg" />
  </a>
  // a~cを並べる
</div>
<div class="gallery-popup group2">
  <a title="d" href="image4.jpg">
    <img src="thumbnail4.jpg" />
  </a>
  // d~eを並べる
</div>
参考
画像引用元:かわいいフリー素材集 いらすとや


