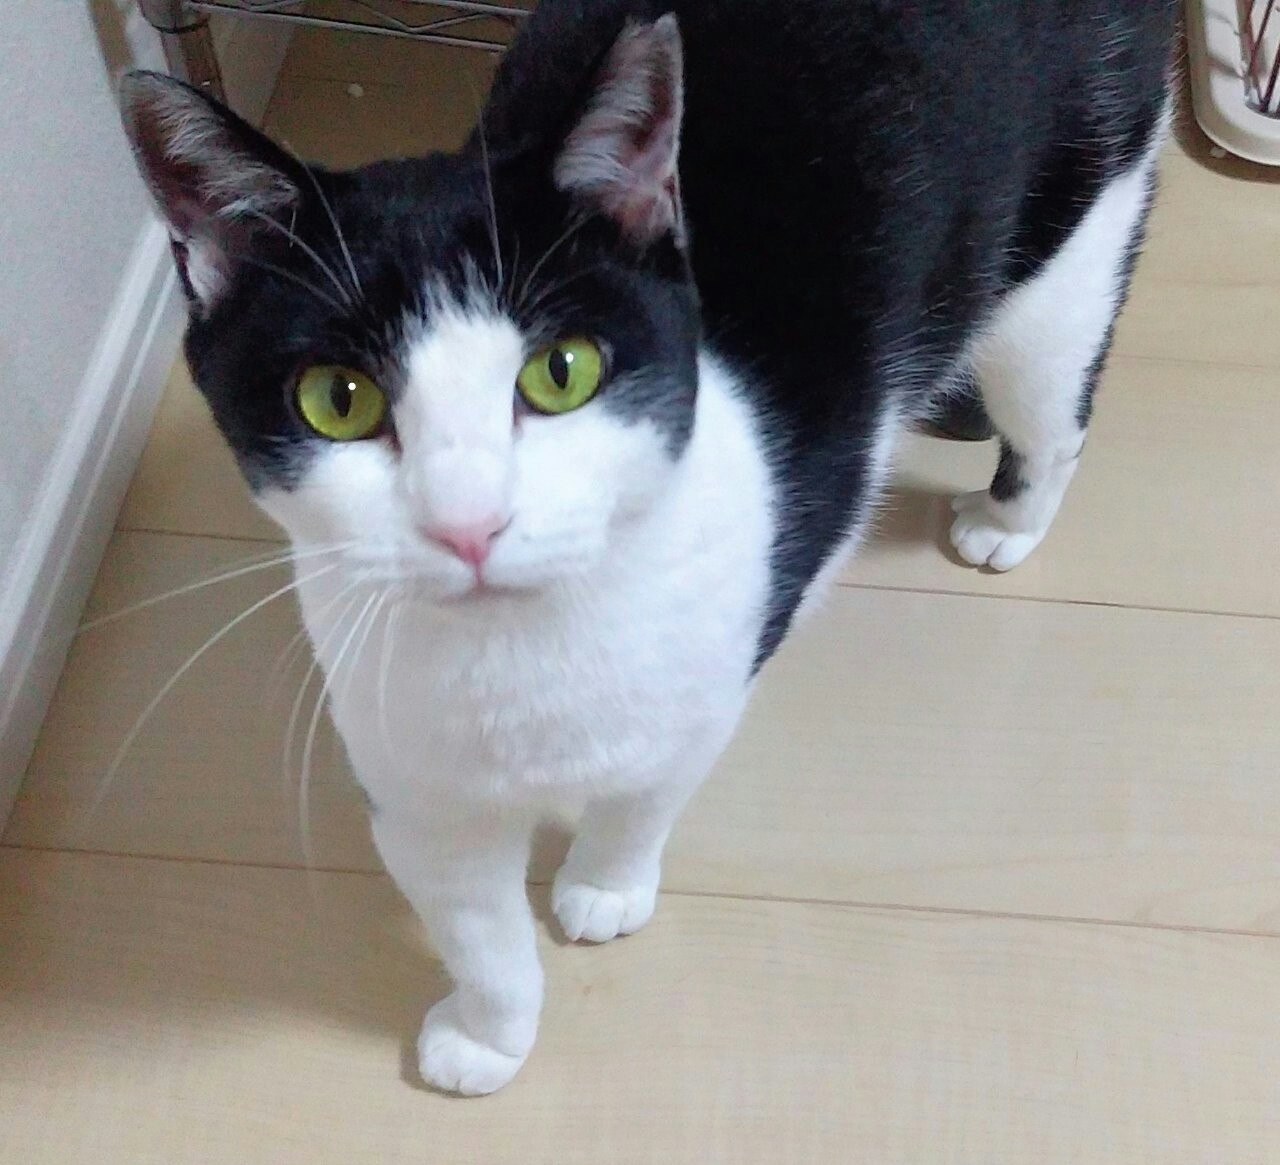
GoogleGloudVision APIを使って画像を解析するコード
こちらの動画を実践しました。
サクッと出来てめちゃくちゃ良かったです。
index.pyと同じ階層にimage.jpgという解析したい画像を入れて実行するだけ。
下準備
-
GoogleCloudに登録しVisionを有効にする
-
PCにgoogle-cloud-visionをインストール
$ pip install google-cloud-vision -
jsonでcloud-visionのクレデンシャルを発行してpythonファイルと同じ階層に入れる
-
シェルのprofileにクレデンシャルファイルのパスを登録
自分の環境はシェルがbashだったので~/.bash_profileに登録
echo 'export GOOGLE_APPLICATION_CREDENTIALS="/Users/xxxxx/Documents/vision-ai-test/oceanic-citadel-329512-8xxxxxxxxxxxx.json"' >> ~/.bash_profile
設定反映
source ~/.bash_profile
pythonファイルを記述
index.py
from google.cloud import vision

# image.jpg を開いて読み込む
with open('./image.jpg', 'rb') as image_file:
    content = image_file.read()

# Kite というプラグインでサジェストしてくれる

image = vision.Image(content=content)
# vision APIが使えるようにイメージを変換してくれ他ものをimage変数に入れる
# 別の引数がある場合指定していないのでcontent=contentとcontentのみに引数を入れている

# print(image)
# index.pyを実行して確認すると数字の羅列になる

annotator_client = vision.ImageAnnotatorClient()
# ImageAnnotatorというクラスがある
#  Annotator とは音声や画像などにタグつけをするものという意味
# annotator_clientという変数にクラスをつけてインスタンスを作った
# インスタンスを読んでいく

# print(annotator_client.label_detection(image=image))
# 確認すると現在の結果がわかる

""" label_annotations {
  mid: "/m/01yrx"
  description: "Cat"
  score: 0.9558032155036926
  topicality: 0.9558032155036926
}
label_annotations {
  mid: "/m/01lrl"
  description: "Carnivore"
  score: 0.8897402882575989
  topicality: 0.8897402882575989 """

  #description とかだけ抽出する

response_data = annotator_client.label_detection(image=image)
labels = response_data.label_annotations


print('----RESULT----')
for label in labels:
    #print(label.description)
    #print(label.score)
# みやすくする
    print(label.description, ':', round(label.score * 100, 2), '%')
print('----RESULT----')
python実行
$ python index.py
----RESULT----
Cat : 95.58 %
Carnivore : 88.97 %
Felidae : 86.93 %
Grey : 83.98 %
Small to medium-sized cats : 82.86 %
Whiskers : 81.12 %
Flooring : 78.75 %
Tail : 75.43 %
Snout : 74.93 %
Fur : 69.51 %
----RESULT----
おお~
紛れもない猫でした。
