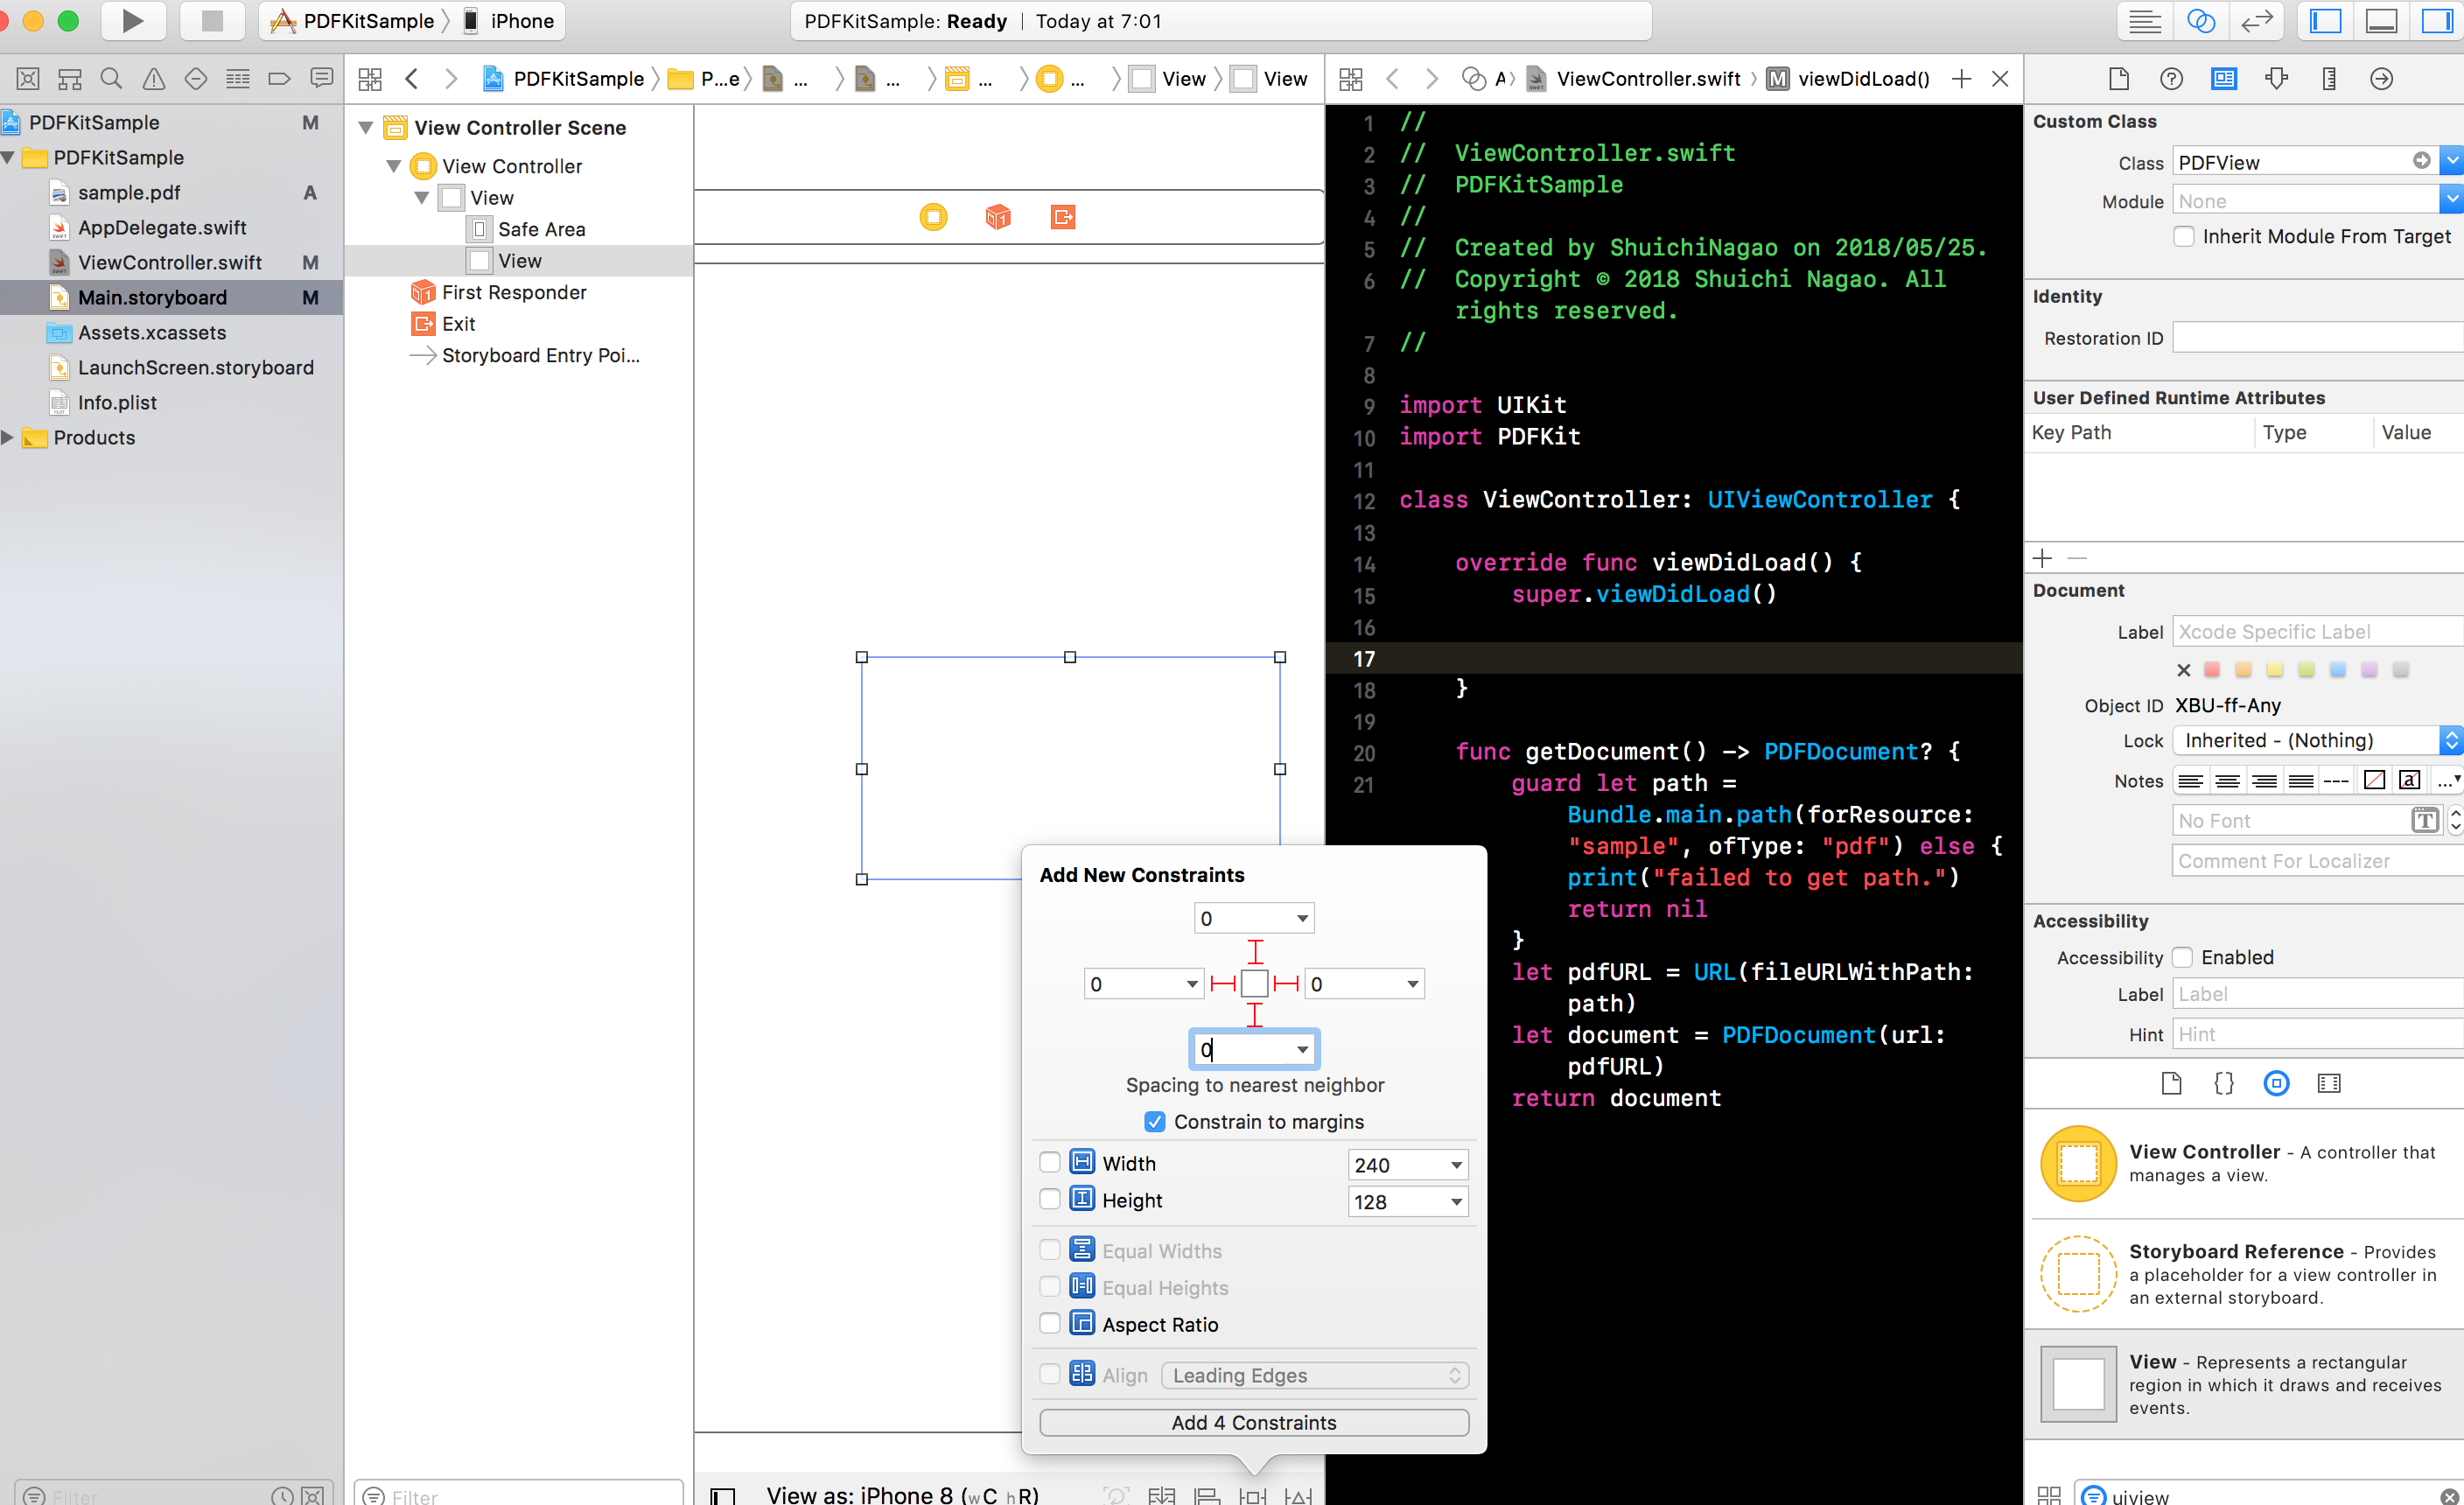
PDFKitのセットアップ
Main.storyboardにUIViewを追加して、画面いっぱいに広げます。クラスをPDFViewに変えておきます。
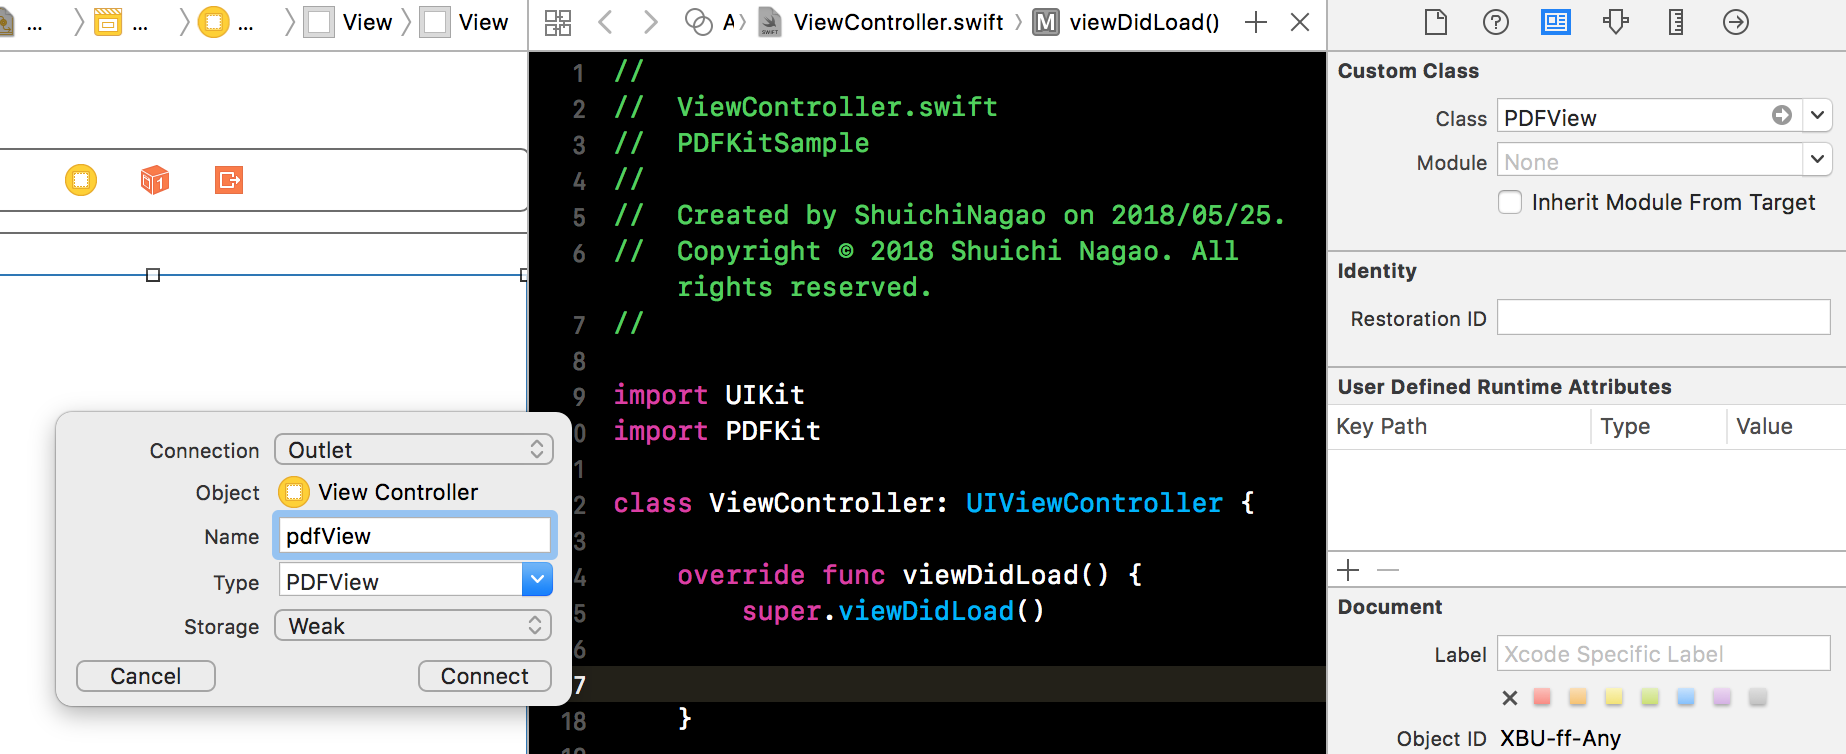
ViewControllerにpdfViewとしてつなぎます。
画像のようにsample.pdfをルートディレクトリに追加しておきます。
PDFを表示させてみる
import UIKit
import PDFKit

class ViewController: UIViewController {

    @IBOutlet weak var pdfView: PDFView!

    override func viewDidLoad() {
        super.viewDidLoad()

        // documentをセットします
        pdfView.document = getDocument()

        // 背景や表示設定を切り替えることができます
        pdfView.backgroundColor = .lightGray
        pdfView.autoScales = true
        pdfView.displayMode = .singlePageContinuous
        pdfView.usePageViewController(true)
    }

    func getDocument() -> PDFDocument? {
        guard let path = Bundle.main.path(forResource: "sample", ofType: "pdf") else {
            print("failed to get path.")
            return nil
        }
        let pdfURL = URL(fileURLWithPath: path)
        let document = PDFDocument(url: pdfURL)
        return document
    }
}
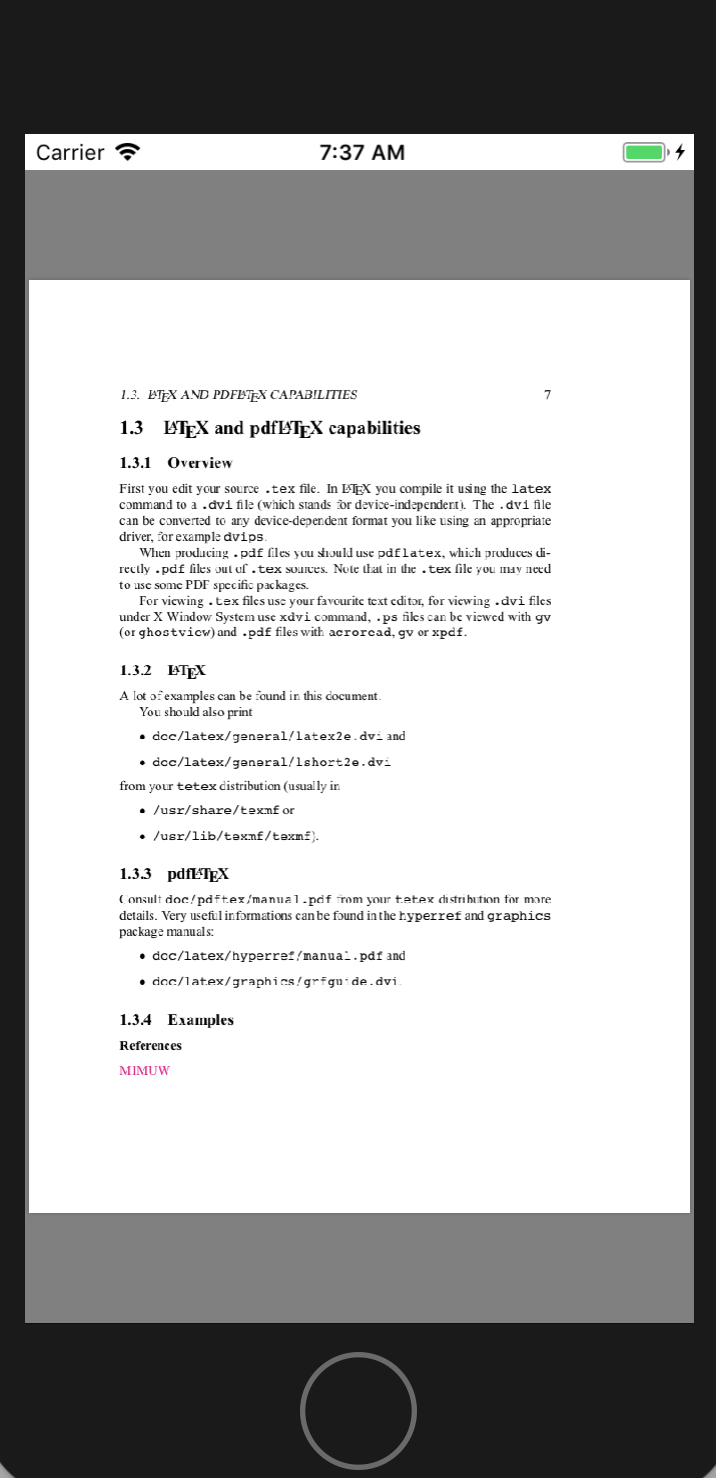
いい感じに表示されました。
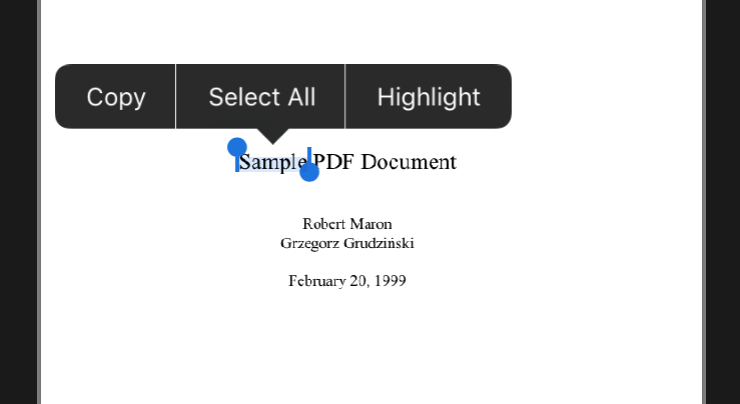
ハイライトをしてみる
次は以下の画像のようにHighlightの選択肢をメニューに出して実際にハイライトをできるようにしてみます。デフォルトではCopy/Select Allの2つしか出てきません。
UIMenuControllerを活用します。
class ViewController: UIViewController {

    @IBOutlet weak var pdfView: PDFView!

    override func viewDidLoad() {
        super.viewDidLoad()

        pdfView.document = getDocument()

        pdfView.backgroundColor = .lightGray
        pdfView.autoScales = true
        pdfView.displayMode = .singlePageContinuous
        pdfView.usePageViewController(true)

        createMenu()
    }

    private func getDocument() -> PDFDocument? {
        guard let path = Bundle.main.path(forResource: "sample", ofType: "pdf") else {
            print("failed to get path.")
            return nil
        }
        let pdfURL = URL(fileURLWithPath: path)
        let document = PDFDocument(url: pdfURL)
        return document
    }

    override func canPerformAction(_ action: Selector, withSender sender: Any?) -> Bool {
        if action == #selector(highlight(_:)) {
            return true
        }
        return false
    }

    private func createMenu() {
        let highlightItem = UIMenuItem(title: "Highlight", action: #selector(highlight(_:)))
        UIMenuController.shared.menuItems = [highlightItem]
    }

    @objc private func highlight(_ sender: UIMenuController?) {
        guard let currentSelection = pdfView.currentSelection else { return }
        let selections = currentSelection.selectionsByLine()
        guard let page = selections.first?.pages.first else { return }

        selections.forEach { selection in
            let highlight = PDFAnnotation(bounds: selection.bounds(for: page), forType: .highlight, withProperties: nil)
            highlight.endLineStyle = .square
            page.addAnnotation(highlight)
        }

        pdfView.clearSelection()
    }
}
検索結果をハイライトしてみる
class ViewController: UIViewController {
    ...

    func find(text: String) {
        let selections = pdfView.document?.findString(text, withOptions: .caseInsensitive)
        guard let page = selections?.first?.pages.first else { return }
        selections?.forEach { selection in
            let highlight = PDFAnnotation(bounds: selection.bounds(for: page), forType: .highlight, withProperties: nil)
            highlight.endLineStyle = .square
            page.addAnnotation(highlight)
        }
    }
}
として、find("hogehoge")を呼ぶとハイライトがかかります。
ハイライトのタップを検知してみる
NotificationCenterを活用します。
    ...

    override func viewDidLoad() {
        super.viewDidLoad()

        ...

        NotificationCenter.default.addObserver(forName: .PDFViewAnnotationHit, object: nil, queue: nil, using: notified)
    }

    override func viewWillDisappear(_ animated: Bool) {
        super.viewWillDisappear(animated)

        NotificationCenter.default.removeObserver(self)
    }

    @objc private func notified(notification: Notification) {
        print("Highlightがタップされました!")
    }

    ...
サンプルコードはこちら
https://github.com/ngo275/PDFKitSample
参考
https://developer.apple.com/documentation/pdfkit/pdfannotation
https://developer.apple.com/documentation/pdfkit/pdfdocument
https://developer.apple.com/documentation/uikit/uimenucontroller