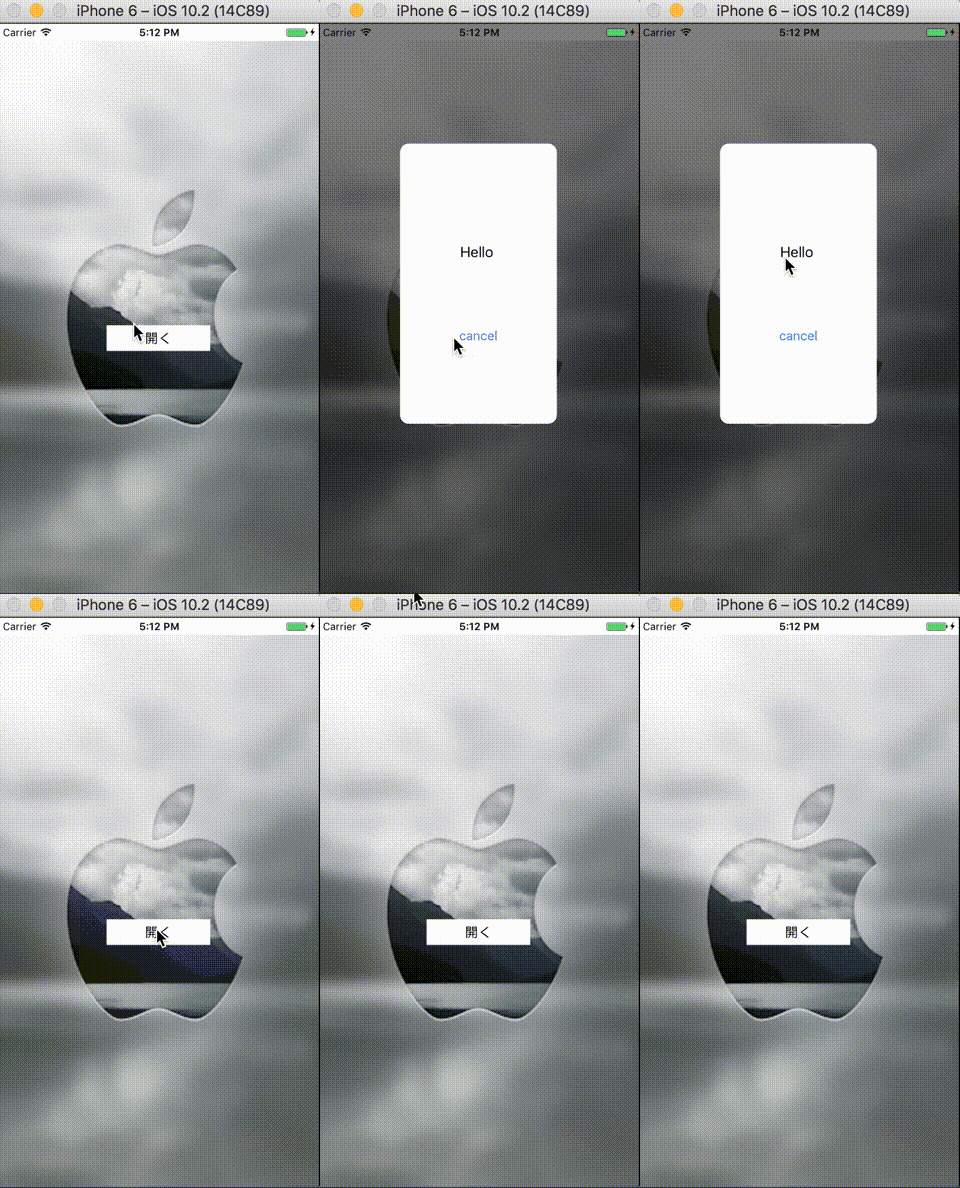
アラート画面をカスタマイズしたい
コードはgithubに上げておきました。
要はvc.modalPresentationStyle = .overCurrentContextをつけるだけと言う感じです。
イメージ
アラート画面をカスタムする時、背景透過をするのに地味に時間がかかったのでメモ。
遷移元の実装
Storyboardをつかってやってみます。
遷移元のViewControllerは、アラート画面を表示した時に背景透過が確認できるように、適当な背景画像を差し込んでおきます。中央に開くボタンを設置しておいてViewControllerと繋いでおきます。

import UIKit

class ViewController: UIViewController {
    ////

    // StoryboardとUIButtonをつなぎます
    @IBAction func openAction(_ sender: Any) {
        let sb = UIStoryboard(name: "Modal", bundle: nil)
        let vc = sb.instantiateInitialViewController() as! ModalViewController
        // 背景が真っ黒にならなくなる
        vc.modalPresentationStyle = .overCurrentContext

        present(vc, animated: false)
    }

}
遷移先の実装
遷移先のViewControllerは以下のようにStoryboardで設定しておきます。 UIView を差し込んでその中に UILabel と UIButton (cancel用)を入れました。ViewControllerのViewの背景色を画像のようにします。

import UIKit

class ModalViewController: UIViewController {
    ////

    // StoryboardとUIButtonをつなぎます
    @IBAction func cancelAction(_ sender: Any) {
        dismiss(animated: false)
    }

}
アラートの角を丸める
これだけだと表示したアラート画面の角が丸くなっていないので丸めます。Storyboardできるので設定します。
layer.cornerRadius の Number を設定。
layer.masksToBounds を true にします。

あとは遷移先のViewをいじるだけです。
