やりたいこと
Firebase Remote Configで設定しているプロパティ全部を起動画面(LaunchScreen)が表示されているうちに取得する、ということです。
以前Firebase Remote Configの機能を共通化した構造体を作ってみた(Swift)でFirebase Remote Configを使うために構造体を作成したのですが、アプリ起動時、これで取得したプロパティを利用してAPIを叩きに行こうとすると、Remote Configでプロパティを取得 -> それに基づくAPIを叩きに行く という非同期通信を2つ連続して行うことになって表示が非常に遅くなるという問題に直面しました。それを改善したいと思います。
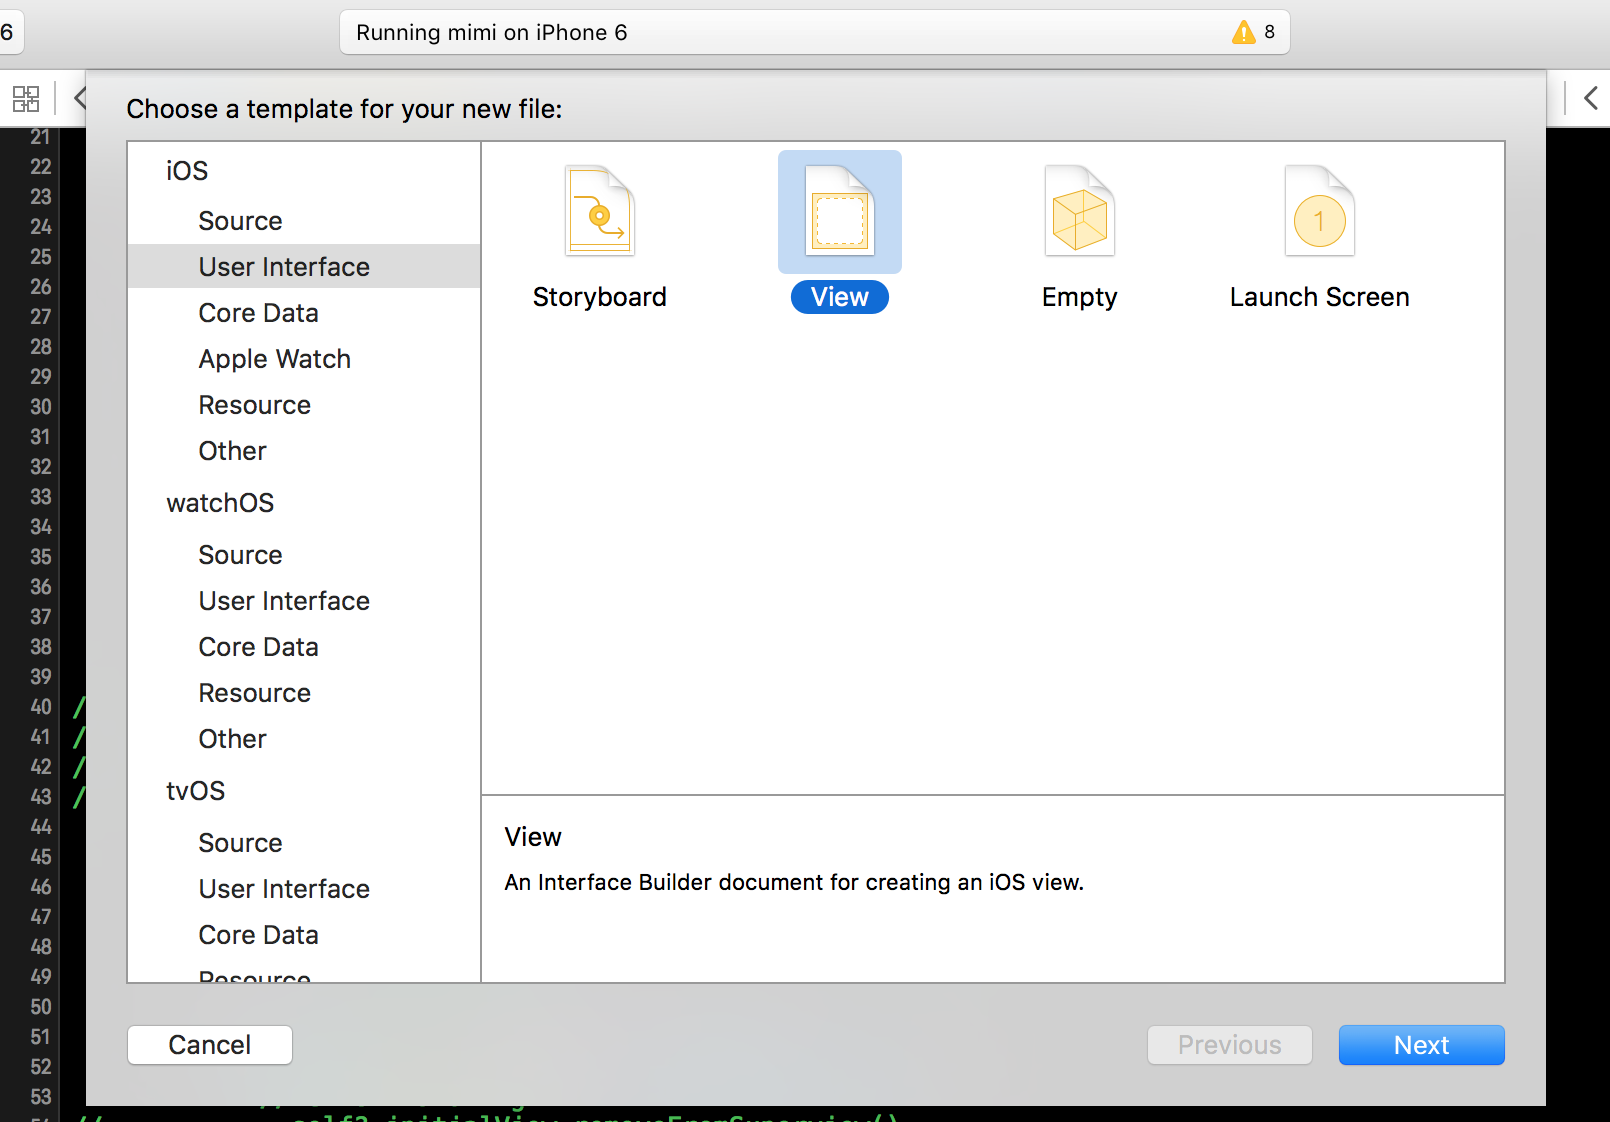
挙動実現の流れ
実際にはLaunchScreenを表示している時はRemote Configを使えないので、
- Launch Screenの後に出てくる最初のViewControllerにLaunchScreenと同じ画像(ダミー画像)を出す
- Remote Configに値を取りに行く
- 値取得の通信が完了したらダミー画像を消す
- あとはいつも通りに描画する
4の時、Remote Configの値を利用したAPIを使いたかったので今回の実装をしました。ユーザーによってコンテンツを切り替えるなど。
環境
Xcode7.3
Swift2.2
早く上げます...
実装
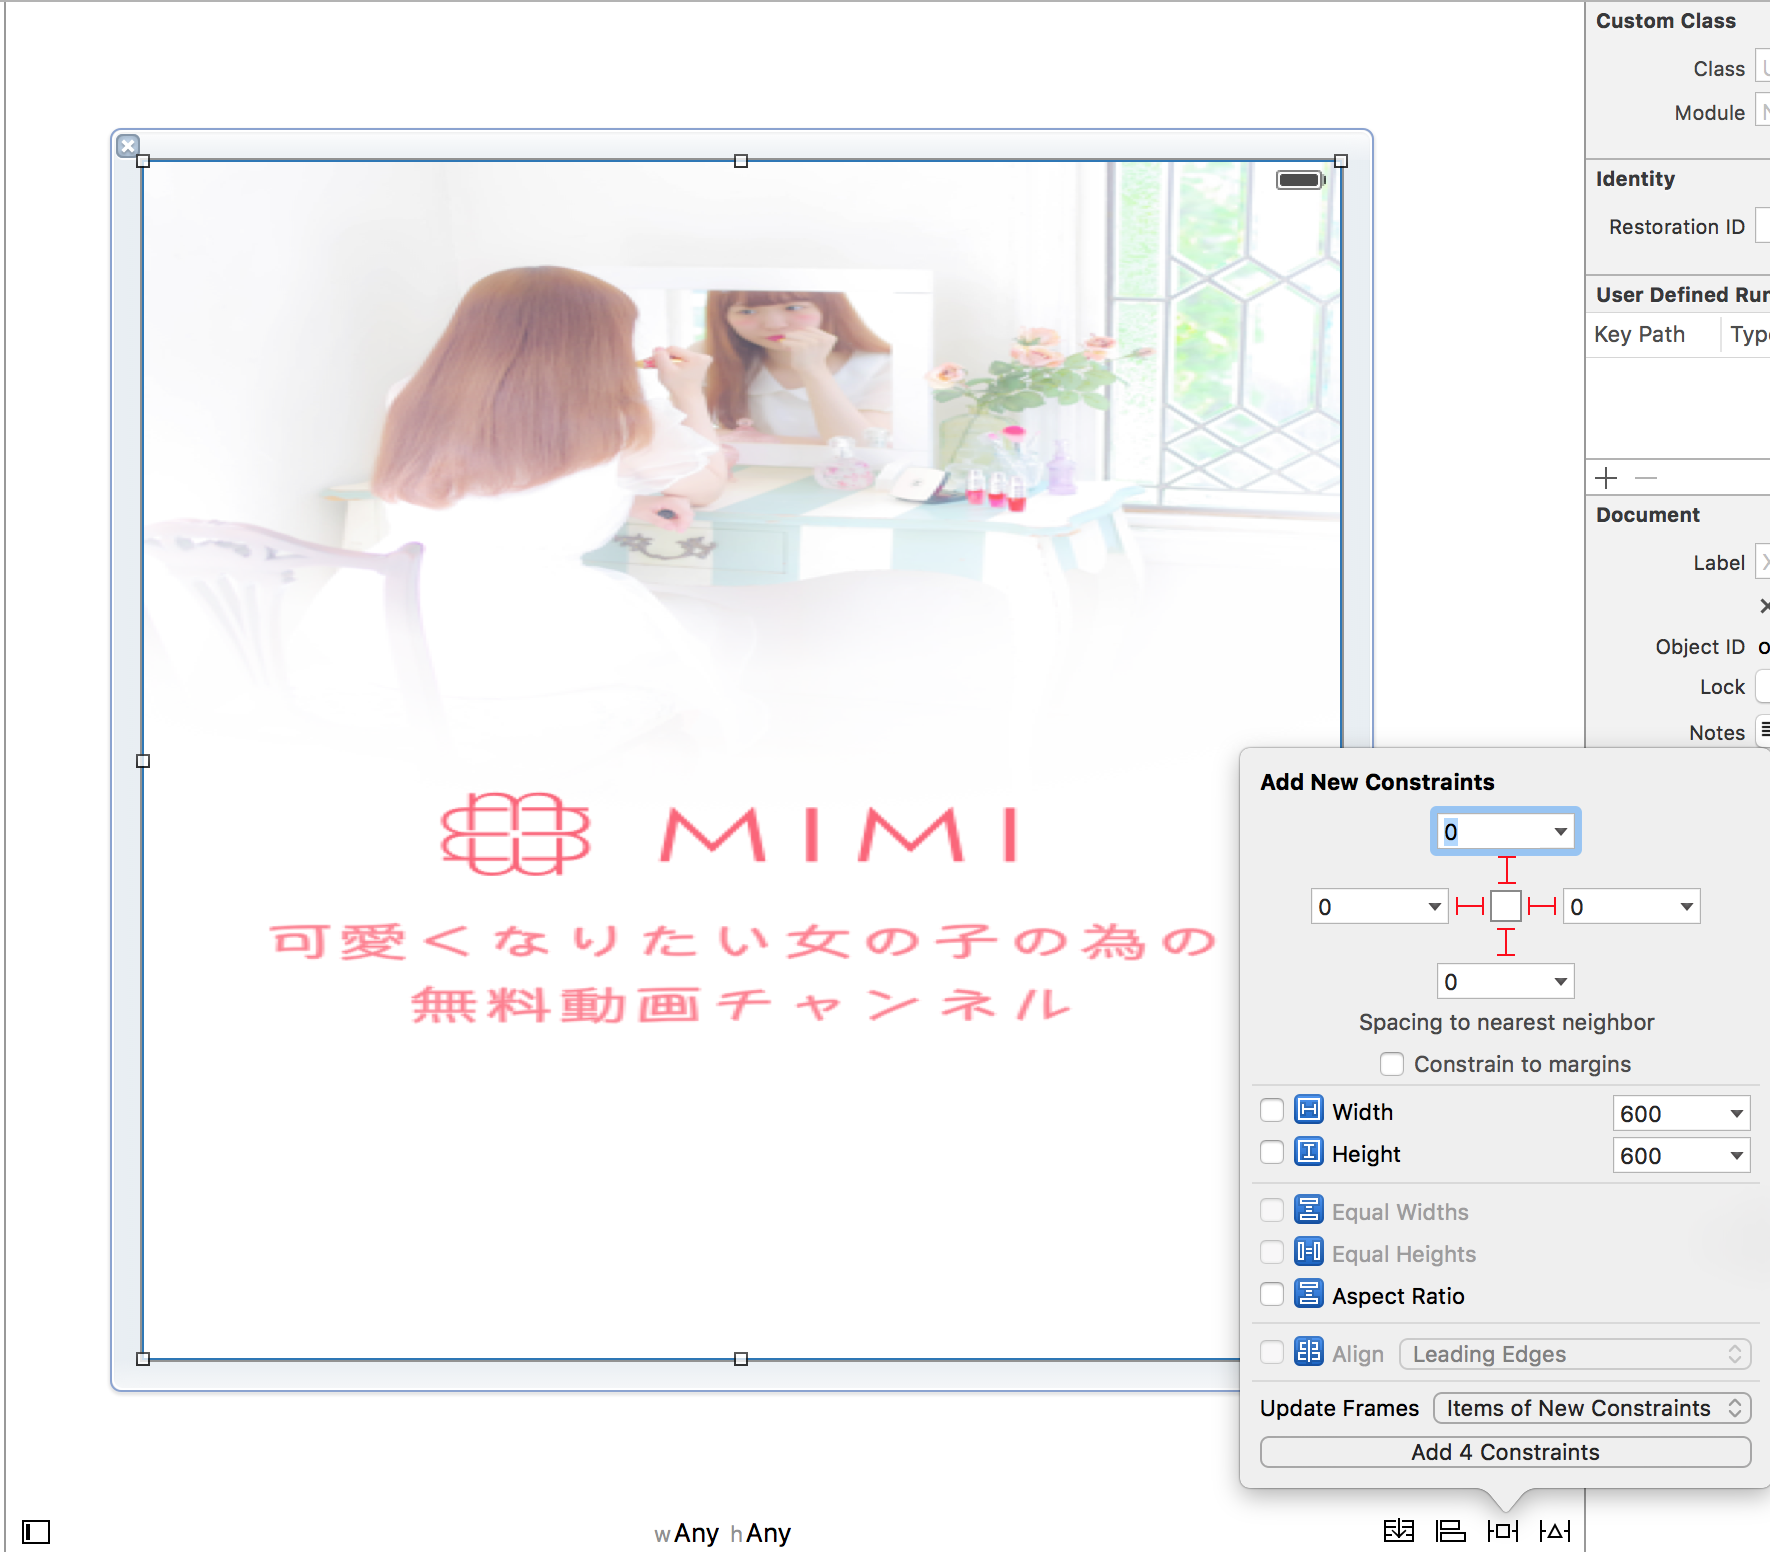
ダミーのUIViewを作成
ここからInitial.xibを作成します。このUIViewにUIImageを挿入してLaunchScreen.storyboardで差し込んでいる画像と同じものを設定します。Constraintsに関してはUIViewいっぱいに引き伸ばしておきます。
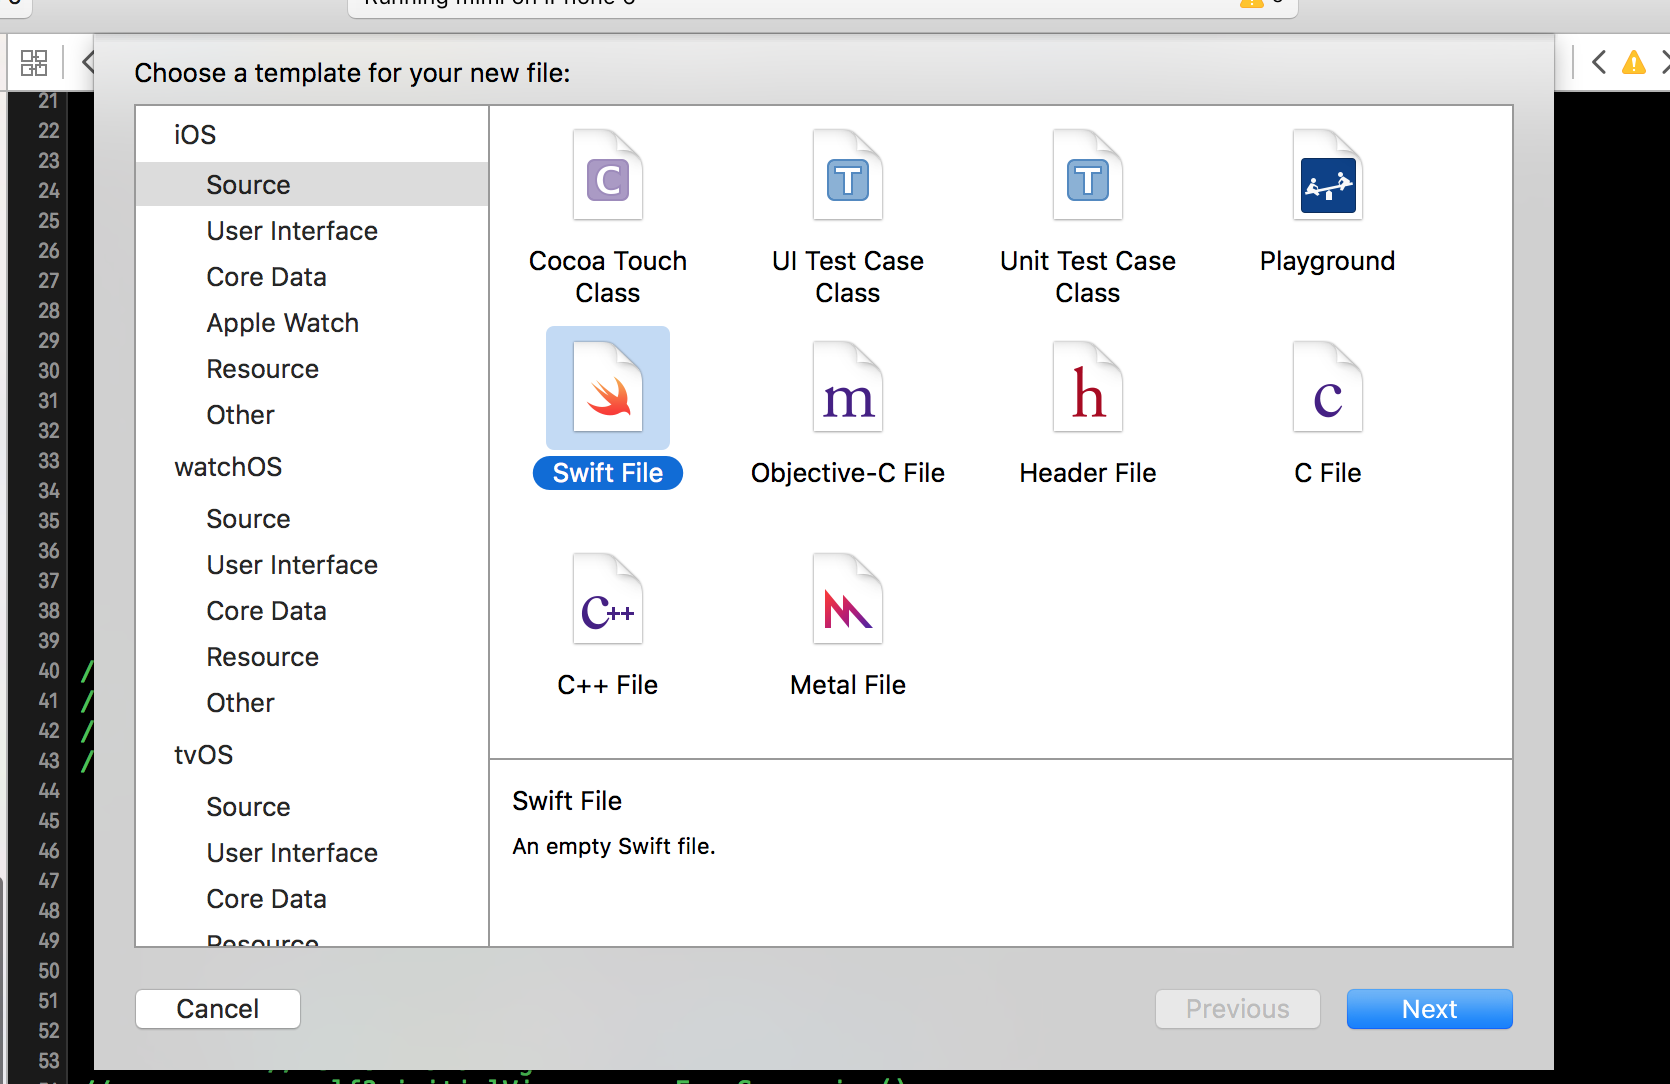
次にこれに対応するswiftファイルを作成します。
import UIKit

class Initial: UIView {

    override func awakeFromNib() {
        super.awakeFromNib()

    }

}
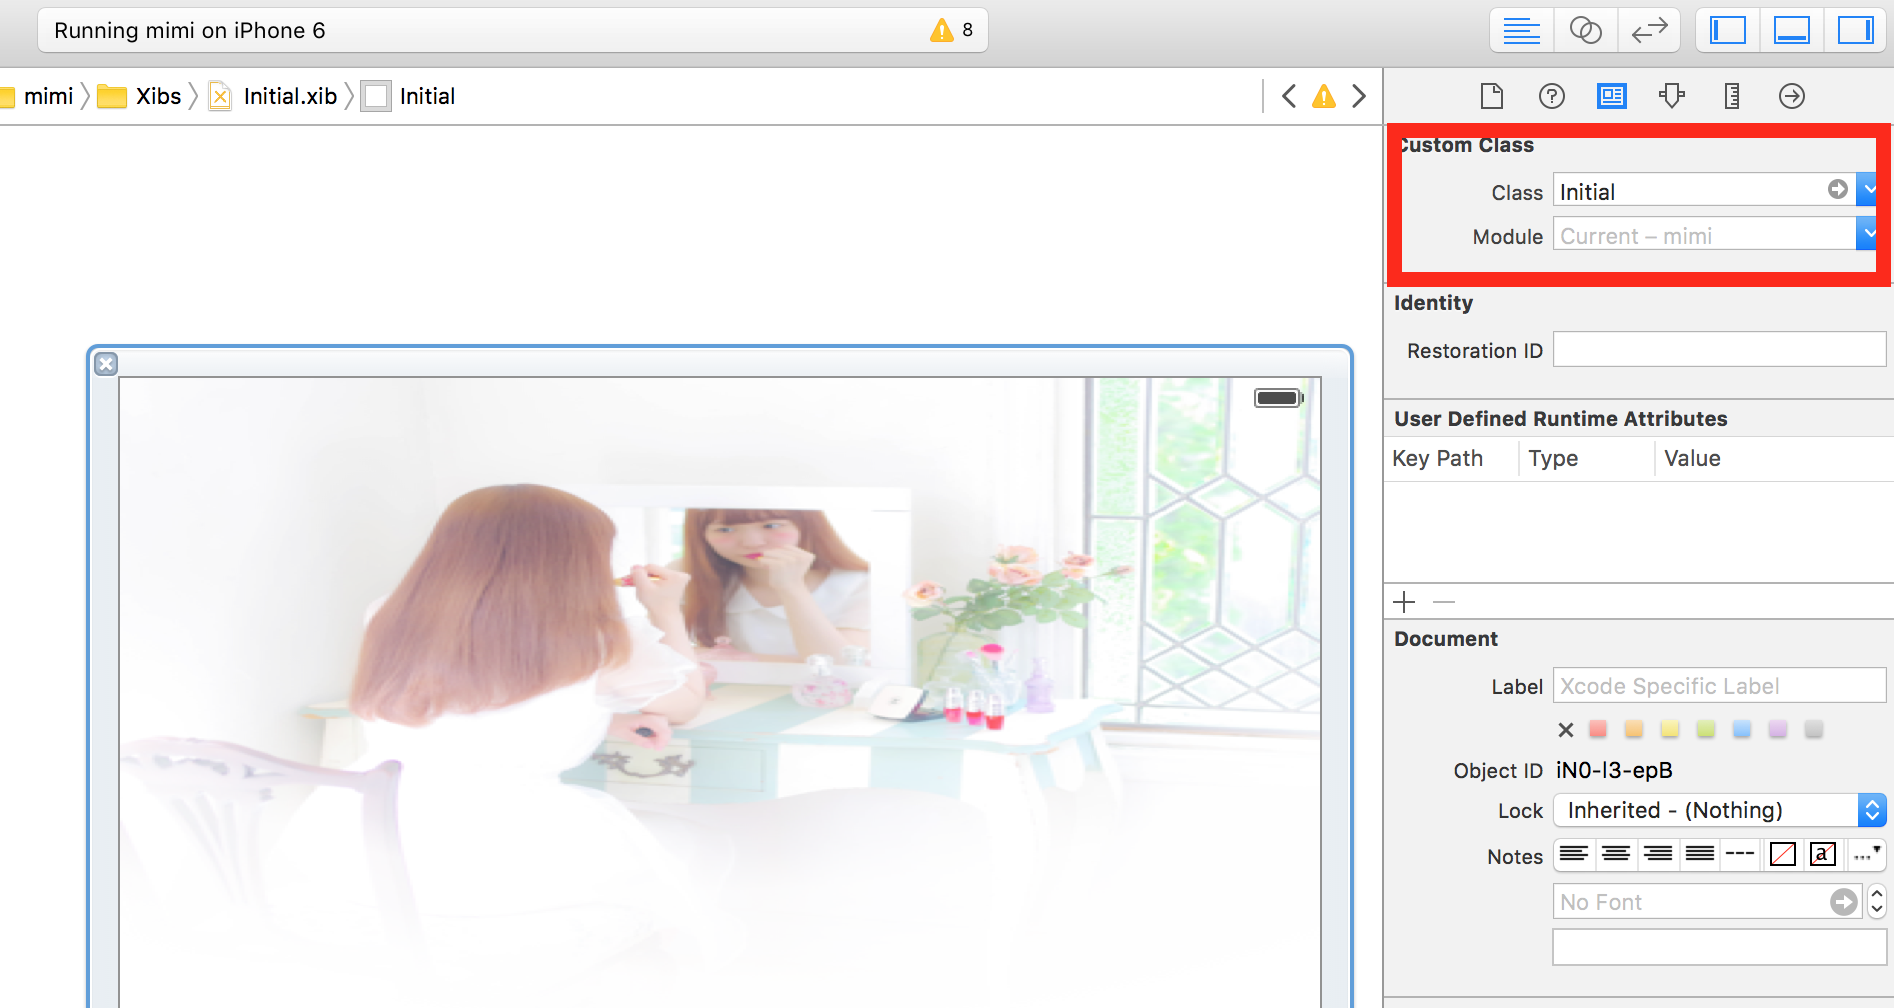
Storyboardで2つのファイルを関連づけしておきます。
Firebase Remote Configで取得してそのデータを保持するオブジェクト作成
Remote Configで取得したデータを保持する構造体と、データを取得するための通信をしたりデータの構造体を内包するシングルトンを作成します。
まずデータの構造体を実装します。
import Foundation
import FirebaseRemoteConfig

struct RemoteConfig {
    // ここにFirebase Remote configで設定しているプロパティを列挙しておくとすぐにアクセスできます.
    let tabTitlesEn: String
    let tabTitles: String

    init(data: FIRRemoteConfig) {
        // 各プロパティをRemote Configから取り出します.
        tabTitlesEn = data["tabTitlesEn"].stringValue ?? "make"
        tabTitles = data["tabTitles"].stringValue ?? "メイク"
    }

    init() {
        tabTitlesEn = "make"
        tabTitles = "メイク"
    }
}
次に↑の構造体を内に持ち、通信も行うシングルトンを実装します。
import Foundation
import Firebase
import FirebaseRemoteConfig
import BrightFutures

class FirebaseRemoteConfigManager {

    // シングルトンにします.
    static let shared = FirebaseRemoteConfigManager()
    // 値の代入はこのクラスからしかできないようにしておきます.
    private(set) var config = RemoteConfig()

    private let remoteConfig: FIRRemoteConfig
    private let expirationDuration: Int

    private init() {
        self.remoteConfig = FIRRemoteConfig.remoteConfig()

        let remoteConfigSettings = FIRRemoteConfigSettings(developerModeEnabled: true)
        self.remoteConfig.configSettings = remoteConfigSettings!

        self.expirationDuration = remoteConfig.configSettings.isDeveloperModeEnabled ? 0 : 3600
    }

    func fetchRemoteConfig() -> Future<RemoteConfig, NSError> {

        let promise = Promise<RemoteConfig, NSError>()

        remoteConfig.fetchWithExpirationDuration(NSTimeInterval(expirationDuration)) { (status, error) -> Void in

            if let error = error {
                print("error: \(error.localizedDescription)")
                promise.failure(error)

                return
            }

            guard status == FIRRemoteConfigFetchStatus.Success else {
                let error = NSError(domain: "mimi", code: 0, userInfo: [NSLocalizedDescriptionKey: "status is failed"])
                print("error: status is failed")
                promise.failure(error)

                return
            }

            self.remoteConfig.activateFetched()

            // Remote Configから持ってきたdataを上で書いた構造体に渡して格納します.
            self.config = RemoteConfig(data: self.remoteConfig)

            promise.success(self.config)
        }

        return promise.future
    }
}
もともと最初に表示していたViewControllerにダミーのViewを組み込む
import UIKit

class ViewController: UIViewController {
    // シングルトン宣言
    private let remoteConfigManager = FirebaseRemoteConfigManager.shared

    // Viewをプロパティとして保持しておきます.
    private lazy var initialView: Initial = {
        let initialView: Initial = UINib(nibName: "Initial", bundle: nil).instantiateWithOwner(self, options: nil)[0] as! Initial

        return initialView
    }()

    ...// 元からあった処理

    // ダミーのViewのサイズ指定
    override func viewWillLayoutSubviews() {
        super.viewWillLayoutSubviews()

        initialView.frame = CGRect(x: 0, y: 0, width: view.bounds.width, height: view.bounds.height)
    }

    override func viewDidLoad() {
        super.viewDidLoad()

        view.addSubview(initialView)

        setViewController()
    }

    ...// 元からあった処理

    private func setViewController() {
        let future = FirebaseRemoteConfigManager.shared.fetchRemoteConfig()

        future.onSuccess { [weak self] result in
            // アニメーションをつけてダミーのViewを消します.
            UIView.animateWithDuration(0.5,
                animations: {
                    self?.initialView.alpha = 0
                },
                completion: { finished in
                    self?.initialView.removeFromSuperview()
            })

            // tableView.reloadDataのように描画の処理等
            // remoteConfigManager.config.tabTitlesEnなどとアクセスできます.
        }

        future.onFailure { [weak self] error in
            print("error: \(error.localizedDescription)")
            // error handling

            UIView.animateWithDuration(0.5,
                animations: {
                    self?.initialView.alpha = 0
                }, completion: { finished in
                    self?.initialView.removeFromSuperview()
            })

            // データ取得のエラー時の処理
        }
    }

   ...// 元からあった処理

}
最初のページでは、 remoteConfigManager.config.tabTitlesEn のように future.onSuccess のなかでプロパティにアクセスできます。起動してからすぐに開くわけではないViewControllerでは
private let remoteConfigManager = FirebaseRemoteConfigManager.shared
を宣言した上で、
remoteConfigManager.config.tabTitlesEn
のようにするだけでRemote Configの値に好きにアクセスできます。一度Remote Configに値を見に行く処理を済ませて値を保持しているので、Remote Configのプロパティを利用するたびにその通信処理をする必要はありません。