aeroTAP 3D USBカメラをRaspberry Pi4上でOpenNI2で動かす方法について説明します。
先のブログで Raspiberry Pi4でaeroTAP 3D USBカメラを起動するための手順を解説しました。
いちおう、設定は続きの前提です。
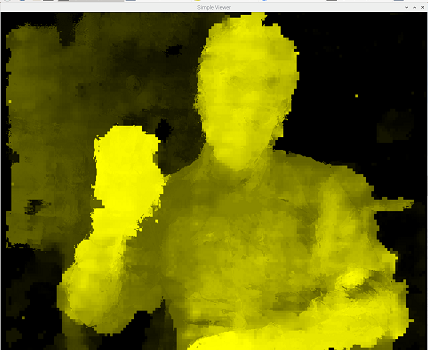
結果
準備
aeroTAP 3D USB カメラ
RaspberryPi4
aeroTAP OpeNI2 ドライバ
aeroTAP OpenNI2 ドライバのダウンロード
[ aeroTAP_OpenNI2.zip ] http://www.aeroTAP.com/Help.SDK/sample/aeroTAP_OpenNI2.zip
Raspberry Pi4ターミナル画面から
wget http://www.aeroTAP.com/Help.SDK/sample/aeroTAP_OpenNI2.zip
unzip aeroTAP_OpenNI2.zip
cd aeroTAP_OpenNI2
OpenNI2サンプルのビルド
ビルド済のバイナリがBinフォルダーにすでにあるので、そのまま実行が可能ですが、サンプルを再ビルドするには、下記のコマンドを実行します。
make PLATFORM=Arm
Bin/Arm-Release にバイナリがあります。
cd Bin/Arm-Release
サンプルの実行
サンプルを実行する前に、環境変するを設定します。
export LD_LIBRARY_PATH=/home/pi/aeroTAP_OpenNI2/Bin/Arm-Release
SimpleViewer 実行しますが、ビルドしていない場合は、属性の変更を行ってください。
chmod 777 SimpeViewer
./SimpleViewer
サンプルの動かし方
サンプル画面で、キー1,2,3を押すと、Depth Map->カラー、カラーマスク表示に切り替わります。
OpenNIからDepthMapを取得する具体的な方法は、ソースファイルがあるので参照してください。
[ その他 aeroTAP に関する情報] http://www.aeroTAP.com
