PICとは
PICとはマイコンの種別で、Microchip社が開発しているマイコン。
他に有名なものとしてはAtmel社が開発しているAVR(Arduinoに標準装備してる)やH8マイコン、mbedでよく用いるARMマイコンなどがあります。私はAVRとESPなどのマイコンでしかまともに開発したことがないのですが、今晩PICに挑戦しようと思った次第であります。
使用したPICマイコン
- PIC 16F1825
なかなかマイナーな部類らしく、情報が見つからない。PIC 12F1822などが初心者向きになるのかもしれません。
準備
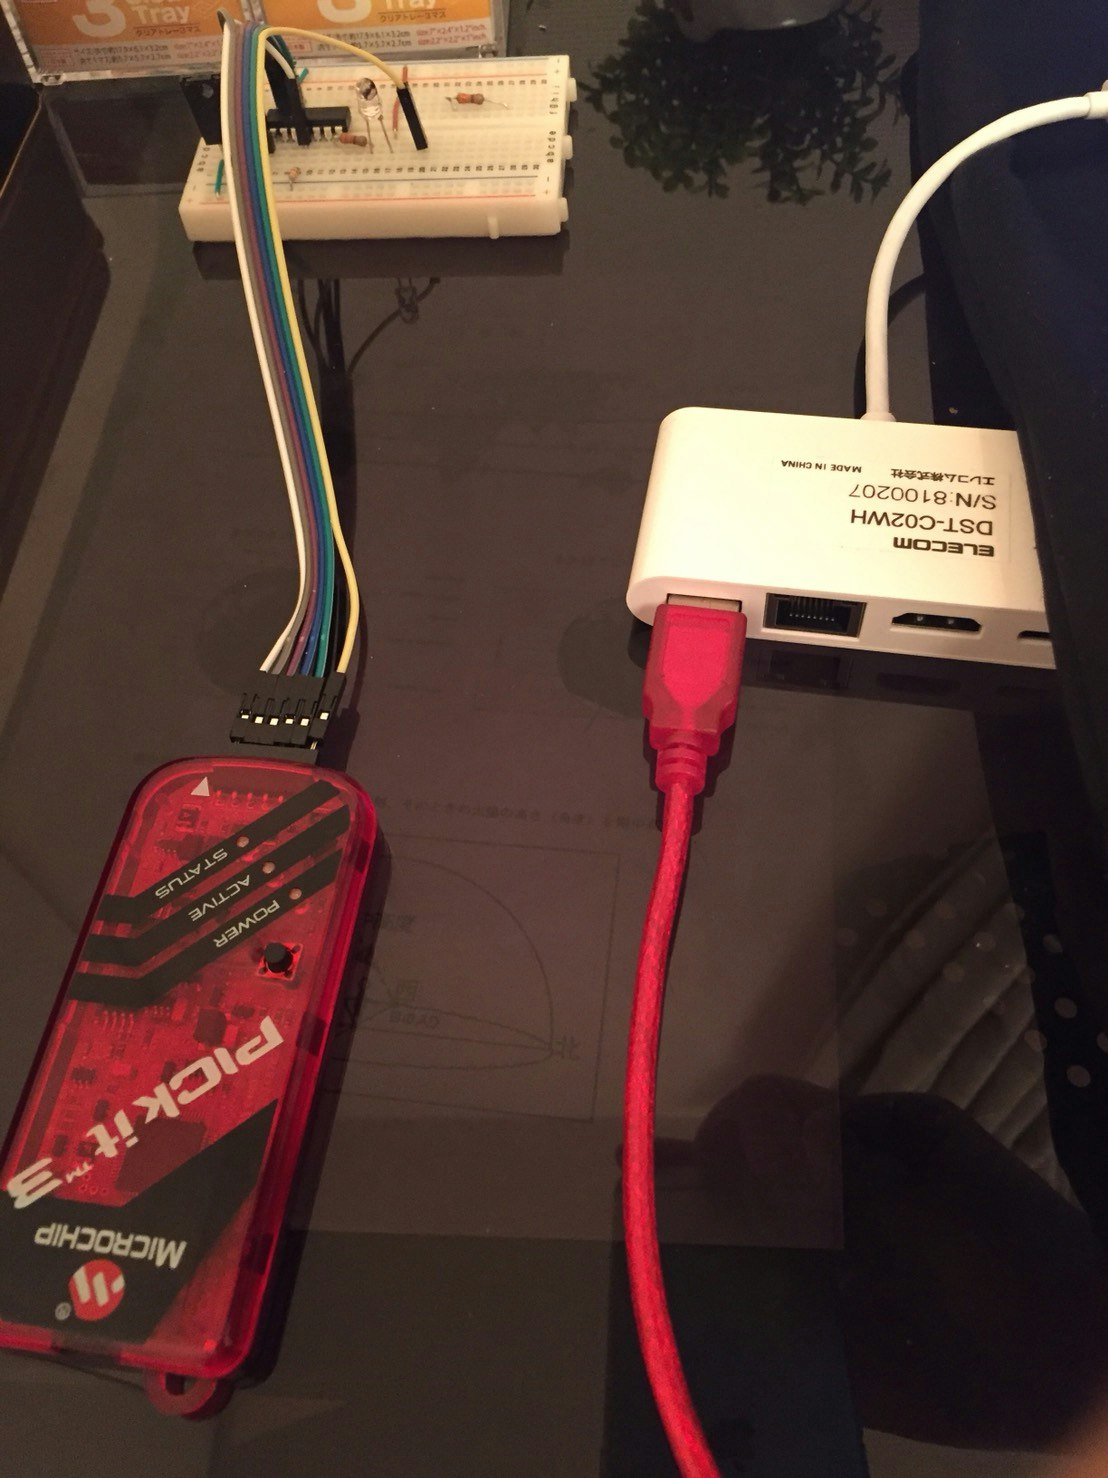
- Pic Kit3
- ブレッドボードなど電子工作Kit
- Mac book Pro
- USB typeC変換ケーブルなど
ダウンロード
- MPLAB X IDE
正直Macユーザーだとかなりの作業が必要になるので、こちらのサイトを一通り見たほうがいいかもしれません。
MPLAB X for Macintosh
PICの統合開発環境。アセンブラが入っているそうですが、Cで書いてコンパイラさせたい場合、以下のソフトも必要。
HI-TECH Cコンパイラ
Cコンパイラ
XC Cコンパイラ
Cコンパイラ。上記とは提供してる会社が違う??
Libraries for Applications
サンプルコードやライブラリの格納庫。
開発手順
プロジェクトを作成します。

プロジェクトのディレクトリを右クリックすると、一番下に「プロパティ」が出てきます。ここでCコンパイラや書きこみデバイスの選択などを行えます。

上の画像の「Option categories」より、「Power」を選択します。
回路を組む際に、外部電源もしくはPicLit3からの電源のどちらかから、電源を供給しないといけません。ここではPicKit3からの電圧を制御できます。

「main.c」と呼ばれるプログラムを作成します。ここが本筋のコードとなります。
この画面では、PICのコードを書いたり、ビルド状況を確認できたりします。
最初はconfiguration bitsが何かわからず、ビルドを通すのに一苦労でしたが、そんな方々のために便利な機能がありました。
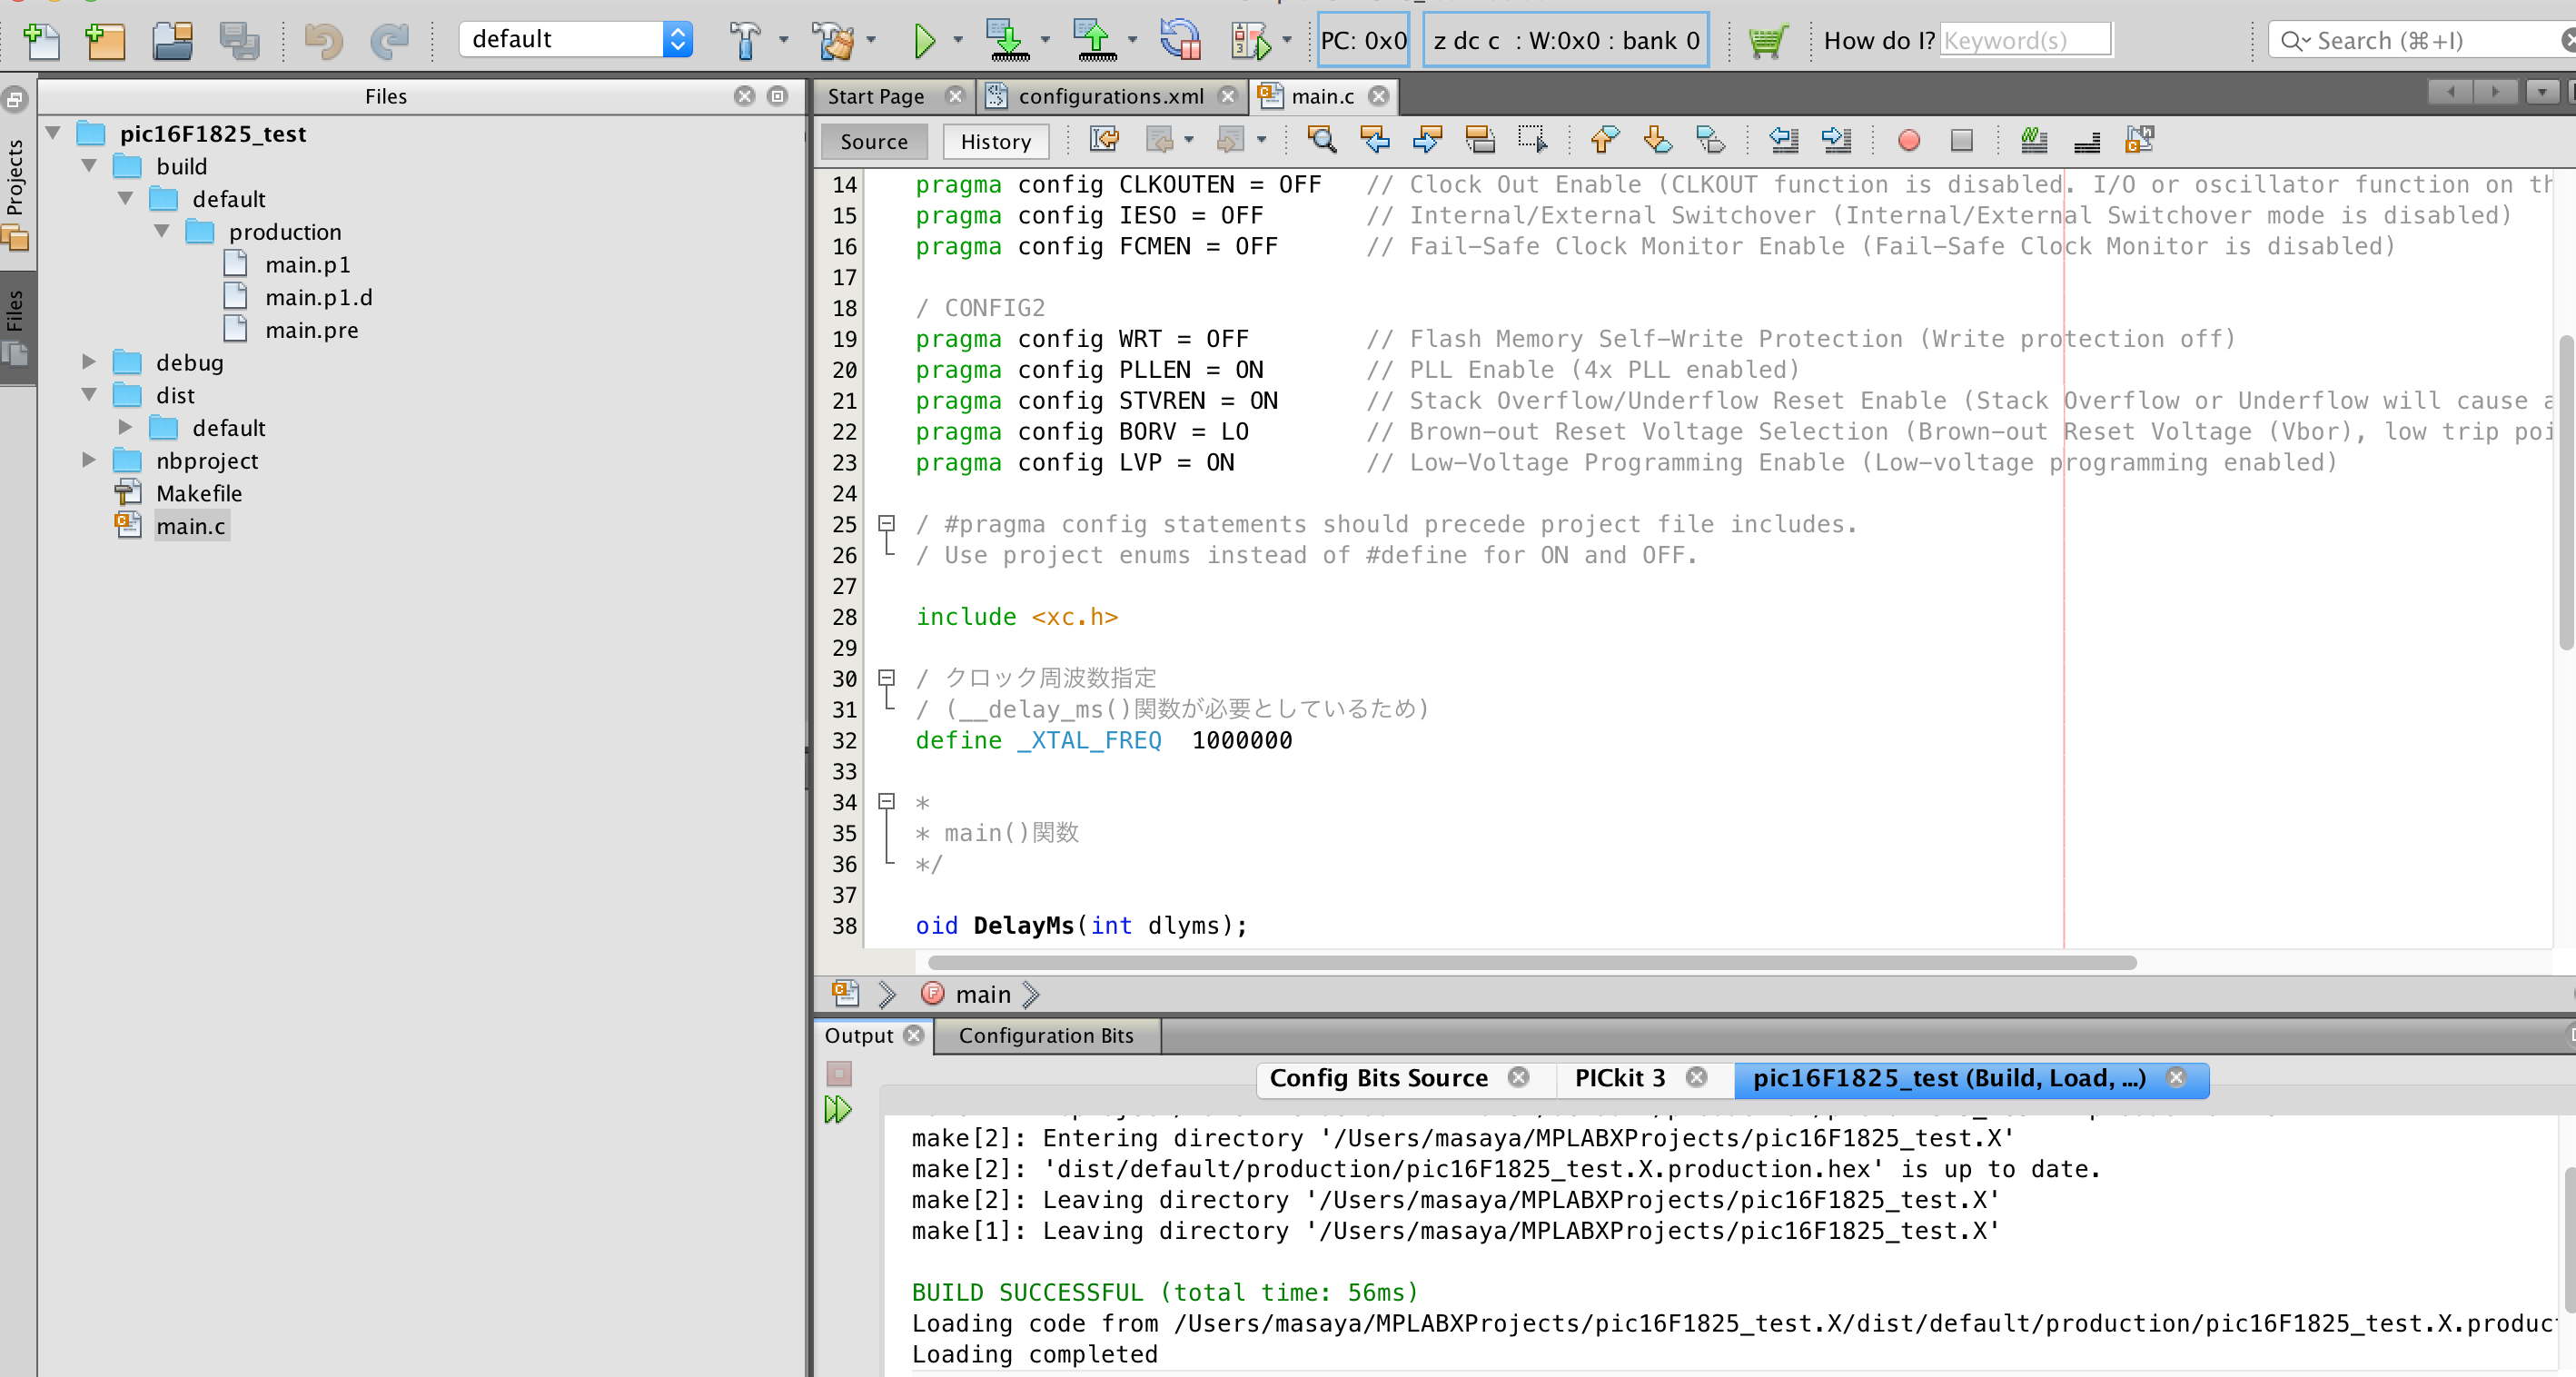
プロジェクト作成段階で選択したマイコンにしたがって、Configuration bitの中身を選択して、それをコード化してくれるそうです。

とりあえずLチカ用のコードがこちら。
// インクルードファイル
# include <stdio.h>
# include <stdlib.h>
# include <xc.h>

// CONFIG1
# pragma config FOSC = INTOSC    // Oscillator Selection (INTOSC oscillator: I/O function on CLKIN pin)
# pragma config WDTE = OFF       // Watchdog Timer Enable (WDT disabled)
# pragma config PWRTE = ON       // Power-up Timer Enable (PWRT enabled)
# pragma config MCLRE = OFF      // MCLR Pin Function Select (MCLR/VPP pin function is digital input)
# pragma config CP = OFF         // Flash Program Memory Code Protection (Program memory code protection is disabled)
# pragma config CPD = OFF        // Data Memory Code Protection (Data memory code protection is disabled)
# pragma config BOREN = ON       // Brown-out Reset Enable (Brown-out Reset enabled)
# pragma config CLKOUTEN = OFF   // Clock Out Enable (CLKOUT function is disabled. I/O or oscillator function on the CLKOUT pin)
# pragma config IESO = OFF       // Internal/External Switchover (Internal/External Switchover mode is disabled)
# pragma config FCMEN = OFF      // Fail-Safe Clock Monitor Enable (Fail-Safe Clock Monitor is disabled)

// CONFIG2
# pragma config WRT = OFF        // Flash Memory Self-Write Protection (Write protection off)
# pragma config PLLEN = ON       // PLL Enable (4x PLL enabled)
# pragma config STVREN = ON      // Stack Overflow/Underflow Reset Enable (Stack Overflow or Underflow will cause a Reset)
# pragma config BORV = LO        // Brown-out Reset Voltage Selection (Brown-out Reset Voltage (Vbor), low trip point selected.)
# pragma config LVP = ON         // Low-Voltage Programming Enable (Low-voltage programming enabled)

// #pragma config statements should precede project file includes.
// Use project enums instead of #define for ON and OFF.

// クロック周波数指定
// (__delay_ms()関数が必要としているため)
# define _XTAL_FREQ  1000000

/*
 * main()関数
 */

void DelayMs(int dlyms);

void main(void) {
    OSCCON = 0b01100000;
    TRISC = 0b11111100;
    while(1){
        PORTC = 0b11111111;
    }
}

void DelayMs(int dlyms){
    while(dlyms--){
        __delay_ms(1);
    }
}
正直configuration bitのところはいまいちよくわかってなくて、これから勉強しようかと思ってるくらいです。
Arduinoではvoid loop{}関数の中にコードを書くと、無限ループしてくれました。しかし、ここではwhile(1){}を記述したりして、スコープが広く、単純さを犠牲にコードの全貌への理解に近づけそうだと。
ビルドが通りました。
BUILD SUCCESSFUL (total time: 56ms)
さあ書き込むぞ!!
エラーが出ました。
The target circuit may require more power than the debug tool can provide. An external power supply might be necessary.
Connection Failed.
出力電圧の供給が足りてない。
そんなはずはない。だってPicは3.3~6.0VでなおかつLED回路しか実装してないのに。
The programmer could not be started: Could not connect to tool hardware: PICkit3PlatformTool, com.microchip.mplab.mdbcore.PICKit3Tool.PICkit3DbgToolManager
こいつも出てた。怪しい。
解決したら追記します。
参考文献
- http://www.geocities.jp/zattouka/GarageHouse/micon/MPLABX/MCC/install.htm
- https://tool-lab.com/2013/01/mplabx-test-drive/
ツールラボさん神すぎる